

DVR
DVR--
6
6
TRE i SYSTEMS S.r.l
User’s manual
®
INTRODUCTION:
TRE i SYSTEMS thanks you for having selected the new DVR-6 for your personal protection and that of your family
and friends. This product offers the most modern microprocessor technology for the recording of Audio and Visual
events with-in the protected area. It provide the end user with all the evidence necessary to identify the thieves
involved in the event taking place. The DVR-6 has a wide range of applications such as HOMES, HOTELS,
OFFICES, STORES, VILLA’S WAREHOUSES etc. This system is economic, effective and designed for easy
installation with all Tre i Systems “Pegaso” protocol wireless control panels (DUALCOM-8, DUALNET-6, VISION
SERIES, VP-7NT and VP-6XS)
PRODUCT FEATURES:
- Intelligent microcomputer control performance.
- Wireless signal transmission with on-board receiver and transmitter at 433.92 Mhz. Range in open
space 100 mt.
- Wide angle PIR detection with temperature compensation circuitry.
- The DVR-6 will be armed/disarmed by the control panel with which it is installed.
- Special “Pegaso” transmission protocol between control panel and DVR-6.
- When the DVR-6 is triggered it will record the event taking place for 3 minute with date, and hour.
- May be installed with all Tre i Systems wireless Pegaso control panels.
- Supplied with a 4GB SD CARD.
- IF SD card full, it will automatically override the oldest recordings.
- Direct USB connection from DVR-6 to normal computer.
- Unit supplied with back-up lithium battery. In case of power failure, it has 3 hour of standby life.
- Optional, night vision unit made special for the DVR-6 so it may capture events also without light.
- LED indication to inform end user that a recording has taken place.

Pag. 2
Pag. 2
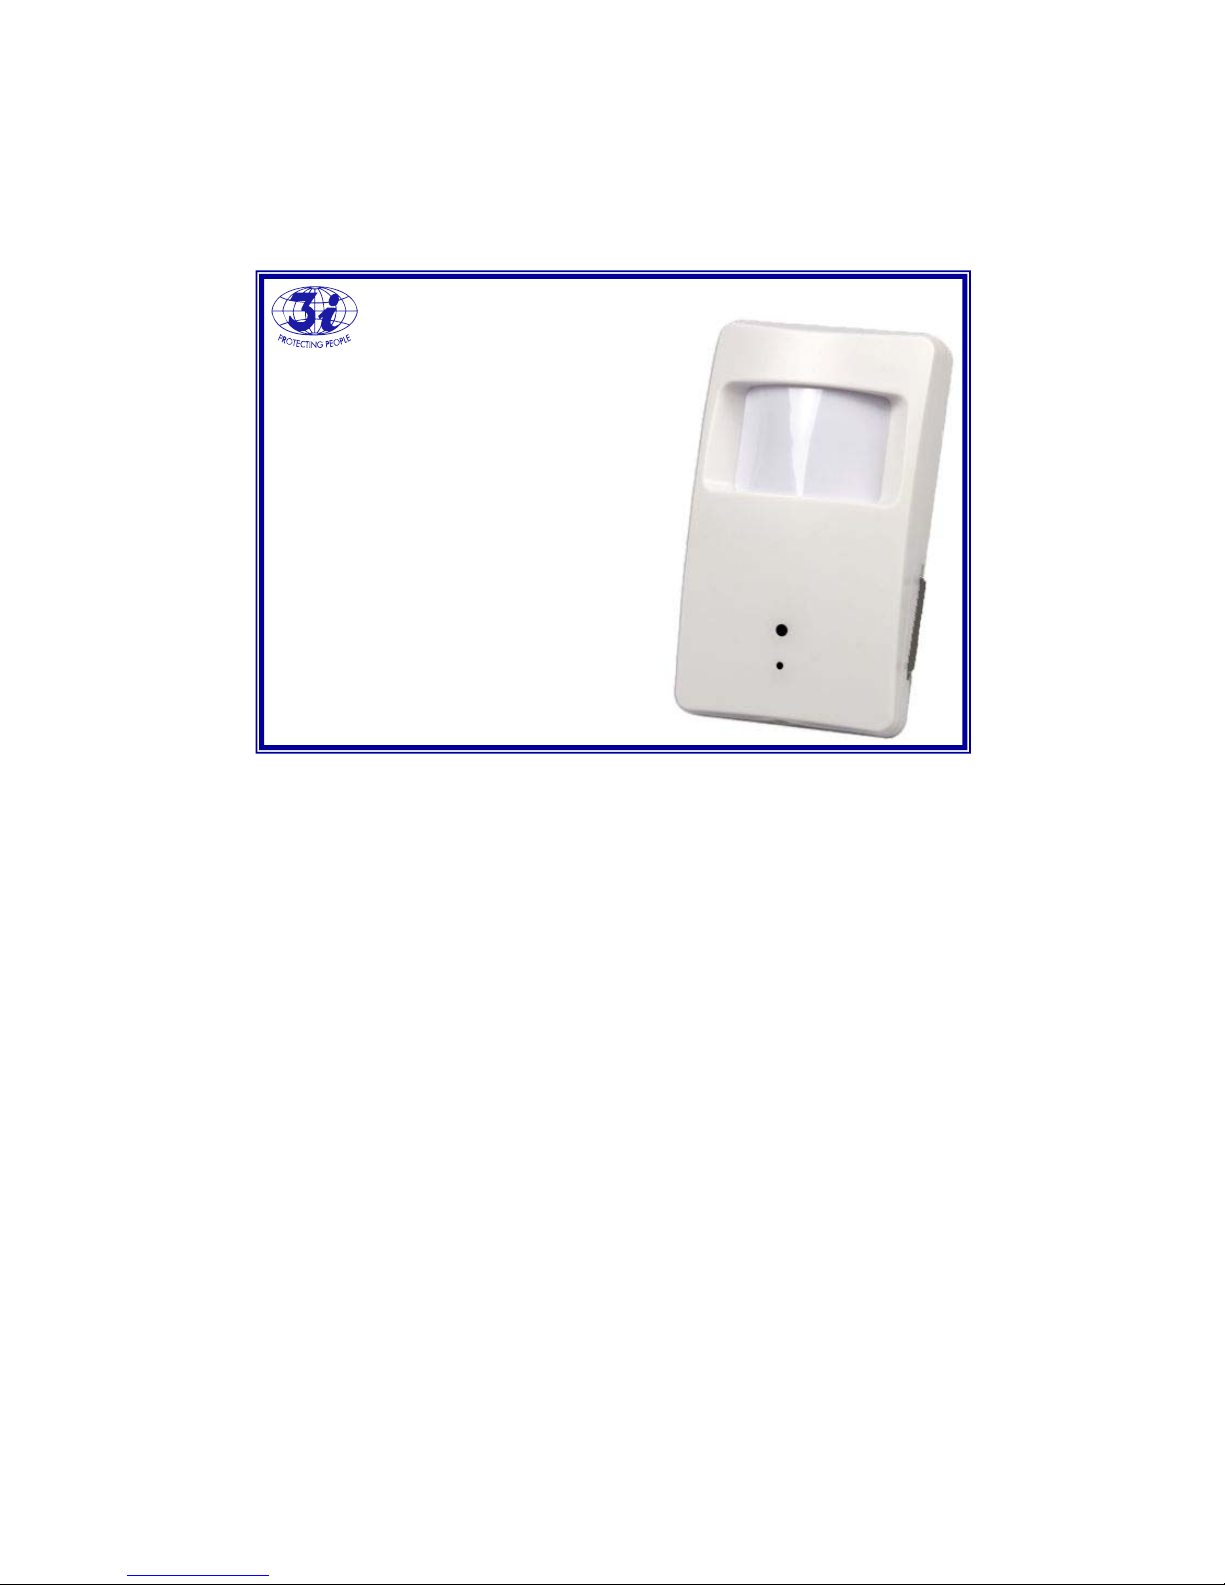
PACKAGE CONTENTS:
One combination PIR and
DVR wireless unit.
One 4 G SD card.
One USB cable for computer.
One power supply
2 x Screws
One swivel bracket
This User Manual
GETTING TO KNOW THE PRODUCT:
Motion Detection Lens
Camera Mic
FRONT VIEW
SD Card Slot
BACK VIEW
Learn Button
DVR-6 Trans-
mitting code
Button
Power Input /
USB Output
Backup Battery
Switch
Right: “ON”
Left: “OFF”
RIGHT VIEW
1 2 3

Pag. 3
Pag. 3
TECHNICAL CHARACTERISTICS
- Power input: 230Vac. 50/60Hz
- Backup battery: 3.7V Rechargeable Lithium (3 hours standby time)
- PIR detector: Wide angle: 100° 12 mt.
- Standby current: <40mA Working current <45mA.
- Transmission frequency: 433.92 Mhz.
- Camera: 1/6.5” OV CMOS chip: 300,000 pixel.
- Video format: AVI
- Recording speed: 30 fps.
- Resolution: 640 x 480 x Min. Illumination: 0.1 lux.
- Focal length: 8mm.
- View Angle: 35° vertical 60° horizontal.
- Transmission Mode: USB 2.0 (Hs)
- Recording time: 3 Minutes
- Memory card capacity: 4 Gb
- Product dimensions: 103 x 60 x 32mm.
INSTALLATION INSTRUCTION & FUNCTIONS:
- Fixing the DVR-6: Fix the swivel bracket support onto the wall surface at a height that rages from 1.8 to 2.5
meters form the floor. Fix the swivel bracket to the DVR-6 and adjust it so it will be able to detect movement
and at the same time have a good angle position to record a burglary events.
- DVR-6 Start-up: Connect the power supply and switch the DVR-6 to “ON” by pushing the small switch, to the
right with a pointed object. See fig. 3 page 4. A red LED will light and after 30 seconds will go “OFF”. The
DVR-6 is now in standby mode.
- Setting Date and Hour: Connect with the USB cable the DVR to your PC. Select “DEVICES“ in “MY
COMPUTER” and activate “GetSysTime”. The DVR-6 will automatically learn the date and hour of your PC.
- Arming/Disarming the DVR-6: This product is specially designed to function with all Tre i Systems “Pegaso”
protocol control panels and is armed and disarmed by the panel at the same time in which the panel is arm
and disarmed. The DVR-6 will emit a beep as indication that it has received the arming command and after an
8 second delay time it will automatically arm. When it is disarmed, the unit will emit 2 beeps.
-
Automatic recording: When the DVR-6 on-board PIR sensor triggers an alarm, the control panel with which
it has been installed will be triggered and at the same time the DVR-6 will start 3 Minute Audio/Video
recording of the protected area with date and time. This event will be memorized on the internal SD card.
During this recording a RED LED will flash. After the control panel is Disarmed, on the DVR-6 a Blue LED will
light for 50 seconds to indicate that a recording has taken place.
- Recording Playback: (A) To visualize the recording, with the DVR-6 disarmed, remove the SD card and
insert it into your computer. After the recording has been seen, insert once again the SD card into the DVR-6.
- Recording Playback: (B) You may also visualize the recording in the DVR-6 without removing the SD card.
Follow this procedure: On the back side of the DVR-6 switch to “OFF” the battery backup switch. From the
power supply, connected to the A.C. outlet, remove the USB cable and insert it directly into your computer to
see the event recorded. After having visualized the recording, reconnect the USB cable to the power supply.
- More than 1 DVR-6 installed : If an installer or an end user wishes to recorded events in different areas in a
home, store, factory etc. more than one DVR-6 may be installed and each will record events individually in
the areas it is protecting. Also each DVR-6 will act as a normal PIR volumetric sensor and protect the area
In which it is installed.

Pag. 4
Pag. 4
INSTALLING A DVR-6 WITH A WIRELESS “Pegaso” CONTROL PANEL:
1- Programming a control panel to function with the DVR-6: Press the button on the back side of the DVR -6
for 2 seconds and release. A beep will be heard. With-in 15 seconds of this beep you must have the control
panel transmit its “Pegaso” protocol code to the DVR-6. A simple way of getting this done is by arming the
control panel with the keychain transmitter PEG-3. Wait a few second and you will hear the DVR-6 emits a
series of 5 beeps. This indicates that the DVR-6 has learned the control panel code. If you hear only 2
beeps, this indicates that the code has not been learned by the DVR-6 and you must repeat the learning
operation once again until the 5 Beeps are heard. Once this has been successfully done, proceed with 2
below.
2- The DVR-6, acts also as a normal PIR sensor and now you must have the control panel with which it must
function learn the DVR-6 “Pegaso” PIR sensor code transmission. Proceed as follows: Read carefully the
“Pegaso” code learning of the panel and set the panel into learn mode. Then press on the back side of the
DVR-6 the transmitting code button for 2 seconds and release. After the release you will hear a beep and the
code transmission to the control panel will take place. The control panel will emit a signal based on how it is
described in the panel instruction manual. This will indicate that the code has been learned.
- To cancel the “Pegaso” codes learned by the DVR-6: Press the learn button for 15 seconds and release.
The DVR-6 will emit a long beep as indication that the code has been canceled.
PRECAUTIONS:
- The DVR-6 is made for indoor use only. It is not water proof.
- The manufacturer is not responsible for inappropriate use of this product.
- Do not install the DVR-6 so that the on–board Camera and PIR sensor faces direct sun light
- Do not install above heater other devices that cause air to move rapidly.
- Do not install behind curtains or blinds.
- Do not install behind objects that will interfere with the line of sight of the DVR-6
- It is necessary to periodically clean the DVR-6 without causing water penetration.
- The camera lens must remain dust free. Clean with dry dust towel.
- The DVR-6 is a very sophisticated high precision electronic product and must be treated as such.
Latest revision: 11-08-2013
Do not litter. Dispose of the device and the batteries
in the designated disposal containers at the end of its
lifetime.
Do not litter. Separate and discard the packaging
materials in the containers (depending on the laws in
force).
®
TRE i SYSTEMS S.r.l
Via del Melograno N. 13 - 00040 Ariccia, Rome Italy
Tel: +39 06 97249118 Fax: +39 06 45557618 : Tre i Systems
e-mail: m.tomasino@treisystems.com Website: www.treisystems.com
TRE i SYSTEMS
®
is not responsible for inappropriate use or installation of the pr oducts manufactured and declines
any responsibility for not observing the local laws in force.
TRE i SYSTEMS
®
reserves the right to make changes or improvements on the present product and this instruction
manual without previous notice.
For any problems contact TRE i SYSTEMS ® local sales office or service centre.
 Loading...