

Page 1
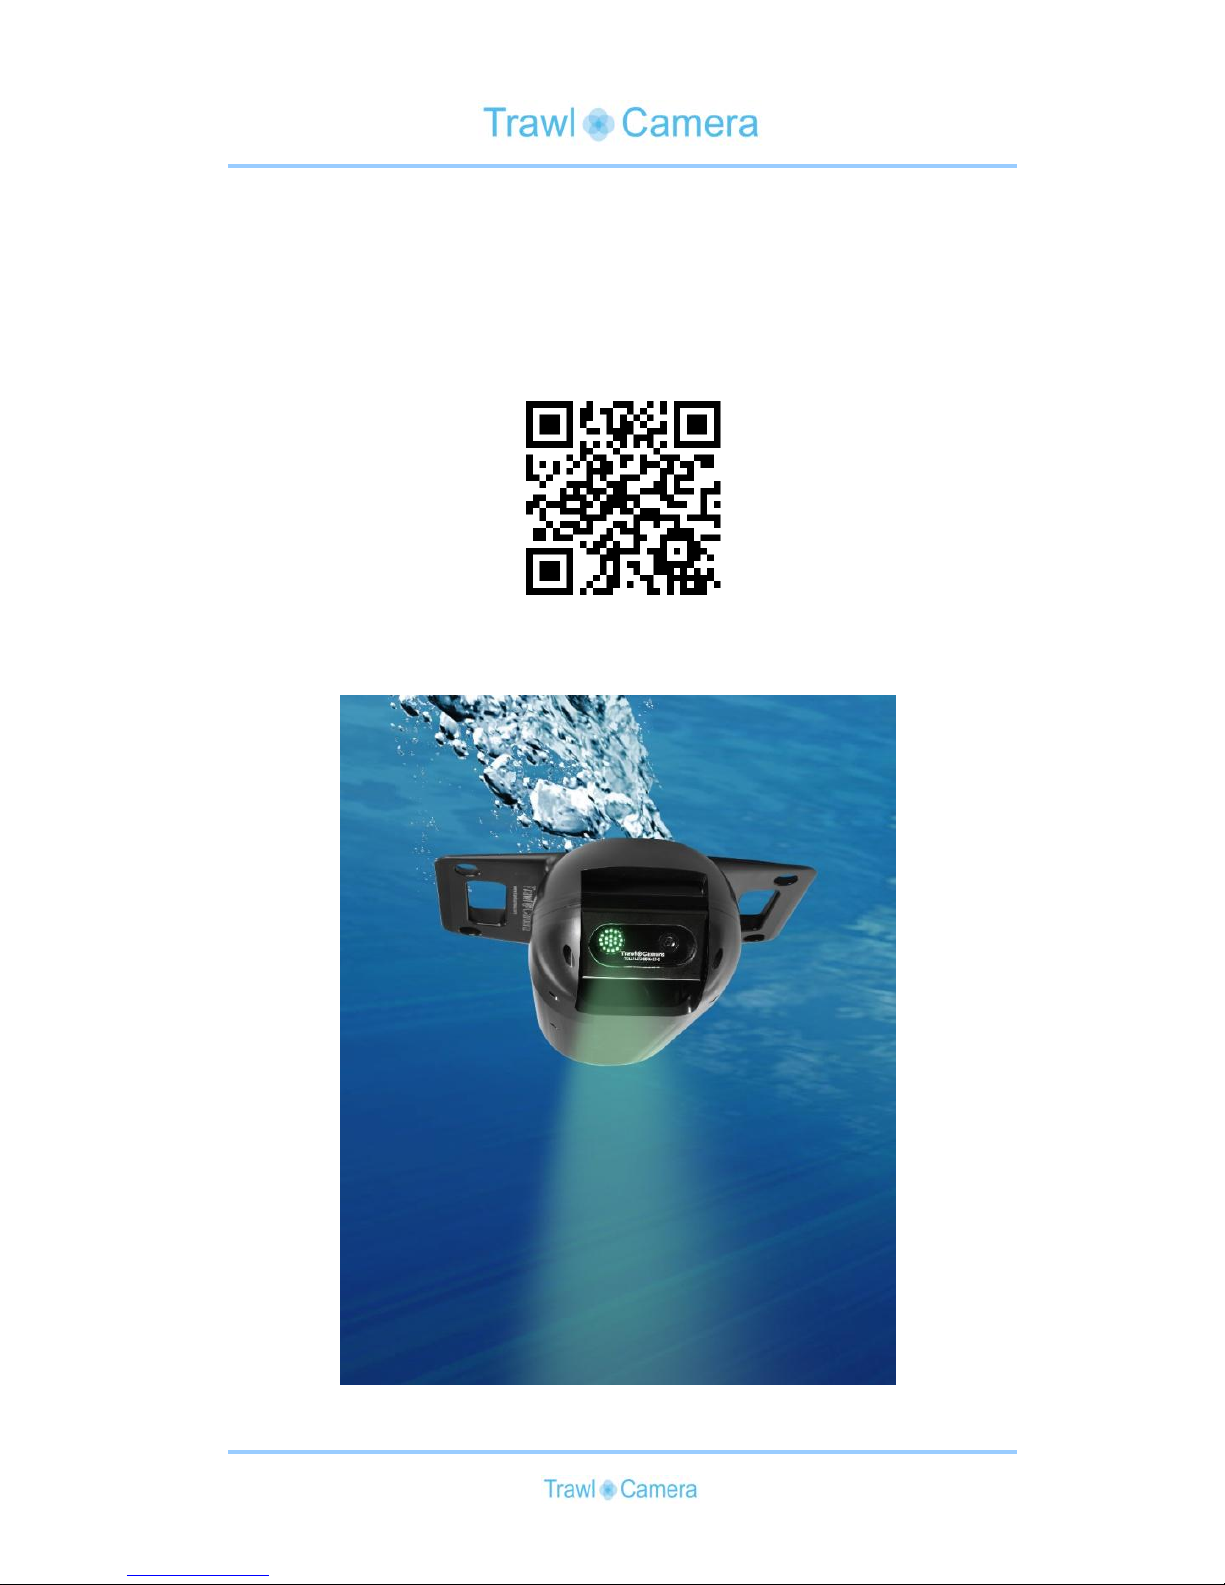
Manual
TrawlCamera
Page 2

2
Contents
Introduction ............................................................................... 3
Product list ................................................................................ 4
Content ...................................................................................... 5
Unpack Case .............................................................................. 6
TrawlCamera DeepWater .......................................................... 7
1.1 Charging ..................................................................... 8
1.2 Prepare to Deploy ..................................................... 10
1.3 Deploying ................................................................. 13
1.4 After Deploying ........................................................ 14
1.5 Maintaining Unit and Accessories ............................ 16
1.6 Details ....................................................................... 16
1.7 Using TrawlCamera Video Player ............................ 16
TrawlCamera Colour ............................................................... 20
TrawlCamera LED .................................................................. 21
Tips .......................................................................................... 23
Release date: 01/16
Page 3
3
Introduction
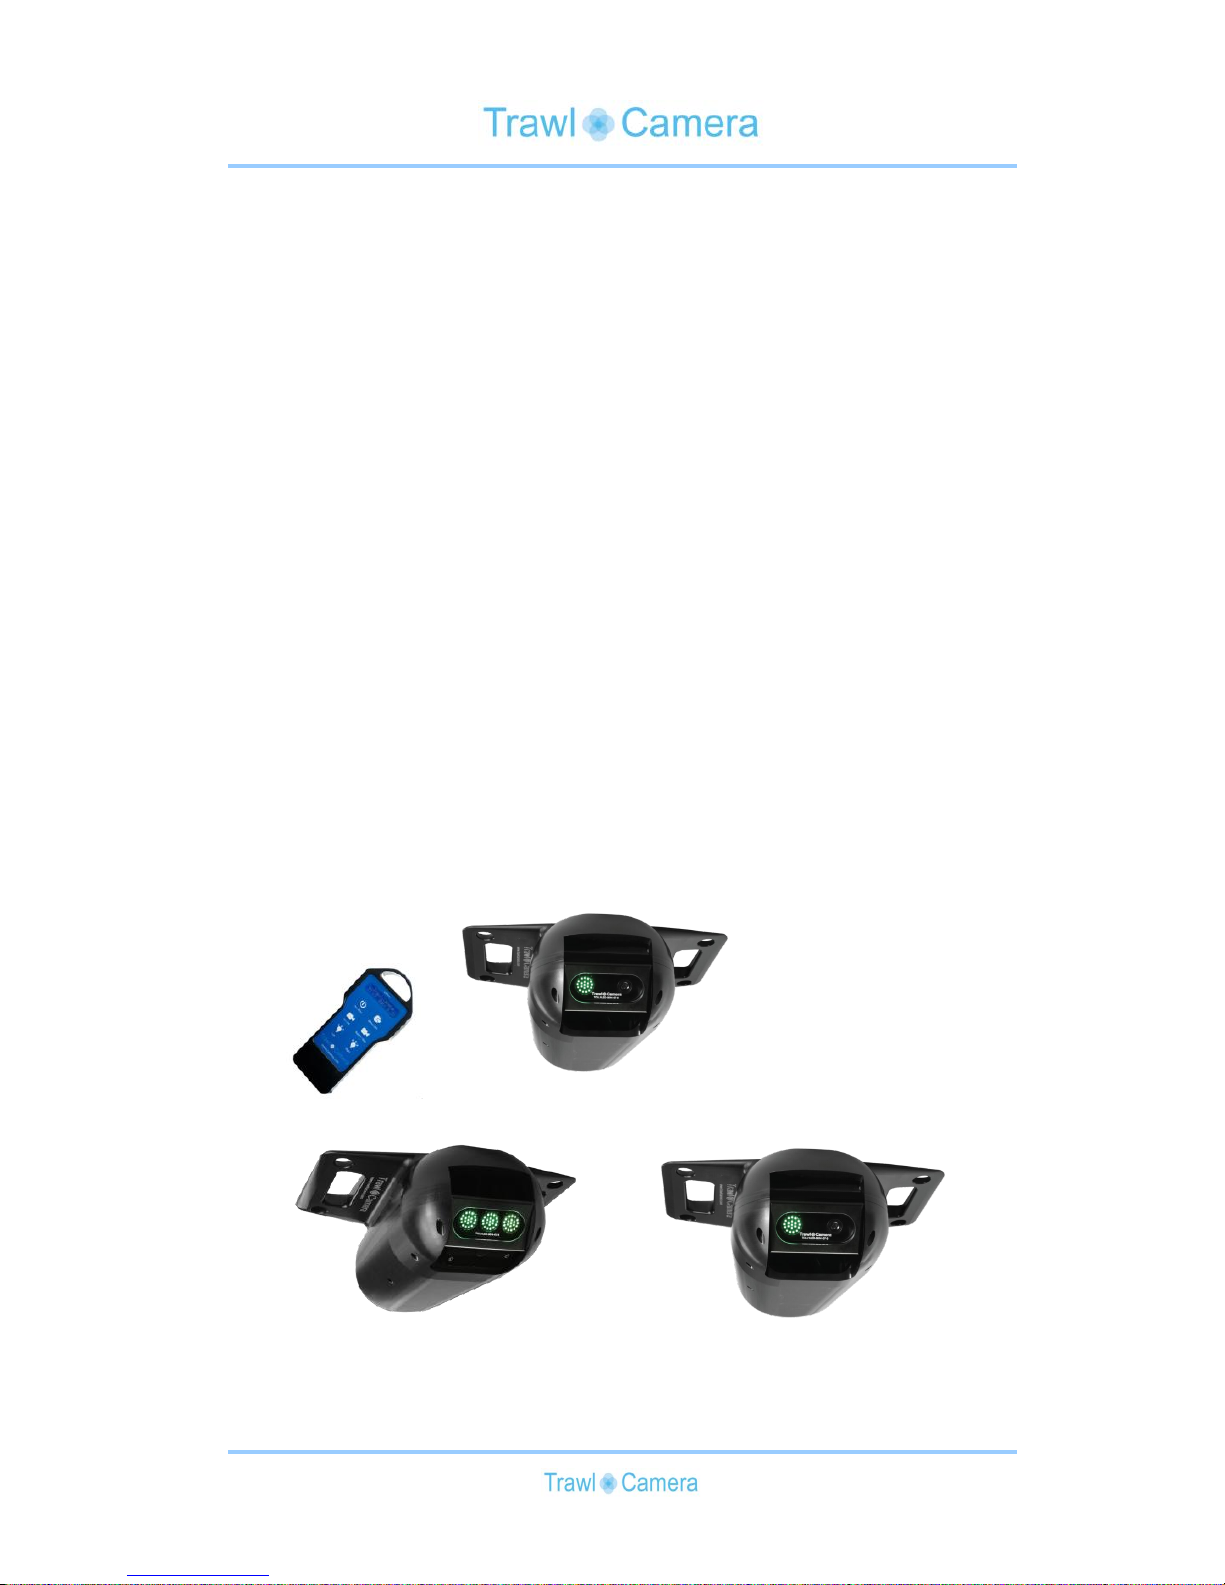
This manual is a combined manual for the three products:
TrawlCamera DeepWater
TrawlCamera Colour
TrawlCamera LED
TrawlCamera DeepWater and TrawlCamera Colour are similar
products - except for the black/white or colour recordings.
Therefore the usage of these two products is the same.
Before you use the product for the first time, we strongly
recommend that you read the relevant chapter carefully.
Remote Control
TrawlCamera DeepWater
TrawlCamera Colour
TrawlCamera LED
Page 4
4
Product list
Serial numbers:
Black housing
Tank
Front
Remote control
Connection box
Power supply
Case
Checked by and date
Page 5
5
Content
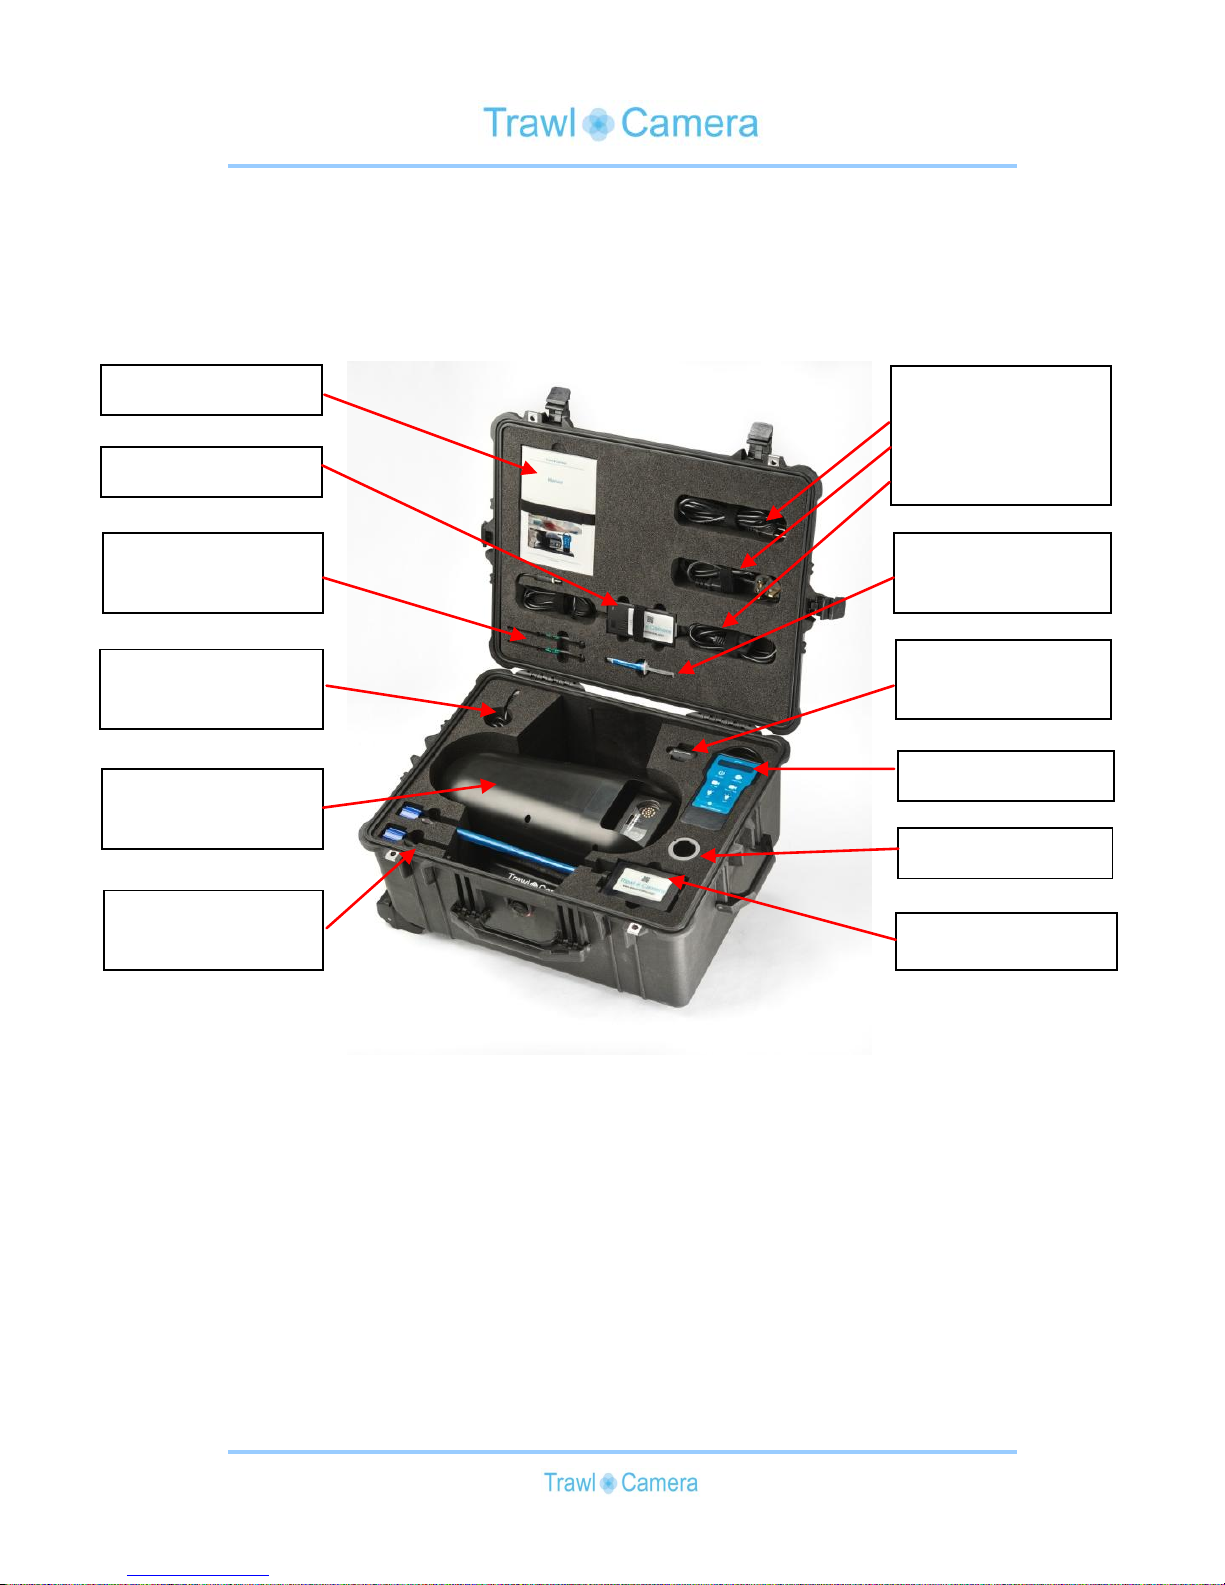
Manual
Power Cables
USA
UK
EU
Power Supply
Connector
Grease
Tools (Allen 2
and Allen 3)
Ethernet Cable
1m
Miniature
TrawlCamera
Remote Control
TrawlCamera
DeepWater
Tool for sleeve
Connection Box
Start Plug With
Sleeve
Page 6
6
Unpack Case
Inside the case you should find the following items:
1.
Manual
2.
Power Cables (EU, UK and USA)
3.
Power Supply
4.
Connector Grease
5.
Tools (Allen 2 and Allen 3)
6.
Miniature TrawlCamera (USB storage device)
7.
Ethernet Cable 1m
8.
Remote Control
9.
TrawlCamera Deep Water
10.
Tool for Sleeve
11.
Start Plug with Sleeve
12.
Connection Box
Checked by and date
Please verify that all these items are included before you start using the
camera.
The names above will be used henceforth in this chapter.
Page 7
7
TrawlCamera DeepWater
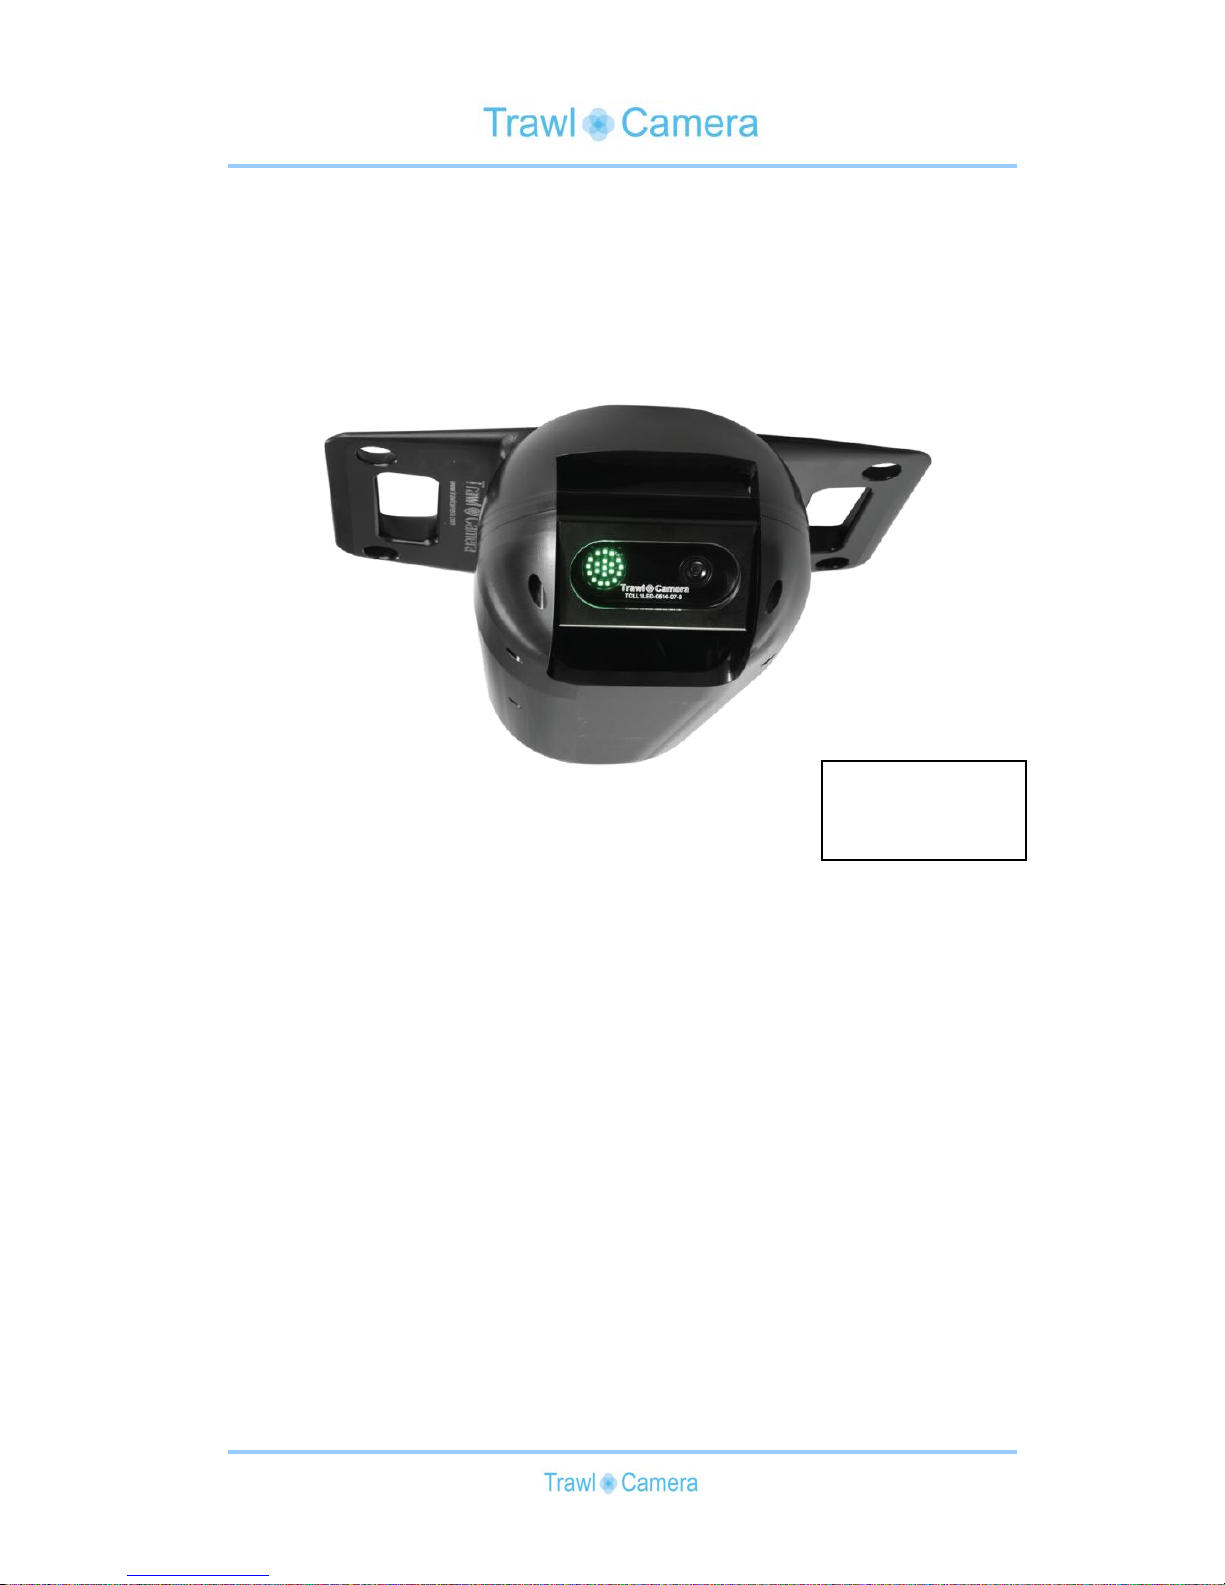
Thank you for purchasing the TrawlCamera DeepWater System
from JT electric. The DeepWater system is able to record in
near-dark conditions and is a helpful tool for improving the
fishing experience by bringing the seabed to the bridge.
Ultra Low Lux
Black and White
0,003Lux@F1,2
Page 8
8
1.1 Charging
The camera is delivered, tested and partly charged and thus can be used
without charging, but to ensure the longest possible operating time, we
recommend that the camera is charged before it is used.
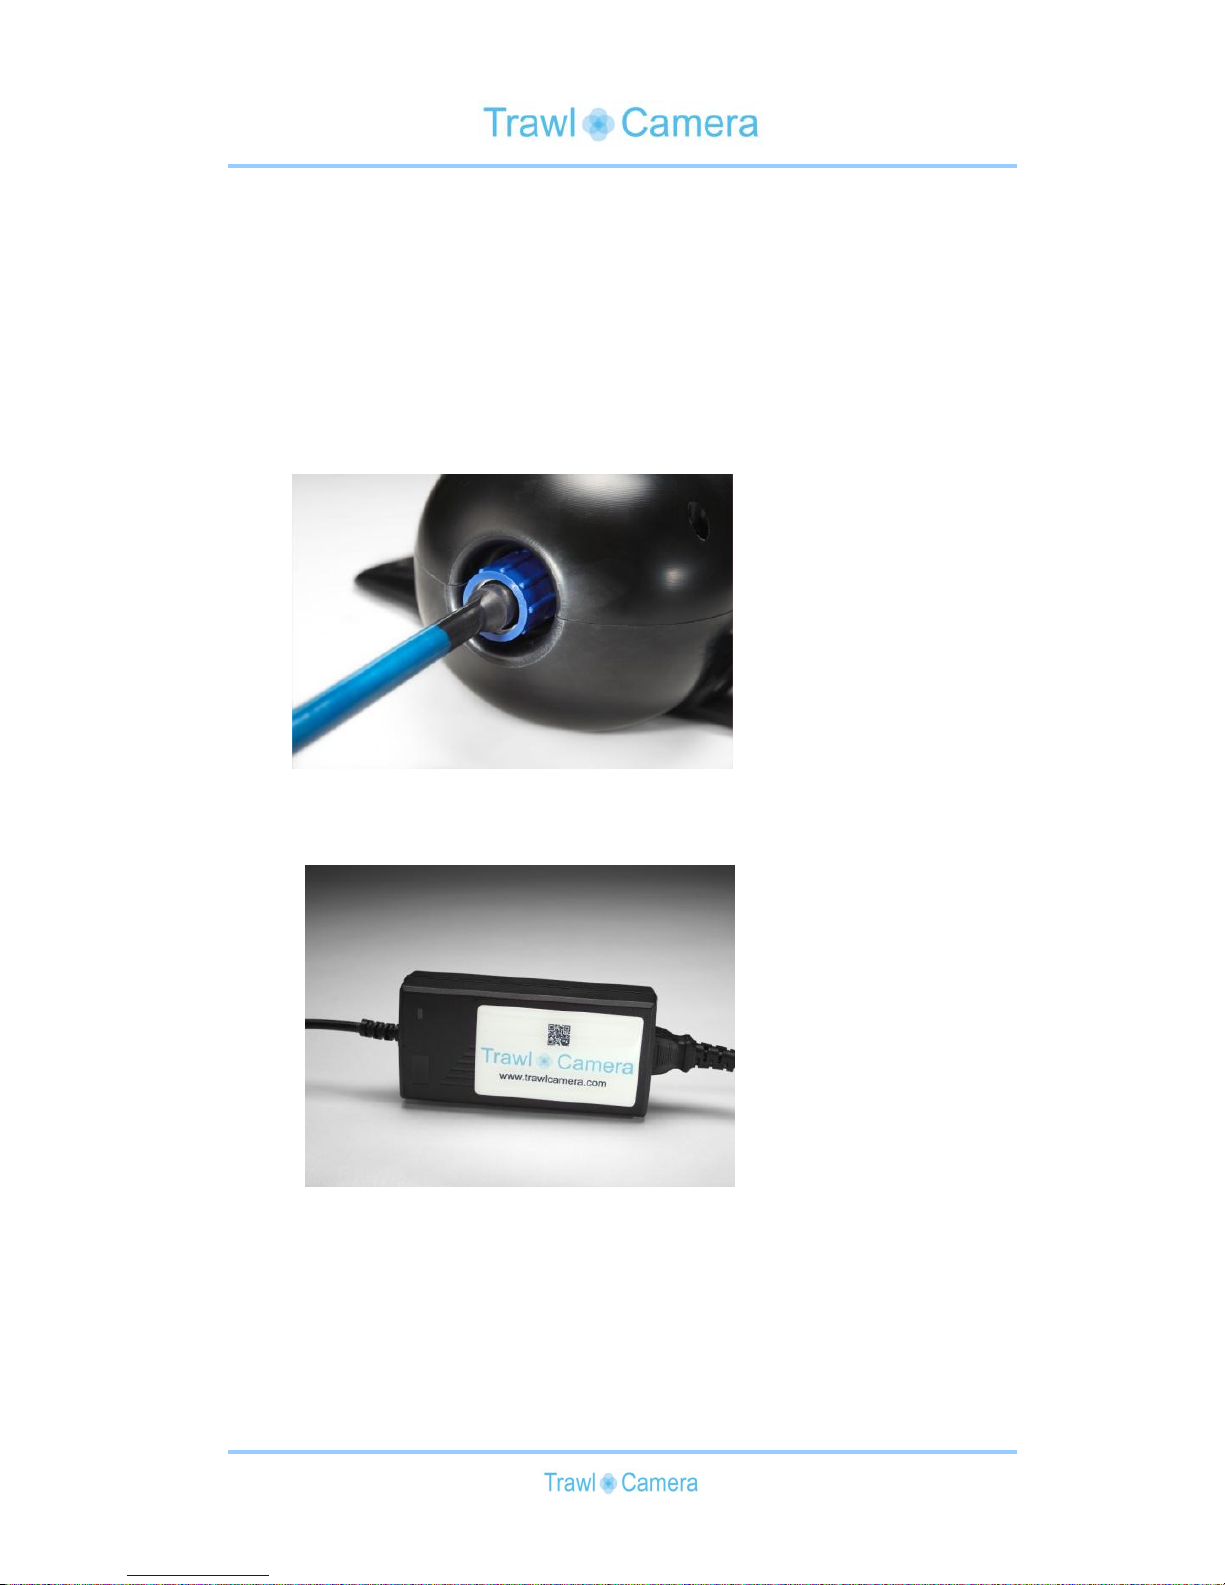
The involved items, necessary for charging the camera are: TrawlCamera
DeepWater, Power Cable, Power Supply and the Connection Box.
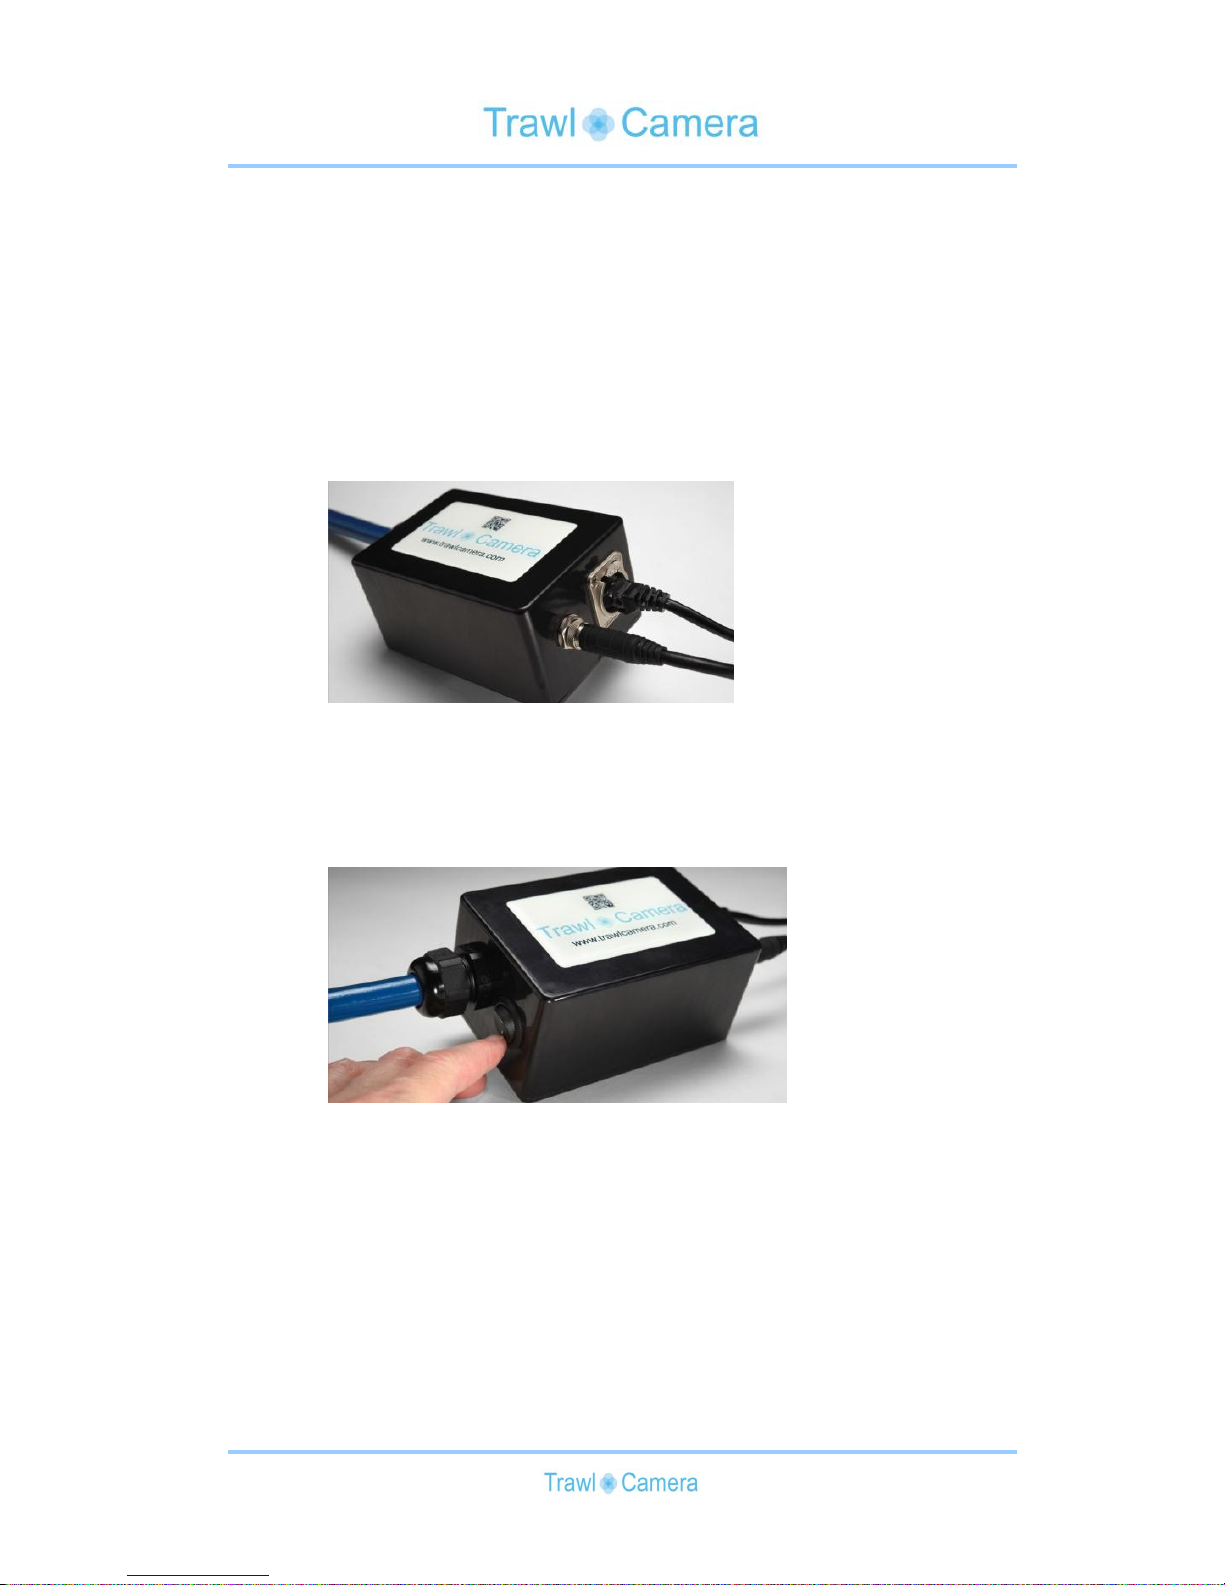
Connect the Connection Box to TrawlCamera, the 13pin connector can only
be mated in the correct angle. Fasten the locking sleeve.
Select the correct Power Cable, depending on your local Power Outlet.
Connect it to the Power Supply. Plug the Power Cable into a Power Outlet.
The Power Supply will light up green.
Page 9
9
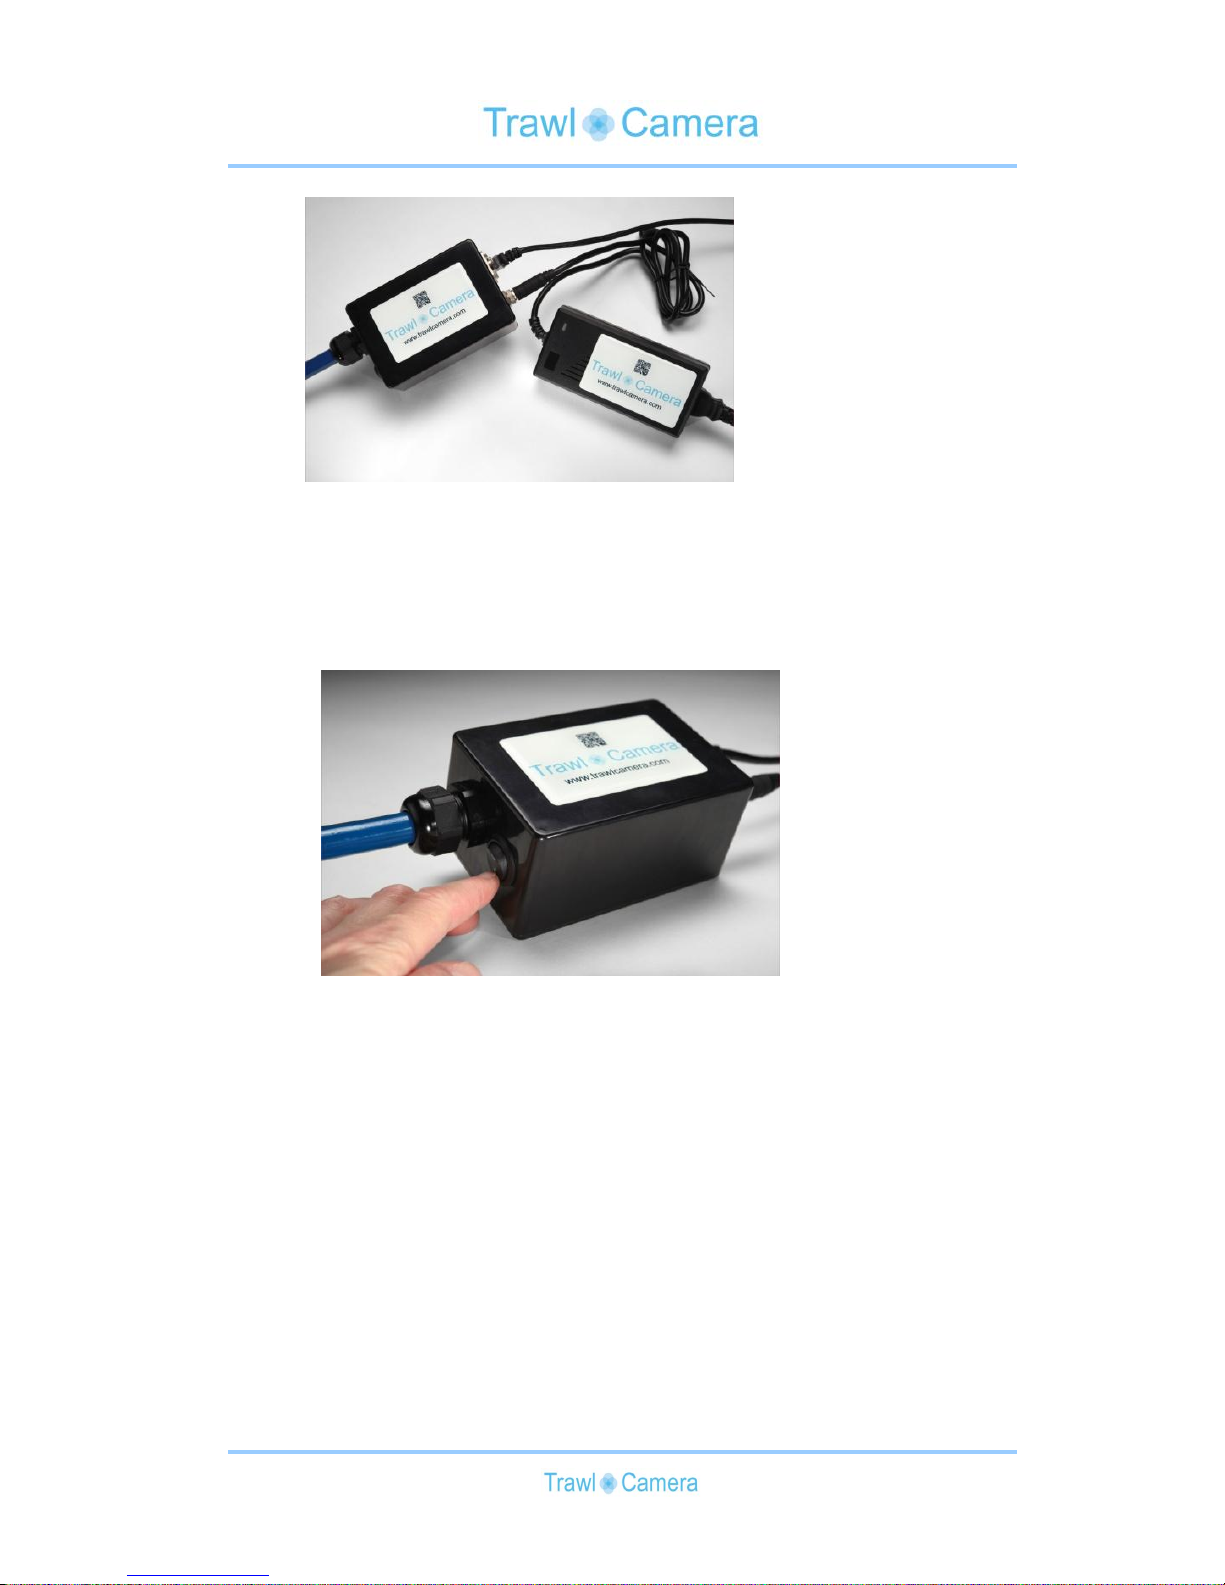
Connect the Power Supply to the Connection Box and tighten the nut on the
connector. The light turns red, while the TrawlCamera is charging. The
TrawlCamera is fully charged when the light turns green again. An empty
battery will fully recharge in 5 hours.
While the Connection Box is connected to the TrawlCamera, you can switch
the TrawlCamera on by flipping the switch on the Connection Box.
You can also transfer recordings while charging. See section 1.7 for more
details.
Page 10
10
1.2 Prepare to Deploy
Before the camera can be sent out with the trawl, it must be switched on,
setup in the right angle and with the right light intensity. Finally it must be
mounted on the trawl, and the recording can be started.
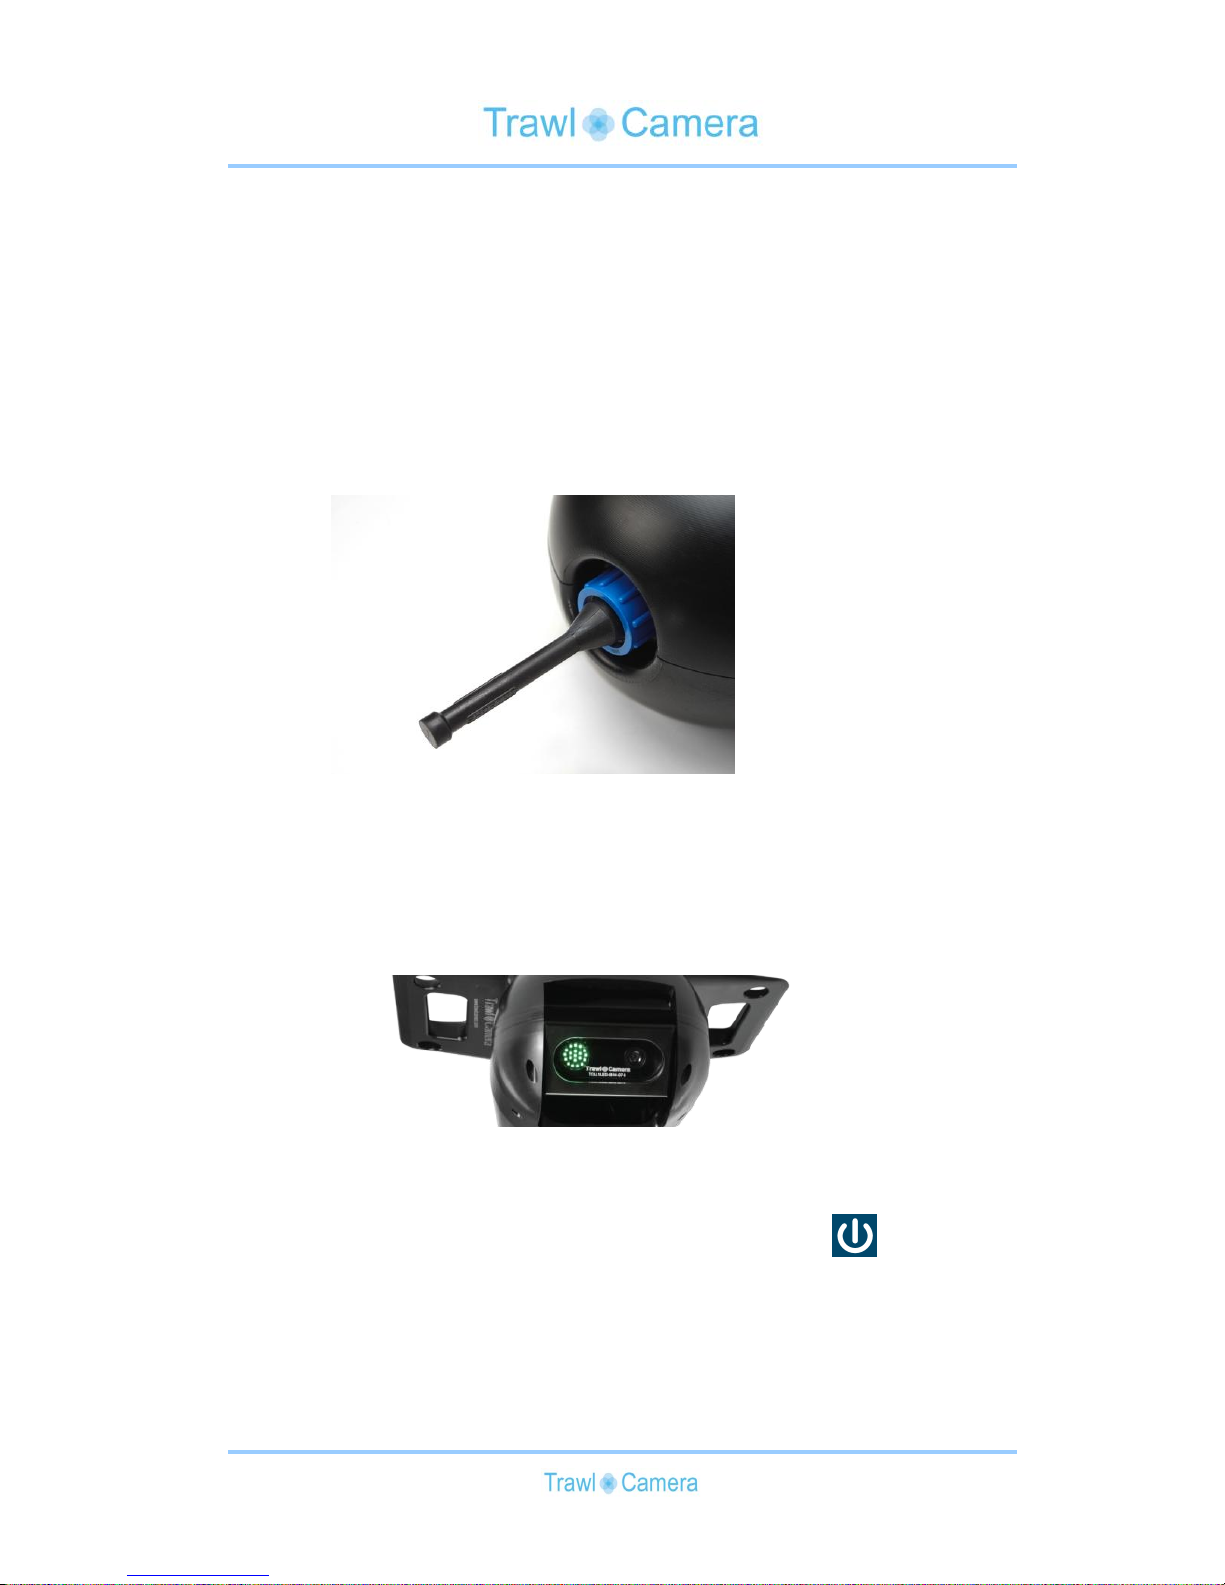
Switch on
Connect the Start Plug to the TC-connector.
Tighten the Locking sleeve firmly.
The camera is ON when the light is glowing. When the light has
made a bright flash, the camera is ready for use.
Turn on the remote control by pressing On/Scan .
Page 11
11
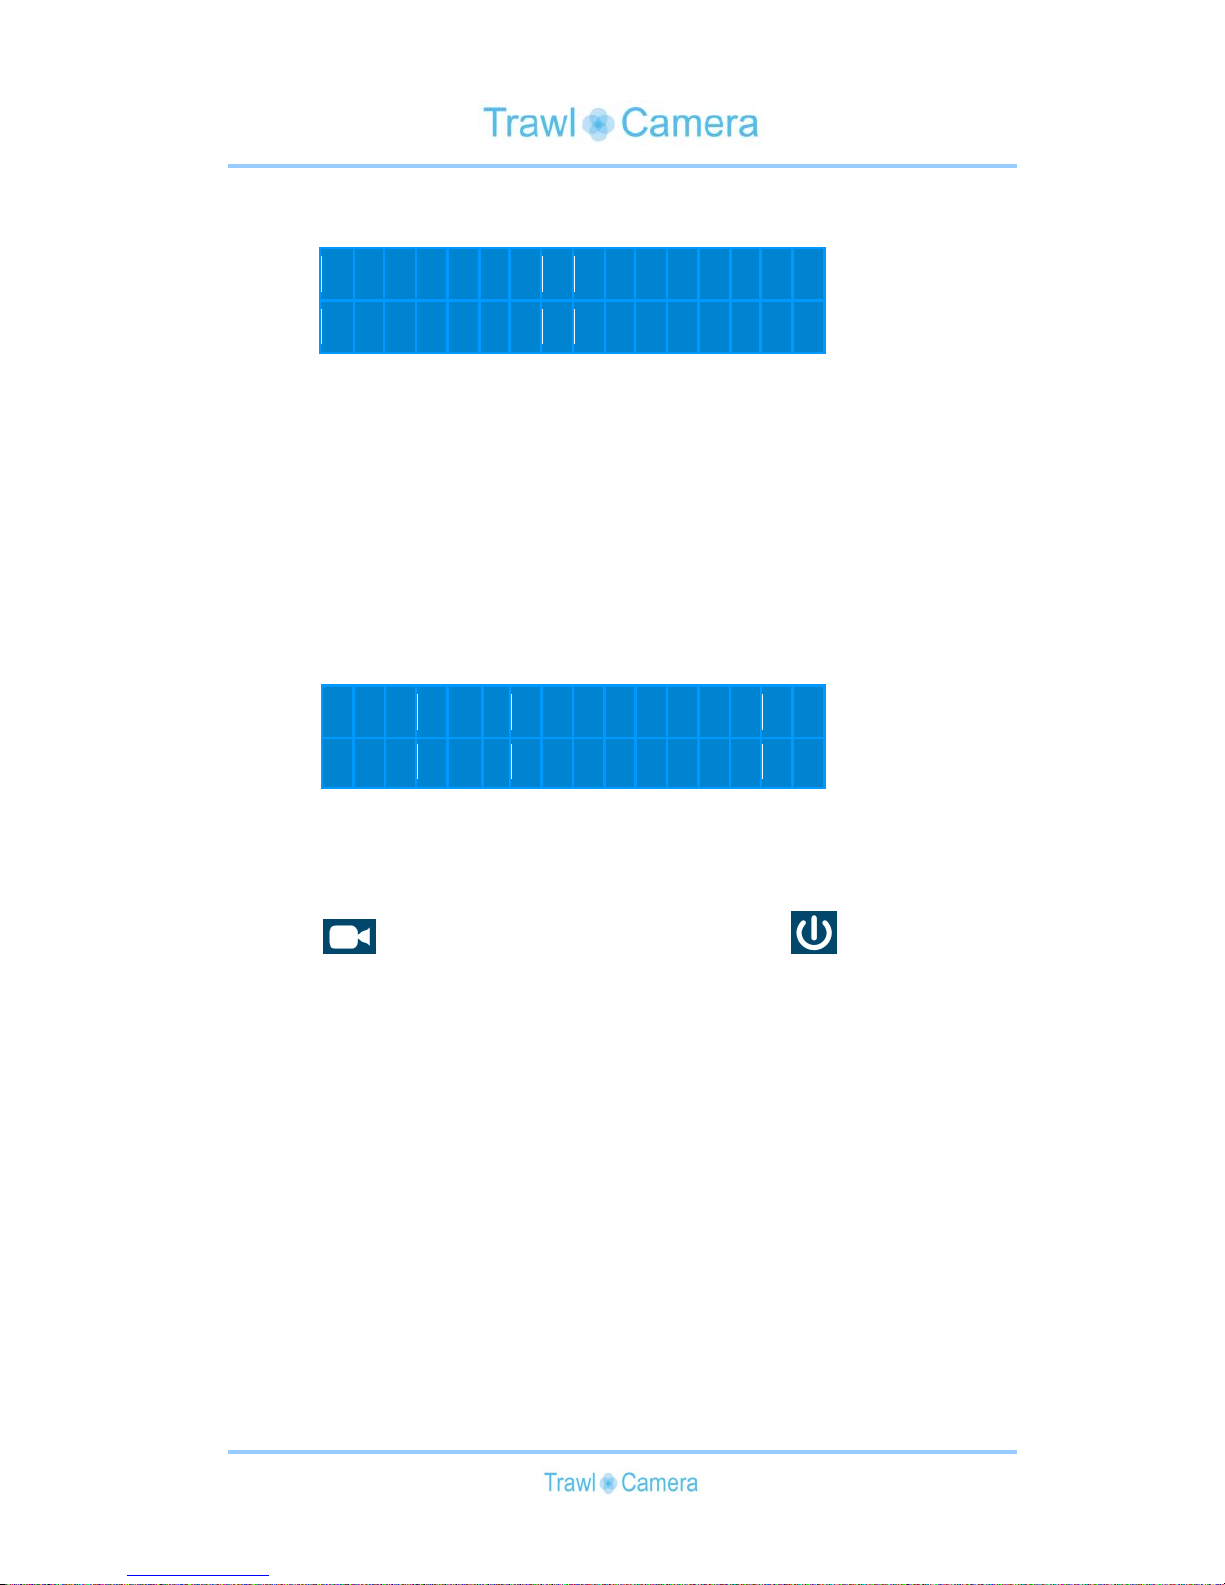
1 2 3 4 > 5 < 6 7 8 X
The camera and the remote are connected when an arrow is
pointing towards a number on the display. This is the number of
your camera. An X indicates that the unit is of the type:
TrawlCamera DeepWater.
The last number of the serial number on the camera front is the
camera number
1 2 3 4 > 5 < 6 7 8 C a m e r a R e a d y
It can take up to 1 minute for the camera to become ready. The
light on the TrawlCamera makes a bright flash when it is ready.
To manually check if the camera is ready to use, press On/Off
. It may be necessary to press On/Scan again to connect
the remote control to the camera.
The Remote Control will automatically turn of after 30 sec, to save
battery.
Page 12
12
Settings
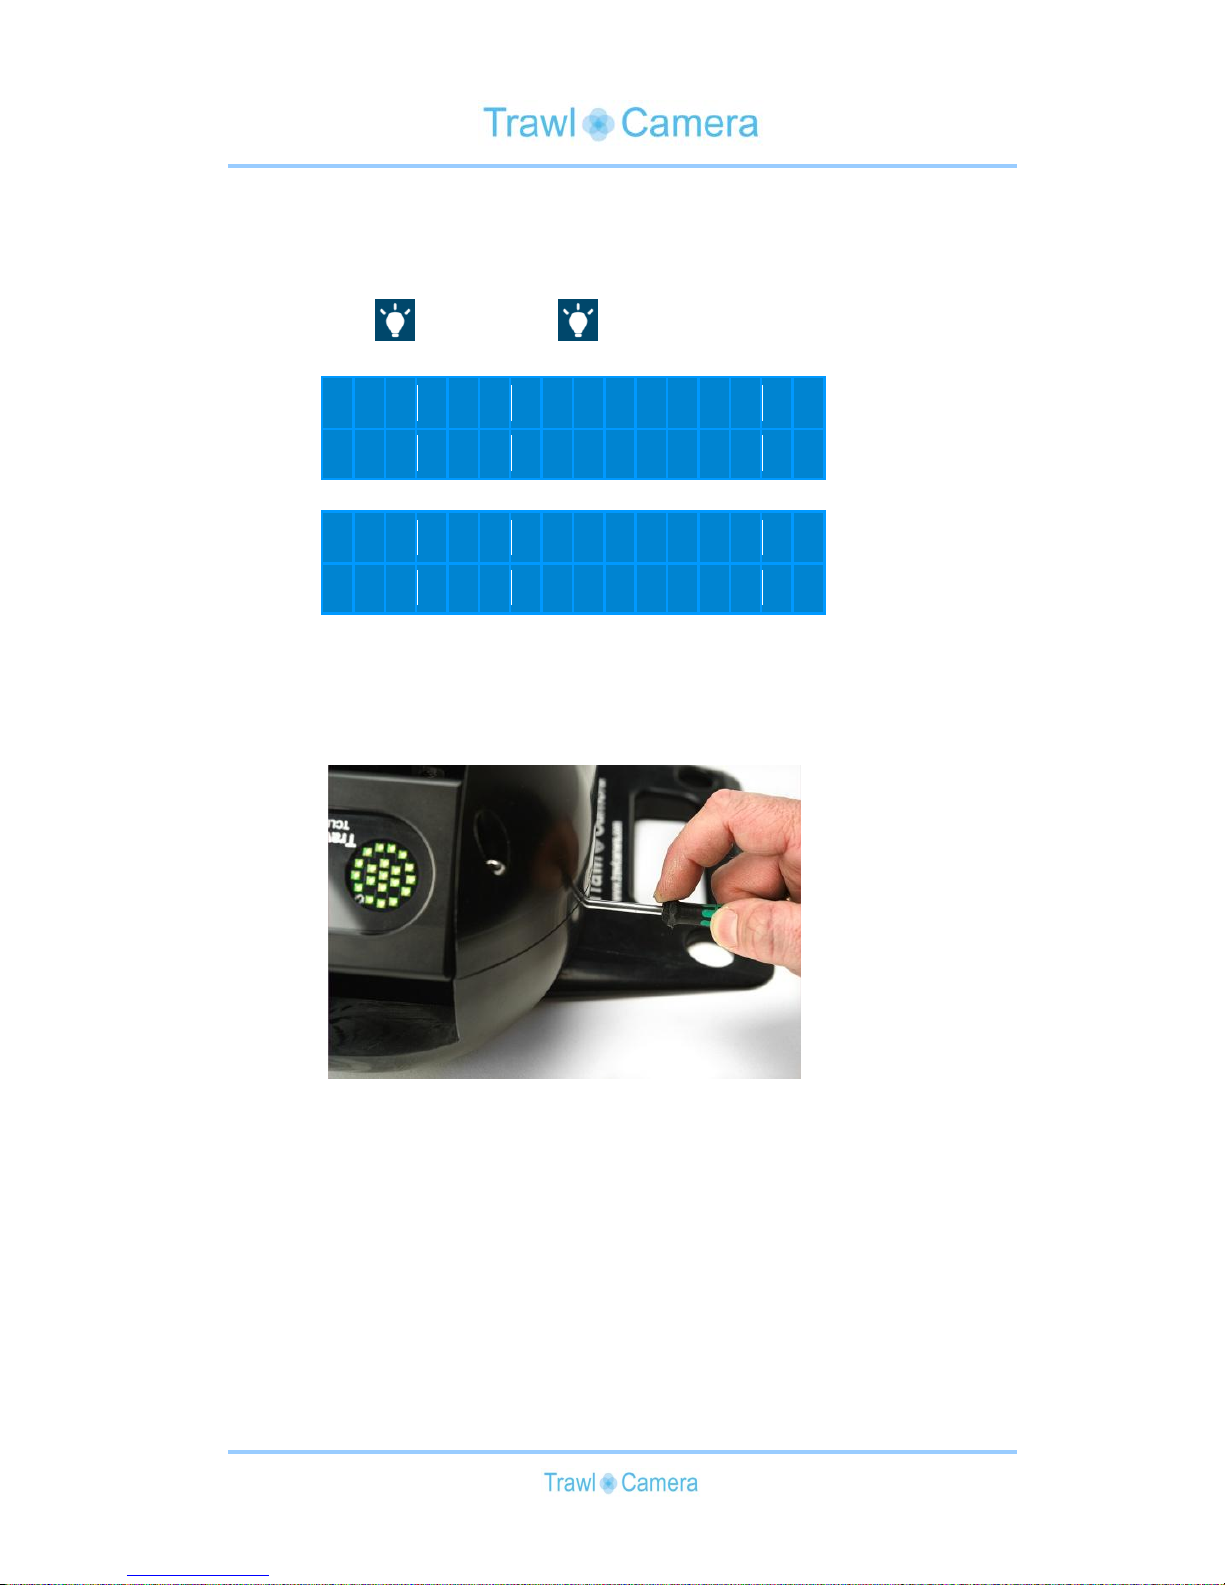
To change the LED intensity to a desired level, press either the
Left or the Right button.
1 2 3 4 > 5 < 6 7 8 L i g h t : O f f
1 2 3 4 > 5 < 6 7 8 L i g h t : 6 6 %
The levels are “Off”, “Low”, 33%, 66% or 100%.
The camera front can be adjusted in 5 steps between 0 and 90
Set the angle of the front of the camera using the big screw driver.
Page 13
13
Mount on Trawl
The TrawlCamera is now ready to be mounted to the fishing gear. Ensure
that the wings of the camera are thoroughly fastened to the trawl before
deploying. If the camera is mounted far away from the edge of the trawl, it
might be beneficial to cut a hole in the net, put the camera through the hole,
patch the hole, and mount the camera on the inside of the trawl.
Start Recording
When the camera is ready press Record/Stop to start
recording1.
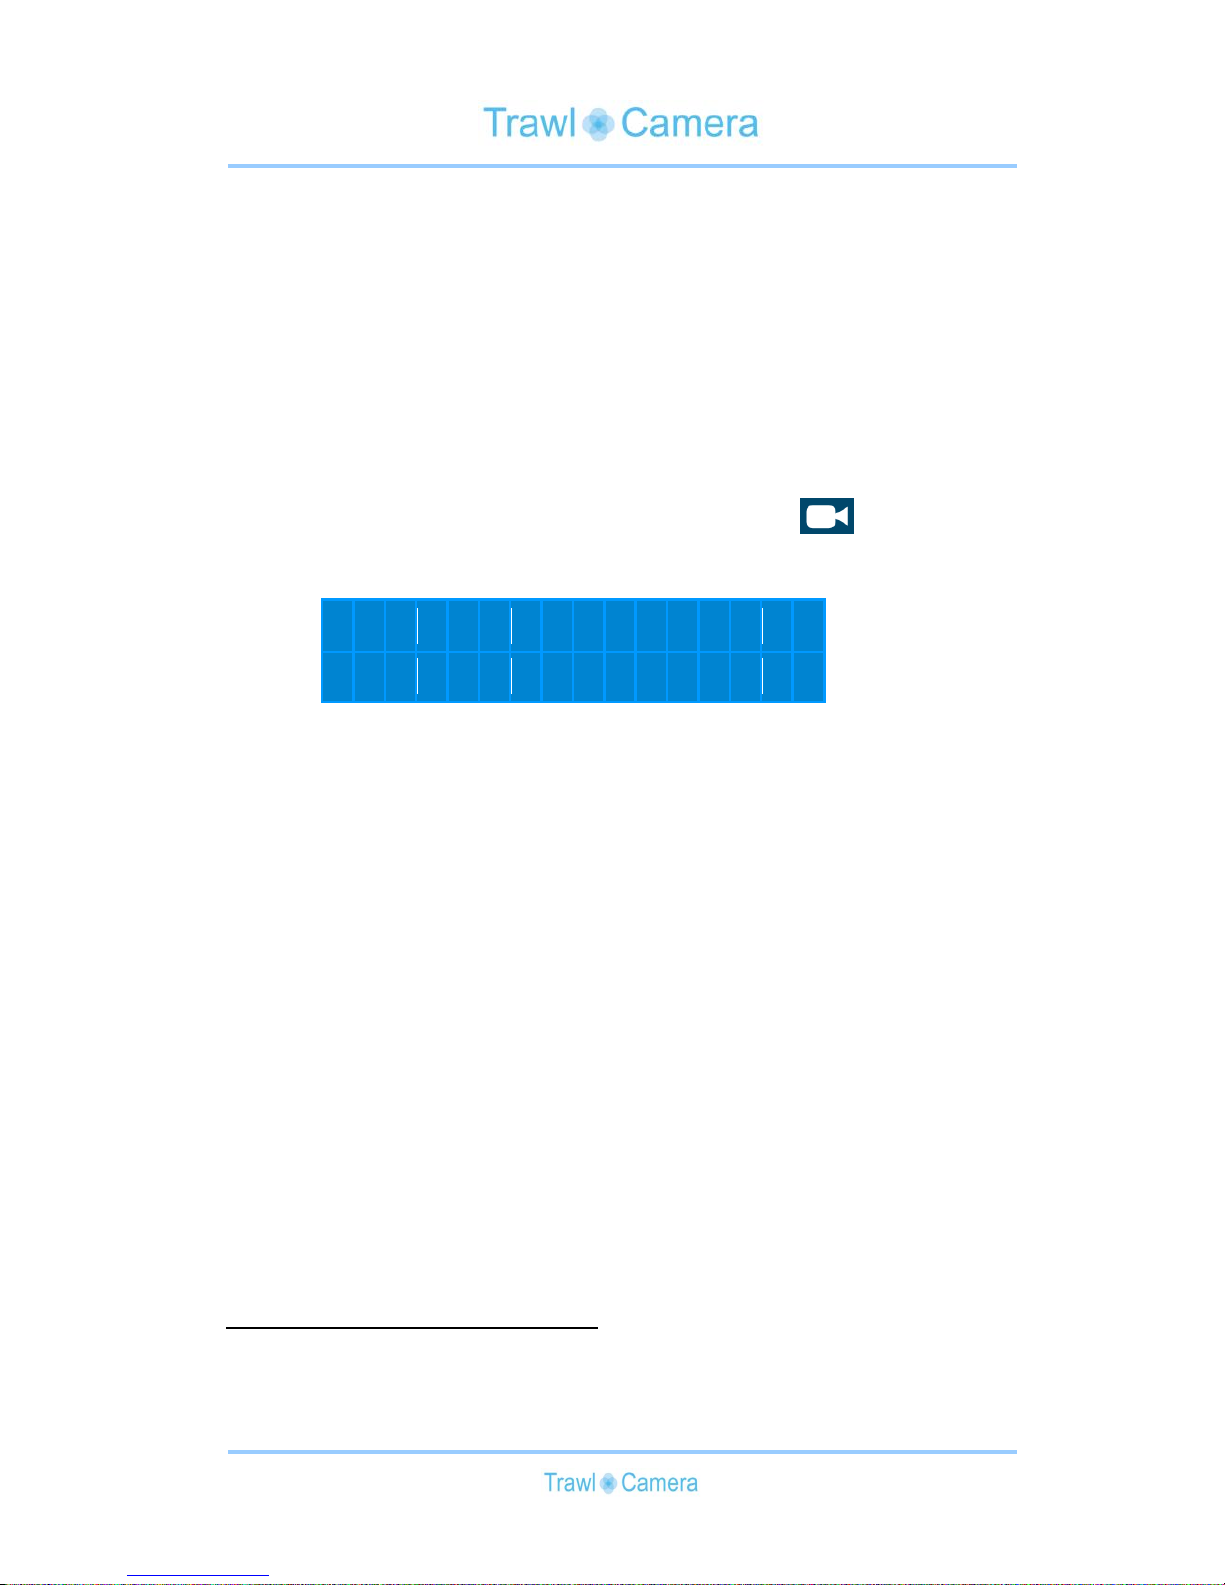
1 2 3 4 > 5 < 6 7 8 C a m e r a R e c o r d i n
g
After a moment the display will read “Camera Recording”.
After 30 sec. the Remote Control will switch off automatically.
1.3 Deploying
When the camera has been switched on, adjusted, mounted to the trawl and
the recording has been started, then the camera may be sent out with the
trawl.
1 The connection between the Remote Control and the TrawlCamera will be lost when the
camera is in sea.
Page 14
14
1.4 After Deploying
When the camera is back on deck, the recording can be stopped and the
camera must be dismounted from the trawl and rinsed with fresh water,
before the camera is connected to a computer, where the recordings can be
handled.
Stop Recording
To stop the recording, follow these steps:
Turn on the remote control by pressing On/Scan .
1 2 3 4 > 5 < 6 7 8 X
The camera and the remote are connected when an arrow is
pointing towards a number on the display. This is the number of
your camera.
press Record/Stop to stop recording.
Dismounting and rinsing
To dismount the camera, cut or untie rope. Keep the Start-Plug on the
camera during rinsing.
To remove sea water and organic matter from the camera, place the camera
upright with the Start Plug up – beware of the lens.
Rinse with fresh water through the hole around the Start Plug for 3 minutes.
After rinsing, remove the Start Plug.
To ensure long product life the rinsing must be done after each
deployment.
Page 15
15
Connect to a computer
To connect the camera to a computer, the following items are needed: The
TrawlCamera, Connection Box, Ethernet Cable and a computer with a
TrawlCamera Laptop and TrawlCamera Video Player installed (see section
1.7 for more details).
Connect the Connection box to the camera, as illustrated in section
1.1 – The 13pin connector fits only in one angle.
Connect the Ethernet cable to the network connector on the
Connection Box and the network connector on the computer. To
avoid any network conflict, we recommend that any alternative
network (cabled or wireless) is disabled during this process.
Turn on the switch on the Connection Box, to start the camera. It
may take up to one minute to start up. The camera is ready when
the light flashes.
The camera may be charged at the same time, by connecting the Power
Supply to the DC socket on the Connection Box. The switch on the
Connection Box has no impact on the charging process. The charger will
light up red while charging and green when the camera is fully charged. If
there is no light on the Power Supply, there is no power on it.
Page 16
16
1.5 Maintaining Unit and Accessories
If the remote control is not used for 30 sec. it will turn off
automatically.
If the remote control battery needs to be replaced, use the small
screw driver to remove the two screws on the battery lid. Use a
6LR61 9V battery.
The TrawlCamera connector must be treated with Connector
Grease, to ensure long term product life.
1.6 Details
The TrawlCamera DeepWater is connected to a computer over Ethernet. To
transfer recordings over Ethernet, the TrawlCamera Video Player program is
needed. By default the TrawlCamera DeepWater is delivered with a laptop,
where the program has been pre-installed and configured. The camera can
also easily be used with an alternative computer or even across a network.
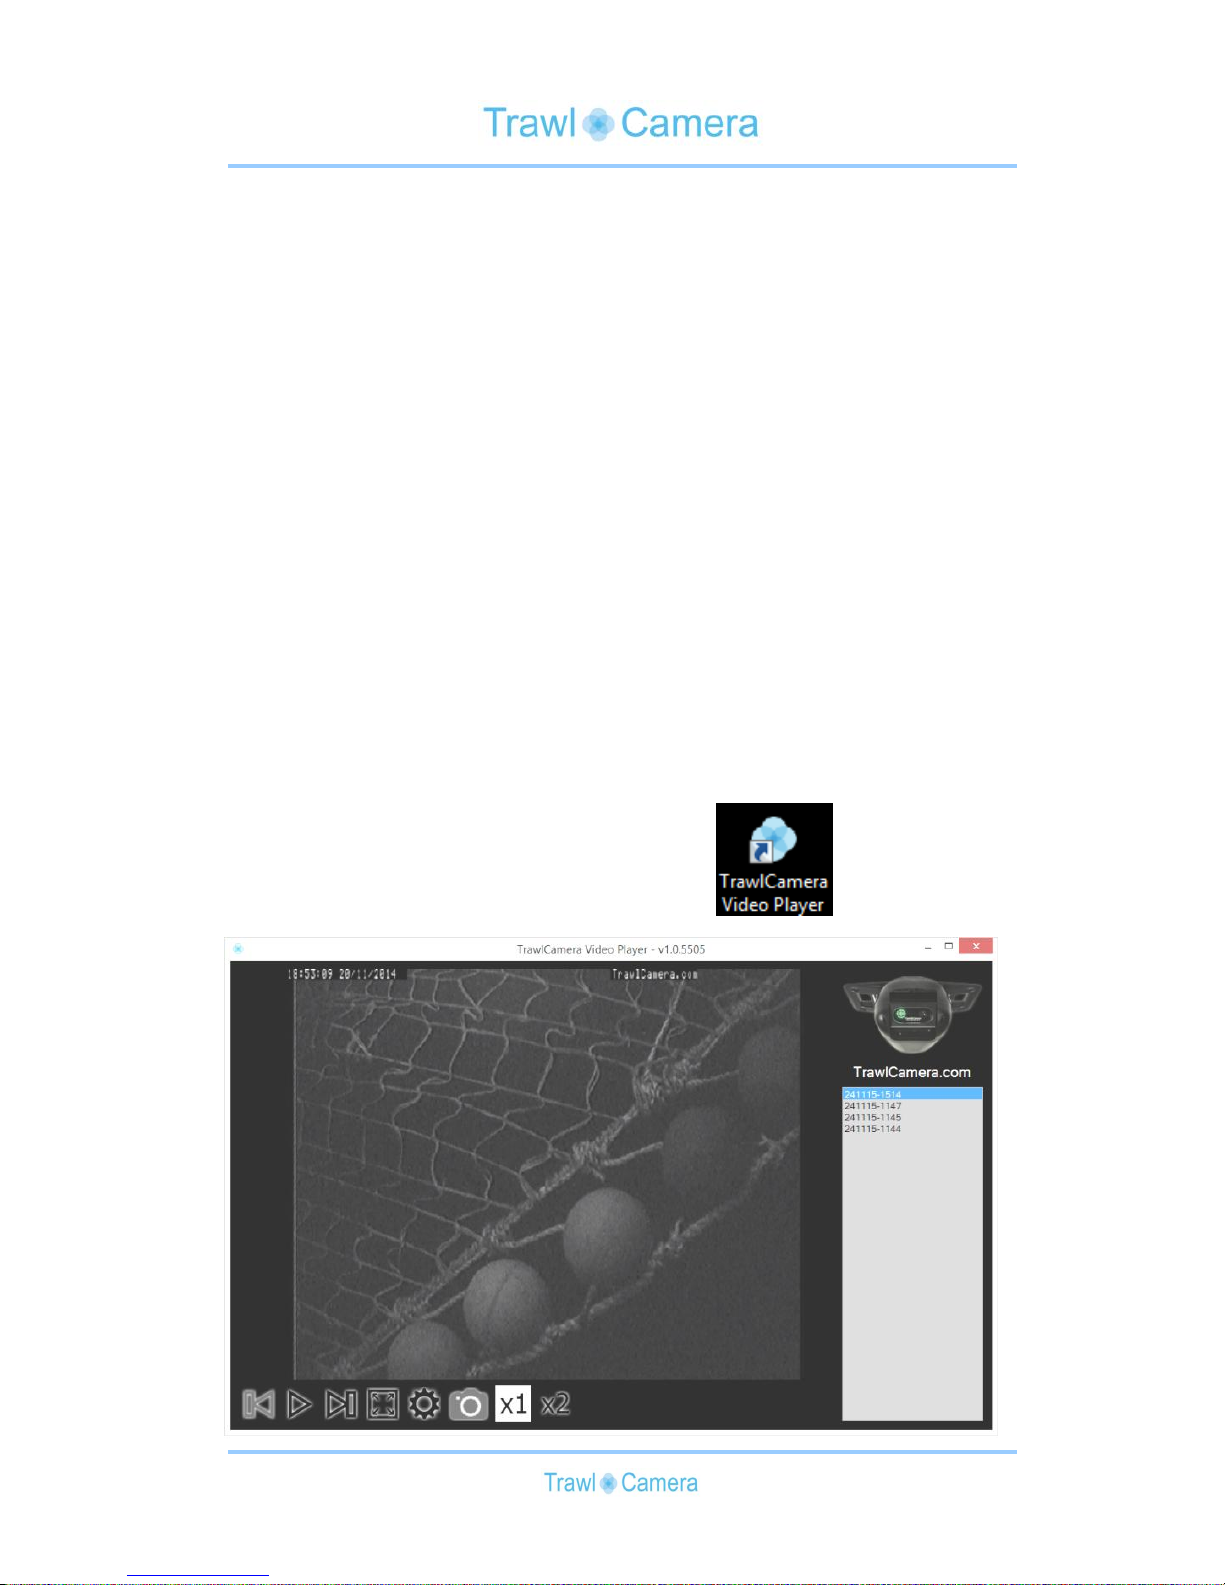
1.7 Using TrawlCamera Video Player
Turn on the computer.
Open TrawlCamera Video Player.
Program overview:
Page 17
17
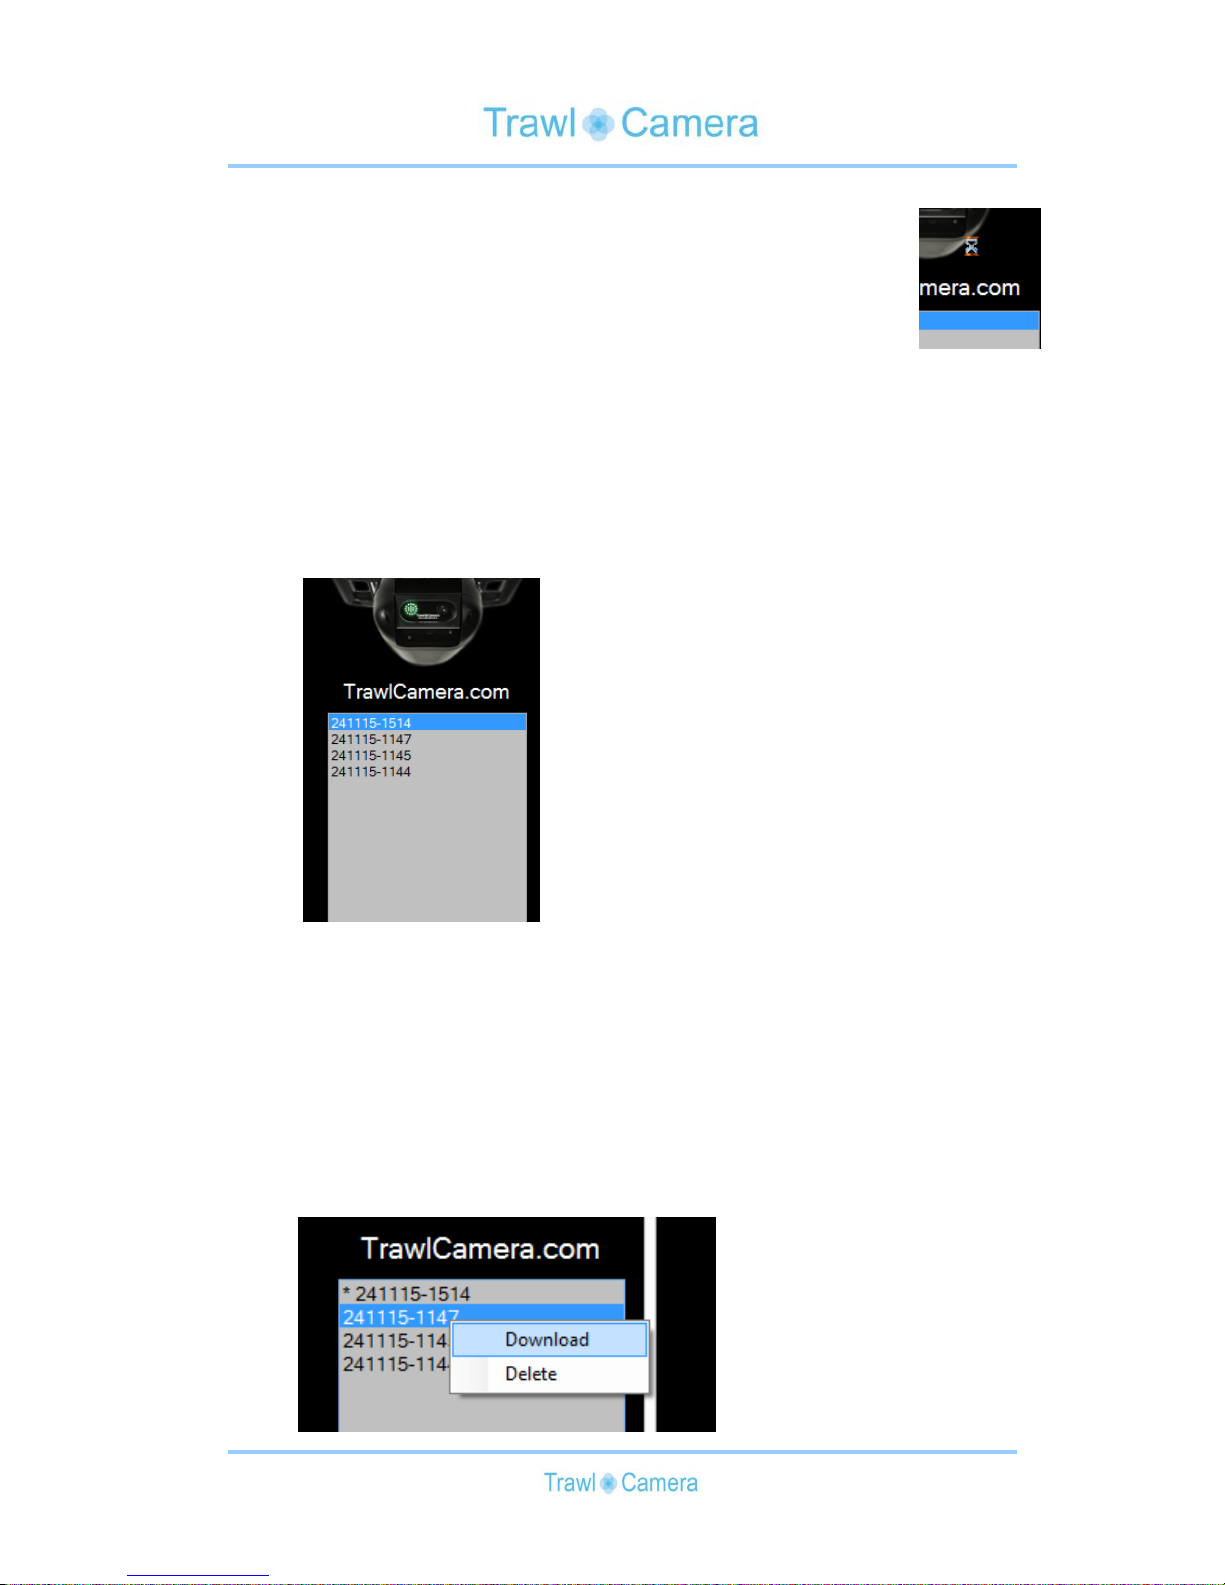
An hour glass is shown for 2-4 sec. This means that the
TrawlCamera and the program are connected.
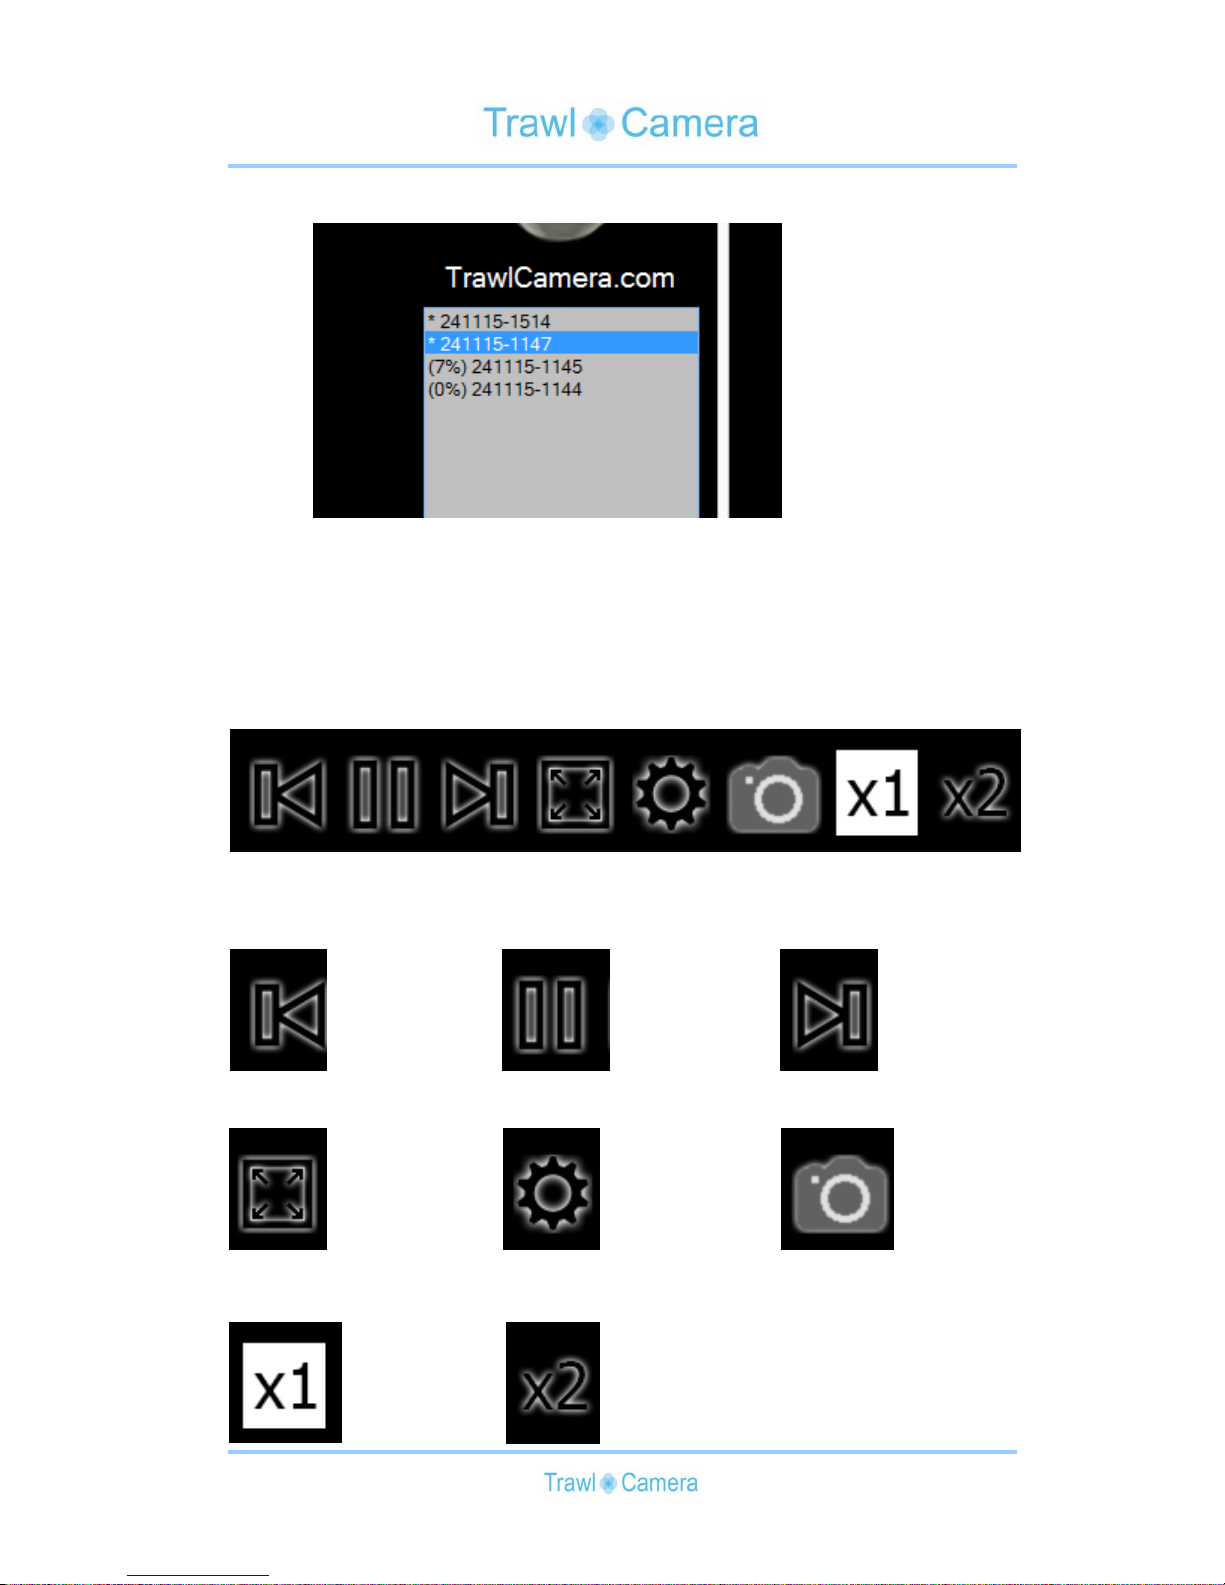
On the right side there is a list of camera recordings. The items are
labelled from the date and time of the actual recording. Syntax is
"DDMMYY-HHMM". Example from April 16 2015 12:00 would
be "160415-1200".
Every recording is 5 minutes long.
A recording can be watched by double-clicking on the recording in
the list.
A recording can be downloaded to the computer by right-clicking
the recording on the list and select: "Download".
A recording can be deleted from the TrawlCamera DeepWater by
right-clicking the recording on the list and select: "Delete".
Page 18
18
While downloading you can see the percentage of the current
transfer. When it is downloaded there will be an asterisk (*) in
front of the recording
The function of buttons:
Previous recording Pause Playback Next recording
Full screen Settings Snapshots
Normal speed Double speed
Page 19
19
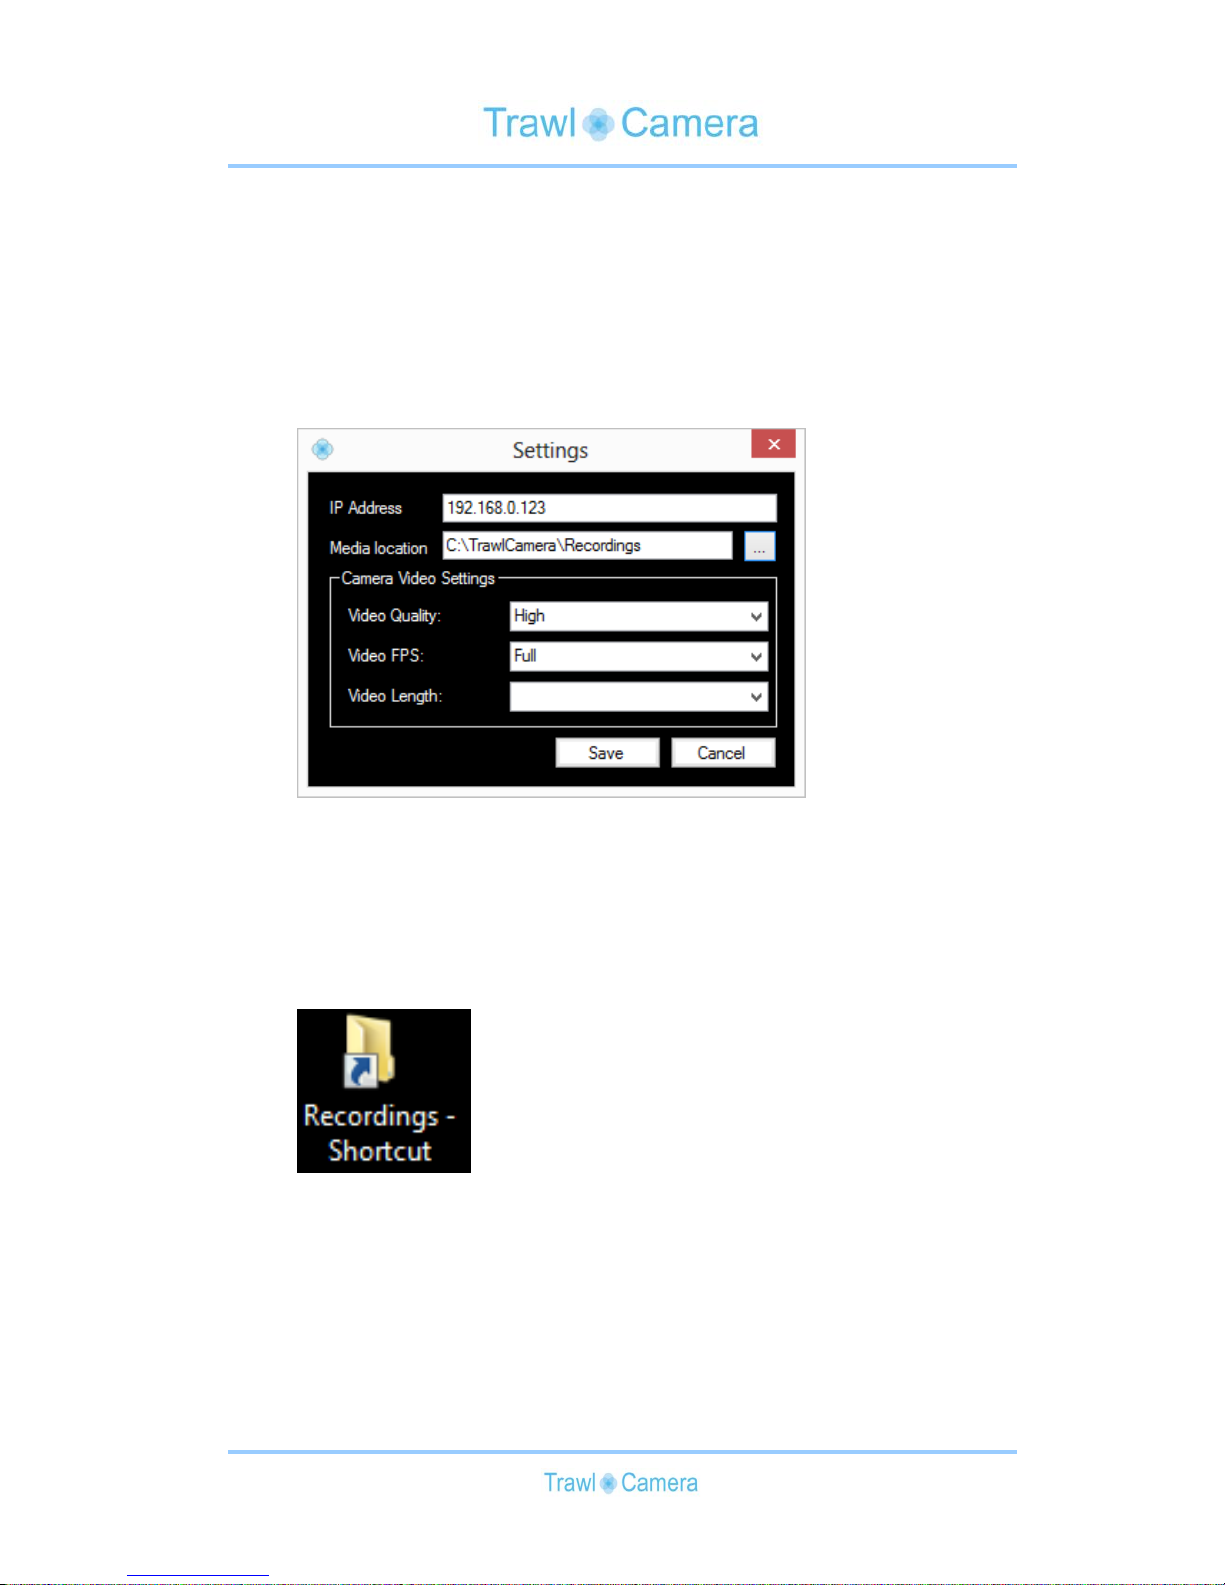
In "Settings" you can see:
Camera IP address
Downloaded recordings are in folder C:\TrawlCamera\Recordings\
Current video settings
After download is complete, the camera can be disconnected and
turned off.
The downloaded recordings can be found in the folder following
"Recordings - shortcut" on the desktop.
Page 20
20
TrawlCamera Colour
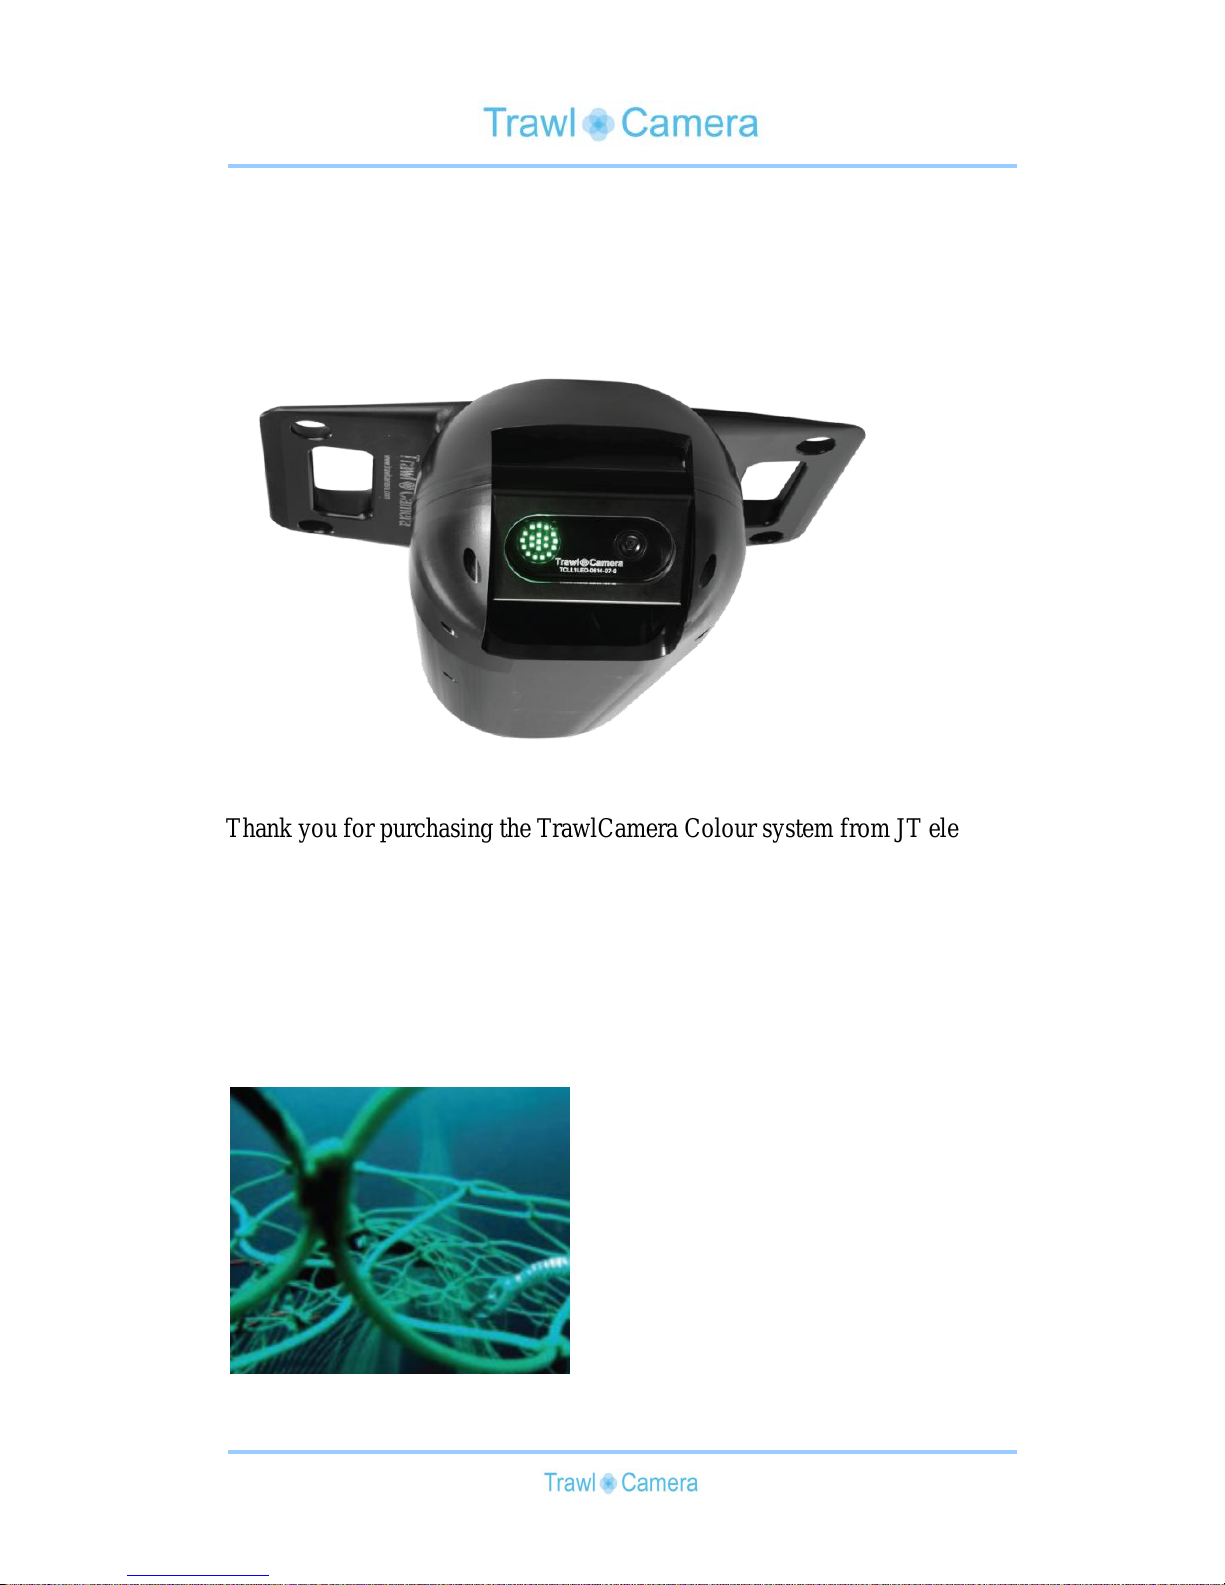
Thank you for purchasing the TrawlCamera Colour system from JT electric.
The TrawlCamera Colour functions exactly similar to the TrawlCamera
Deepwater.
The only difference is that the recordings are in colour instead of black and
white.
For further instructions on how to use this camera read the instructions for
TrawlCamera Deepwater chapter 1.1 - 1.10.
Picture of a recording from TrawlCamera Colour:
Page 21
21
TrawlCamera LED
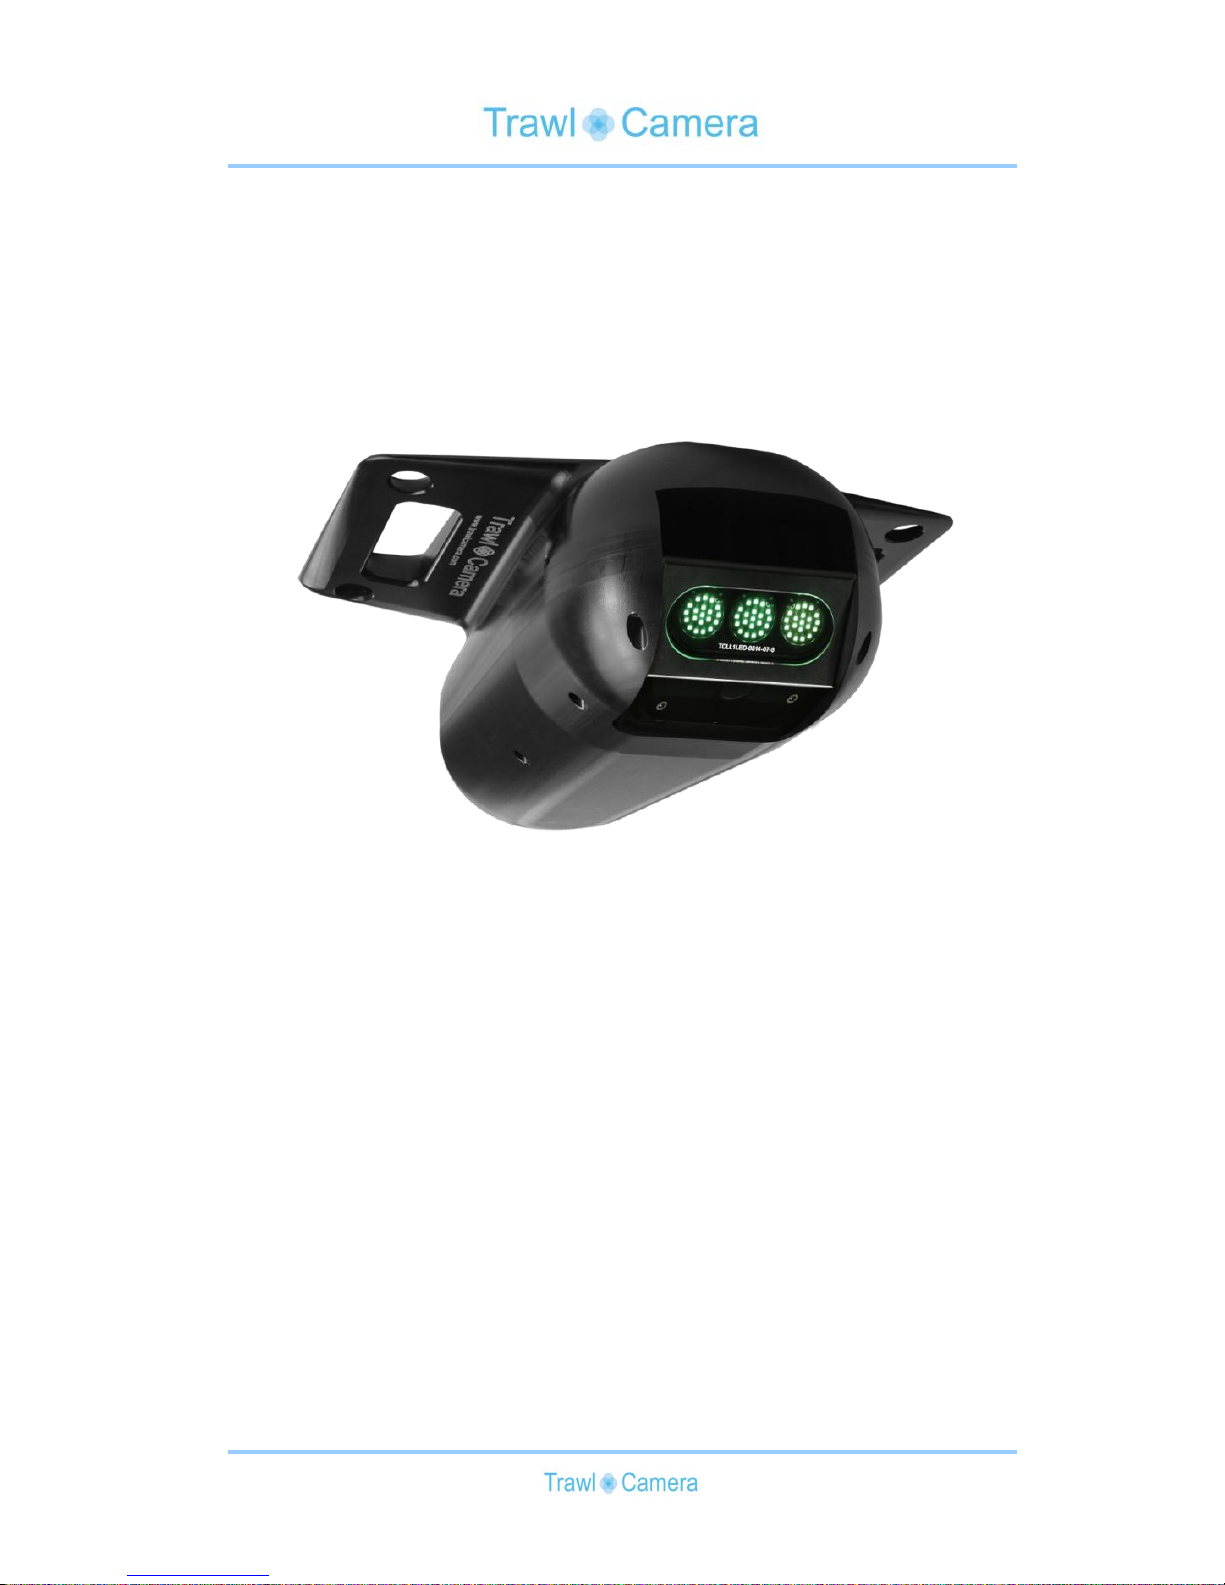
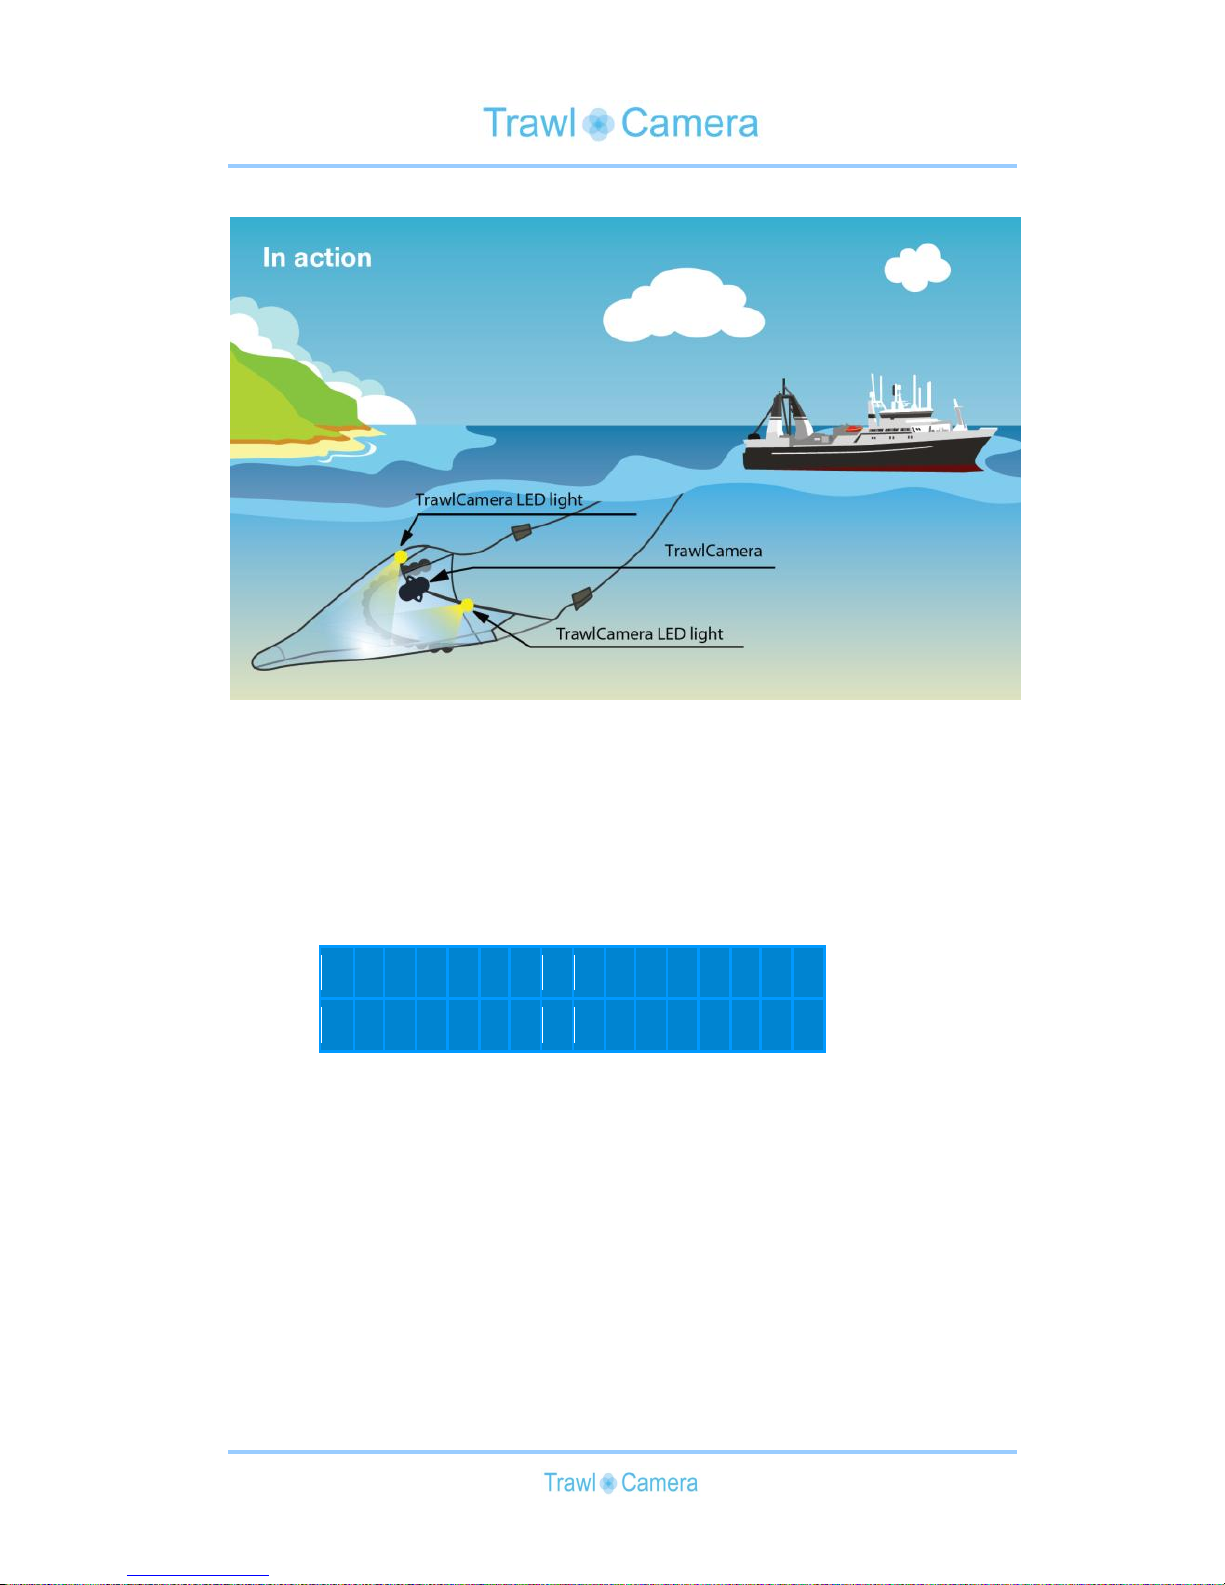
Thank you for purchasing TrawlCamera LED. This product is capable of
extending the visible range of the TrawlCamera DeepWater. The
TrawlCamera DeepWater can in optimal conditions see 8-10 meters ahead
with its own integrated light source. But with the power and intensity of the
TrawlCamera LED this distance can be much longer.
Depending on the relative placement of these units, the viewable area of
TrawlCamera DeepWater can be made longer and/or wider.
If the units are e.g. mounted side by side on the headrope, 3-5 meters
between, most of the bottom gear will become visible, still depending on the
size of the trawl.
If the TrawlCamera DeepWater is mounted near the cod end and 3-5 meters
in front of the TrawlCamera LED then the visible area can be prolonged
several meters.
Page 22
22
1 2 3 4 > 5 < 6 7 8 L
The LED and the remote are connected when an arrow is pointing
towards a number on the display. This is the number of your
camera. An L indicates that the unit is of the type: TrawlCamera
LED.
The TrawlCamera LED is used, charged and maintained exactly as
the TrawlCamera DeepWater. Except that there is no computer
connection involved.
Page 23

23
Tips
If the Remote Control displays “No Response”, take out the start-
plug and insert it again.
Set the camera to record with the water flow, because if it is set
against the flow, it will be like recording in snowy weather.
It might be beneficial to have a known object in the camera view
all the time. This makes it easier to decide place and size. For
example you can have a 5 meter rope with a knot for every meter
and then this will be fully stretched out as the recordings are made
with the stream. Or mount a 10x10cm plate to the trawl by every
metre for this same purpose.
Before long term storage, rinse TrawlCamera to prevent unpleasant
odour in the black case.
We are confident that TrawlCamera DeepWater, TrawlCamera Colour and
TrawlCamera LED is a valuable tool in the fishing industry and are ready to
assist you if you have any questions or problems.
Do not hesitate to contact JT electric.
Page 24

24
TrawlCamera
www.trawlcamera.com
JT electric Ltd.
Kambsenni 9
FO-530 Fuglafjørður
Faroe Islands
Tel. (+298) 20 44 44
 Loading...