

Page 1

Copyright © 2014 by Transtech Driven Pty. Ltd. All rights reserved. No part of this document may be presented
reproduced or copied in any form or by any means (graphical, electronic or mechanical including photocopying,
recording tape or by any information storage and retrieval system) without the express written permission of
Transtech Driven Pty. Ltd.
T-SPOT GEN3 USER GUIDE AND
MANUAL
This document describes T-Spot’s purpose and functions
Author:
Transtech
Version:
1.2
Date:
29 September 2014
Page 2

2
1 PURPOSE OF THE T-SPOT GEN3
The T-SPOT GPS Satellite Messenger (T-SPOT) is a handheld satellite personnel safety and
tracking device, designed to be used in remote areas covered by the Globalstar Simplex
Satellite only Network. (This unit does NOT operate over mobile GSM/GPRS
telecommunication networks).
When used with Transtech’s onTrack tracking and
monitoring system, T-SPOT is an ideal tool for monitoring
the safety of remote workers.
The system has been specifically designed to maximise
the functionality of T-SPOT in an OH&S monitoring
environment, making it simple to manage groups of remote
workers, track workers locations and give them the ability
to call for help if required. This functionality does not rely
on the worker being in mobile telephone range.
The purpose of this guide is to provide an understanding as to how the various elements of
this functionality come together to make the T-SPOT together with onTrack an effective tool to
maximise your remote worker safety.
2 GETTING STARTED
Before you start, here are a few important things to remember to get maximum reliability from
your T-SPOT:
1 Turn device ON outside at least 15 minutes prior to testing or using the device, and
ensure it has a clear view of the sky. This will ensure that the device locks onto as
many satellites as possible.
2 The T-SPOT needs a clear view of the sky to obtain a GPS signal and provide the most
accurate location information. It is not reliable indoors, under dense trees, or next to
large objects that can deflect signals from satellites.
3 Orienting the T-SPOT so that the logo is facing up towards the sky will improve
performance as the antenna is located under the logo.
4 Keep the T-SPOT at least 30 cm (12 inches) away from other GPS devices as T-SPOT
can interfere with signal reception of other GPS devices. (i.e. iFace2)
5 For reliable performance only use AAA Energizer® Ultimate Lithium 8x batteries (L92),
The power light will blink red when batteries are low. Colder conditions and extreme
heat can impact battery life. Always carry an extra set of batteries with you. Test your
SPOT device before each trip by sending a Check In message to yourself.
Page 3
3
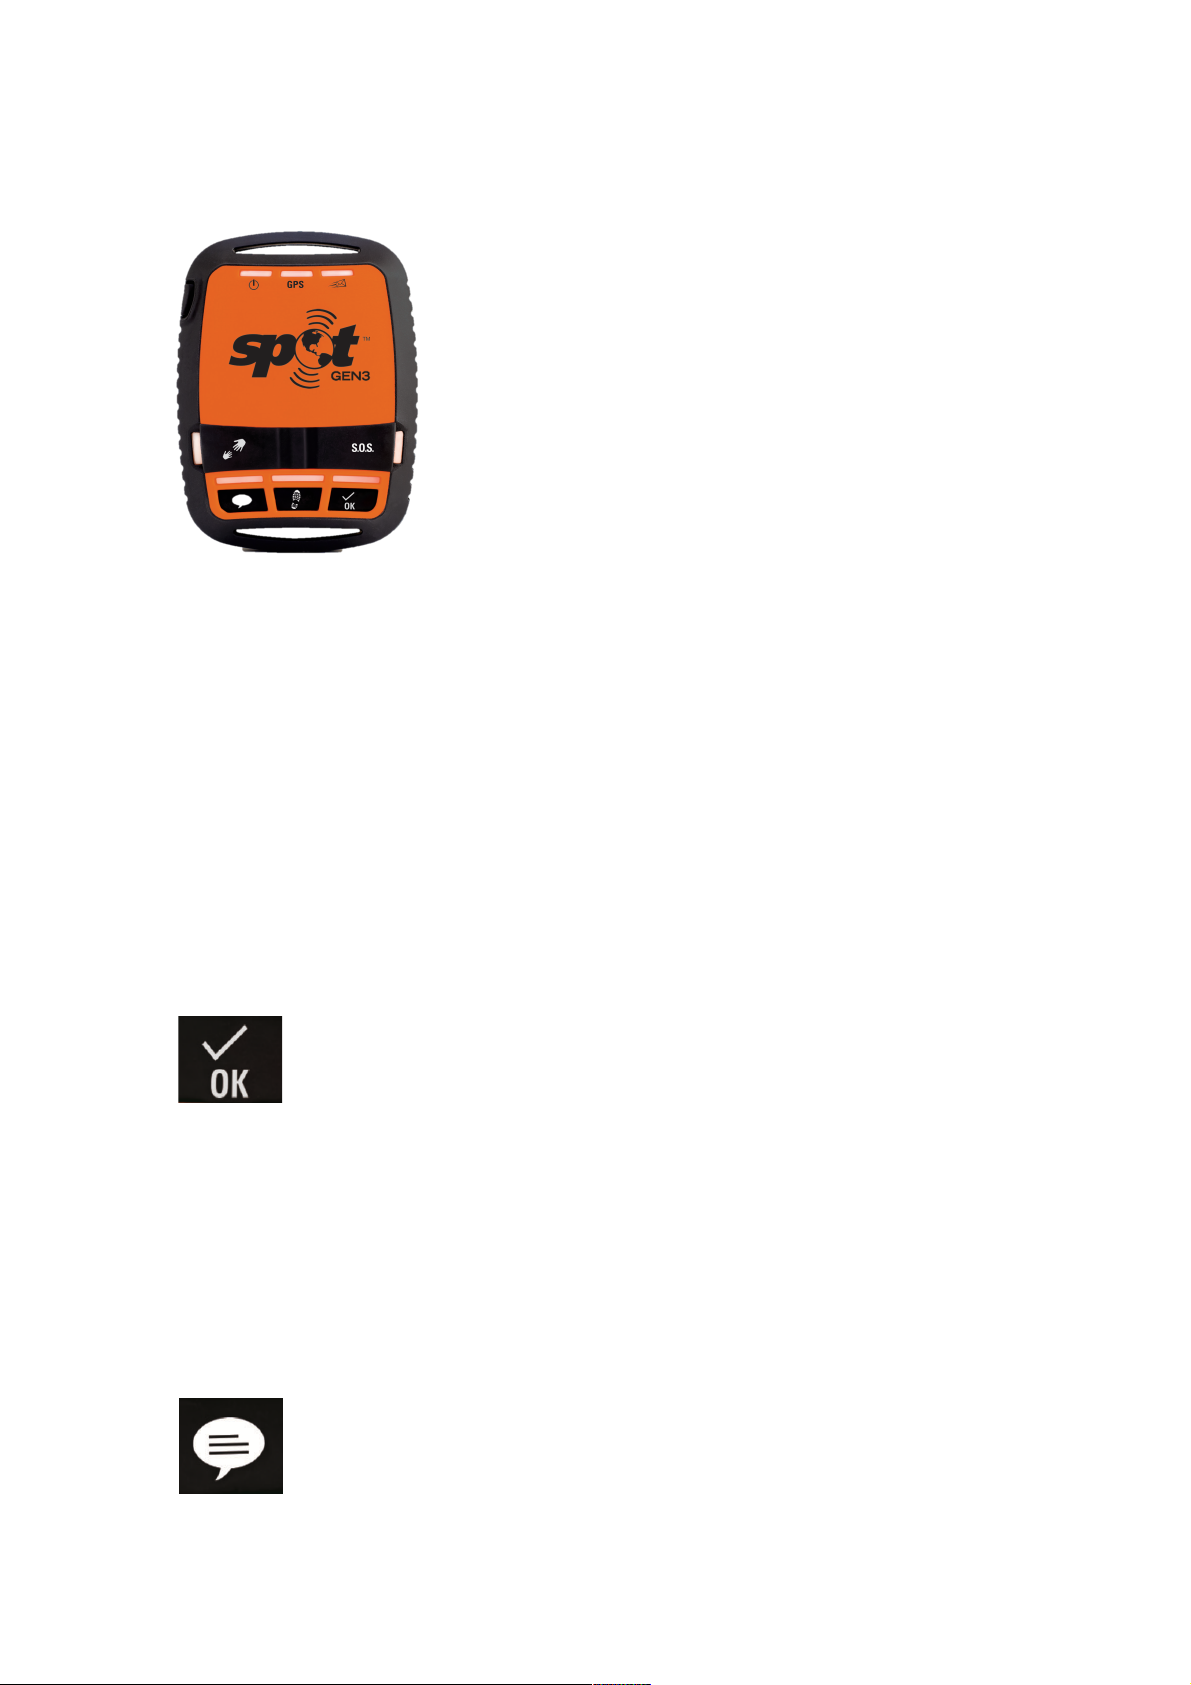
3 DEVICE FUNCTIONALITY
The -SPOT has 6 buttons and Eight LEDs.
Each button has a backlight that blinks when that button is
active. To activate (or if applicable, cancel) any function, you
must press and hold the button until the function light starts
blinking (approximately 3 seconds).
The GPS light notifies you whether T-SPOT is able to see the
GPS satellites and obtain your GPS location.
• Green – The GPS light blinks green while the T-SPOT has a
connection with GPS satellites and is resolving your GPS
location. Once the GPS location is obtained, the GPS light and
Message Sending light blink green for approximately 15 seconds to notify you that your
message was sent with your GPS location.
• Red – The GPS light blinks red if T-SPOT doesn’t see the GPS satellites and /or can’t
resolve your GPS location. To rectify move to a location with a clearer view of the sky.
3.1 POWER ON/OFF
The Power On/Off switches the T-SPOT on and off. If switched off whilst any message
function is currently operating the function will be terminated. Press and Hold the On/Off
button until the button blinks green. If the button blinks red, the batteries need to be replaced.
3.2 OK BUTTON
Press and Hold the OK button until the button flashes green. This button will
send a single location message to onTrack.
For maximum reliability your T-SPOT will send the message to the T-SPOT
Satellite network 3 times over a 20 minute period. The message may be
received by onTrack between 1 and 30 minutes after the button is pressed.
If the T-SPOT cannot get a GPS signal it will not send a check-in/OK message.
The OK message is used for scheduled check-ins, and may also be used for ad-hoc checkin/OK messages as determined between the T-SPOT user and the onTrack monitoring staff.
3.3 CUSTOM BUTTON
The custom button is not used at this stage.
Page 4

4
3.4 TRACK BUTTON
Press and Hold the Track button until the button flashes green. This button is
used to send a location message every 10 minutes for 24 hours or until it is
cancelled. If your T-SPOT cannot acquire a GPS signal it will not send that
particular waypoint, however it will attempt to send the next scheduled
waypoint. Your track progress is displayed on a map in onTrack. After 24
hours the button will need to be pressed again to continue tracking.
3.5 SETTING UP ALERTS IN ONTRACK (OLD SOFTWARE)
Depending on the backend users preference on whether they use Ontrack or NextGen,
Duress Alerts can be sent to a user via email, SMS, or both.
- To set up the alerts whilst in OnTrack, click on User>SMS and Email
Preferences
- Enter in your Email Address and Mobile Number
- Click on the “Man Down and Communication Alert” tick boxes
Page 5

5
When an alert is now sent from the T-Spot, the user will receive the corresponding message.
3.6 SETTING UP ALERTS IN NEXTGEN
Duress Alerts and Notifications can also be set up in NextGen.
- To set up the alerts, click on the User Name>My Alerts
- Turn on Global Settings
- Turn on Duress Alert and click on Configure
- Click on the fleet that contains the device, and click on the desired check
boxes.
SMS - message sent to your phone
Email - message sent to your email address
On Screen - alert notification visibility provided on your dashboard in NextGen
Pop Up - displayed in NextGen which disables all functions until alert is
acknowledged.
Page 6

6
3.7 HELP BUTTON
3.8 SOS BUTTON
The Help button is used
when the user requires
assistance that is not critical,
and a back office user
needs to be alerted via
Email and/or SMS.
The Help button is covered to prevent
accidental or unintended use. Lift the
cover and hold the Help button until
the light blinks green. Your T-SPOT
will send the message and current
GPS location every 5 minutes for one
hour to create maximum reliability and
redundancy.
The alert status will be changed in
onTrack with emails and SMS’s sent
as configured in the corresponding
platform.
The SOS button is used
when a critical situation
occurs, and an OnTrack
user needs to be alerted via
Email and/or SMS.
The SOS button is covered to prevent
accidental or unintended use. The
SOS button may be used for
emergency and critical situations
where urgent assistance is required.
Lift the cover and hold the SOS button
until the light blinks green. Your T-
SPOT will send the message and
current GPS location every 5 minutes
until cancelled or the batteries run out.
If your T-SPOT cannot get a GPS fix it
will still attempt to send a message
without a GPS location.
The alert status will be changed in
onTrack with emails and SMS’s sent
as configured in corresponding
OnTrack Users
It is critical that once a HELP/
SOS message has been sent
from a T-SPOT, the alert must be
turned OFF via the T-SPOT
device before unit is deployed
again.
If this is not completed correctly, new
HELP/SOS messages sent from the
same GPS device will not generate
email/SMS messages from onTrack.
To remove HELP or SOS alerts from
onTrack:
1 – Hold the corresponding flashing
green HELP or SOS button down, until it
flashes red. The button will blink red for a
minimum of 15 seconds until the
message can be received/sent by the
satellites.
2 – Turn the T-SPOT off then repower it
back on. Hold down the OK or
TRACKING button until it blinks green.
Both of these methods will remove the
STATUS alert in onTrack. To check the
status of the device, log into onTrack and
find the device in your fleet.
Under the Status it will either say:
Sat Tracker Position - No alerts
created.
Vehicle Alarm - Help or SOS function
has been actuated.
NextGen Users
You can clear an alert by completing
Step 1 or Step 2 from the above,
however NextGen does not advise the
status of the device after the user has
been notified of duress via an alert.
If the device has created an alert and
then has been turned off or is out of
Page 7

7
4 TESTING
Performing tests will allow you to identify any issues or faults that the unit may have sustained
on its last journey. By performing an initial system test to evaluate your entire messaging
system, from the operational condition of the T-SPOT to the readiness of those you’ve chosen
to receive your messages.
4.1 INITIAL TEST
1. Turn device on outside and press the ON/OFF button until the function light blinks
green.
2. At least 15 minutes after turning on device, hold the Check-In/OK button until the
function light blinks green.
3. The GPS indicator light blinks green as the T-SPOT acquires a GPS fix. Once the TSPOT acquires your GPS location, the Message Sending light and GPS light will blink
green in unison for ~15 seconds to notify you that your message is being transmitted
with GPS location.
The Message Sending light will continue to blink green over the remainder of the 20
minute message cycle and for one (1) hour after the end of the message cycle (this is
to provide you with additional time to check if you’re most recent message was
transmitted).
The Check-In/OK function light will turn off once the message cycle is complete.
4. Verify that the location message was received onTrack, your position should be
shown on the map.
If the GPS light blinks red, the T-SPOT does not have a clear view of the GPS satellites
and you must move to an area with a clearer view of the sky for proper operation. Then
repeat steps 2 through 4.
4.2 SOS TEST
1. Firstly turn T- SPOT on at least 15 minutes prior to needing to issue an alert
message. To do this hold down the ON/OFF button.
2. When needing to issue an emergency alert, lift-up the SOS button cover and hold the
button down until the light blinks green.
3. Providing the “envelope” icon is flashing green, Your T-SPOT will send a message
and current GPS location every 5 minutes until cancelled or until the batteries run out.
If your T-SPOT GPS icon is flashing red, the device is unable to get a GPS fix - it will
still attempt to send a message without a GPS location however the message will be
delayed for up to an hour.
Page 8

8
It is critical that once this message has been received and noted, the SOS alert must
be turned OFF by the T-SPOT device. If this is not completed correctly, other SOS
messages sent from the same GPS device will not be received.
4. Check onTrack that status has changed to “Vehicle Alarm” and you have received
alerts via email/SMS (if set up)
5. To clear the SOS alert from the T-SPOT, hold down the SOS button again until it
blinks red. The device will blink red for a minimum of 15 seconds until the message
can be sent/received by the satellites. Once again please ensure you have clear sky
and if your T-SPOT GPS icon is flashing red, the device is unable to get a GPS fix. It
will still attempt to send a message without a GPS location, however the message will
be delayed for up to an hour.
Alternatively you can turn the alert off by switching the T-SPOT off, then repower it
back on. Hold down the OK or TRACKING button until it blinks green.
6. Check onTrack that the status has changed to “Sat Tracker Position”
5 SYSTEM FUNCTION AND INDICATORS
The T-SPOT is designed to provide outstanding quality and reliability. With a perfect view of
the entire sky, the T-SPOT is designed to transmit virtually every message. In everyday
conditions, the view of the sky is often blocked due to hills, buildings, or other obstructions so
it is normal for some messages to be blocked. That is why the T-SPOT automatically sends
multiple messages in every mode, giving you excellent overall reliability.
In some modes this means multiple attempts to send the same message, while in other
modes it means regularly updating GPS coordinates and sending a new message. Placement
of your T-SPOT unit can make a difference. Experiment with placement until you are familiar
with the reliability of your operating environment.
5.1 MESSAGE INDICATORS
For all functions, the T-SPOT let’s you know what it’s doing.
!"#!$%&'()
*+!",!"-)-(.."))
*+!",!"-)(.#)
-/0)
Searching*for*GPS*signal*
GPS*location*fix*failed.*Move*to*a*new*location*
1233452)0267865)
Message*transmission*schedule*in*progress*
Last*Message*was*not*sent*
$92:;<!6)'=,)
Check*in*O.K*message*sequence*in*progress*
N/A*
>2?@)
TESPOT*in*help*mode*
Help*has*been*cancelled*
0'0)
SOS*engaging*
SOS*has*been*cancelled*
&A4:;)/AB5A233)
TESPOT*in*track*progress*mode*
N/A*
'6C'DD)
On*
Low*Battery*E*replace*
Page 9

9
5.2 HOW THE LIGHTS BLINK – BY FUNCTION
!E)&<0/'&)E!"#0)F'G()-/0)+'$%&!'")
EG"$&!'")
1.00%-.)EG"$&!'")+!->&)
-/0)+!->&))
1.00%-.)0."#!"-)+!->&)
1.00%-.)0&%&G0)
$>.$,<!"C',)
Function* light* blinks* green*
until* the* message* cycle* is*
completed*or*cancelled*
GPS* light*
blink*green*
Blinks* green* after*
transmitting* the * most* recent*
message* as* appropriate* for*
each*function*and*for*one*(1)*
hour*after*the*message* cycle*
ends*
Message* and* location*
transmitted*to*satellites*
&(%$,)/('-(.00)
>.+/)
0'0).1.(-."$F)
!1/'(&%"&)"'&.0)
&92)H?86;865)?859I)86)24:9)DJ6:I8B6)HJIIB6)?2I3)KBJ);6BL)I94I)KBJ)94M2)3J::233DJ??K)2654527)I94I)DJ6:I8B6=)
%DI2A)KBJ)265452)I92)DJ6:I8B6N)&<0/'&)?BB;3)DBA)4)-/0)38564?)467)?B:4I8B6)43)8678:4I27)HK)I92)H?86;865)5A226)?859I=)
'6:2)I92)-/0) ?B:4I8B6)83)BHI48627N)&<0/'&)32673)KBJA) O233452)467)I92) -/0)467)1233452) 0267865) ?859I3) H?86;)5A226)IB52I92A)
DBA)PQ)32:B673N)8678:4I865)4)3J::233DJ?)-/0)D8R)467)3I4AI865)I92)O233452)3267865):K:?2=)
!E)&<0/'&)#'.0"S&)E!"#)F'G()-/0)+'$%&!'")
EG"$&!'")
EG"$&!'")
*G&&'")
+!->&)
-/0)+!->&)
1.00%-.)
0."#!"-)
+!->&)
1.00%-.)
0&%&G0)
&')&(F)%-%!")
$>.$,<
!"C',)
Blinks*
Green*
Blinks*Red*
Blinks*Red*
Message* not*
sent*
Move*to* an* area* with*a* clear*view*
of* the* sky.* Press* selected* function*
again.*
&(%$,)
/('-(.00)
Blinks*
Green*
Blinks* Red.* TESPOT*
looks* for* GPS* for* 4*
minutes,*then*rests*for*
6*minutes*
Blinks*Red*
Message* not*
sent*
Move*to* an* area* with* a* clear* view*
of* the* sky.* TESPO T* will*try* to* get* a*
GPS* location* during* the* next*
message*interval*
>.+/)
Blinks*
Green*
Blinks* Red.* TESPOT*
looks* for* GPS* for* 4*
minutes,*then*rests*for*
1*minutes*
Blinks*
Green*
Message* sent*
without*GPS*
Move*to* an* area* with*a* clear* view*
of* the* sky.* TESPO T* will*try* to* get* a*
GPS* location* during* the* next*
message*interval*
0'0)
.1.(-."$F)
Blinks*
Green*
Blinks* Red.* TESPOT*
looks* for* GPS* for* 4*
minutes,*then*rests*for*
1*minutes*
Blinks*
Green*
Message* sent*
without*GPS*
Move*to* an* area* with*a* clear* view*
of* the* sky.* TESPO T* will*try* to* get* a*
GPS* location* during* the* next*
message*interval*
!1/'(&%"&)"'&.0)
$>.$,<!"C',T)&<0/'&)OJ3I)52I)4)-/0)38564?)H2DBA2)3267865)KBJA)$92:;<!6=)!D) 6B )-/0)38564?)83)DBJ67N)I92 )-/0)?859I)H?86;3)A27)
467)&<0/'&)724:I8M4I23)I92)DJ6:I8B6)L8I9BJI)3267865)46K)O2334523=)
&A4:;)/AB5A233T)&<0/'&)OJ3I)52I)4)-/0)38564?)H2DBA2)3267865)KBJA)L4K@B86I=)>BL2M2AN)&<0/'&)L8??)3I4K)86)I92)&A4:;)/AB5A233)
DJ6:I8B6N)467)45486)?BB;)DBA)4)-/0)38564?)4I)I92)62RI)3:927J?27)O233452)86I2AM4?=)
>.+/T)&<0/'&)32673)>.+/)O2334523)2M26) L 8I9BJI)4)-/0)?B:4I8B6=)&<0/'&)L8??)45486)?BB;)DBA) 4)-/0)38564?)@A8BA)IB)3267865)I92)
62RI)3:927J?27)O233452)UV<Q)O86JI23WN)467)A2@24I)I92)26I8A2)O233452):K:?2=)
0'0).1.(-."$FT)& <0/' &) 32673)0'0) O2334523)2M26) L8I9BJI)4)-/0)?B:4I8B6=)&<0/'&)L8??)45486)?BB;)DBA) 4)-/0)38564?)@A8BA) IB)
3267865)I92)62RI)3:927J?27)O233452)UV<Q)O86JI23WN)467)A2@24I)I92)26I8A2)O233452):K:?2=)
Page 10

10
5.3 TROUBLESHOOTING
The T-SPOT performs a self-diagnostic test each time it is powered on. T-SPOT recommends
that you send and verify a Check In/OK message before each trip. This also allows you to
evaluate your entire messaging system, from the operational condition of the T-SPOT to the
readiness of those on your contact list.
If you find your messages being delayed, it could be from the following reasons:
1. GPS signal is poor and interference from surroundings is causing a delay in
messages being sent to satellites.
2. Provider of SMS and email data experiencing delays (i.e. User’s mobile phone carrier
or internet provider experiencing delays when sending information to recipient)
3. User did not clear original SOS alert properly, and message was only cleared when
testing out function again.
Eg. User creates SOS – T-SPOT is turned off – SOS created again – SOS message
turned off.
In this instance the second SOS will not come through, as the first SOS message was
not cleared. Check vehicle status in onTrack to see what status the T-SPOT is in.
4. Ensure all information entered into OnTrack for SMS and email alerts is correct.
5. For reliable performance only use AAA Energizer® Ultimate Lithium 8x batteries
(L92),. The power light will blink red when batteries are low. Colder conditions and
extreme heat can impact battery life. Always carry an extra set of batteries with you.
Test your SPOT device before each trip by sending a Check In message to yourself.
 Loading...