

Transduction TR-LCD1900-OCD User Manual

TRANSDUCTION
USER’S MANUAL
Version 1.0
07/02/09
TR-LCD1900-OCD 19” Rack/Panel Mount
TFT LCD Monitor with Front LCD Controls
5155-23 Spectrum Way, Mississauga, ON, Canada L4W 5A1
TEL: 1-800-268-0427, 905-625-1907
F AX: 905-625-0531
Email: sales@transduction.com

Important Information
The information in this document is subject to change without notice.
All relevant issues have been considered in the preparation of this document. Should you notice an omission or
any questionable item in this document, please feel free to notify Transduction.
Regardless of the foregoing statement, Transduction assumes no responsibility for any errors that may appear in
this document nor for results obtained by the user as a result of using this product.
Copyright © 2009 Transduction. All right s reserved.
This document is protected by copyright. No part of this document may be reproduced, copied or translated in any
form or means without prior written permission from Transduction.
All other trademarks, brand and product names are the property of their respective owners.
Return policy
Products returned for repair must be accompanied by a Return Material Authorization (RMA) number, obtained
from Transduction prior to return. Freight on all returned items must be prepaid by the customer. The customer is
responsible for any loss or damage caused by the carrier in transit.
To obtain an RMA number, call us at 905-625-1907. We will need the following information:
• Return company address and contract
• Model name, model number and serial number
• Description of the failure
Mark the RMA number clearly on the outside of each box, include a failure report and return the product to:
Transduction
5155 – 23 Spectrum Way
Mississauga ON Canada L4W 5A1
Attn: RMA Department

Safety Precautions
1
TR-LCD1900-OCD User Manual
When not used for extended periods of time, set your PC to DPMS. If using a
screen saver, set it to the active screen mode.
Do not use a damaged or loose plug. This may cause an electric shock or fire.
Do not pull the plug out by the wire or touch the plug with wet hands. This may
cause an electric shock or fire.
Use only a properly grounded plug or receptacle. An improper ground may
cause electric shock or equipment damage.
Do not excessively bend the plug and wire or place heavy objects on them. This
could cause damage and an electric shock or fire.
Do not place the monitor face down. The CDT surface may be damaged.
When cleaning, wipe with a slightly moistened, soft cloth. Do not spray any
cleaner directly on to the monitor.
Do not remove housing. No serviceable p arts inside. Refer servicing to Transduction.
Contents
2
TR-LCD1900-OCD User Manual
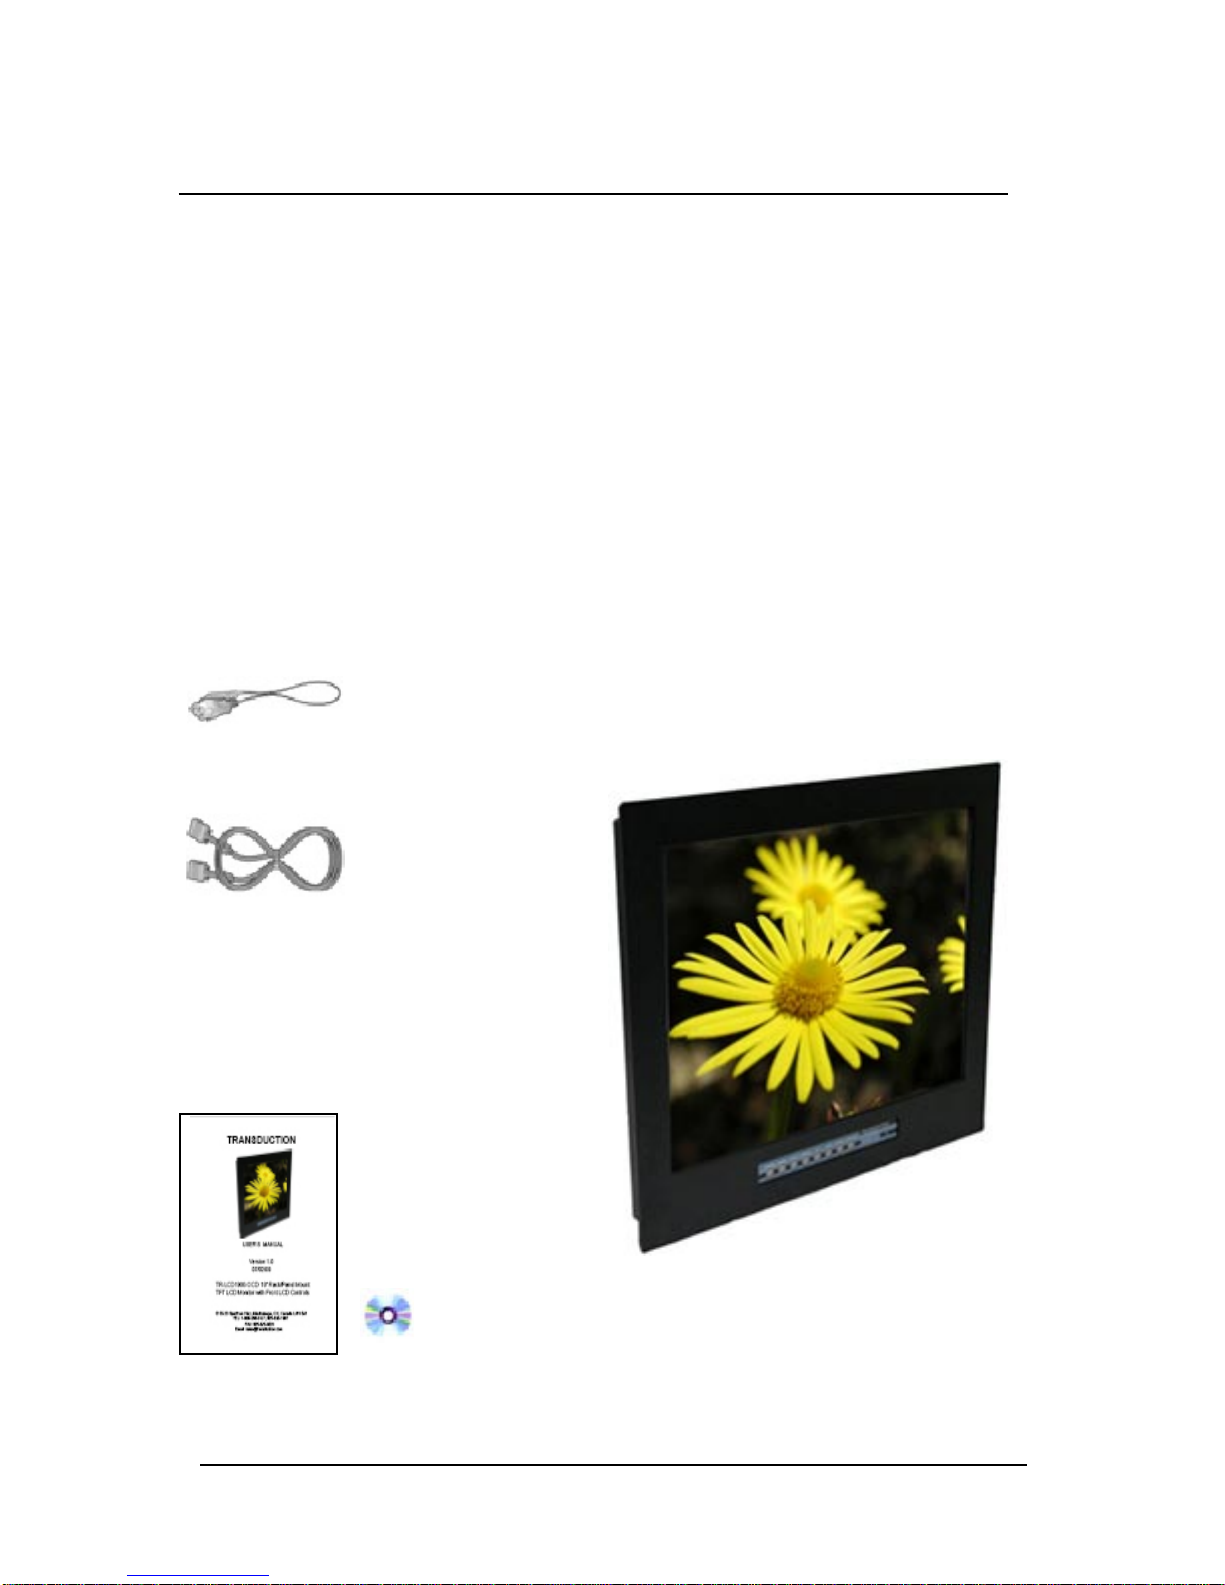
Your new TR-LCD1900-OCD monitor box should contain the
following:
• TR-LCD1900-OCD rack mount / panel mount monitor
• Power Cord
• Video Signal Cable
• User’s Manual and Driver Inst allation CD
*Remember to save your original box and packing material to transport or ship the monitor.
Power Cord
Video Signal Cable
User’s Manual and Driver
Installation CD
Quick Start
3
TR-LCD1900-OCD User Manual
To attach the TR-LCD1900-OCD monitor to your system, follow these instructions:
1. Turn off the power to your computer.
2. Connect the power cord for your monitor to the power port on the back of the monitor . Plug the power
cord for the monitor into a nearby outlet.
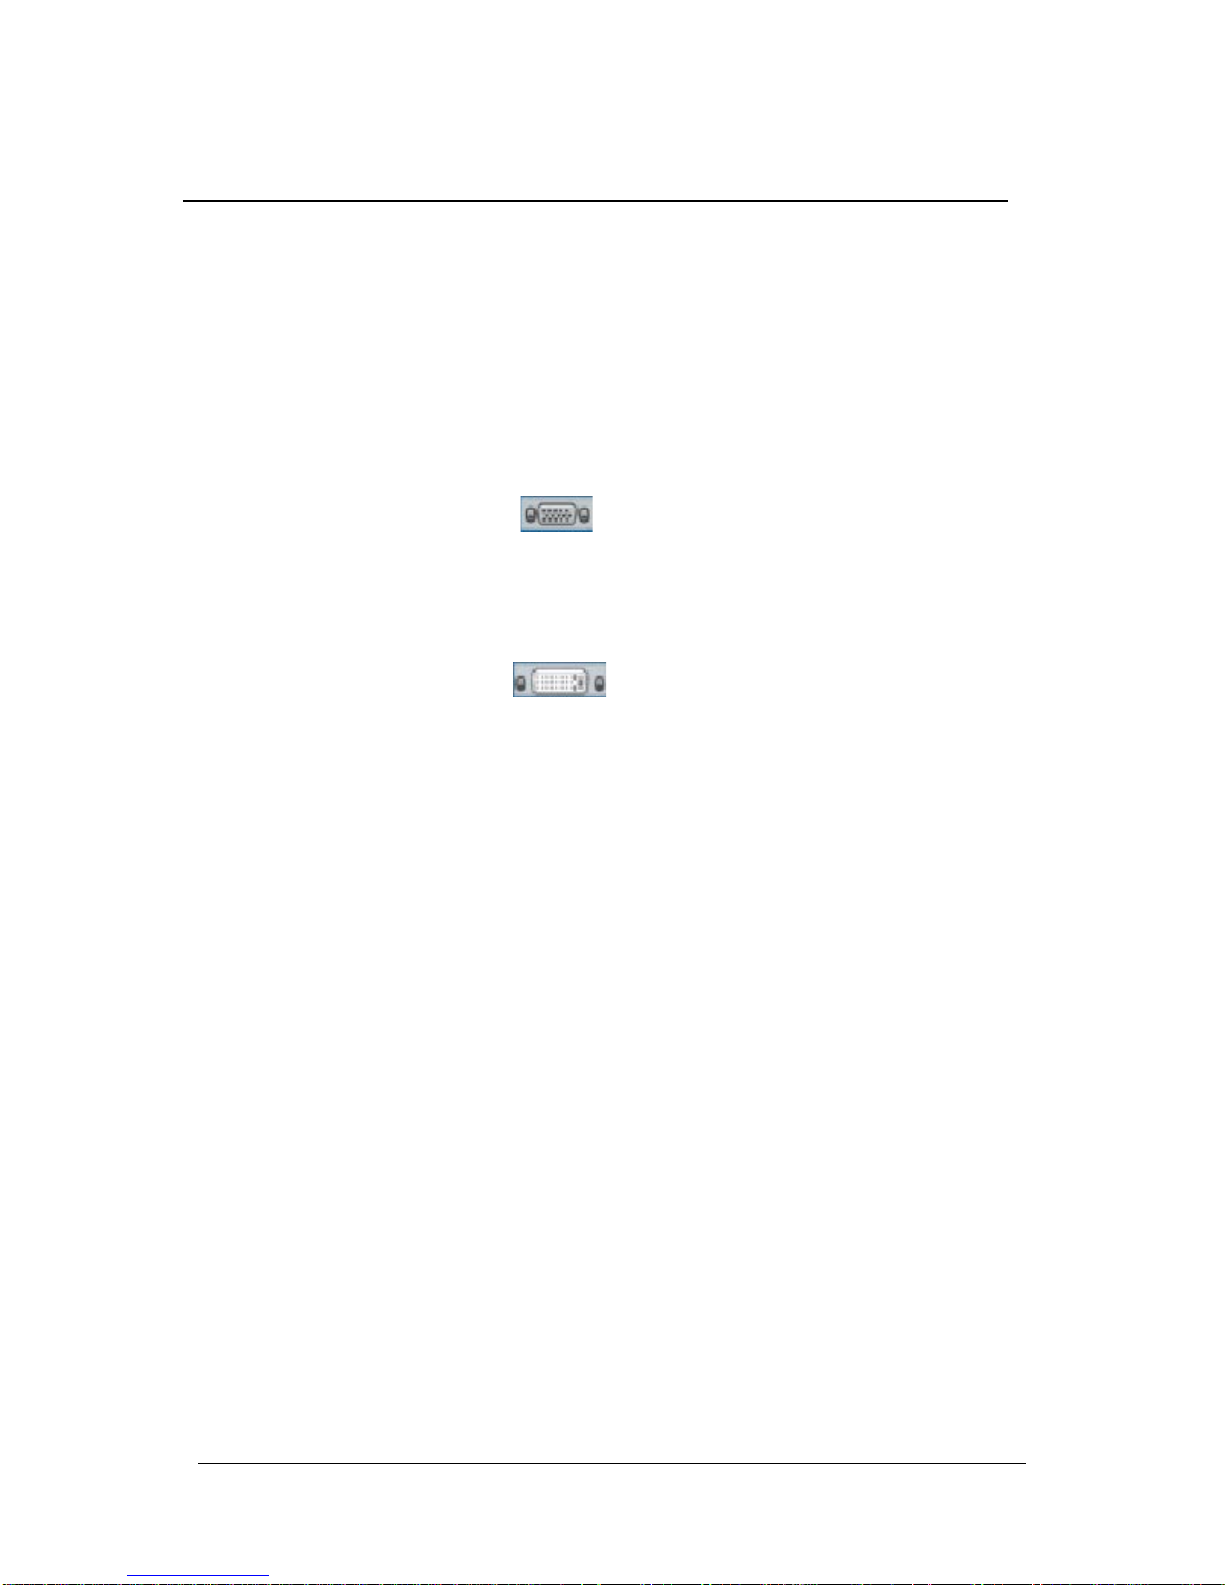
3-1. Using the D-sub (analog) connector on the video card:
Connect the signal cable to the 15-pin, D-sub connector on the back of your monitor .
3-2. Using the DVI (digital) connector on the video card:
Connect the DVI cable to the DVI port on the back of your monitor .
4. Connect to a Macintosh:
Use the D-sub connection cable.
(An older model Macintosh may require a special Mac adaptor).
5. Turn on your computer and monitor. If your monitor displays an image, inst allation is complete.
NOTES:
• You may get a blank screen depending on the type of video card you are using, if you connect
simultaneously both D-sub and DVI cables to one computer.
• If the monitor is connected properly using the DVI connector but you get a blank or fuzzy
screen, check to see if monitor status is set to analog. Press Source button to have the monitor
double-check the input signal source.

Control Panel Buttons
Key Name and Function
4
TR-LCD1900-OCD User Manual
The Control Panel Buttons give various and very easy graphic user interfaces. Users can easily
access the function needed. Be sure that your system power and LED is turned on before operating
the keyboard.
Key Name Description
Power Turns ON/OFF the system
Menu Activates the OSD menu or goes to previous menu
Auto -When the OSD menu is off, press more than 3 seconds
: Performs “Auto-adjustment” function
-When the OSD menu is on
: Selects the highlighted icon that user wants
Down Moves the highlight icon up to the function that user wants
Up Moves the highlight icon down to the function that user wants
Left Decreases the adjustment of the selected function
Right Increases the adjustment of the selected function
Source Selects the Input Signal among analog RGB, Digital DVI, CVBS and S-VHS
Accessing the menu system
1. With the OSD off, push the Menu button to activate the main OSD menu.
2. Use the Up or Down buttons to move from one function to another. As you move from one
icon to another, the function name changes to reflect the function or group of functions
represented by that icon. Please refer to the following table for a complete list of all of the
functions available for the driver board.
3. Press the Set button once to activate the highlighted function, use the Up or Down buttons to
select the function.
4. After selecting a function, use the - or + buttons to make optimum adjustments. The setting bar
moves and the numeric value indicator changes to reflect your adjustments.
Note: The numeric value indicator is provided as a point of reference only and has nothing to
do with a real measurement.
5. Press the Menu button once to return to the main menu to select another function or press
twice to exit from the OSD.

Control Panel Buttons cont’d
OSD Adjustment
5
TR-LCD1900-OCD User Manual
Color
Setup
Sub-menus Function Descriptions
Brightness Adjusts the brightness of video.
Contrast Adjusts the contrast of video.
Clock Removes the noises. When frequency value is wrong, the image
has horizontal lines especially in 1 dot on and off.
Phase Removes the noises. When phase value is wrong, the image
has vertical lines especially in 1 dot on and off.
Auto Adjust “Auto adjustment” allows the monitor to self-adjust to the
incoming video signal. The value of phase, frequency and
position are adjusted automatically.
Contrast Adjusts the contrast of image.
Brightness Adjusts the brightness of image.
Brightness Adjusts the brightness of video.
Contrast Adjusts the contrast of video.
Color Changes the richness of color.
Tint Changes the tone of color.
Sharpness Adjusts the sharpness of video image.
6500° K
9200° K
User User customizable.
Image -H Position : Adjusts the horizontal position of the image.
OSD -Language : English, Germany, French, Italy, Spanish.
Mode
Recall
Backlight Changes the brightness of image by controlling the backlight of
Auto sleep Goes to soft power off after 10 minutes when input cable is
Reddish white.
Bluish white.
-V Position : Adjusts the vertical position of the image.
-GAMMA : Bypass
-Information : Displays current display mode.
-Color : Changes the opaqueness of the OSD background.
-Position : Moves the OSD Window.
-Duration : Indicates time until the OSD Menu will disappear
after adjusting the menu.
-OSD Lock : Avoids OSD control except HOT key.
Changes the image information to factory outgoing status.
panel.
disconnected.
Menus
Adjustment (PC)
Adjustment is used
to fine tune and get
the best image by
removing noises
that creates
unstable images
with jitters and
shimmers.
Adjustment (DVI)
This function is
active if you select a
digital DVI source
Adjustment
(Video)
This function is
active if you select
an input source
other than PC.
(DVD,VCR)
The color can be
changed from
reddish to bluish
white.
Setup is used to
adjust OSD menu
information and
image.
 Loading...