

Transduction TR-LCD1500-RM, TR-LCD1500-PM User Manual
TRANSDUCTION
USER’S MANUAL
Version 1.1
07/30/08
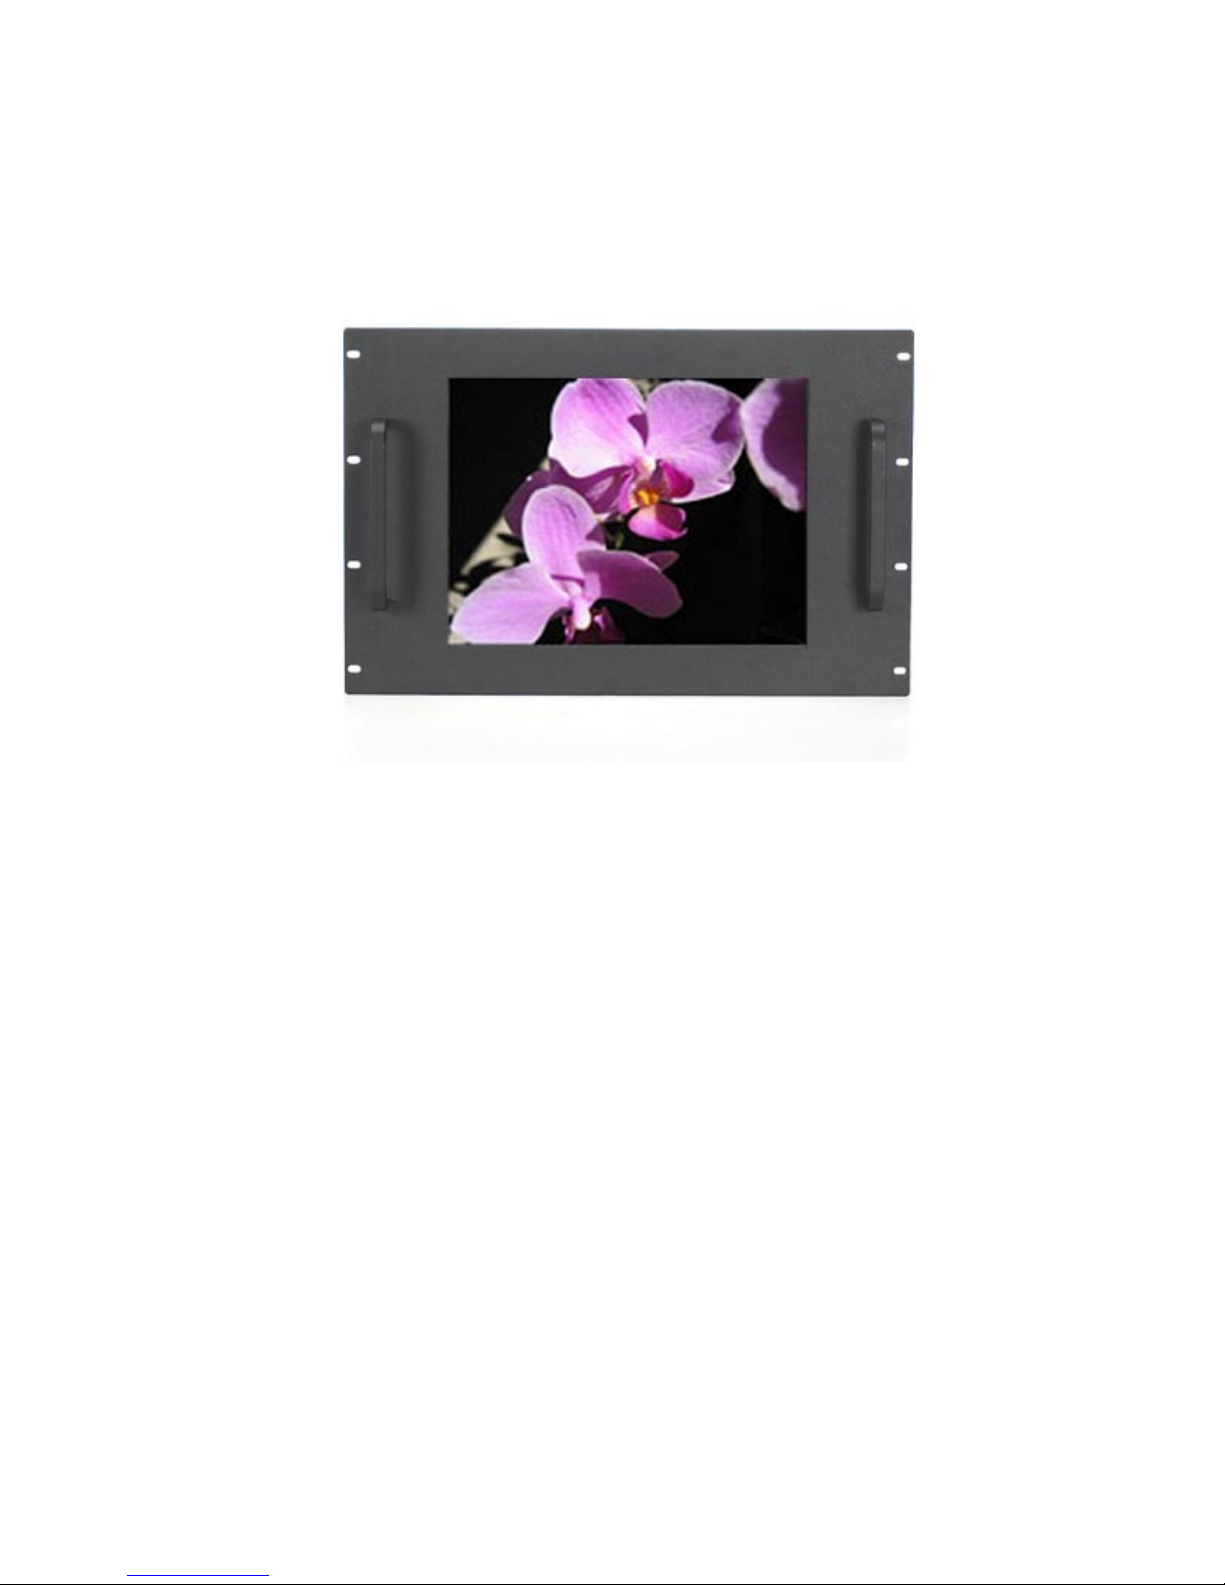
TR-LCD1500-RM Rack Mount Monitor
TR-LCD1500-PM Panel Mount Monitor
5155-23 Spectrum Way, Mississauga, ON, Canada L4W 5A1
TEL: 1-800-268-0427, 905-625-1907
FAX: 905-625-0531
Email: sales@transduction.com

Important Information
The information in this document is subject to change without notice.
All relevant issues have been considered in the preparation of this document. Should you notice an omission or
any questionable item in this document, please feel free to notify Transduction.
Regardless of the foregoing statement, Transduction assumes no responsibility for any errors that may appear in
this document nor for results obtained by the user as a result of using this product.
Copyright © 2005 Transduction. All rights reserved.
This document is protected by copyright. No part of this document may be reproduced, copied or translated in any
form or means without prior written permission from Transduction.
All other trademarks, brand and product names are the property of their respective owners.
Return policy
Products returned for repair must be accompanied by a Return Material Authorization (RMA) number, obtained
from Transduction prior to return. Freight on all returned items must be prepaid by the customer. The customer is
responsible for any loss or damage caused by the carrier in transit.
To obtain an RMA number, call us at 905-625-1907. We will need the following information:
• Return company address and contract
• Model name, model number and serial number
• Description of the failure
Mark the RMA number clearly on the outside of each box, include a failure report and return the product to:
Transduction
5155 – 23 Spectrum Way
Mississauga ON Canada L4W 5A1
Attn: RMA Department

Index
Safety Precautions ..................................................... 2
Contents ..................................................................... 3
Quick S tart ................................................................. 4
OSD (On-Screen Display) Controls ........................... 5
Troubleshooting T ips .................................................. 6
TR-LCD1500 Specifications ....................................... 7
Mechanical Drawings & Specifications ...................... 9
Panel Mount Cut-out T emplate ................................... 13
1 TR-LCD1500

Safety Precautions
When not used for extended periods of time, set your PC to DPMS. If using a
screen saver, set it to the active screen mode.
Do not use a damaged or loose plug. This may cause an electric shock or fire.
Do not pull the plug out by the wire or touch the plug with wet hands. This may
cause an electric shock or fire.
Use only a properly grounded plug or receptacle. An improper ground may
cause electric shock or equipment damage.
Do not excessively bend the plug and wire or place heavy objects on them. This
could cause damage and an electric shock or fire.
Do not place the monitor face down. The CDT surface may be damaged.
When cleaning, wipe with a slightly moistened, soft cloth. Do not spray any
cleaner directly on to the monitor.
Do not remove housing. No serviceable parts inside. Refer servicing to Trans-
duction.
2 TR-LCD1500
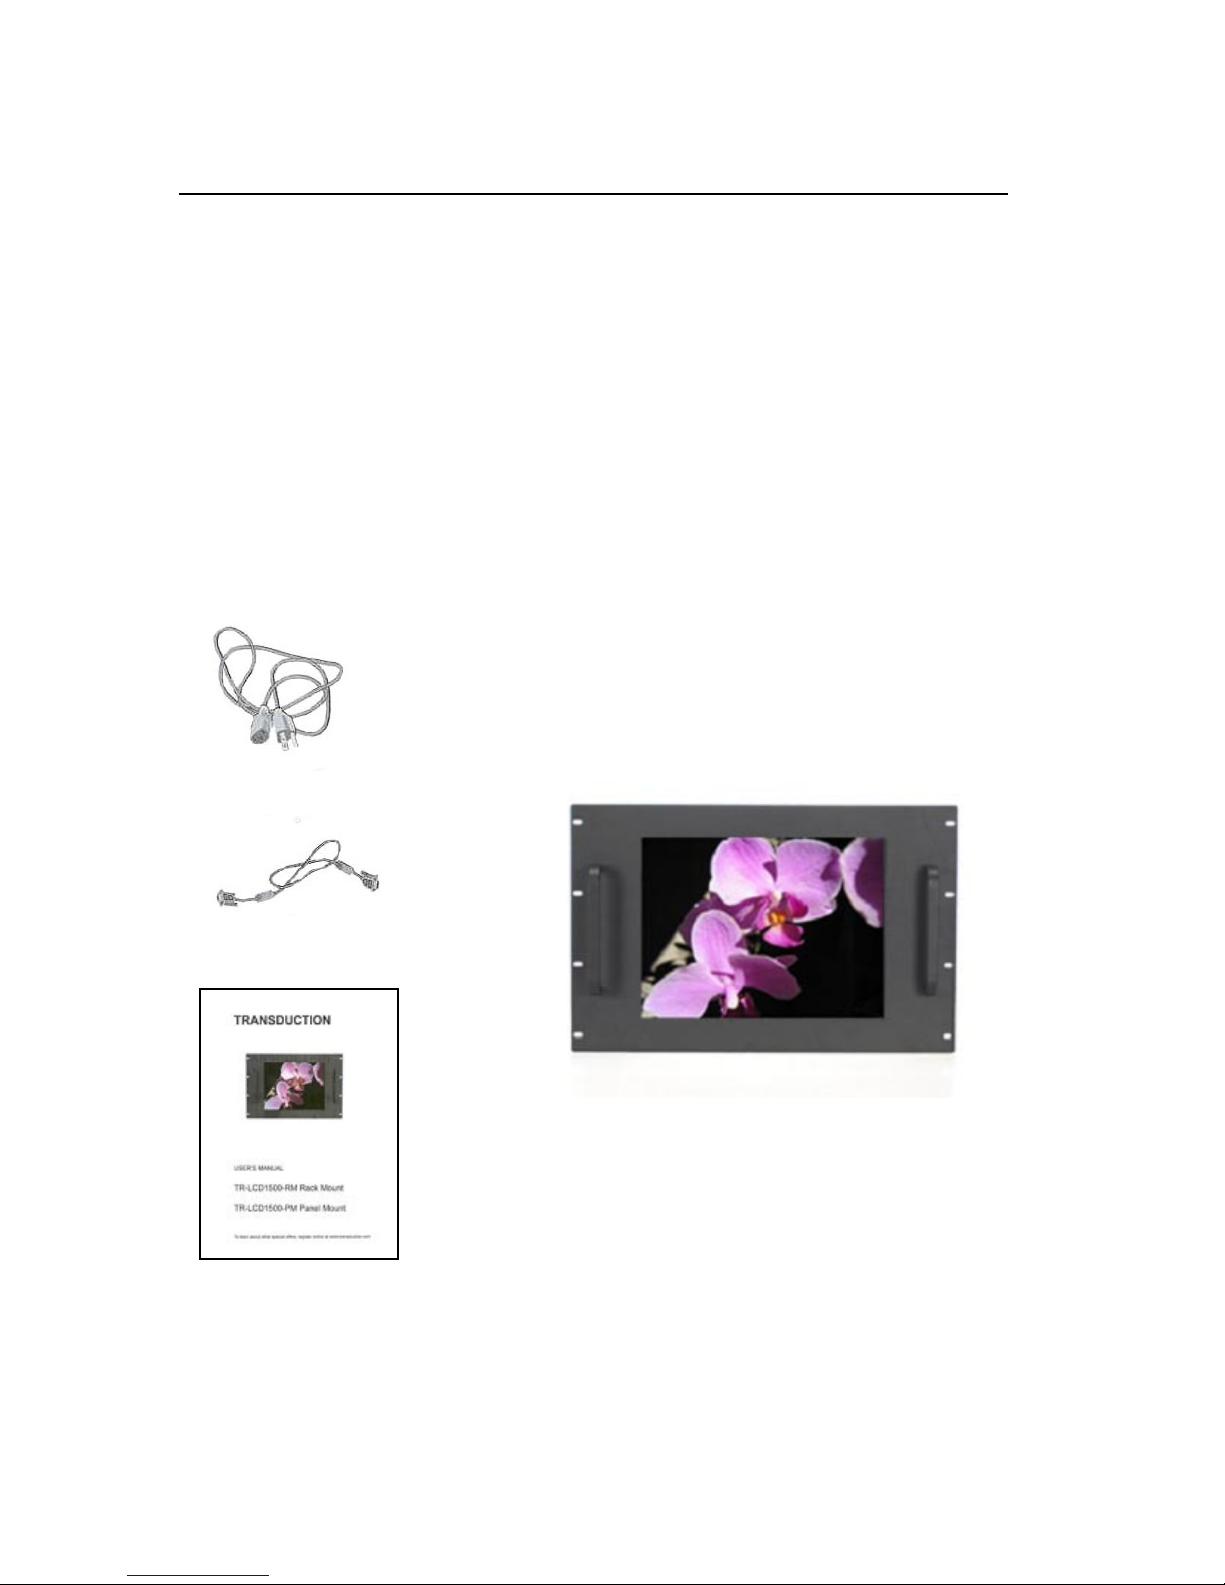
Contents
Your new TR-LCD1500 monitor box should contain the
following:
• TR-LCD1500 rack mount / panel mount monitor
• Power Cord
• Video Signal Cable
• User’s Manual
*Remember to save your original box and packing material to transport or ship the monitor.
Power Cord
V ideo Signal Cable
User’s Manual
3 TR-LCD1500

Quick Start
To attach the TR-LCD1500 monitor to your system, follow these instructions:
1. Turn off the power to your computer.
2. Connect the power cord for your monitor to the power port on the back of the monitor. Plug the power
cord for the monitor into a nearby outlet.
3. Using the D-sub (analog) connector on the video card:
Connect the signal cable to the 15-pin, D-sub connector on the back of your monitor.
4. Turn on your computer and monitor. If your monitor displays an image, installation is complete.
5. Plug and Play feature will automatically setup the monitor in Windows operating systems. Additional
adjustments can be made using the OSD (On-Screen Display) controls on the back of the monitor. See
page 5 for details.
4 TR-LCD1500
 Loading...