

Page 1
Introduction
PRODUCT SPECIFICATIONS (CONTINUED)
ELECTRICAL &
ENVIRONMENTAL
REQUIREMENTS
(Continued)
Approvals CE Certication• FCC Class B•
Warranty Manufacturer’s warranty: 1 year parts & labor Optional DAPCare Warranty extension available
Free Fall Drop Resistance (*):
Meets and exceeds IEC 68-2-32 method 1 (2
•
meter drop on concrete)
Meets and exceeds MIL-STD-810F method
•
516.4 procedure IV<
Electrostatic Discharge:
Meets EN 61000-4-2•
Roper Mobile Technology reserves the right to change specications without notice.
WARNING / CAUTION / NOTE DEFINITION
The words WARNING, CAUTION, and NOTE carry special meanings and should be carefully reviewed.
WARNING
Alerts the reader about a situation, which if not avoided, could affect the proper functioning of the unit and
result in permanent damage to the unit.
CAUTION
Alerts the reader of a potentially hazardous situation, which if not avoided, may result in minor injury to the
user or may cause damage to the equipment. This includes special care necessary for the safe and effective
use of the device and the care necessary to avoid any damage that may occur as a result of use or misuse.
Note:
This provides special information to make important instructions clearer.
Return To Table of Contents
www.RoperMobile.com CMU056-A1 11
Page 2
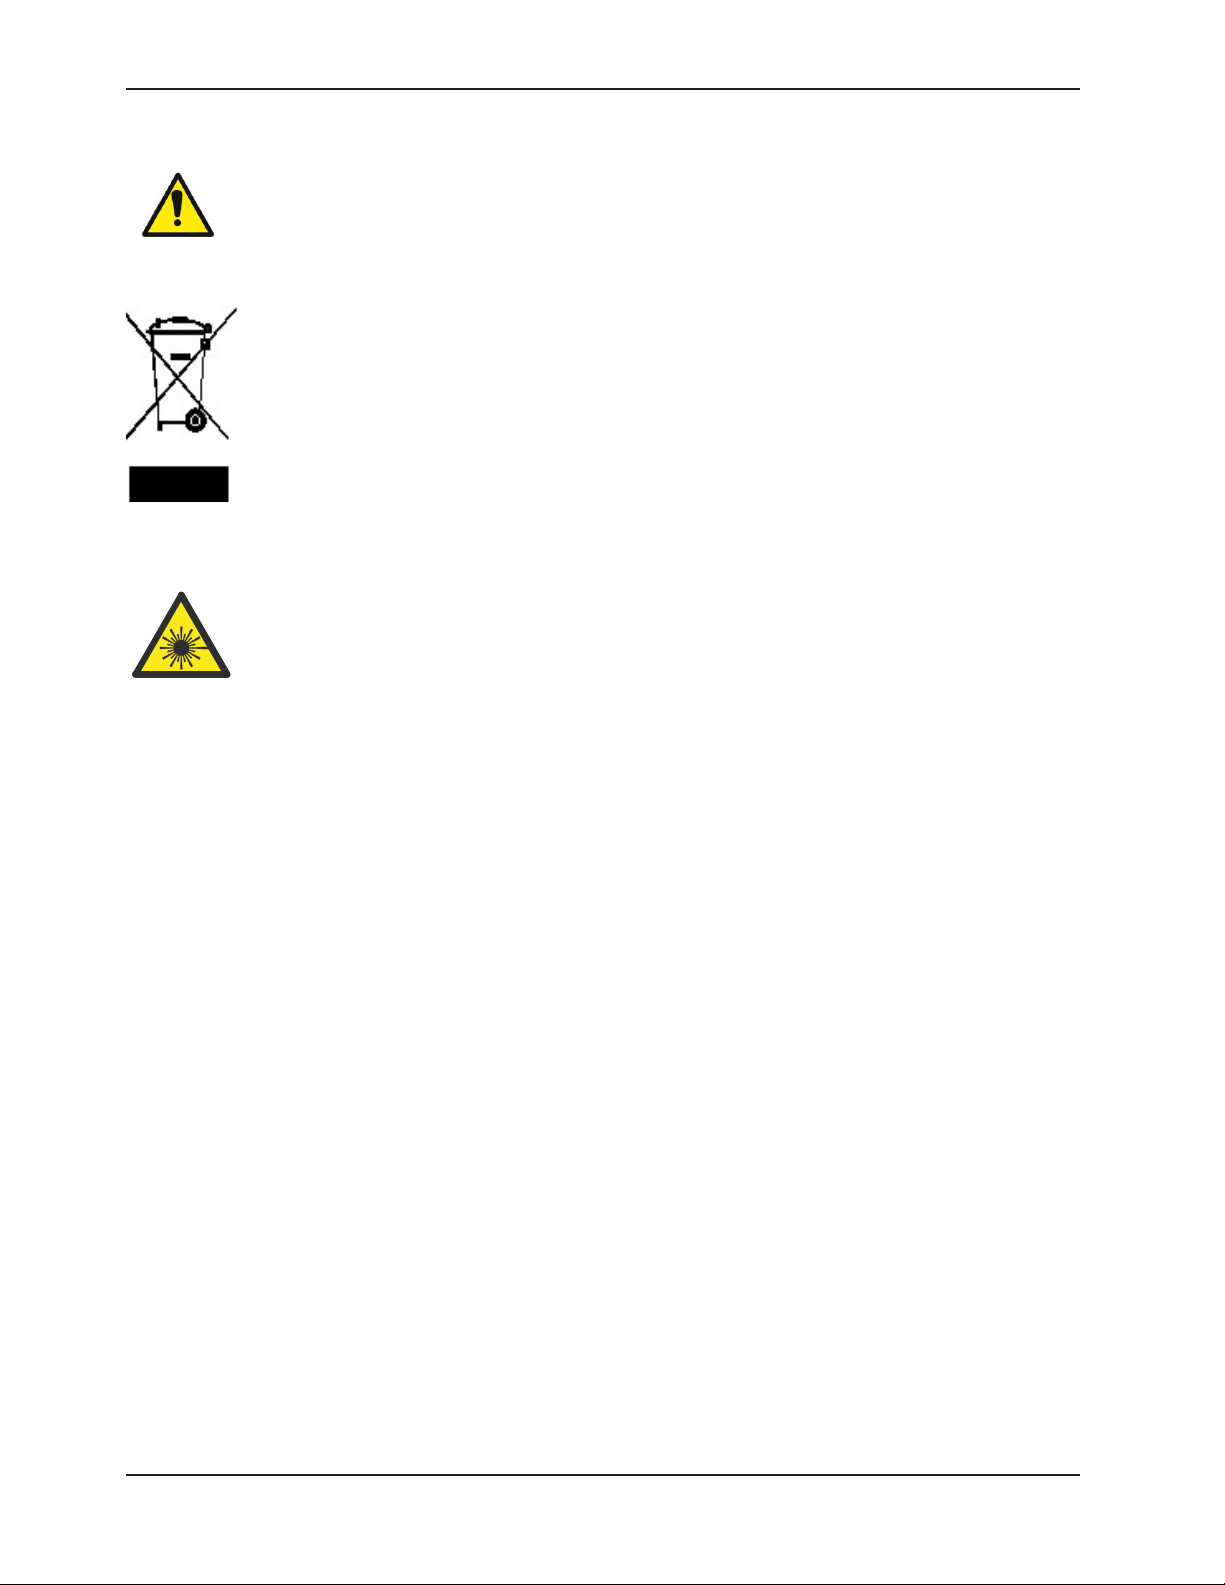
Symbols
Warning, pay special attention.
In accordance with European Directive 2002/96/EC on Waste Electrical and Electronic
Equipment (WEEE), this symbol indicates that the product must not be disposed of as unsorted
municipal waste, but should be collected separately. Refer to your local distributor for return
and/or collection systems available in your country.
Caution must be used when this symbol is present. This symbol indicates a danger for laser
radiation.
Return To Table of Contents
12 CMU056-A1 www.RoperMobile.com
Page 3

Safety Precautions
WARNING
Refer to this Guide when inserting or removing batteries, cables or external peripherals.
•
Operate and store your DAP unit within the temperature limits specied in this Guide.
•
Do not use any pointed objects on the keyboard, door or mechanisms. Doing so may damage the unit.
•
Use the ‘Stylus’ which has been provided with the unit by Roper Mobile Technology, as it has been
•
designed with a non-abrasive material that cannot scratch or damage the touch screen.
Never expose the battery to extreme heat or dispose of by burning.
•
Any attempts to open the case of a CE3240B unit will void the warranty.
•
If you need to use a cable other than the ones provided or recommended by
•
Roper Mobile we recommend that you contact your Customer Service Representative nearest you.
Return To Table of Contents
www.RoperMobile.com CMU056-A1 13
Page 4

FRONT VIEW
Quick Tour
On/Off Key
1.
Light Sensor
2.
EndCap with aDAPtable Extension
3.
Color Screen
4.
Microphone
5.
Battery Status Indicator
6.
Cradle Communication Connector
7.
Head-Set Adapter
8.
Hand Strap Attachment
9.
Trigger Button (both sides)
10.
Function Key
11.
Navigation Key
12.
(Left, Right, Top & Bottom)
3
5
2
10
4
7
12
8
11
1
6
9
Return To Table of Contents
14 CMU056-A1 www.RoperMobile.com
Page 5

BACK VIEW
Release screws for PC & SDIO Card
1.
Access Door
Stylus (Pen) holder
2.
Trigger Buttons (Left & Right)
3.
Speaker
4.
Quick Tour
1
Release screws to change eld replaceable
5.
battery (2 screws left and right).
2
4
3
3
Return To Table of Contents
www.RoperMobile.com CMU056-A1 15
5
Page 6

Getting Started
WARNING
Upon receiving your CE3000B unit, it is strongly recommended that you rst charge the batteries prior to use.
These following messages are likely to appear due to the length of time the unit was stored. When the battery
reaches the low level, the battery status indicator will ash red. The Main Battery eld will be highlighted as
“Low” under the Battery or Status Tab. It will remain highlighted as long as the battery level is between 6% and
16%.
BATTERY WARNINGS
Main Batteries Very Low
Following several hours of use or storage, the main
battery will become very low and this warning will
appear when there is still some power remaining.
At 5% the battery status indicator continues to
ash and a window will display to indicate to the
user that the battery is at a critical level and must
be re-charged. This warning shall be displayed
approximately every 4 minutes for as long as the
battery is below 5 %
.
It is strongly recommended that the batteries be
re-charged immediately to avoid loss of data.
Note: The level at which this warning is to appear
can be congured according to preference. Refer
to “Battery Power Management” for further
instructions.
Main Battery Expired
This warning will appear when the power is too
low.
Turn the unit off immediately and recharge the
batteries.
WARNING
Data may be lost if the unit is not re-charged
immediately.
Backup Battery Low
The backup battery will save programs and les in
the memory for days. The backup battery is used
when replacing the main battery or when the main
battery has expired. The backup battery will be recharged every time the main batteries are charged.
Note: The life of the backup battery will depend
on:
The residual power of the main battery.
•
The amount of memory installed in the unit.
•
Return To Table of Contents
16 CMU056-A1 www.RoperMobile.com
Page 7

Getting Started
CHARGING THE BATTERY
The installation requires the Modular Charger
1.
CSCE300-NA (North America - 110V / 120V
AC Adapter) or the CSCE300-EU (Europe
220V) or the CSCE300-UK (United Kingdom
220 V).
Insert modular charger into round connector
2.
(a) at the back of the cradle.
CSCE300-NA,
CSCE300-EU,
CECE300-UK
Connect the Modular Charger to the wall
3.
outlet.
Insert unit into cradle.
4.
Note:
The CE3240B Battery Status indicator will
•
turn red in the next 5 seconds indicating that
charging is now in progress. The light will turn
green when charging is complete. Charging
may take up to 3 hours.
If the unit was turned off, it should turn back
•
on after a few seconds or after 2 to 3 minutes
if the main battery charge has been very low
for some time. Processing will resume exactly
where it was interrupted once re-charging
starts.
(a)
Return To Table of Contents
www.RoperMobile.com CMU056-A1 17
Page 8

Getting Started
BATTERY STATUS INDICATOR
Color Denition
Red Charger is connected
and charging.
Green Battery is fully charged.
Blinking Red Warning, low battery
Yellow Charger detected, but the
battery charger temperature
is too high or too low to recharge. Charge will start when
temperature is adequate.
No Light Power from the charger
is not detected.
Return To Table of Contents
18 CMU056-A1 www.RoperMobile.com
Page 9

Operation Guide
TURNING THE UNIT ON & OFF
Once charging is complete, the unit will automatically turn itself off after approximately 3 minutes.
Turn Unit On
To turn on the CE3240B Unit, press the
1.
ON / OFF key for 2 seconds and release.
Note: Should the unit not turn on, it could be
because the battery is too low. Refer back to
“Charging the Battery” Section for further
instructions.
Turning the Unit Off Manually
There are two ways to turn the unit off:
Press on the Start button located at the
1.
bottom left corner of the screen and then
select “Suspend”
or
To manually turn off the CE3240B unit, press
2.
the Function Key followed by the ON / OFF
Key.
+
Return To Table of Contents
www.RoperMobile.com CMU056-A1 19
 Loading...