

Page 1
ROVR SIDEKICK™
Installation and Operation
This document describes how to correctly install a
SIDEKICK
is used with the
ROVR™
vehicle tracking unit for convenience in viewing toll rates
ROVR SIDEKICK™
device. The
ROVR
and paying for HOT lane use.
These instructions cover what you need to know to get your ROVR Sidekick up and running:
• Battery Installation
• Sidekick Unit Installation
• Operation
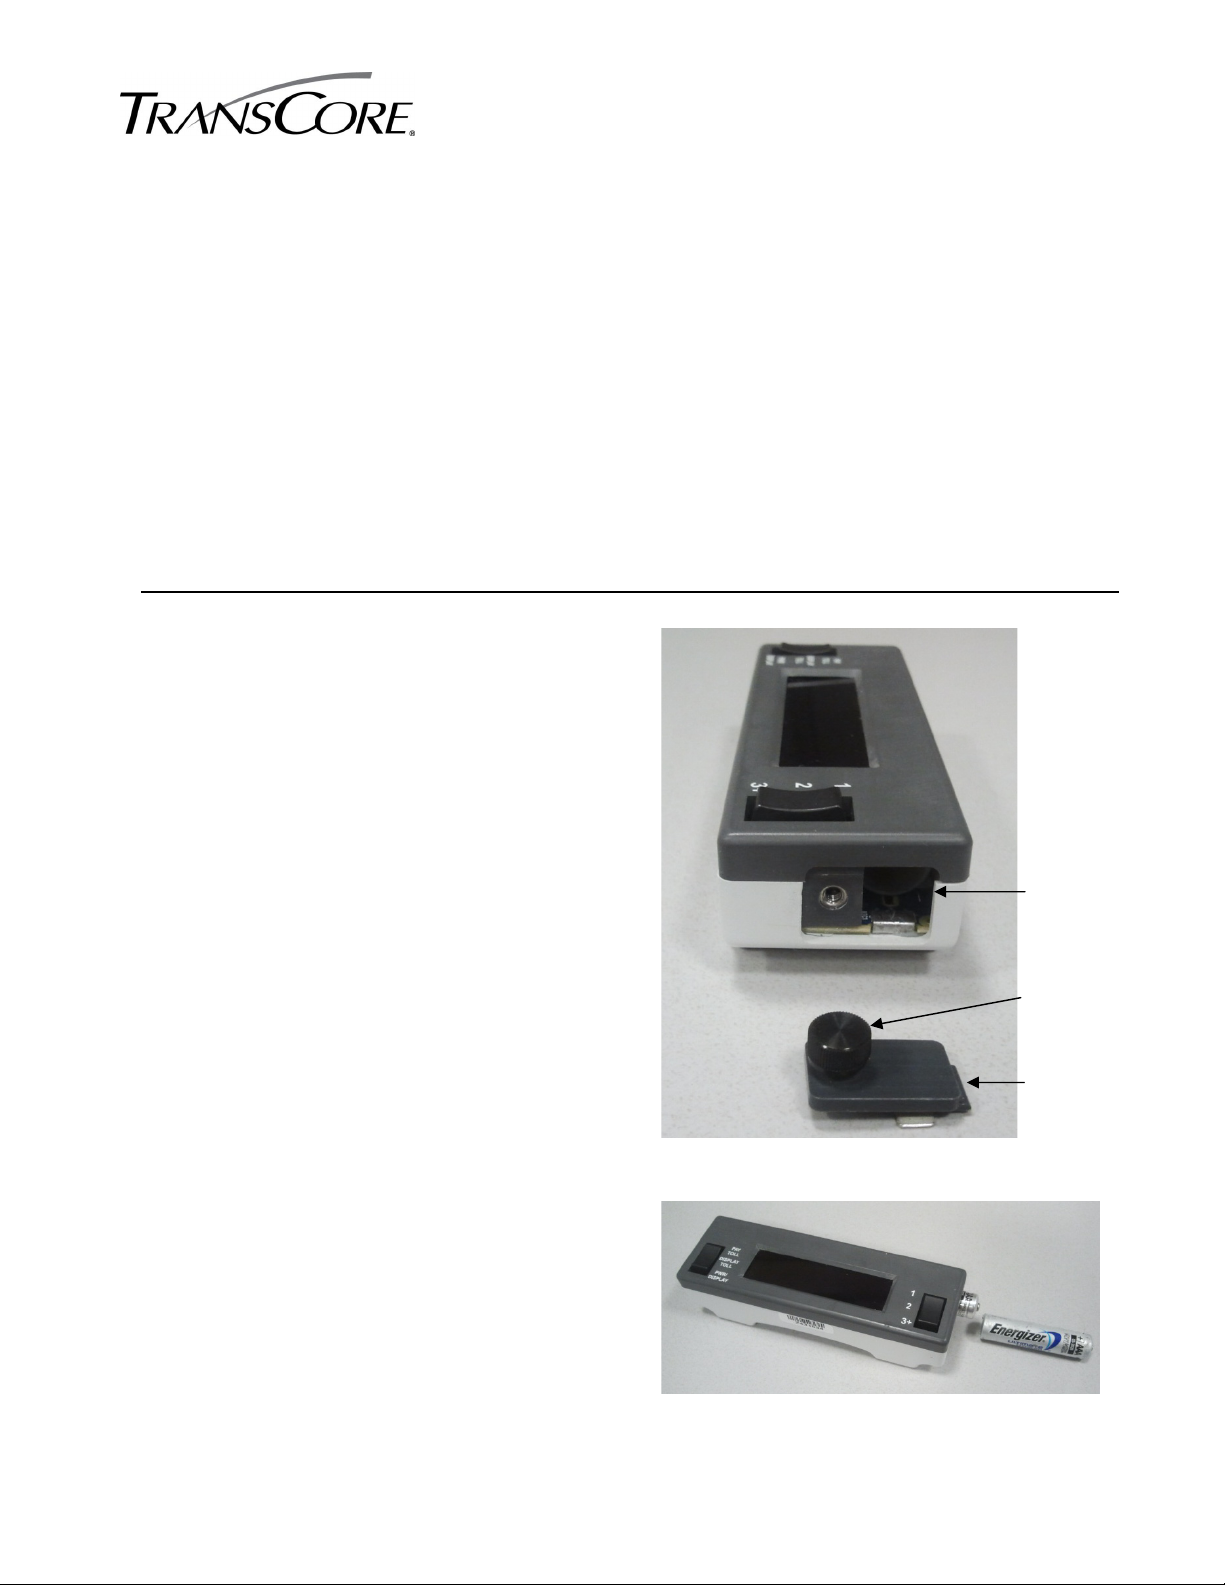
Battery Installation
The Sidekick requires 2 AAA batteries for
operation. Non-rechargeable lithium batteries
1
are recommended for maximum life. Some
high capacity alkaline batteries will also be
sufficient but have shorter lifetimes.
The Sidekick has a battery compartment.
Batteries are inserted in-line to the
compartment through a small door on the
side of the unit.
Open the door by removing the attached
thumbscrew.
Battery
compartment
Thumbscrew
Door (removed)
Insert both batteries negative (-) terminal first.
The top of the batteries will protrude from
2
the opening.
ROVR SIDEKICK Installation and Operation v1.0 | Document Number 412158 Page 1 of 6
Page 2
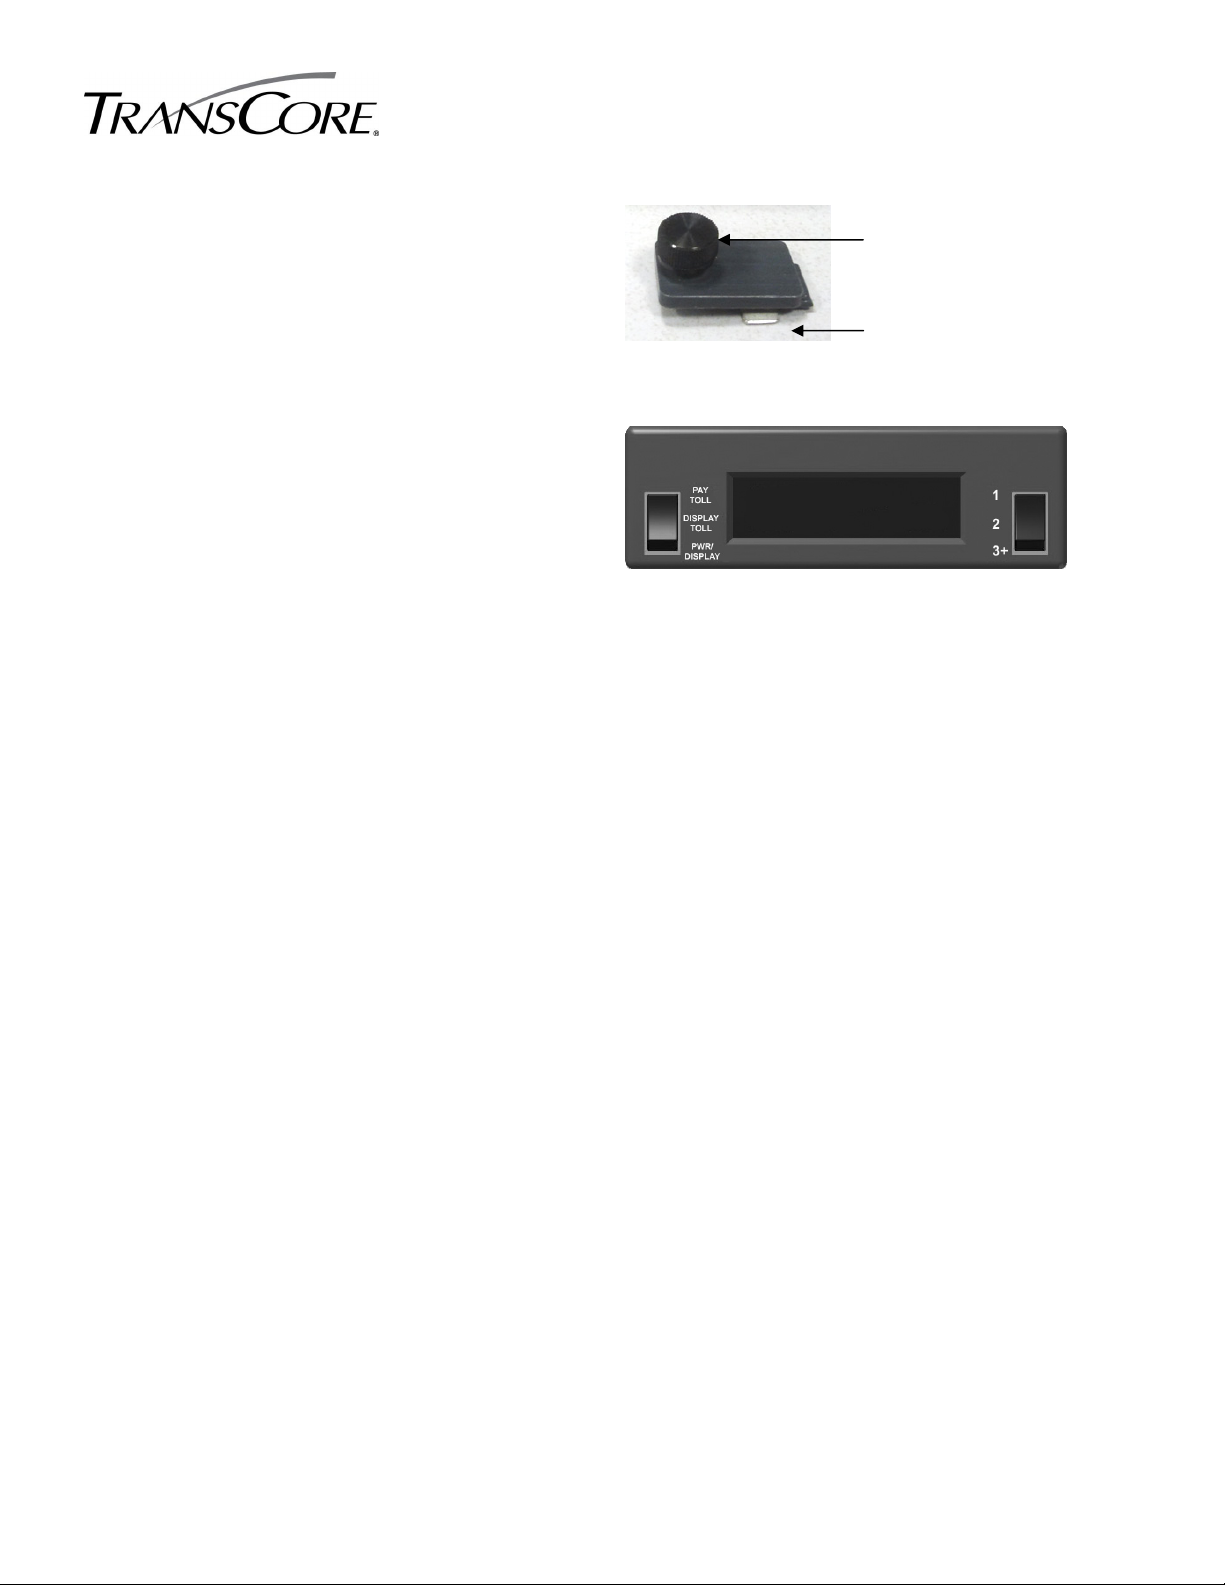
Manipulate the battery tab opposite the
thumbscrew into the opening and screw the
3
door back in. This requires a small amount of
force to overcome the internal battery spring.
Thumbscrew
Battery tab
When the door is fully in place, the display
should light with a message that reads ROVR
4
SIDEKICK, along with a version number.
ROVR SIDEKICK
VERSION X.X
ROVR SIDEKICK Installation and Operation v1.0 | Document Number 412158 Page 2 of 6
Page 3

t
Sidekick Unit Installation
Your ROVR Sidekick kit includes the necessary parts to attach the unit to:
visor
• the vehicle
with a clip, or to
• the
windshield
Clip
Adhesive
with either double-sided adhesive or suction cups.
Visor Moun
Windshield Mount
Suction Cups
ROVR SIDEKICK Installation and Operation v1.0 | Document Number 412158 Page 3 of 6
Page 4

y
Operation
The ROVR Sidekick has two “rocker” switches, one on each side, that allow you to power the unit on and off,
select the number of occupants in your vehicle, and choose to use a HOT lane payment. Each switch has 3
positions: Up, Center, and Down. When you press the switch, it rocks to the position you choose and then
returns to center. A display on the ROVR Sidekick shows messages.
Choose HOT Lane use:
Toll Selection Switch
Select the number of people in your vehicle:
Occupancy Switch
Up: Use HOT lane & pay toll
Center: See toll only–don’t use
Down: Turn ON or see last
message. Press and hold to
HOT
et
turn OFF.
Screen displays
messages here
Turn On the ROVR Sidekick
Press PWR/Display. The ROVR Sidekick display
shows this message on power-up:
Set Number of Occupants
If it will be just you in the vehicle, select 1 (Up)
1
with the Occupancy Switch.
Up: 1 person in vehicle
Center: 2 people in vehicle
Down: 3+ people in vehicle
NO TOLL INFO
1 PERSON
For two passengers, select 2 (Center) with the
2
Occupancy Switch.
For three passengers, select 3 (Down) with the
3
Occupancy Switch.
ROVR SIDEKICK Installation and Operation v1.0 | Document Number 412158 Page 4 of 6
2 PEOPLE
3 PEOPLE
Page 5

A
Use the HOT Lane
Make sure you have selected the correct
1
number of occupants.
Enter Pre-Toll Geo-zone. Choose DISPLAY
TOLL (Center) –or- press PWR/DISPLAY
(Down). The ROVR Sidekick shows the toll
2
amount. Continue current route towards
the HOT Lane.
Press PAY TOLL (Up). The ROVR Sidekick
3
confirms your choice.
Enter Toll area. You are charged according to
your occupancy setting:
4
2 PEOPLE
HOT LANE AHEAD
TOLL
$2.34
LLOW CHARGES
2 PEOPLE
HOT LANE ENTRY
PAID
$2.34
Check Toll but Skip the HOT Lane
Make sure you have selected the correct
1
number of occupants.
Enter Pre-Toll area. Choose DISPLAY TOLL –
or- press PWR/DISPLAY. The ROVR Sidekick
2
confirms the command.
The ROVR Sidekick shows the toll amount. If
you decide you don’t want to use the HOT
3
lane and pay the toll, do not enter the Toll
Geo-zone.
2 PEOPLE
DO NOT USE HOT
DISPLAY TOLL ONLY
HOT LANE AHEAD
TOLL
$2.34
ROVR SIDEKICK Installation and Operation v1.0 | Document Number 412158 Page 5 of 6
Page 6

Turn Off the ROVR Sidekick
Press and hold PWR/DISPLAY for 2.5 seconds.
This message flashes before the ROVR Sidekick
powers off:
Regulatory and Compliance
TURNING OFF
This equipment has been tested and found to comply with the limits for a Class B digital device,
pursuant to Part 15 of the FCC Rules, and Industry Canada license-exempt RSS standard(s). Operation is
subject to the following two conditions: (1) This device may not cause harmful interference, and (2) this
device must accept any interference received, including interference that may cause undesired
operation.
The Sidekick™ may not be modified, altered, or changed in any way without permission from
TransCore, LP. Unauthorized modification may void the equipment authorization from the FCC and will
void the TransCore warranty.
www.transcore.com
©2012 TC License, Ltd. All rights reserved. TRANSCORE is a registered trademark and is used under license. ROVR is a trademark of
TransCore and Cartasite. ROVR SIDEKICK is a trademark of TransCore. All other trademarks listed are the property of their respective
owners. Contents subject to change. Printed in the U.S.A..
A T I O N S
ROVR SIDEKICK Installation and Operation v1.0 | Document Number 412158 Page 6 of 6
 Loading...