

Page 1
JED
Installation Instructions
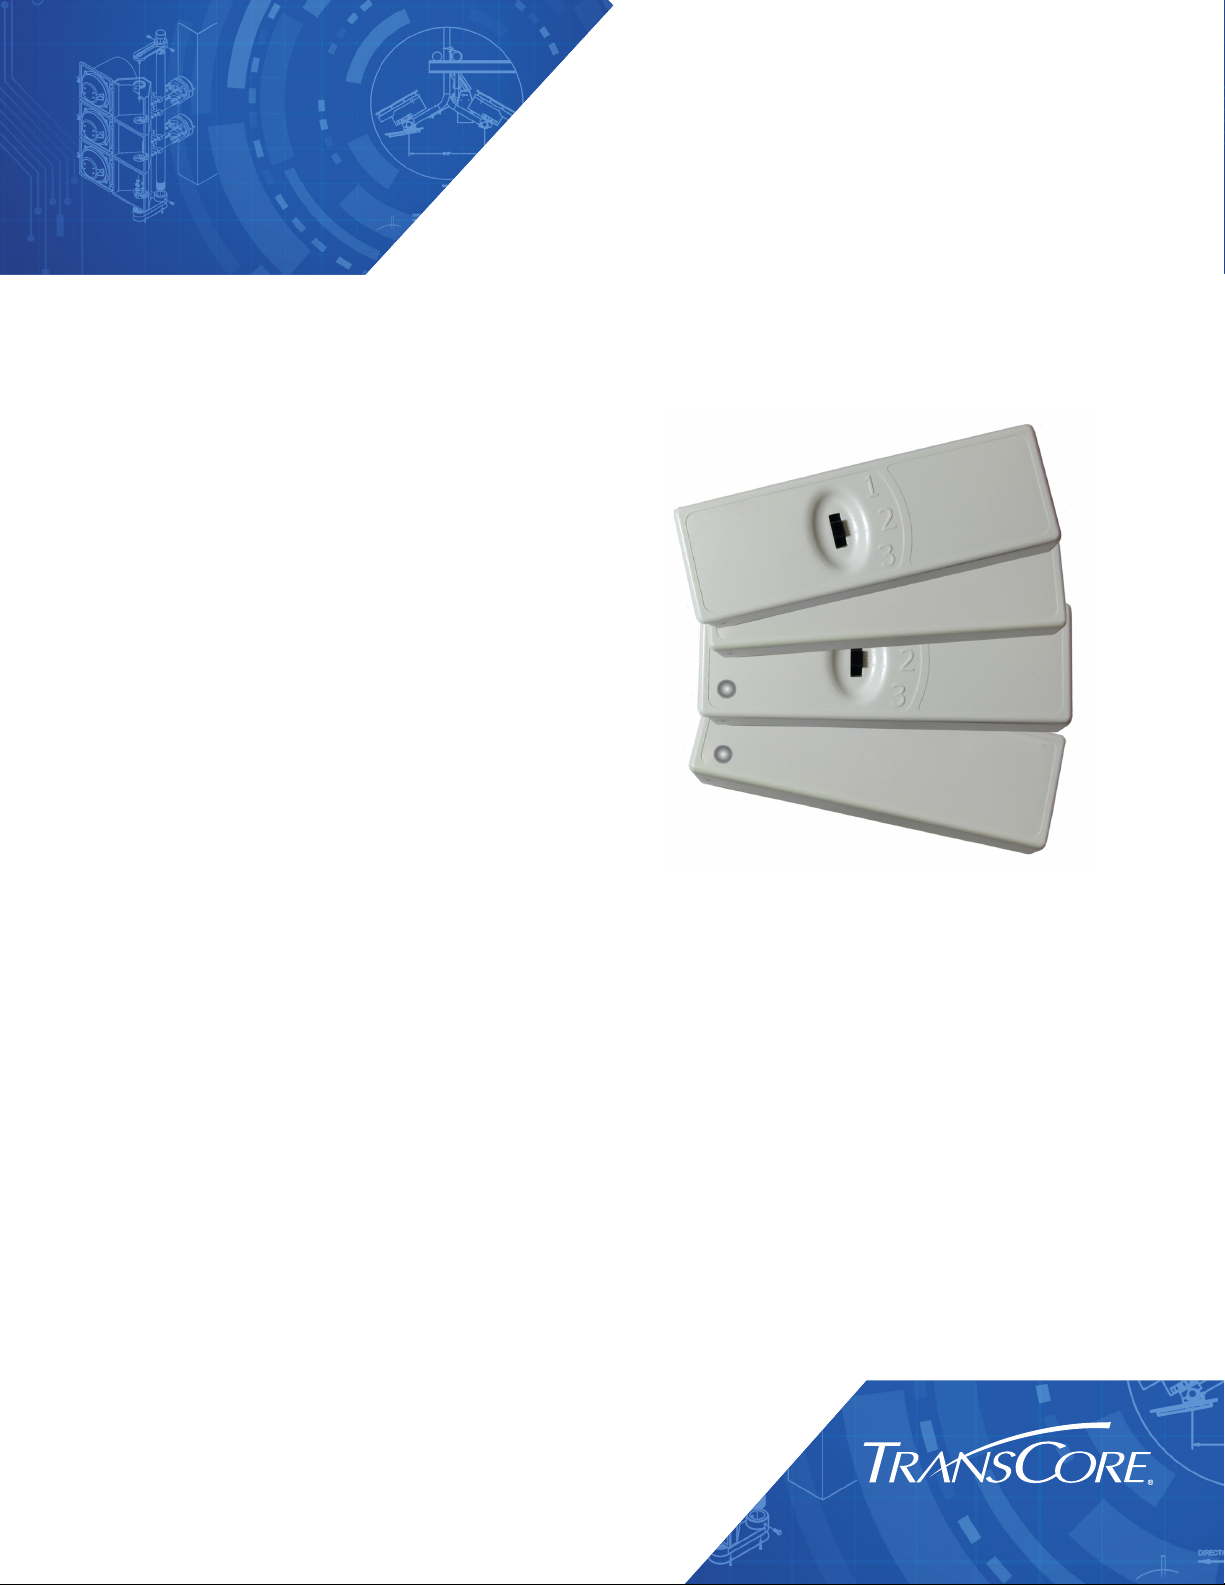
TransCore’s JED is an IAG radio
frequency identification (RFID) tag with
integrated technology for easy user
configuration.
The JED can be configured with a
3-position switch, allowing users to
manually select from 3 options. It is
also available in a non-switchable case.
A multi-color LED can be included in
16-6200-012 Rev X2 1/20
the case configuration when visual
feedback is desired.
General Installation Information
Metallized Windshields: Some vehicle windshields contain a metallic treatment that could prevent an
interior windshield-mounted tag from working correctly. If you have a vehicle with a metallized windshield,
you may need to install an exterior tag on your vehicle instead of the interior windshield-mounted tag.
Contact your local tag customer service center for more information.
Metal-Free Zone: Some vehicles with metallized windshields have a metal-free zone, usually located near
the rearview mirror. If your windshield has this zone, center the tag in that area and follow the installation
instructions listed in these pages.
Tinted Windshield: Some vehicles have a metallic tint across the top of the windshield that might interfere
with reading the tag. If your windshield has this metallic tint, install the tag at least 2 inches (5.1 cm) below
the tinted area. Nonmetallic tint does not aect tag performance.
Metal Sun Visors: Some vehicles have an exterior-mounted sun visor that might interfere with reading the
tag. If your vehicle has this visor, mount the tag at least 2 inches (5.1 cm) below the visor.
Trusted Transportation Solutions
Page 2
Installation Instructions
Tag Installation and Removal Procedures
The JED tag is designed for mounting to a vehicle’s interior windshield surface. It may be equipped with
3M™ Dual Lock™, hook-and-loop, or suction cups.
Required Supplies
• JED
• Commercial glass cleaner and paper towels
Installing the Tag
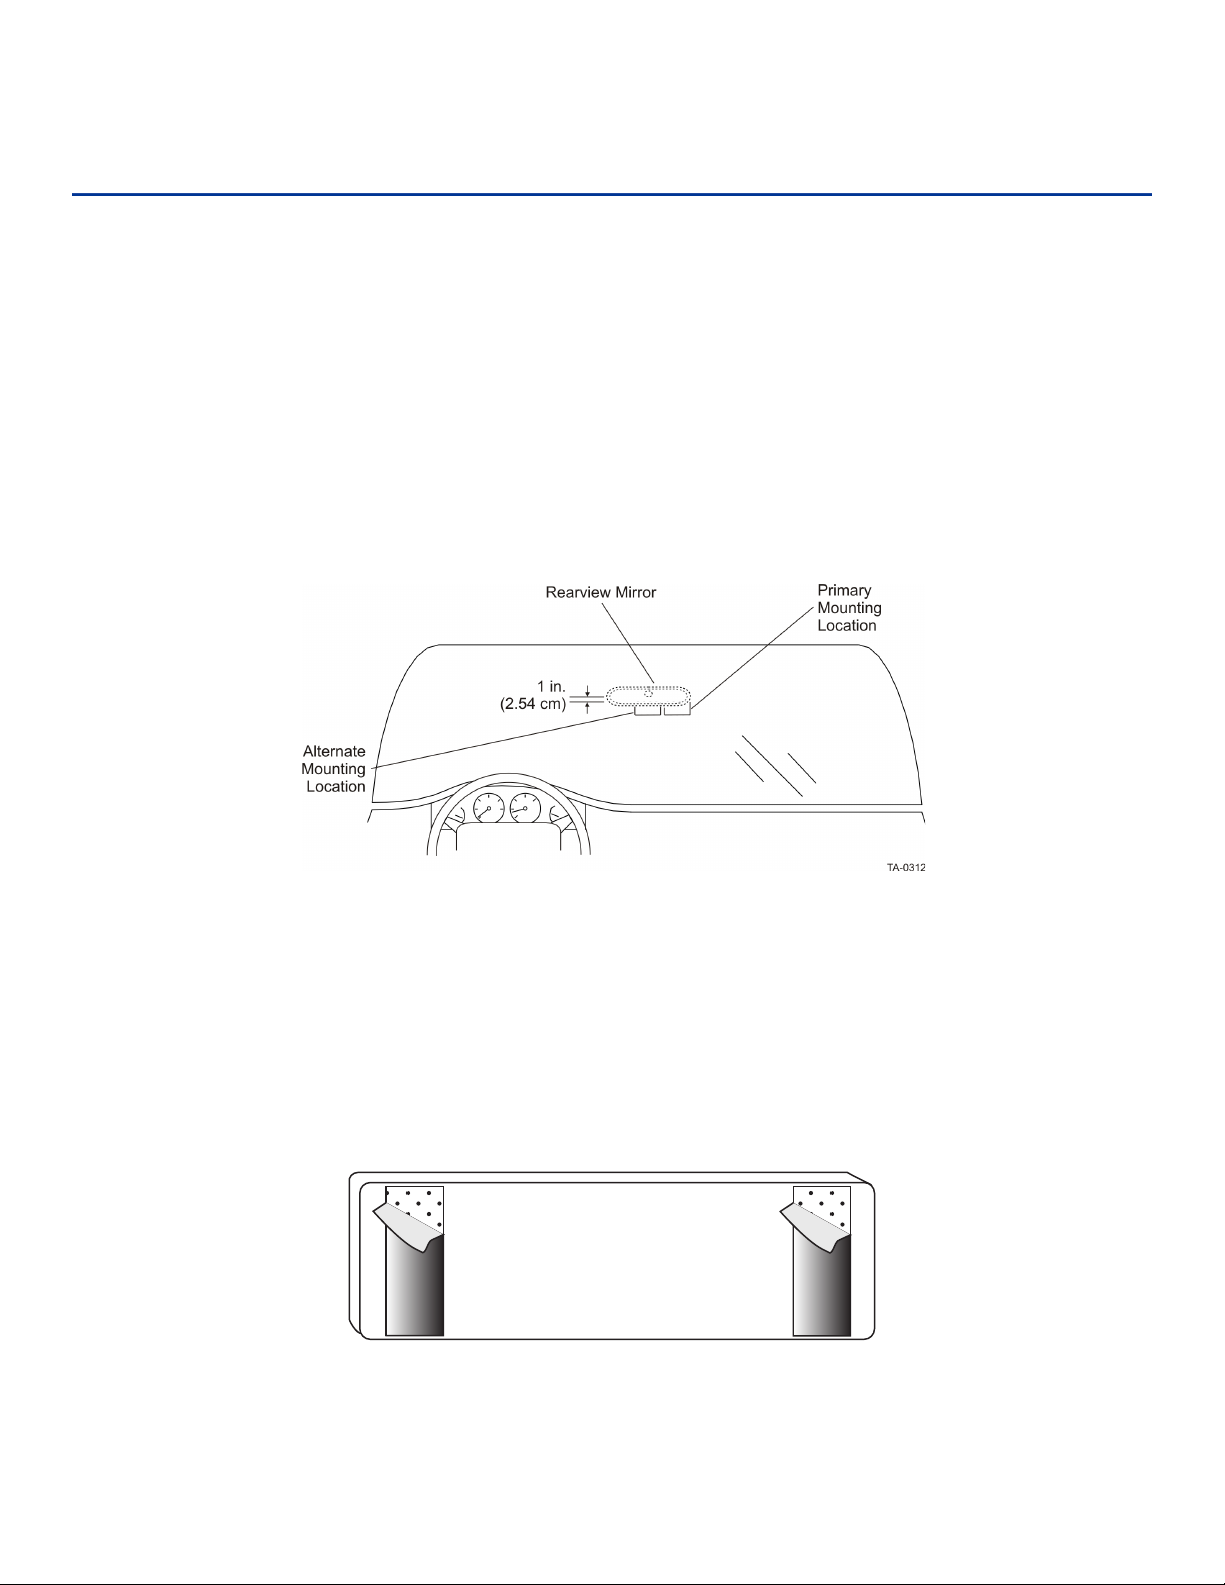
Choose the location for your tag (Figure 1). The tag should be mounted approximately 1 inch (2.54 cm)
below the rear view mirror post.
Figure 1 Optimum Locations for Tag Performance
Clean and dry the interior windshield surface completely before mounting the tag. The windshield
temperature must be at least 68ºF (20ºC) for optimum bonding.
Dual lock or hook-and-loop mounting strips
1. Peel the backing from the mounting strips to expose adhesive (Figure 2). Leave both sides of the strips
pressed together to ensure the strips will align between the tag and the windshield. Apply the tag to
the windshield using moderate pressure.
Figure 2 Peel backing from mounting strips to expose adhesive
2
Page 3

JED Tag
2. Hold the tag so that the printed text or image is right side up and facing toward you ( Figure 3). Press
the tag against the windshield and hold for 10 seconds.
Note: When installing the tag using the mounting strips for the first time, leave the tag in
place for at least 24 hours to allow the adhesive to cure.
Figure 3 Correct Tag Orientation
Suction cups
1. Hold the tag so that the printed text or image is right side up and facing toward you (Figure 3).
2. Moisten the cups and stick the tag to the windshield.
3. Press the tag against the windshield and hold for 10 seconds.
Removing the Tag
To remove a tag installed with mounting strips from the windshield, grip the tag at the top and bottom
sides. Gently lift the tag away from the windshield on one end until the tag is free from the windshield.
To remove a tag installed with suction cups, slide a finger under the tab on the suction cup to loosen it
from the windshield surface.
3
Page 4

Installation Instructions
CAUTION:
THIS EQUIPMENT MAY NOT BE MODIFIED, ALTERED, OR CHANGED IN ANY WAY WITHOUT
PERMISSION. UNAUTHORIZED MODIFICATION MAY VOID THE EQUIPMENT AUTHORIZATION FROM
THE FCC AND WILL VOID THE WARRANTY.
MISE EN GARDE :
IL EST INTERDIT DE MODIFIER, D’ALTÉRER OU D’APPORTER DES CHANGEMENTS À CET APPAREIL
DE QUELQUE MANIÈRE QUE CE SOIT SANS AUTORISATION. TOUTE MODIFICATION NON AUTORISÉE
PEUT ANNULER L’AUTORISATION D’UTILISATION ACCORDÉE ET ANNULERA LA GARANTIE.
This device complies with Part 15 of the FCC Rules. Operation is subject to the following two
conditions:
NO UNAUTHORIZED MODIFICATIONS STATEMENT
AUCUNE MODIFICATION NON AUTORISÉE
RADIO FREQUENCY INTERFERENCE STATEMENTS
1 ) This device may not cause interference, and
2 ) This device must accept any interference, including interference that may cause
undesired operation of this device.
RADIO FREQUENCY INTERFERENCE STATEMENTS
This device complies with Industry Canada’s licence-exempt RSSs. Operation is subject to the
following two conditions:
1 ) This device may not cause interference, and
2 ) This device must accept any interference, including interference that may cause
undesired operation of this device.
DÉCLARATION SUR LES INTERFÉRENCES DES FRÉQUENCES RADIO
Le présent appareil est conforme aux CNR d’Industrie Canada applicables aux appareils radio
exempts de licence. L’exploitation est autorisée aux deux conditions suivantes:
1 ) L’appareil ne doit pas produire de brouillage, et
2 ) L’utilisateur del’appareil doit accepter tout brouillage radioélectrique subi, même si le
brouillage est susceptible d’en compromettre le fonctionnement.
4
Page 5

Page 6

For more information:
Sales Support
800.923.4824
Technical Support
505.856.8007
transcore.com
Trusted Transportation Solutions
© 2020 TransCore LP. All rights reserved. TRANSCORE is a registered trademark and
is used under license. All other trademarks listed are the property of their respective
owners. Contents subject to change. Printed in the U.S.A.
 Loading...