

Trane MCC 518 ZB, MCC 524 ZB, MCC 530 ZB, MCC 536 ZB, MCC 048 ZB Installation Manual
MCC-SVN02A-EN
Models
Cooling Only
MCC 518 ZB
MCC 524 ZB
MCC 530 ZB
MCC 536 ZB
MCC 048 ZB
October 2007
Installation Manual
Split System,
18,000 - 48,000 Btu/h
Under ceiling T ype
MCC Series 50 Hz
CASSETTE

MCC-SVN02A-EN
General Information
General Information
This Installation Manual is given as a
guide to good practice in the
installation by the installer of MCC
mini-split system. Installation
procedur es should be performed in
the sequence that they appear in this
manual.
For installing the unit to operate
properly and r eliably, it must be
installed in accor dance with these
instructions. Also, the services of a
qualied service technician should be
employed, thr ough the maintenance
contract with a r eputable ser vice
company .
Read this Installation Manual
completely befor e installing the
air conditioning system.
About this Manual
Cautions appear at appr opriate
places in this Installation Manual.
Your personal safety and the pr oper
operation of this machine r equire that
you follow them car efully.
The T rane Company assumes no
liability for installations or servicing
performed by unqualied personnel.
All phases of the installation of this air
conditioning system must conform to
all national, pr ovincial, state and local
codes.
About the Unit
These MCC units ar e assembled,
pressur e tested, dehydrated, char ged
and run tested befor e shipment. The
information contained in this manual
applies to MCC units ar e designed to
operate in cooling mode only .
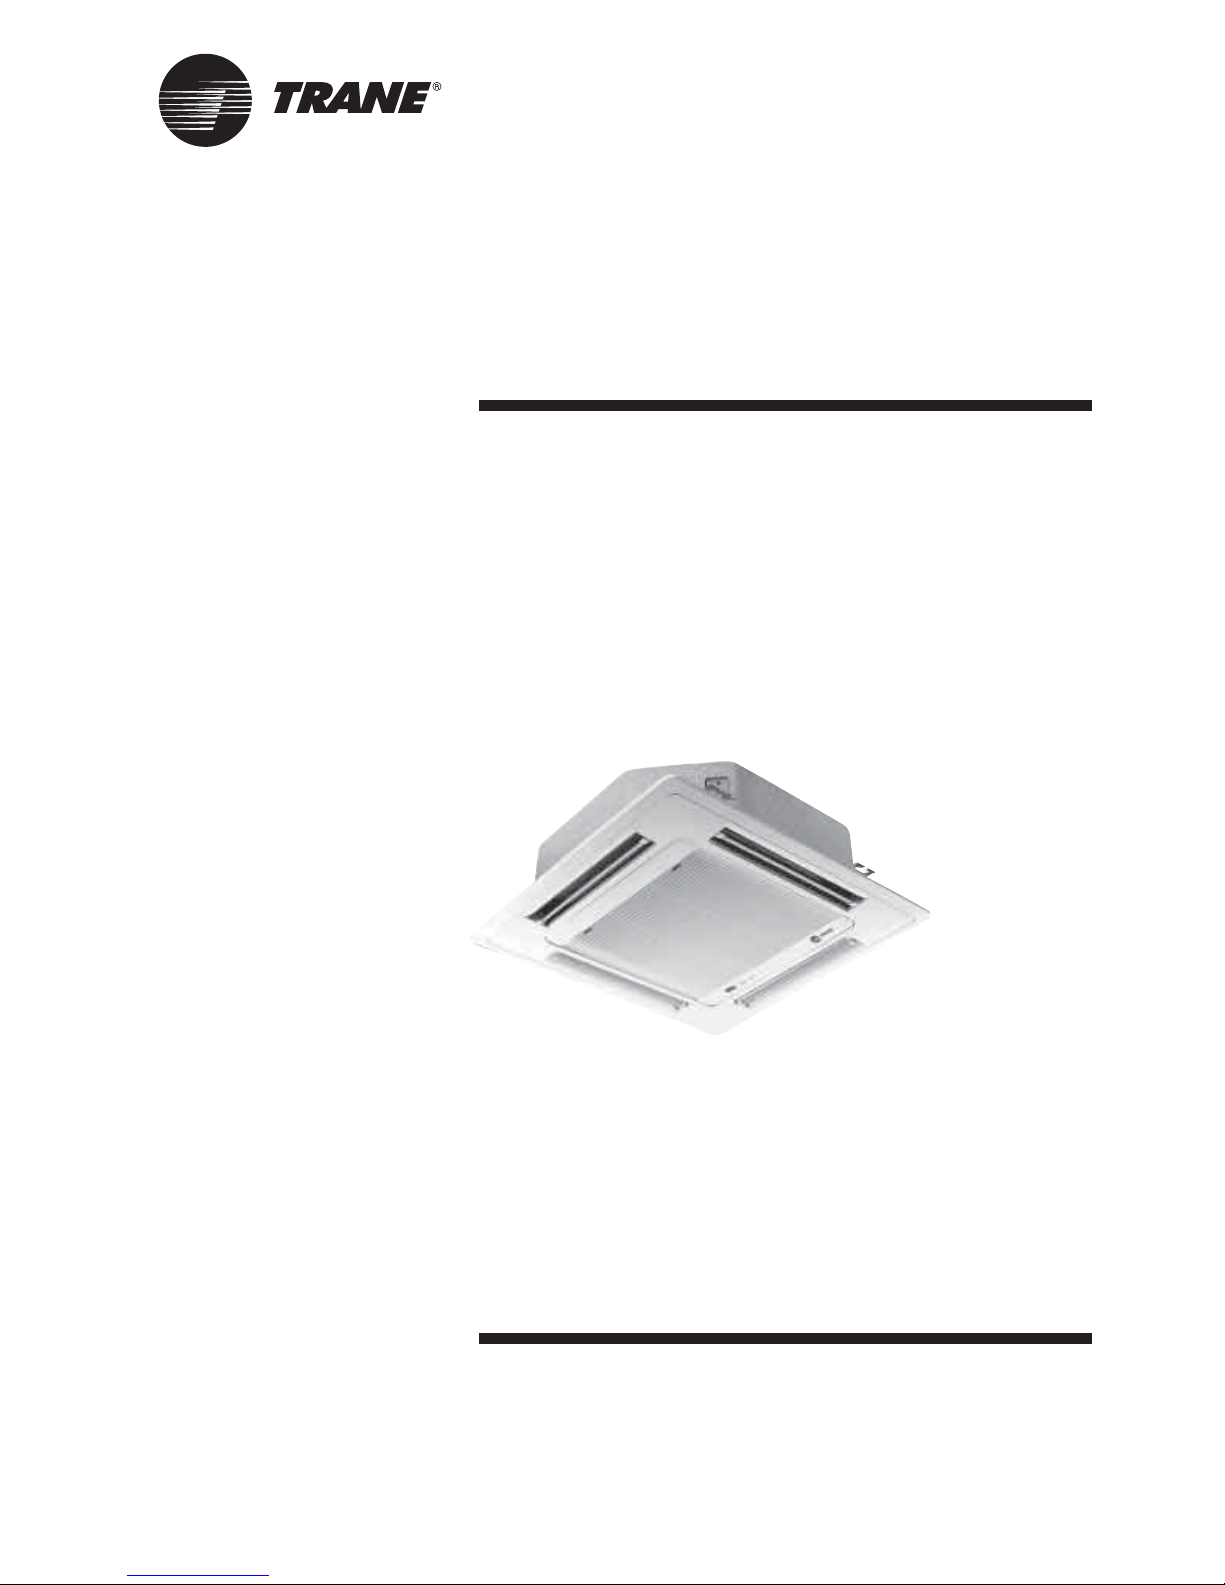
Trane MCC series of fer ceiling
mounted installation to leave the oor
space unclutter ed, and equipped with
LCD wir eless r emote contr ol.
Reception
On ar rival, inspect the unit befor e
signing the delivery note. Specify any
damage of the unit on the delivery
note, and send a r egister ed letter of
protest to the last carrier of the goods
within 72 hours of delivery . Notify the
dealer at the same time.
The unit should be totally inspected
within 7 days of delivery . If any
concealed damage is discover ed,
send a r egister ed letter of pr otest to
the carrier within 7 days of delivery
and notify the dealer .
Wa rning
Warnings ar e pr ovided at appr opriate
places in this manual to indicate to
installers, operators and service
personnel of potentially hazar dous
situations which, if not avoided,
COULD r esult in death or serious
injury.
Caution
Cautions ar e provided at appr opriate
places in this manual to indicate to
installers, operators, and service
personnel of potentially hazar dous
situations which, if not avoided, MA Y
result in minor or moderate injury or
malfunction of the unit.
Your personal safety and the pr oper
operation of this unit r equire that you
follow them car efully. The T rane
Company assumes no liability for
installations or servicing performed by
unqualied personnel.
Wa rranty
Warranty is based on the general
terms and conditions by country . The
warranty is void if the equipment is
modied or r epair ed without the
written appr oval of The T rane
Company , if the operating limits ar e
exceeded or if the contr ol system or
the electrical wiring is modied.
Damage due to inappr opriate
installation, lack of knowledge or
failure to comply with the
manufactur er’s instructions, is not
cover ed by the warranty obligation.
If the installation does not conform to
the rules described in Installation
Manual, it may entail cancellation of
warranty and liabilities by The T rane
Company .
Important
This document is customer pr operty
and is to r emain with unit. Please
place in service information pack upon
completion of work.
These instructions do not cover all
variations in systems, nor do they
provide for every possible contingency
to be met in connection with
installation.
Should further information be desir ed
or should par ticular pr oblems arise
which ar e not cover ed suf ciently in
this manual, the matter should be
referred to your authorized T rane
dealer.
MCC-SVN02A-EN
3
Contents
4
MCC-SVN02A-EN
Figure 1
Figure 2
Figure 3
Figure 4
Figure 5
more than
100 cm.
more than
100 cm.
Lock Nut
Washers
Suspension
Bracket
Cross Section
of Air Outlet
Indoor Unit Installation
Where to install Indoor Unit
• There should not be any heat
source or steam near the unit.
• There should not be any obstacles
to prevent the air circulation.
• A place where air circulation in the
room will be good.
• A place where drainage can be
easily obtained.
• A place where noise prevention is
taken into consideration.
• Do not install the unit near the
door way.
Indoor Unit Installation
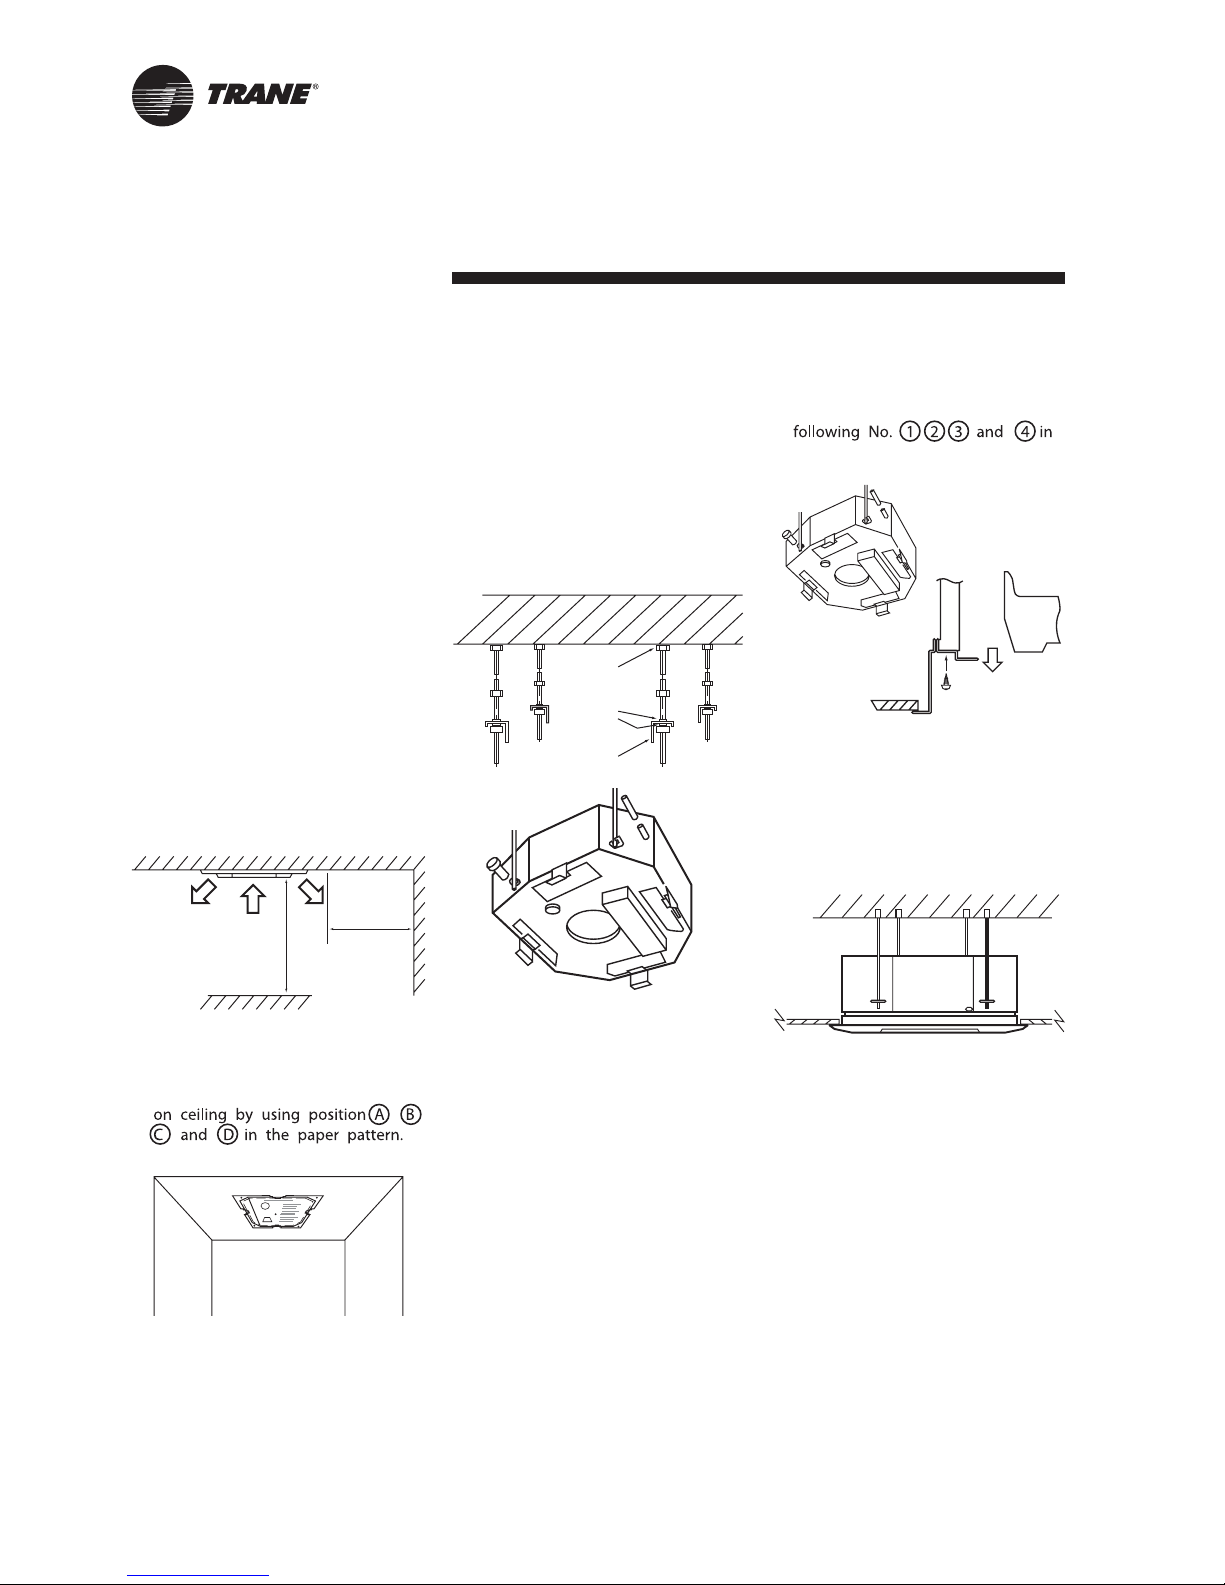
• Select the location where a space
is more than 100 cm. as shown in
gure 1 also ensure that the
position dose not interfere with
light tting, sprinkle head, etc.
• Determine the ceiling hole by using
the paper pattern.
- Determine the mounting position
• Hang the four mounting rods to the
positions marked as picture shown
in gure 3 (using twelve nuts and
eight washers to support the
suspension brackets). Suspend
the unit to the mounting rods.
Lock the nuts, ensure for good
drainage, and check whether the
unit is on horizontal level by using
leveling guage.
• Install the leveling metal plate to
adjust the gap between the unit
and a ceiling, xing the screws
paper pattern.
• Remove four screws (M8). Fix the
front panel with the units by tighten
up four screws (M8).
Caution: Over tightening the screws
will distort the front panel.
MCC-SVN02A-EN
5
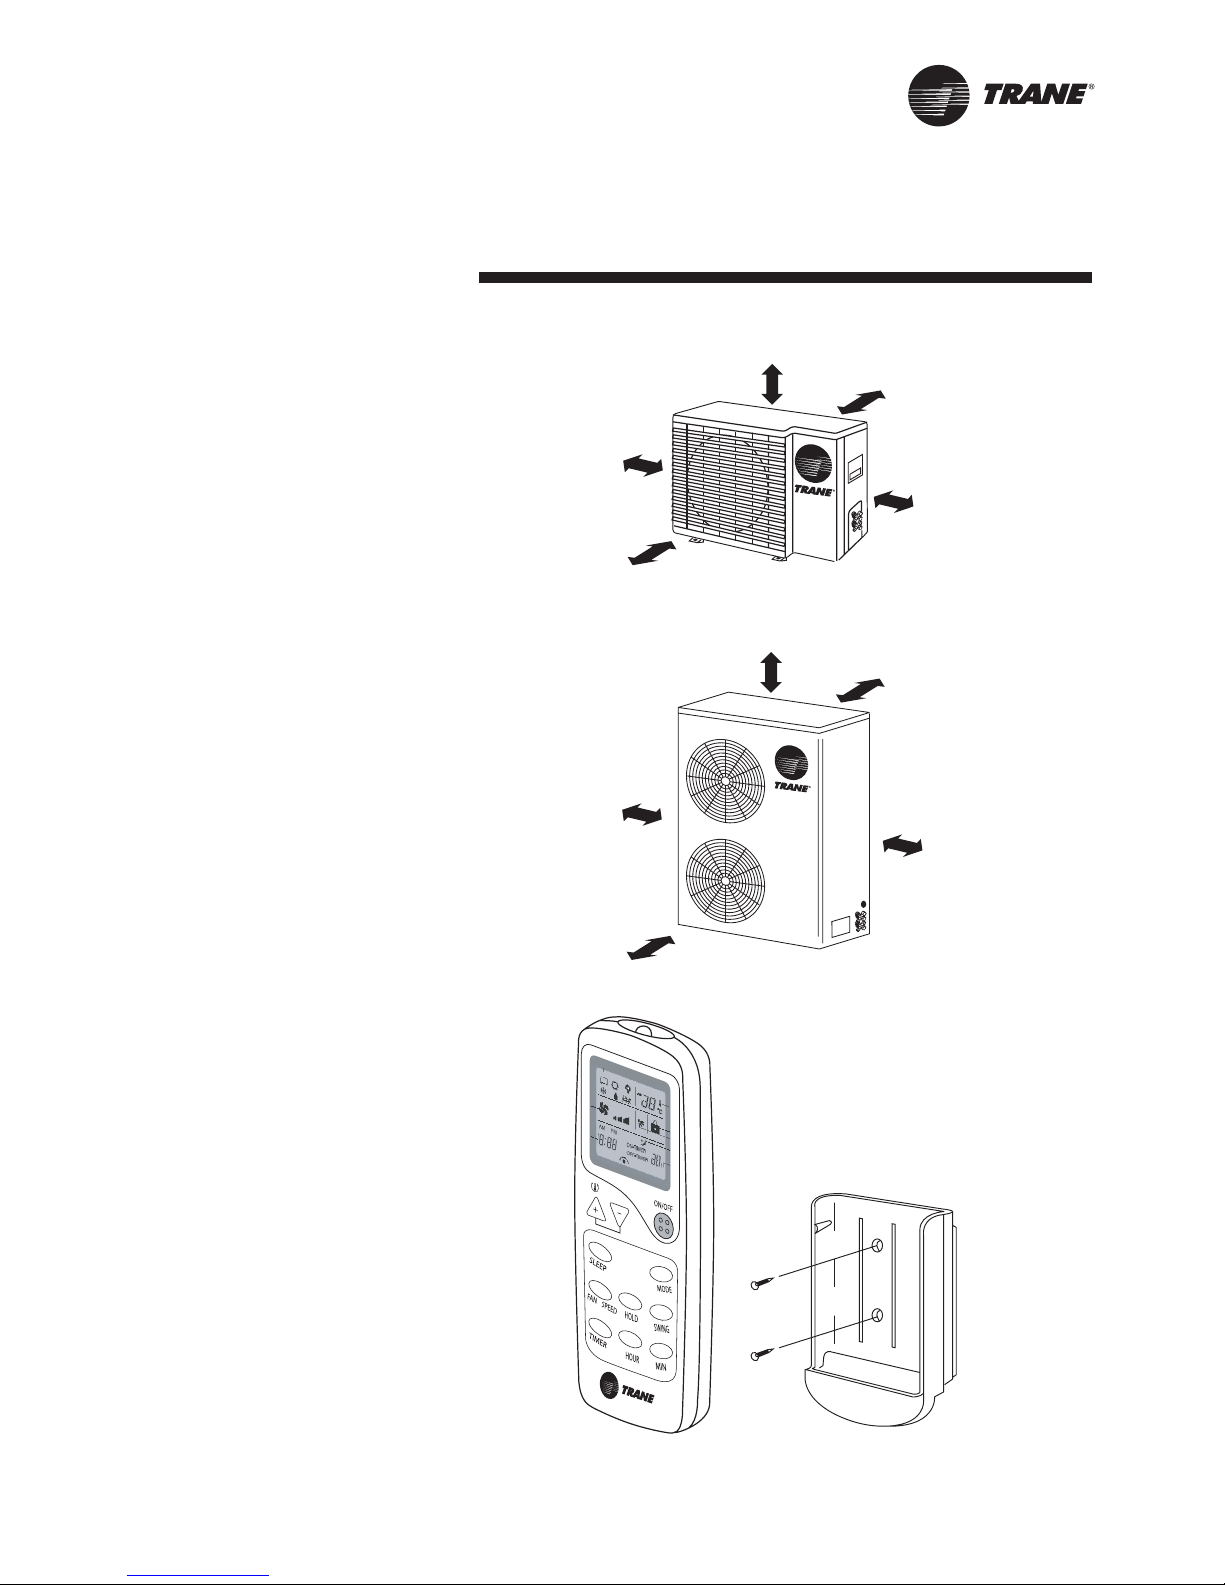
Figur e 6
Figur e 7
more than 10 cm.
more than 10 cm.
more than 10 cm.
more than 70 cm.
more than 35 cm.
more than 30 cm.
more than 10 cm.
more than 30 cm.
more than 120 cm.
more than 35 cm.
Wir eless Remote Control
Figur e 8
Outdoor Unit Installation
Wher e to install Outdoor
Unit
• The foundation must be solid
enough to bear the weight and
vibration of the unit.
• The space ar ound the unit is
adequate for ventilation.
• The location is not close to any
amable gases.
• The location is sufciently isolated
so that the running noise and the
hot exhaust air do not disturb the
users or their neighbors.
• Easy access to check and to
maintain.
• Ensur e the spaces indicated by
arrows fr om the wall, ceiling, fence,
or other obstacles.
Caution
Installation in the following places may
cause pr oblems. If it is unavoidable to
use such places, consult with your
distributor or dealer .
• A place with machine oil.
• A saline place such as a place very
close to a seashore.
• A place with sulphur gas.
• A place where high-fr equency
waves are generated by radio
equipment, welder and medical
equipment.
Remote Contr ol
Installation
Locate and attach the wireless
remote contr ol as follows:
• Do not place the remote control
near heat sources or expose to
the direct rays of the sun.
• Do not expose the remote control
to the indoor unit’s supply air
stream.
• Do not place in a conned space.
• Attach the remote control holder
as shown in gure 8.
 Loading...