

Trail Cameras BG-520HD, BG-520MMS User Manual
User’s Manual
(GSM/MMS/SMS)
Infrared Mobile HD Digital Scouting camera
BG-520HD and BG-520MMS

Table of contents
1 Instructions.........................................................................................................................1
1.1 General Description .....................................................................................................1
1.2 Camera Body Interfaces ................................................................................................1
1.3 Camera components and features……………………………………………………………………………… 2
1.4 remote control………………………………………………………………………………………………………………3
1.4.1 Navigating ............................................................................................................ 4
1.4.2 Characters.........................................................................................................……4
1.5 Shooting Information Display ...................................................................................... 4
1.6 MMS function...............................................................................................................5
1.7 Supported Format..........................................................................................................5
2 Cautions...............................................................................................................................6
3 Easy Operations.......................................................................................................................7
3.1 Power Supply..................................................................................................................7
3.2 Insert the SD-card and the SIM-card................................................................................7
3.3 Power on and Enter into the ON Mode ........................................................................ ..7
3.4 Enter into the TEST Mode................................................................................................8
3.4.1 Custom Settings........................................................................................................8
3.4.2 Manual Capturing.................................................................................................. …8
3.4.3 View Images or Videos........................................................................................... …8
3.4.4 Send MMS.................................................................................................................8
3.5 Power Off ........................................................................................................................8
4 Advanced Operations..................................................................................................................9
4.1 Settings Menu ...................................................................................................................9
4.1.1 Camera setting…………………………………………………………………………………………………………..10
4.1.2 Video setting……………………………………………………………………………………………………………..11
4.1.3 System setting…………………………………………………………………………………………………………….12
4.1.4 Default Setting ......................................................................................................…….13
4.1.5 General Settings.................................................................................................... …….13
4.1.6 Set Camera Mode........................................................................................................ 13
4.1.7 Format SD-Card........................................................................................................... 13
4.1.8 Set Photo Size.........................................................................................................……14
4.1.9 Set Video Size................................................................................................................ 14
4.1.10 Set Date and Time .....................................................................................................14
4.1.11 Set Photo Burst...........................................................................................................15
4.1.12 Set Video Length ....................................................................................................... 15
4.1.13 Set Video Sound..........................................................................................................15
4.1.14 Set PIR Triggering Interval Time...................................................................................16
4.1.15 Set PIR Sensitivity.................................................................................................……..16
4.1.16 Set Timer................................................................................................................……16
4.1.17 Set Flash Range .......................................................................................................... 17
4.1.18 MMS Settings............................................................................................................ ..17
4.1.19 Set MMS Mode........................................................................................................... 18
4.1.20 Set Send to............................................................................................................. …..18
4.1.21 Enter Password......................................................................................................…….19
4.1.22 Reset to Default Settings.......................................................................................……..19

4.2 Playback........................................................................................................................... 19
4.2.1 Viewing Photo or Video .......................................................................................... 19
4.2.2 Delete Photo or Video...............................................................................................19
4.2.3 Send MMS Manually ................................................................................................20
4.3 Laser Pointer.......................................................................................................................20
4.4 File Numbering...................................................................................................................20
4.5 Firmware Upgrade..........................................................................................................….20
AppendixⅠ: Technical Specifications.........................................................................................21
AppendixⅡ: Parts List ................................................................................................................22

- 1 -
1 Instructions
1.1 General Description
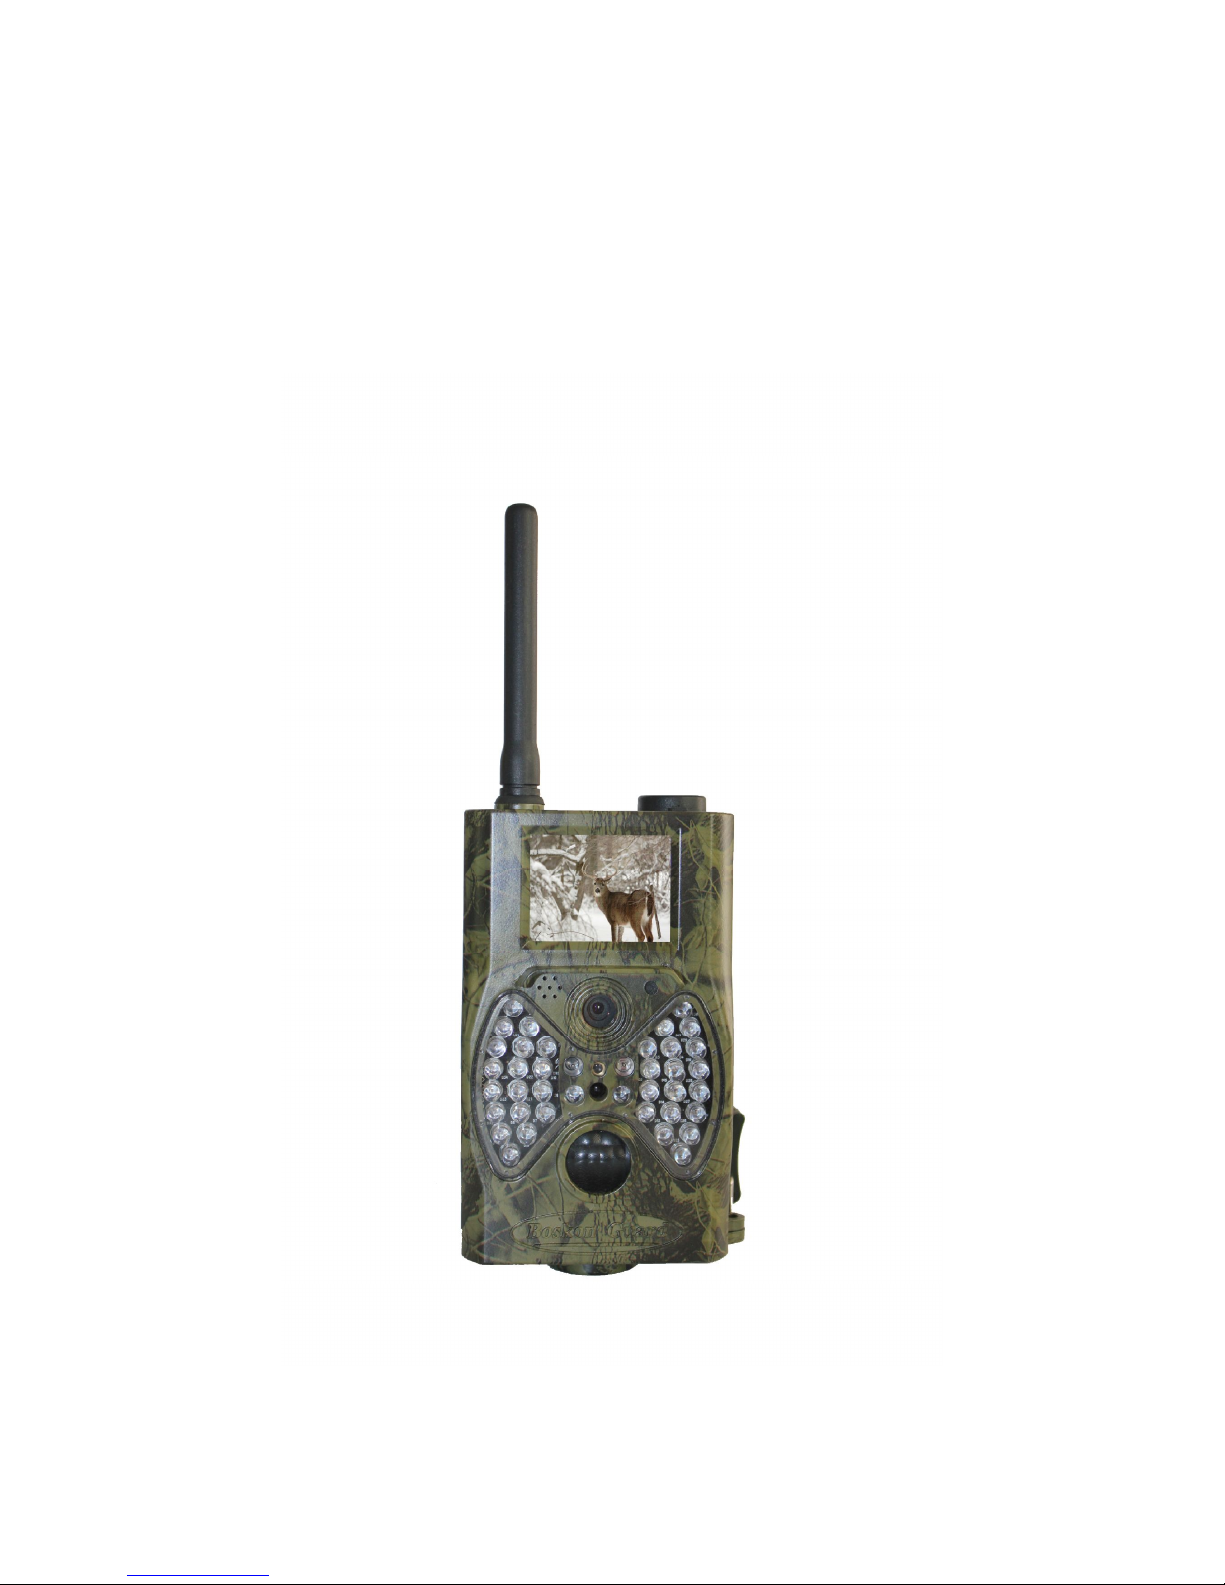
This camera, a digital Trail camera with MMS function, is a surveillance camera working
automatically. It can be triggered at once by any movement of human (or animals) in a certain
region of interested (ROI) monitored by a high sensitive Passive Infrared (PIR) motion sensor, and
then automatically captures high quality pictures (up to 12M pixels) or records HD video clips
(WVGA).Then it can send the pictures instantly to your mobile device via GSM network. You’ll be
alerted just when something has happened;
At sunrise the unit begins to take color photos and video until there is insufficient light (dusk)
when it begins to take infrared (monochrome) photos and video.
It is easy to use. Because there is a 2inch Colorful LCD display on camera and a sound
recorder,speaker embedded in the camera. A laser pointer is used to help target the photo area of
the camera. And it supports MMS/SMS/E-mail via GSM Network.
It is resistant against water and snow for outside uses. Furthermore, the camera can be used as a
portable digital camera.
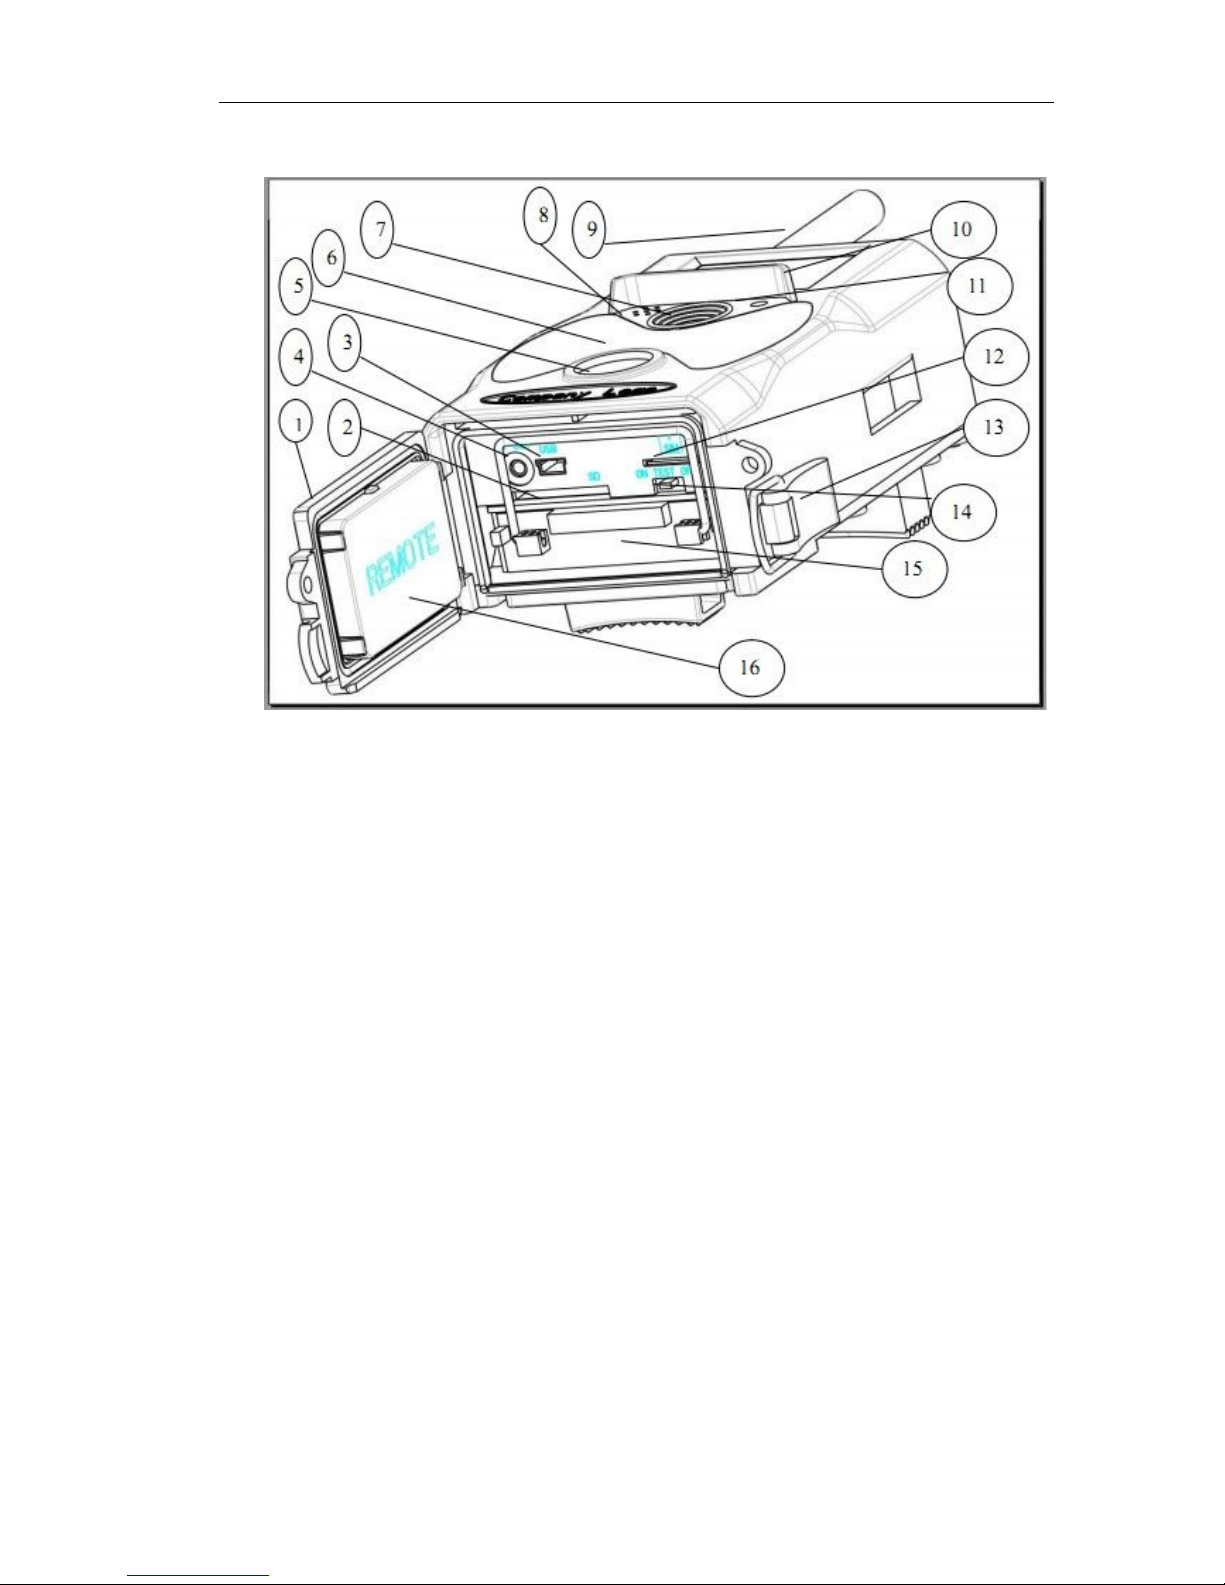
1.2 Camera Body Interface
The camera has the following I/O interfaces: USB connector, SD-card slot, TV output and external
DC power connector.
On the back of camera, there is a lock for theft-proof and an adjuster to change the tilt when
mounting on an irregular interface e.g. tree.
Take a few moments to familiarize yourself following the camera controls and displays. It is helpful
to bookmark this section and refer to it as you read through the rest of the manual.
- 2 -
1.3 Camera components and features
1) Bottom Cover 9) GSM Antenna
2) SD-Card Slot 10) 2inch color LCD Display
3) USB Connector 11) Sound recorder
4) TV Out connector 12) SIM card slot
5) PIR 13) Lock
6) Infrared Flash 14) Power witch
7) Lens 15) Battery Depot
8) Microphone 16) Portable remote controller
- 3 -
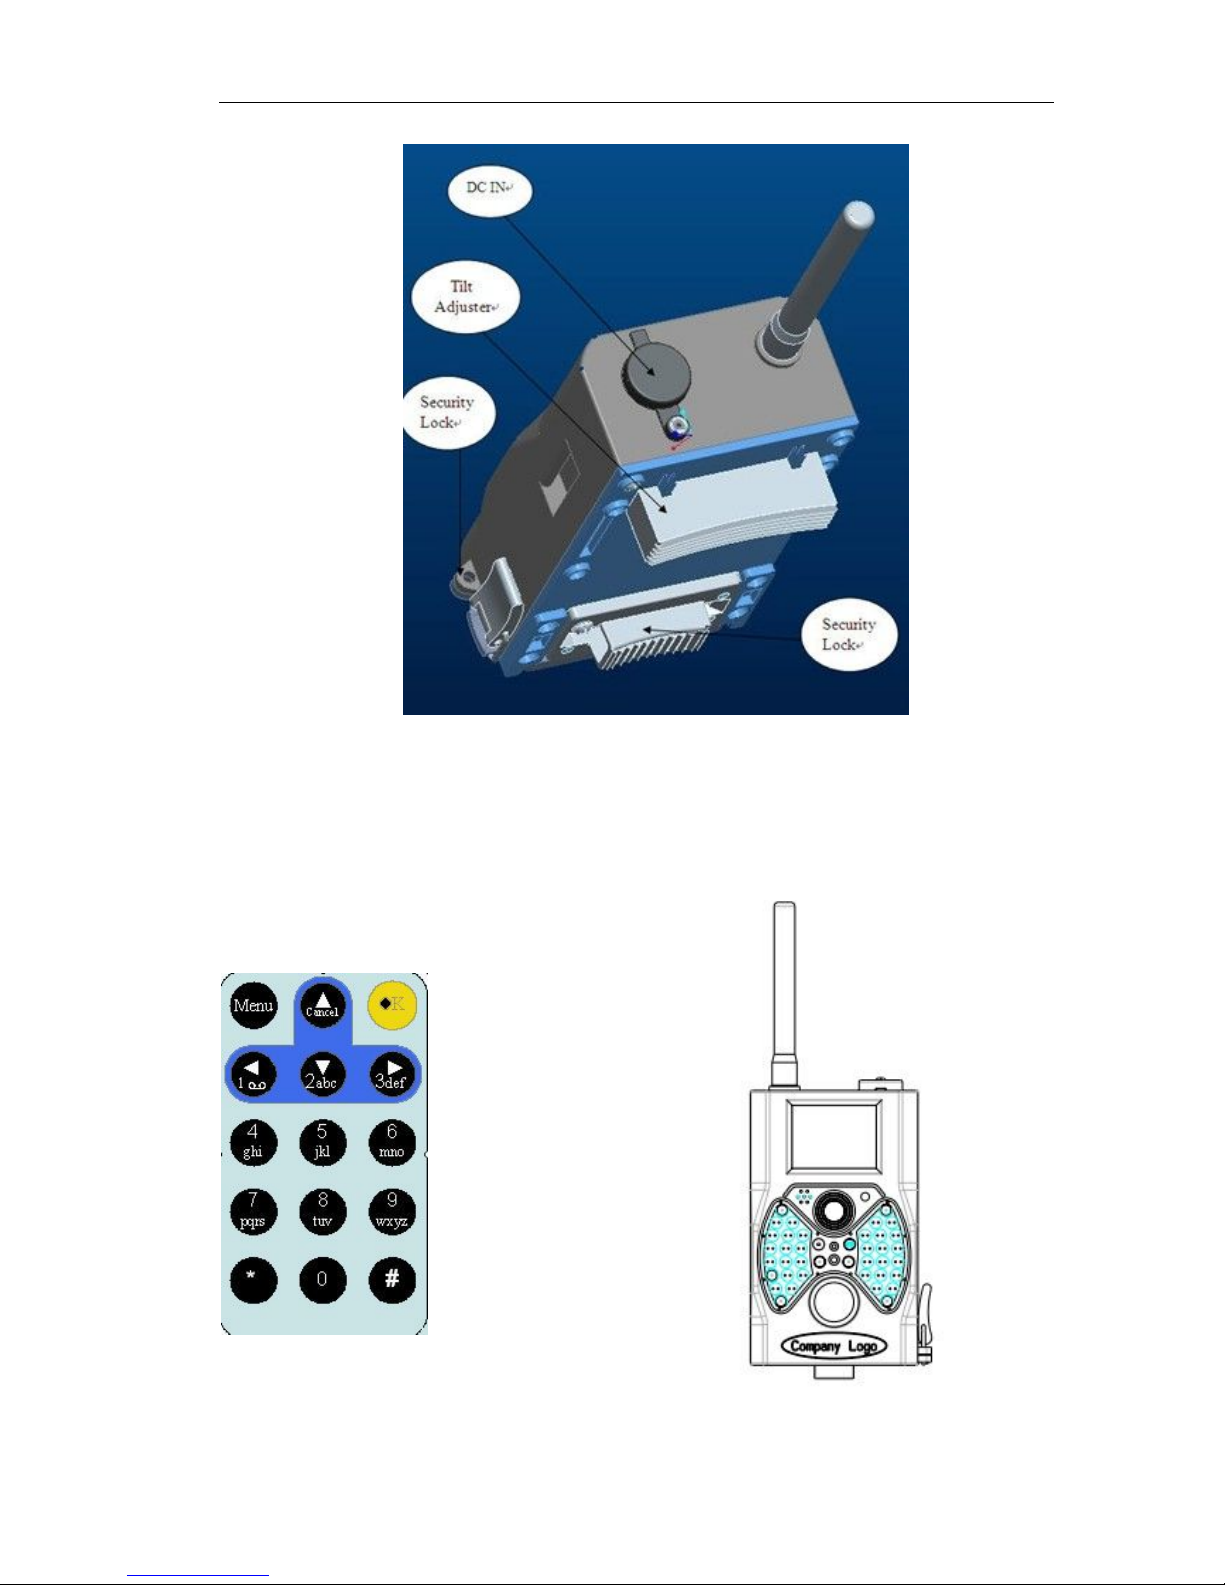
1.4 Remote Control
The remote control is an input device of the camera and is primarily used for customer
settings and password input.This is an infrared type wireless remote control. The maximum remote
distance is 9 meters. There are fifteen buttons on the remote control.
Note: (Remote control is inside of the camera)
- 4 -
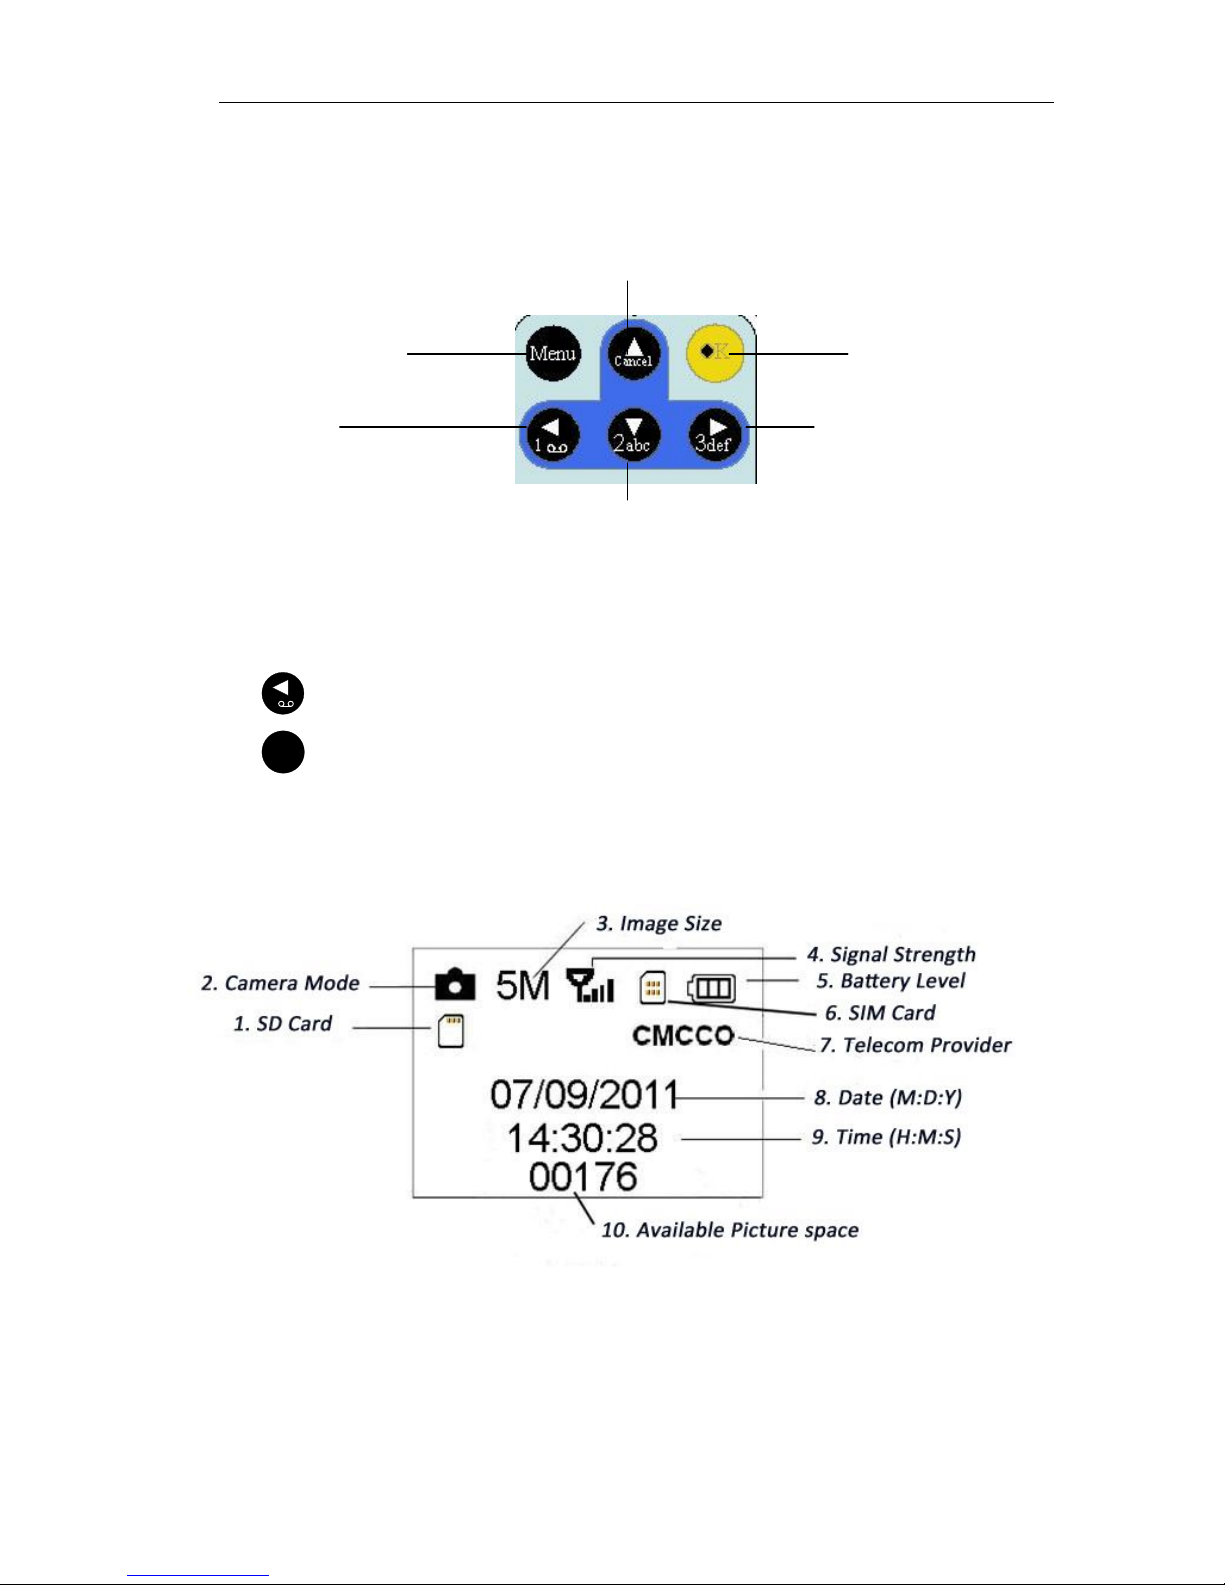
1.4.1 Navigating
Press UP or DOWN to select or highlight the menu item, while press LEFT or RIGHT to select
the option of each item and press OK to make selection.
1.4.2 Characters
While entering digits, letters or punctuations into input column, there are some usefully
characters can be used by pressing the button continuously:
1
:
1 . / : @ _
0
:
0 + -
Press the punctuation “*” for laser pointer.
1.5 Shooting Information Display
When the camera is turned on (the power switch is slid to ON or TEST position), the
shooting information will be displayed in the monitor.
l Select Item(UP)
l Increase value
l Select Item(DOWN)
l Decrease
Select option (RIGHT)
Selection (OK)
Display Menu/ Exit
(MENU)
Select option
(Left)
- 5 -
1.6 MMS function
This camera can send pictures instantly to your mobile device via the GSM network. You’ll
be alerted only when something has happened; The MMS through GPRS to send, so before using
this function you need to go to menu options for mms. It supports four band :850MHz,
900MHz, 1800MHz and 1900MHz. Review to related information, please refer to section
4.1 setting menu table “MMS mode” and 4.1.15 MMS settings.
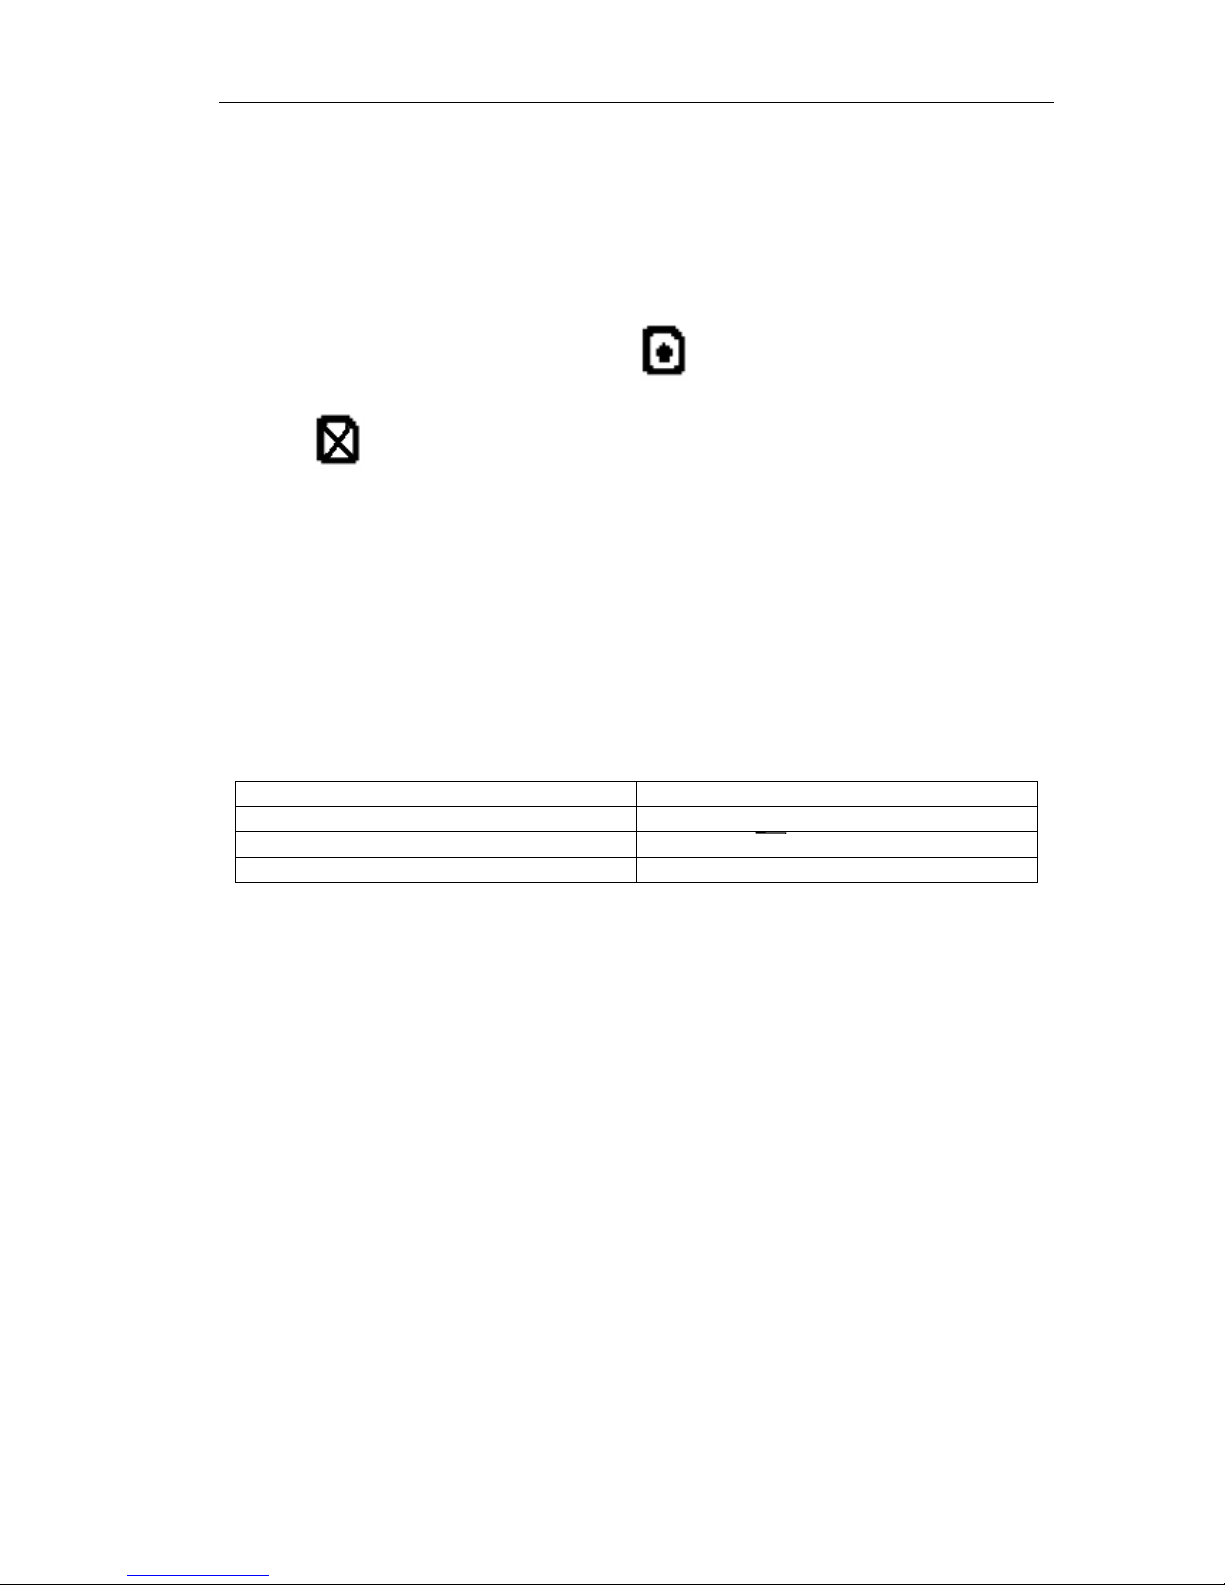
SIM card Icon:There are two SIM card icon . It means the SIM card is inserted and it works
well. It means can’t work correctly because of low signal strength or other
communications issues such as entering incorrect settings of your mobile carrier parameters. If the
SIM card is not inserted, no SIM card icon will be displayed.
Be sure that the PIN of the SIM card is disabled before you insert it . (You can disable the PIN of
a SIM card via your mobile phone.)
There are 5 submenu settings about the MMS function. Including: MMS Network,URL of
MMSC ,MMS Proxy and Telephone, Mail (refer to 4.1 table). MMS Set means to have the right
MMS setting parameters according to your network. Send to means to input the phone number or
email address which you want to send. All 5 submenus must have correct settings.
1.7 Supported Format
Item Format
Photo JPG
Video AVI
File Format FAT32
Here are some important notices. You don’t need to concern about the file system format of
the camera unless you have problems with reading the SD-card by your other equipments. If this
happened, please format the SD-card in the camera or in a computer at first and then reinsert the
card into your camera to make a try.
 Loading...