

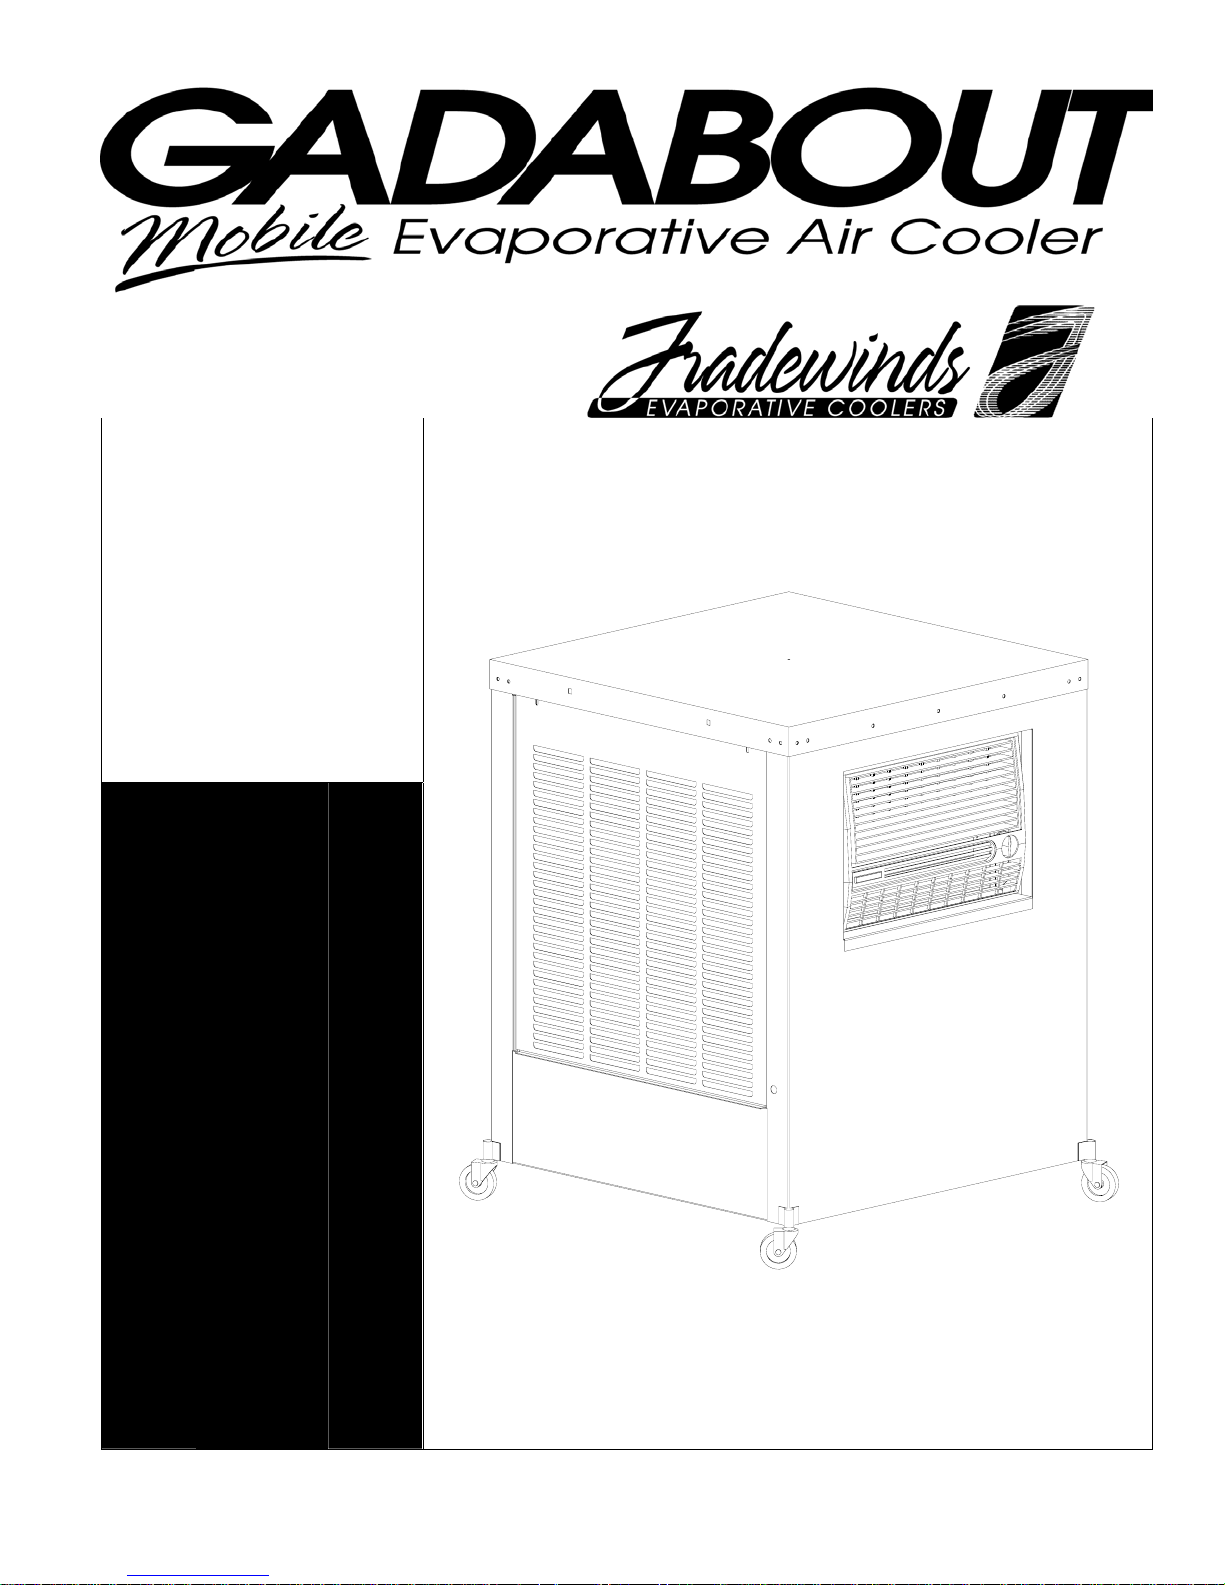
Tradewinds GADABOUT M300, GADABOUT M400, GADABOUT M500 Instruction Manual
Owner’s Manual
Model #’s
M300
M400
M500
Read & Save This
Instruction Manual!
P/N 71112
REV 11/03

Evaporative Cooling
Evaporative cooling uses the principle of evaporation to lower the air temperature. Hot, dry air is passed through wetted
filters and is converted to refreshingly cooled air. Gadabout Coolers make the best use of the evaporative process by
controlling the flow of water, spreading the water evenly over the filters, and delivering a steady stream of cooled air.
Gadabout evaporative coolers are 80% less costly to operate than refrigerated air conditioners.
SAFETY GUIDE LINES & CAUTIONS
When Operating When Servicing
Make sure that the circuit the cooler is plugged into is equipped with a
(slow blow) breaker large enough to support the full amperage of the
cooler.
To reduce the risk of fire or electrical shock, DO NOT use this fan
with any Solid-state speed control device.
This cooler is equipped with an automatic thermally protected motor. If it
shuts off on its own for any reason, it can restart without warning.
Always Unplug the cooler before attempting service of any kind.
If the motor shuts off because of thermal overload, check into the
problem immediately. If allowed to continue, permanent damage will
occur.
Keep cord away from high traffic areas where it may come in contact
with a sharp object or be run over by heavy equipment.
INSTALL DRAIN
1. Slide the Gasket over the Bushing and push through the hole in the cooler pan from
the inside. DO NOT OVERTIGHTEN.
2. Screw the Cap onto the Bushing and HAND TIGHTEN.
3. If leakage occurs after Reservoir is full, retighten the Drain Cap until leaking stops.
A small amount of silicone caulk may be used if necessary.
INSTALL FLOAT
1. Place threaded portion of Float through hole in side of cabinet.
2. Place Washer onto float.
3. Thread Nut onto float, and tighten to secure.
4. Thread Garden Hose Adapter onto float.
5. To adjust float level, loosen Adjustment Screw. Adjust level so float shuts off
completely when water level reaches fill line. Retighten screw.
Note: The compression nut and ferrule are not required when installing
the garden hose adapter.
Note: You may fill the cooler by removing one of the louvers and filling
the Reservoir directly from a garden hose.
Note: If the front panel interferes with the operation of the float, rotate the
float bulb slightly to allow proper operation.
INSTALL CORD WRAP BRACKETS
The Cord Wrap Brackets attach to the left front corner of the cabinet as
shown. Use the ¼-20 screws and nuts provided.
INSTALL CASTERS
The Casters slip into the outrigger brackets at the bottom corners of the
cabinet as shown.
OPERATION
1. Place the unit on a level surface near an open door or window.
2. If used inside a building, you should partially open doors and/or windows to
ensure adequate exhaust.
3. The cooler may be run on PUMP ONLY, for 2 to 3 minutes before fan
operation, to ensure proper wetting of the pads.
4. HIGH and LOW COOL settings operate both the fan and the pump.
5. HIGH and LOW VENT settings operate only the fan.
Caution: Do not operate the pump with low or no water in the reservoir.
Model M300 M400 M500
Power consumption 626 watts/hr 551 watts/hr 662 watts/hr
* Cost
4.4 cents/hr 4.0 cents/hr 6.4 cents/hr
* Based on 7 cents per KWH
2
 Loading...