

TractorTunes MAC, RMT Installation Manual
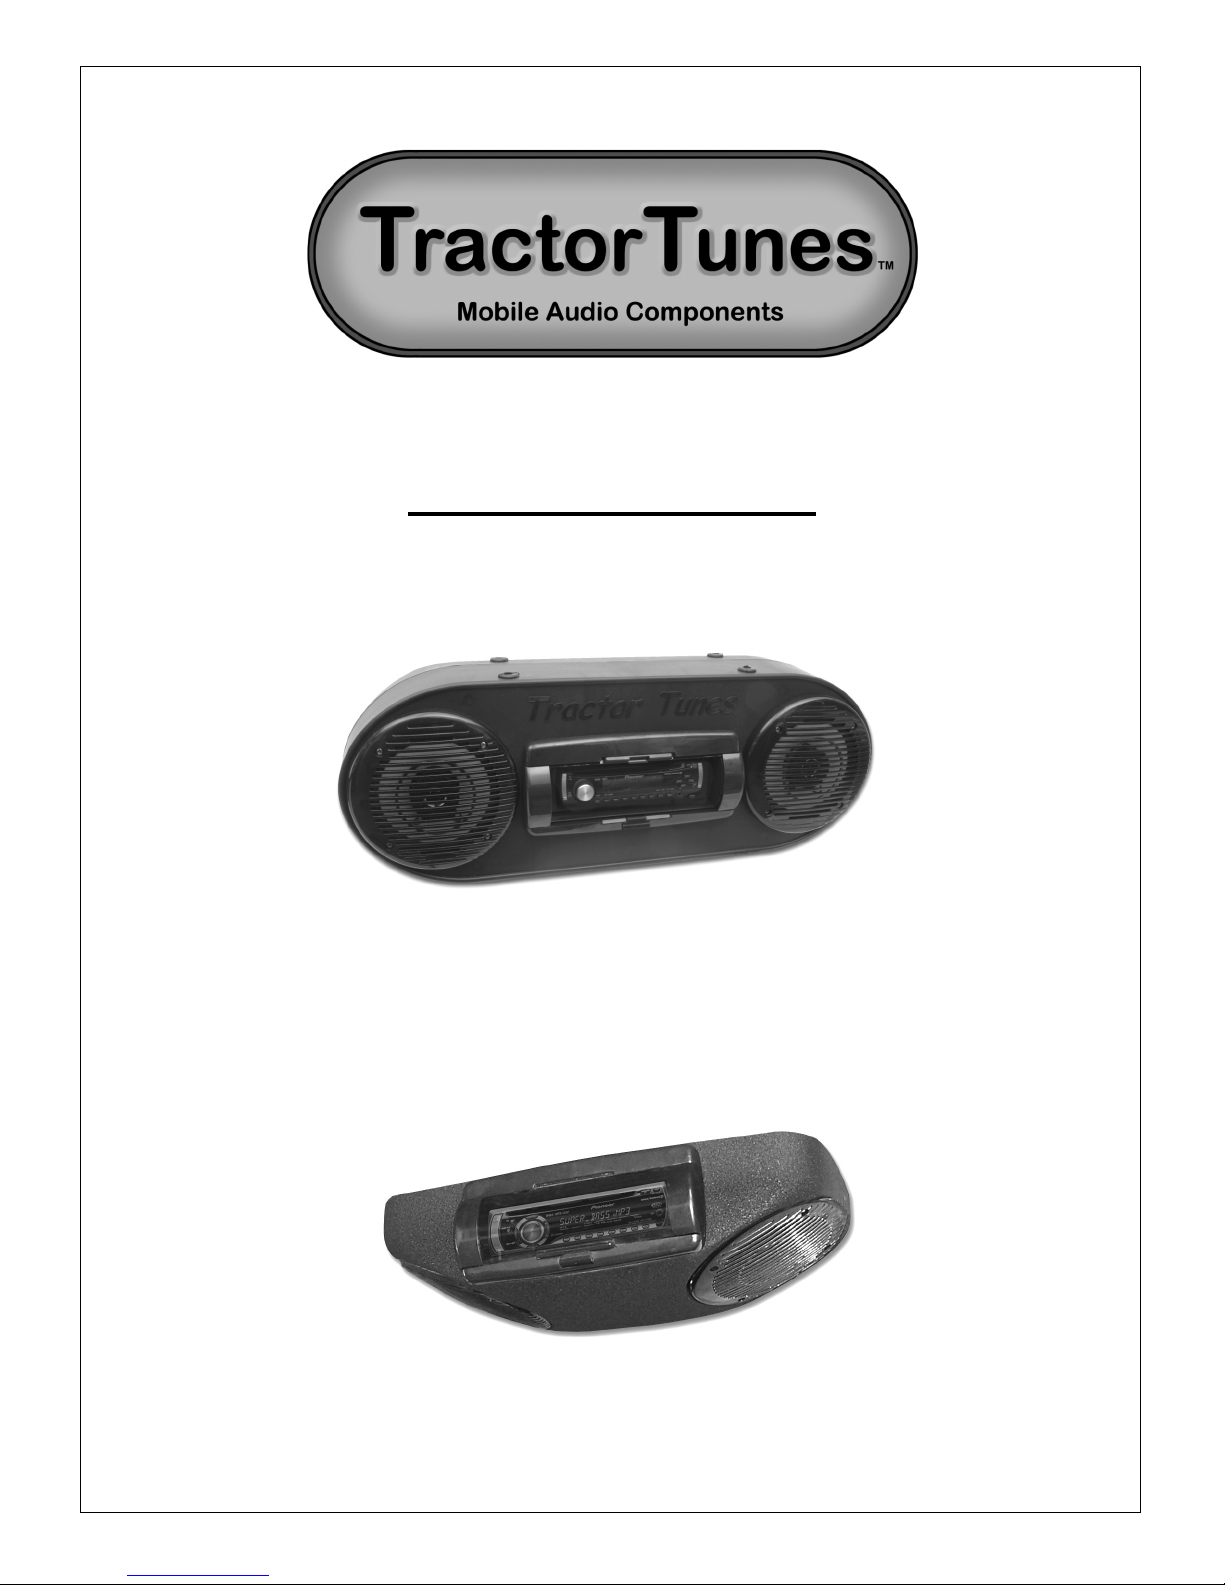
Installation Manual
MAC
Roll Bar Mount Mobile Audio Console
Roof Mount Mobile Audio Console
RMT
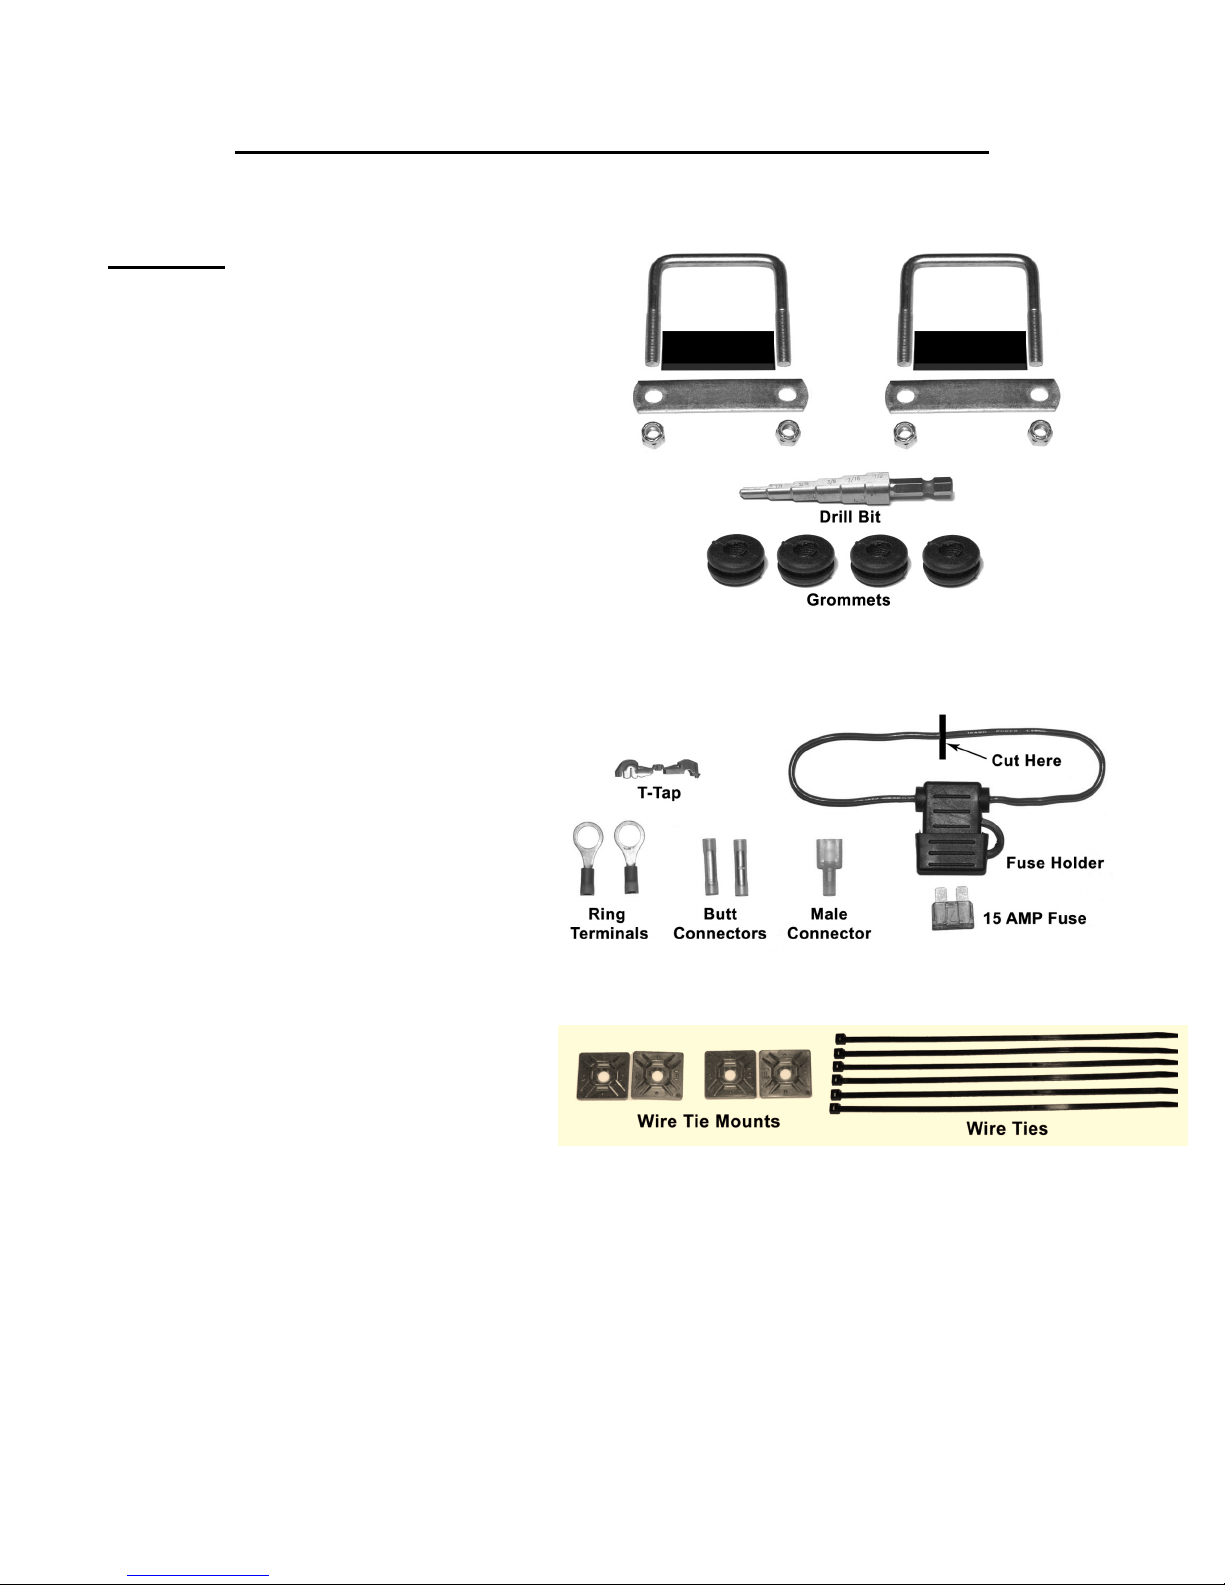
Contents of package for the MAC Audio Console
Parts List
1. U-bolt kit: (2) U-bolts
(2) Rubber pads
(2) Backing plates
(4) Lock nuts
(4) Rubber grommets
(1) Drill bit
2. Wiring kit: (2) Ring terminals
U-bolts
(2) Butt connectors
(1) Fuse holder
(1) 15A fuse
(1) T-tap
(1) Male connector
3. Install kit: (6) Wire ties
(4) Wire tie mounts
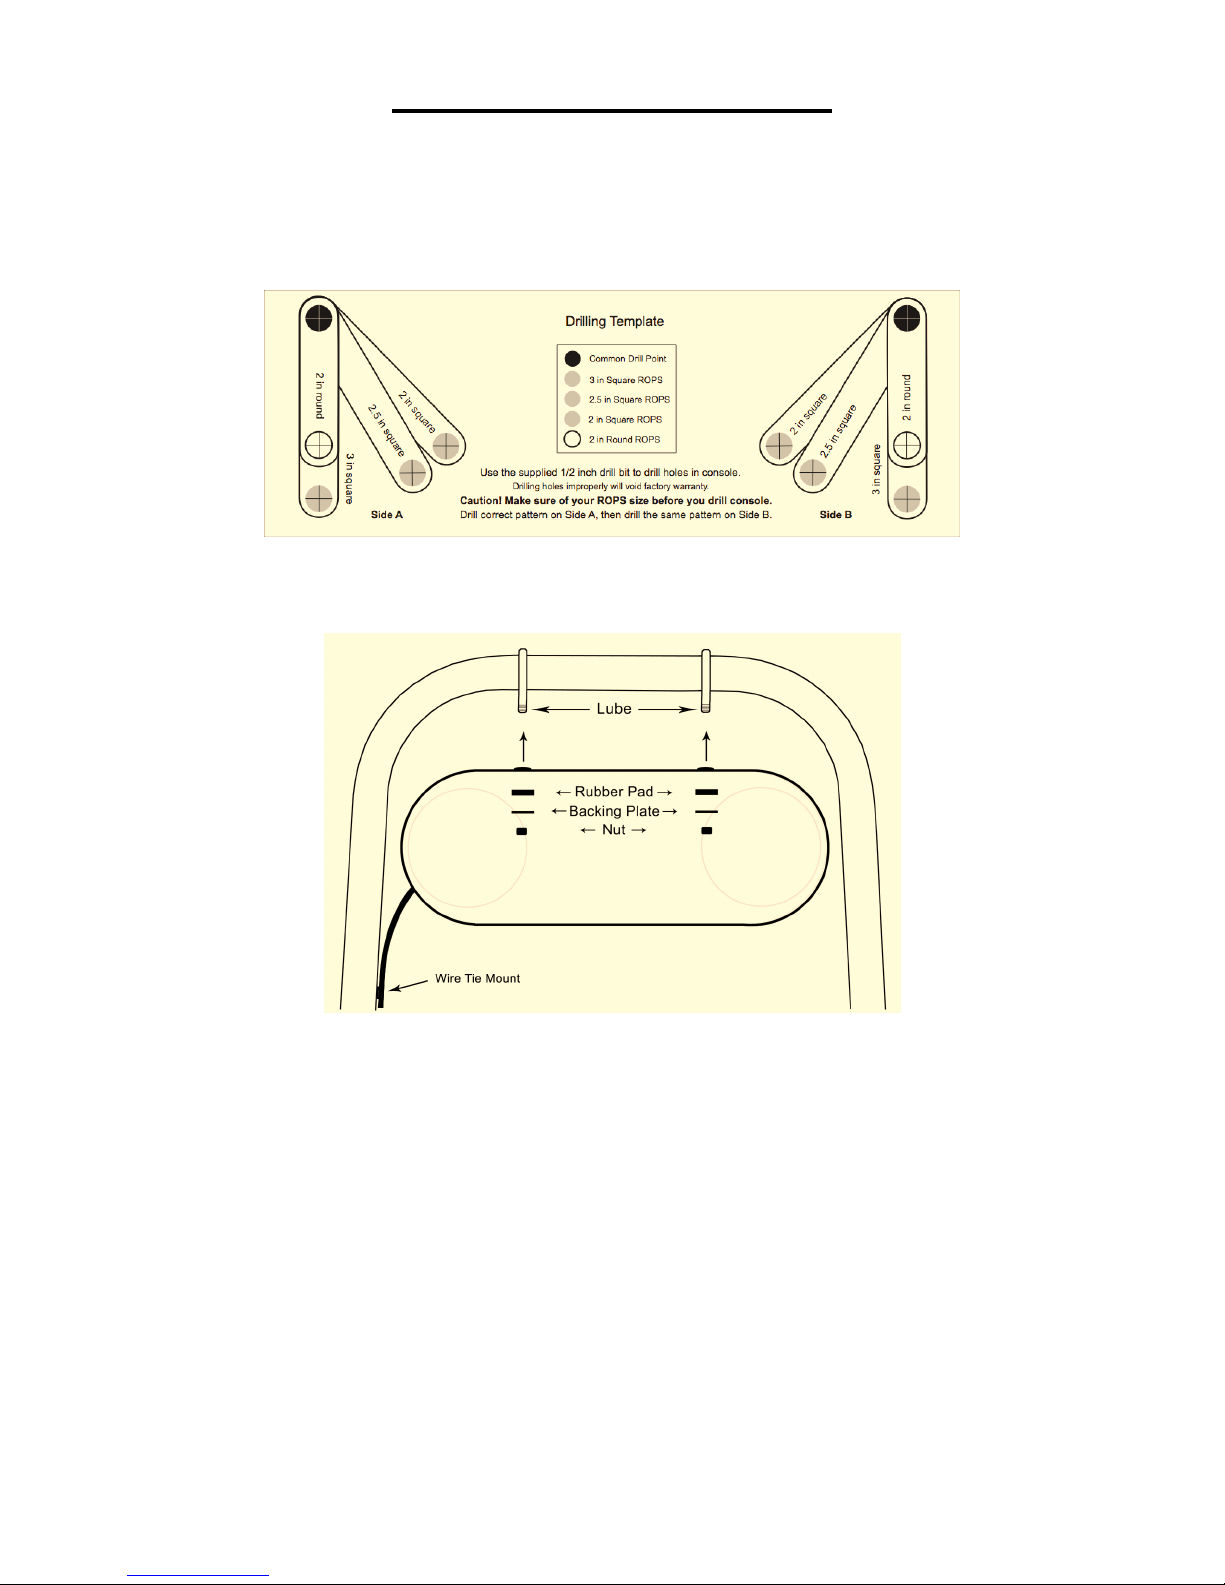
Steps for installing the MAC
1.
Using the supplied 1/2-inch drill bit, drill holes for mounting the u-bolts. Carefully
choose your ROPS size on the drilling template located on top of the console.
Caution! Drilling holes improperly will void the factory warranty.
2. Insert the 4 grommets into the drilled holes. Lubricate the grommet holes for the ubolts. Mount the u-bolts onto the top of the ROPS.
3.
With the speakers removed, lift the ABS console housing in place under the ROPS
and insert the u-bolts ends through the rubber grommets.
In order, insert the rubber pad, backing plate and nut onto the u-bolt ends inside the
4.
console speaker holes. Tighten evenly to prevent the housing from distorting.
Re-attach the speaker and wires to the ABS console housing.
5.
6. Using the supplied sticky back wire tie mounts, fasten the wiring harness to the inside
of the ROPS and along the chassis of the tractor, being careful to keep away from any
moving parts. (Make sure to provide enough slack for pivoting the ROPS.)
7. There are two wiring options for your MAC Audio Console. (next page)
 Loading...