

TracPhone TracPhone, FleetBroadband User Manual

TracPhone FleetBroadband
IP Handset
TracPhone IP Handset User’s Guide
TracPhone IP Handset
User’s Guide
When connected to a KVH® Industries’ TracPhone® FleetBroadband
terminal, the IP Handset, manufactured by Thrane & Thrane, allows you to
make voice calls, initiate a data connection, edit your contacts list, and view
system status information. This user’s guide provides all of the information
you need to connect, operate, configure, and troubleshoot the IP Handset.
Please direct technical questions to:
North/South America, Australia: Europe, Middle East, Asia:
KVH Industries, Inc. KVH Europe A/S
50 Enterprise Center Kokkedal Industripark 2B
Middletown, RI 02842-5279 USA 2980 Kokkedal, Denmark
Tel: +1 401 847-3327 Tel: +45 45 160 180
Fax: +1 401 845-8133 Fax: +45 45 160 181
E-mail: techs@kvh.com E-mail: support@kvh.dk
Internet: www.kvh.com Internet: www.kvh.com
If you have any comments regarding this manual, please e-mail them to
manuals@kvh.com. Your input is greatly appreciated!
KVH Part # 34-126059-G
© 2008-2010, KVH Industries, Inc., All rights reserved.

Trademark Information
TracPhone and KVH are registered trademarks of KVH Industries, Inc.
Thrane & Thrane is a registered trademark of Thrane & Thrane A/S in the
European Union and the United States.
Windows and Outlook are registered trademarks of Microsoft Corporation in
the United States and other countries.
Inmarsat is a registered trademark of International Maritime Satellite
Organisation (IMSO) and is licensed by IMSO to Inmarsat Limited and
Inmarsat Ventures plc.
Inmarsat’s product names are trademarks or registered trademarks of
Inmarsat.
All other trademarks are the property of their respective owners.
Disclaimer
Every effort has been made to ensure the correctness and completeness of the
material in this document. No company shall be liable for errors contained
herein. The information in this document is subject to change without notice.
No warranty of any kind is made with regard to this material, including, but
not limited to, the implied warranties of merchantability and fitness for a
particular purpose.

Safety Summary 1
The following general safety precautions must be observed during all
phases of operation, service and repair of this equipment. Failure to comply
with these precautions or with specific warnings elsewhere in this manual
violates safety standards of design, manufacture and intended use of the
equipment. KVH Industries assumes no liability for the customer's failure to
comply with these requirements.
DO NOT OPERATE IN AN EXPLOSIVE ATMOSPHERE
Do not operate the IP Handset in the presence of flammable gases or fumes.
Operation of any electrical equipment in such an environment constitutes a
definite safety hazard.
KEEP AWAY FROM LIVE CIRCUITS
Operating personnel must not remove equipment covers. Component
replacement and internal adjustment must be made by qualified
maintenance personnel. Do not replace components with the cable
connected. Always disconnect power and discharge circuits before touching
them.
DISPOSAL
Old electrical and electronic equipment marked with this
symbol can contain substances hazardous to human beings
and the environment. Never dispose these items together
with unsorted municipal waste (household waste). In order to
protect the environment and ensure the correct recycling of old equipment
as well as the re-utilization of individual components, use either public
collection or private collection by the local distributor of old electrical and
electronic equipment marked with this symbol.
Contact the local distributor for information about what type of return system
to use.
iii

iv

About the Manual 2
Intended Readers
This manual is a user manual for the TracPhone FleetBroadband
IP Handset. The readers of the manual include anyone who is
using or intends to use the IP Handset. No specific skills are
required to operate the IP Handset. However, it is important that
you observe all safety requirements listed in the beginning of this
manual, and operate the handset according to the guidelines in
this manual.
Manual Overview
This manual has the following chapters:
• Introduction contains an overview and a brief description of the
IP Handset.
• Getting started explains how to connect and start up the
handset and gives an overview of the display and keypad. It
also contains a short guide to initial configuration and to
making the first call.
• Operating the IP Handset describes how to use and configure
the handset and explains the display menus.
• Using the web server explains how to use the built-in web
server of the IP Handset.
• Service & maintenance contains guidelines for maintenance of
the handset, a short troubleshooting guide and gives
information on where to get further help if needed.
This manual may not always reflect the latest software
functionality of your IP Handset. To obtain the latest version of the
manual, please visit www.kvh.com and download the latest
version from the product page.
v

Typography
In this manual, typography is used as indicated below:
Bold is used for the following purposes:
• To emphasize words.
Example: “Do not touch the antenna”.
• To indicate what the user should select in the user interface.
Example: “Select Settings > Display”.
Italic is used to emphasize the paragraph title in crossreferences.
Example: “For further information, see Connecting Cables on
page...”.
COURIER is used to indicate display text.
Example: “The display shows 39558880”.
vi

Table of Contents
Safety Summary ................................................................iii
About the Manual ...............................................................v
Chapter 1 Introduction
Welcome ............................................................................ 1
Your IP Handset .................................................................2
Description ..........................................................................2
The wired IP Handset ............................................................3
The wireless IP Handset .........................................................4
Features .............................................................................5
Chapter 2 Getting started
Getting started with the wired IP Handset ..........................7
Introduction .........................................................................7
Connectors ...........................................................................8
Connecting the cables to the IP cradle .....................................9
Installing the cradle ............................................................. 11
Connecting the wired IP Handset to a BGAN terminal ...............12
Starting up the wired IP Handset ...........................................13
Getting started with the wireless IP Handset .....................14
Introduction ........................................................................14
Preparing the hardware ........................................................15
Charging the IP Handset ...................................................... 18
Connecting the IP Handset to your wireless access point ..........20
Establishing a connection using BGAN terminal ................21
Using a BGAN terminal .........................................................21
Establishing a connection ....................................................22
Connecting subsequent handsets to the BGAN terminal ...........23
Making the first call ......................................................... 25
vii

Table of Contents
The IP Handset keypad and display ..................................26
The keypad ........................................................................26
The display ........................................................................32
Chapter 3 Operating the IP Handset
User interfaces .................................................................37
IP Handset functions .........................................................38
Handling calls ....................................................................38
Making a call using a BGAN terminal ....................................46
Making a secure call from the IP Handset ..............................47
Quick settings .....................................................................52
How to enter text in the IP Handset .......................................54
Using a headset ..................................................................55
IP Handset menus ............................................................56
Call log ..............................................................................57
Contacts .............................................................................59
Status ................................................................................ 61
Network .............................................................................62
Settings ............................................................................ 68
SIP telephony and profiles ...................................................76
Information from the BGAN terminal .....................................82
Chapter 4 Using the web server
Introduction to the web server ..........................................87
Browser settings .................................................................87
Using the web server ........................................................ 91
The Home page .................................................................. 91
Contacts .............................................................................92
Call log ..............................................................................93
SIP settings ........................................................................94
Uploading firmware ........................................................... 96
Import and Export settings ...................................................97
Help and diagnostics report ................................................. 99
viii

Chapter 5 Service & maintenance
Getting support ............................................................... 101
Maintenance tasks ..........................................................102
Software update ................................................................102
Battery handling for the wireless IP Handset .........................102
Cleaning the IP Handset .....................................................103
Disposal of the IP Handset ..................................................103
Troubleshooting guide ....................................................106
App. A Technical specifications
IP Handset, wired ............................................................107
Specifications, wired handset ..............................................107
Outline dimensions, wired handset ......................................109
IP Handset, wireless ......................................................... 111
Specifications, wireless handset ...........................................111
Outline dimensions, wireless handset ................................... 113
IP cradle outline dimensions ........................................... 115
Table of Contents
App. B Conformity
Thrane IP Handset, wired .................................................117
CE (LVD & EMC) ..................................................................117
FCC ...................................................................................117
Thrane IP Handset, wireless ............................................ 119
CE (R&TTE) ........................................................................ 119
FCC .................................................................................. 119
FCC/IC Notice .................................................................... 121
Glossary ........................................................................................123
Index ........................................................................................ 127
ix

Table of Contents
x

Chapter 1
Introduction
Introduction 1
Welcome
Congratulations on the purchase of your IP Handset!
The IP Handset communicates using Voice over Internet Protocol (VoIP), which
means that voice conversations are routed over the Internet or through an IPbased network.
There are two variants of the IP Handset: A wired and a wireless variant.
1111
1
Chapter 1: Introduction
Your IP Handset
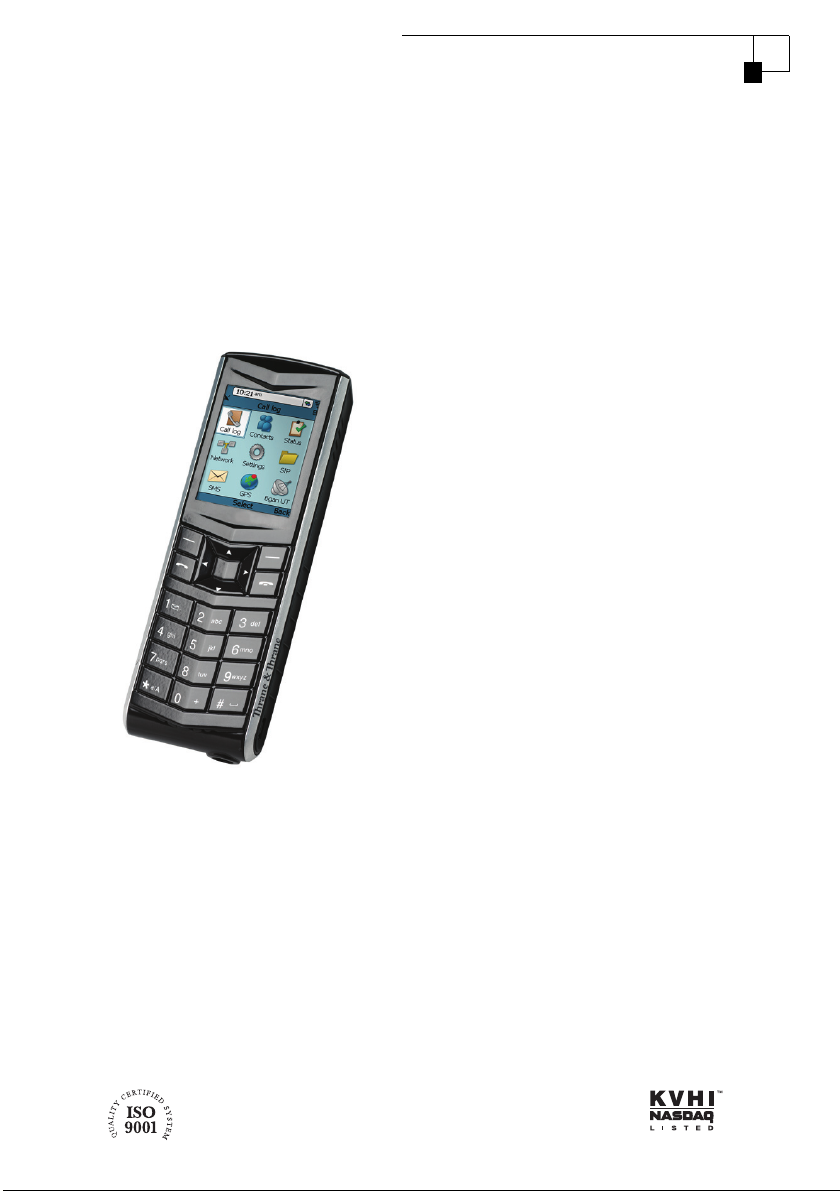
Description
The IP Handset is used for
making phone calls over an IP
based network. When used with
a BGAN terminal, the
communication is IP based
between the handset and the
BGAN terminal. From the BGAN
terminal, the call is transmitted
as a normal circuit-switched call.
You can make secure calls to all
IP phones complying with the
ZRTP version used by the
IP Handset.
The IP Handset has some BGAN
terminal control functions. If
configured as handset with the
local number 0501, you can use
the handset to start and stop
data connections (background or
streaming) for all network user groups.
To improve overall system overview the IP Handset displays active, critical
alarms from the BGAN terminal to keep you informed about the status of the
BGAN terminal.
The handset is designed specifically for use in harsh environments and it is
dust proof and splash proof. Excellent sound quality is achieved by including
an efficient noise suppression software. On the large 2.2" color TFT screen, a
graphical user interface provides easy access to all functions including
contacts and settings. The user interface also provides direct access to certain
features of a connected BGAN terminal.
There are two variants of the handset: A wired model and a wireless model.
2Your IPHandset
Introduction
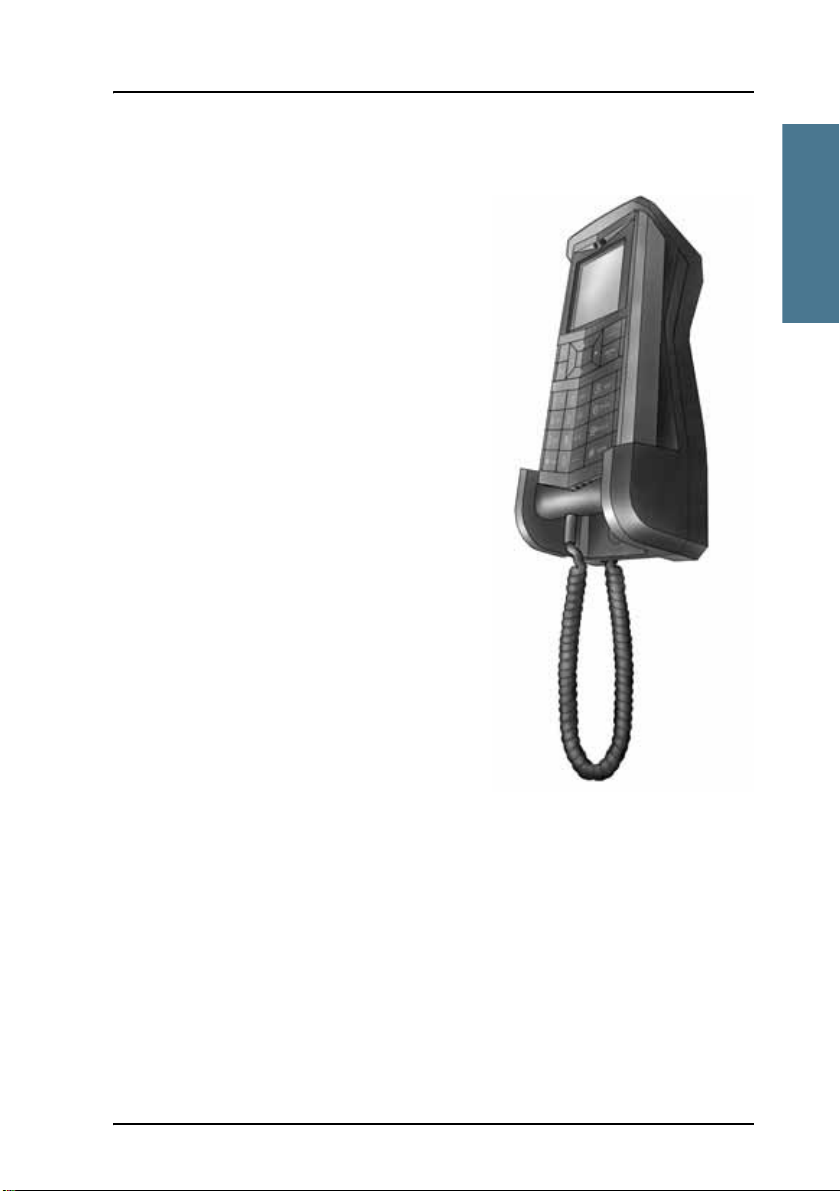
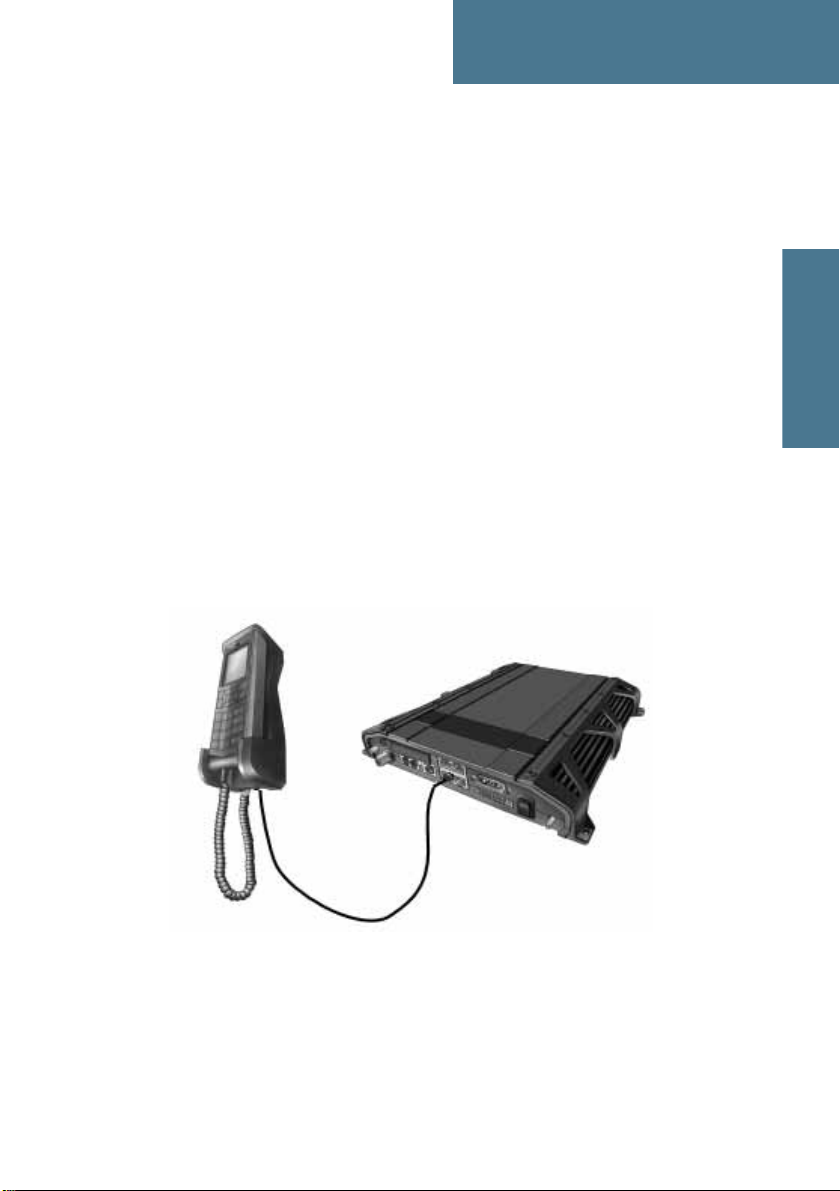
The wired IP Handset
The wired handset is powered directly
from the LAN interface using Power over
Ethernet (PoE), so an external power
supply is not needed.
The TracPhone FleetBroadband
IP Handset & Cradle, wired, includes the
following main units:
• TracPhone FleetBroadband
IP Handset, wired
• TracPhone FleetBroadband IP cradle,
wired
The IP Handset connects to the cradle with
a coil cord. The cradle connects with a
fixed LAN cable to a LAN port with PoE, for
example in a BGAN terminal (Broadband
Global Area Network) for satellite
communication.
1111
Chapter 1: Introduction
Your IP Handset 3
Chapter 1: Introduction
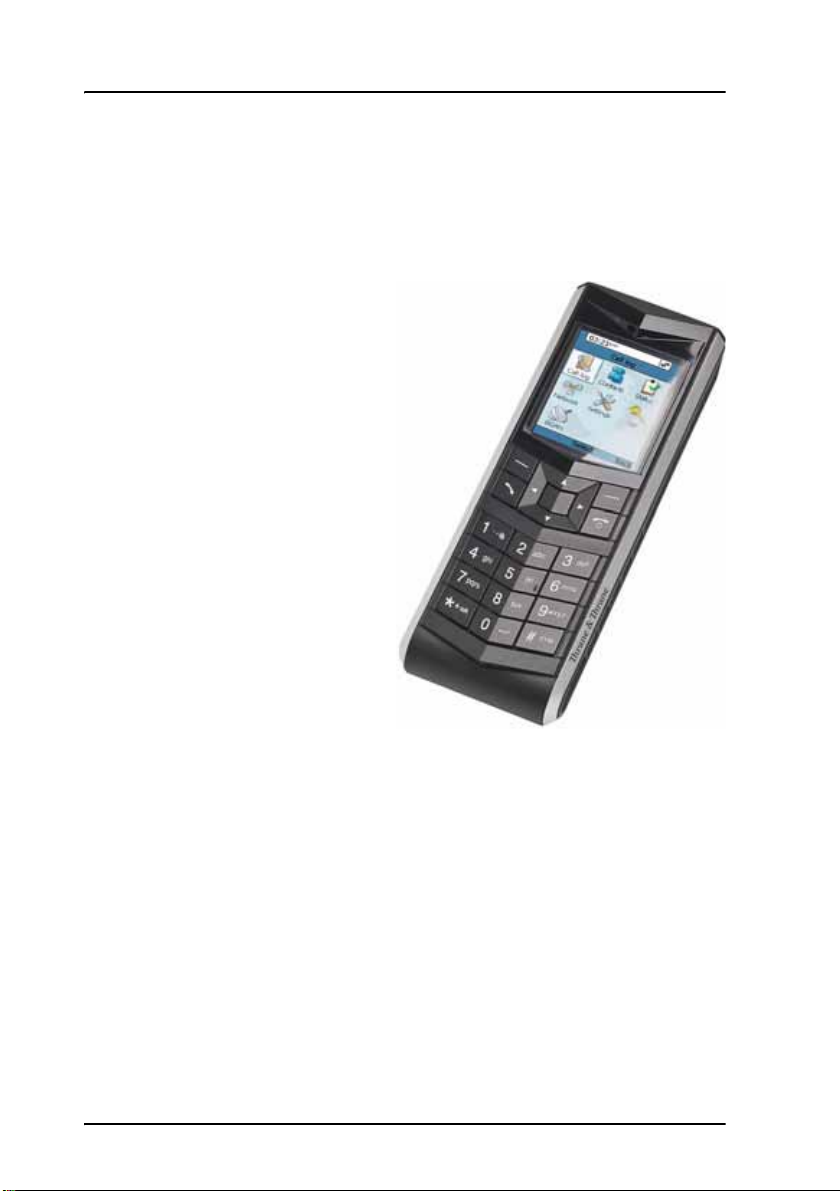
The wireless IP Handset
The wireless IP Handset
connects to a wireless access
point using Wireless Local Area
Networking (WLAN).
The internal battery is charged
from the dedicated cradle, which
connects to an external power
supply (10-32 V DC).
Due to the improved power
management the wireless
IP Handset can be on stand-by
time for more than 24 hours.
The TracPhone FleetBroadband IP Handset & Cradle, wireless, includes the
following main units:
• TracPhone FleetBroadband IP Handset, wireless
• TracPhone FleetBroadband IP cradle, wireless
4Your IPHandset

Chapter 1: Introduction
Introduction
Features
The IP Handset offers the following features:
Plain voice communication over Internet or IP based network
Secure voice communication over Internet or IP based network
Start and stop IP data connections in a connected BGAN terminal
Contacts list with up to 100 entries
Intuitive user interface and menu system
Built-in web interface
High quality color display QVGA with night colors
Rugged but elegant design
Splash proof and dust proof
Connectivity to Broadband Global Area Network (BGAN) terminal
1111
BGAN menu to display BGAN terminal type, GPS position and more
Display of critical alarms of the BGAN terminal
Features 5

Chapter 1: Introduction
6Features
Chapter 2
Getting started
Getting started 2
This chapter describes how to install and start up the IP Handset and make the
first call. It also gives an overview of the display and keypad and explains how
to navigate with the keypad.
Getting started with the wired IP Handset
Introduction
The wired IP Handset connects to the cradle with a coil cord. The cradle
connects with a fixed LAN cable to a LAN port with PoE, for example in a BGAN
terminal. The IP Handset is powered directly from the LAN (PoE) interface.
2222
7

Chapter 2: Getting started
Note
Connectors
IP Handset connectors
The IP Handset has a coil cord with a LAN connector for connecting to the
cradle or directly to a LAN (PoE) interface.
The handset also has two connectors on the side of the handset:
• one connector for connecting a headset.
• one Mini-USB connector.
These two connectors are currently not functional.
IP cradle connectors
The cradle for the IP handset has two internal LAN connectors and an
alternative terminal block for the LAN connection:
• One LAN connector connects to the coil cord from the IP Handset.
• The other LAN connector, or alternatively the terminal block, connects to
your LAN cable between the cradle and the BGAN terminal.
8 Getting started with the wired IP Handset
Chapter 2: Getting started
Getting started
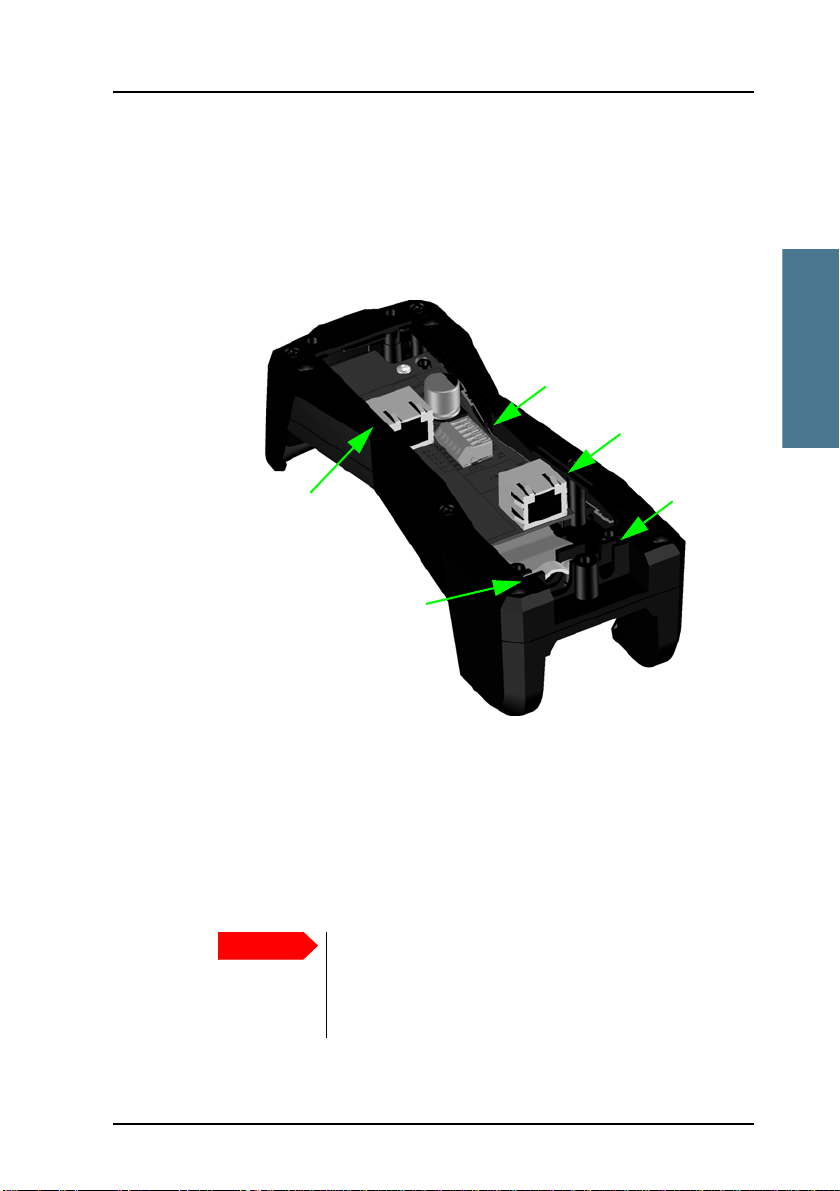
Important
J101
J102
Cable relief
J103
Fit coil cord
here
Connecting the cables to the IP cradle
To connect the cables to the IP cradle, do as follows:
1. Remove the two screws holding the center cover in the bottom of the cradle
and take off the cover.
2222
2. Connect the coil cord from the IP Handset to the cradle connector marked
J103. Then fit the cable relief mounted on the coil cord into the groove at
the cradle exit.
3. To mount the external LAN cable, do one of the following:
• Connect a standard LAN cable to the connector marked J102 in the
cradle. This is the cable for connecting to the BGAN terminal or other
LAN (PoE) interface.
Getting started with the wired IP Handset 9
The space between the cable LAN connector and the
PCB is very scarce - make sure the housing of the cable
connector is not too thick to allow for the connectors to
fit properly.

Chapter 2: Getting started
Note
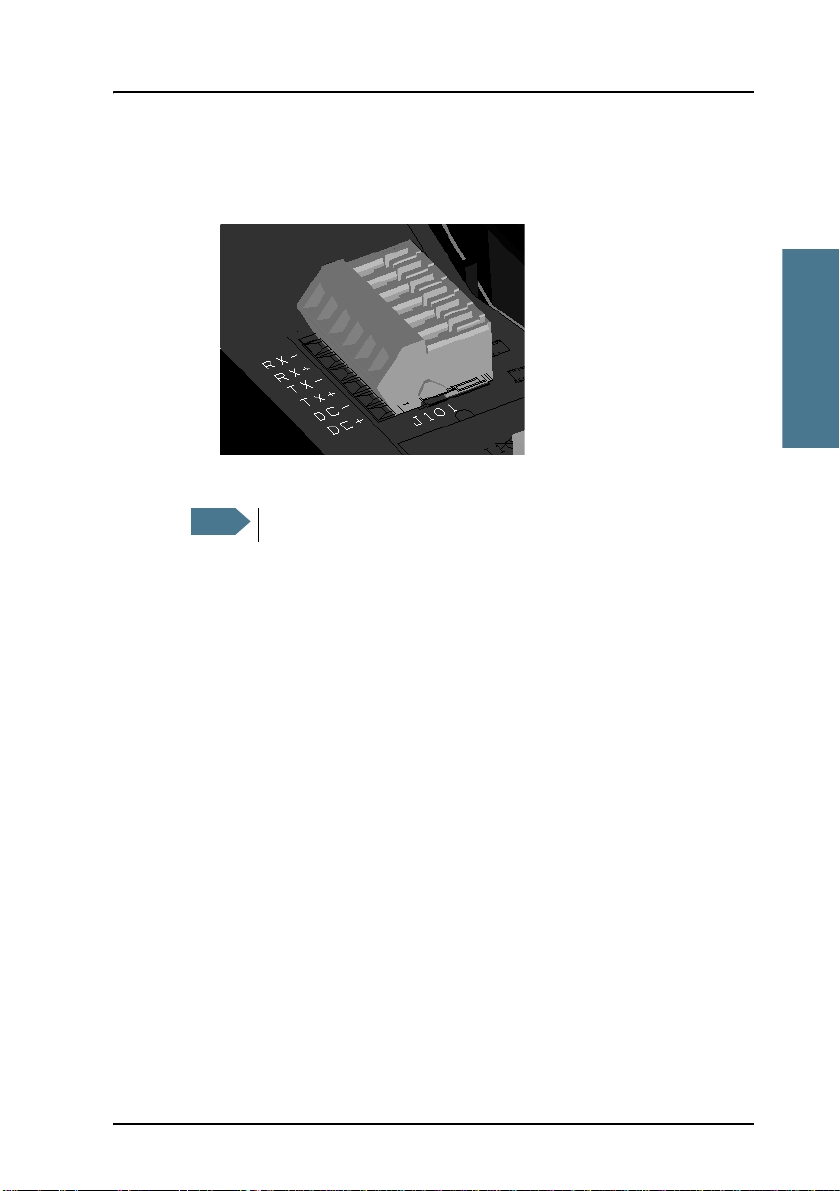
• Connect the wires of a LAN cable to the terminal block marked J101. The
text next to the terminal block indicates which signal goes where.
4. Mount cable relief at the cable exit from the cradle.
Make sure the cable relief matches the size of the cable.
5. Mount the cover and fasten the two screws.
10 Getting started with the wired IP Handset
Chapter 2: Getting started
Getting started
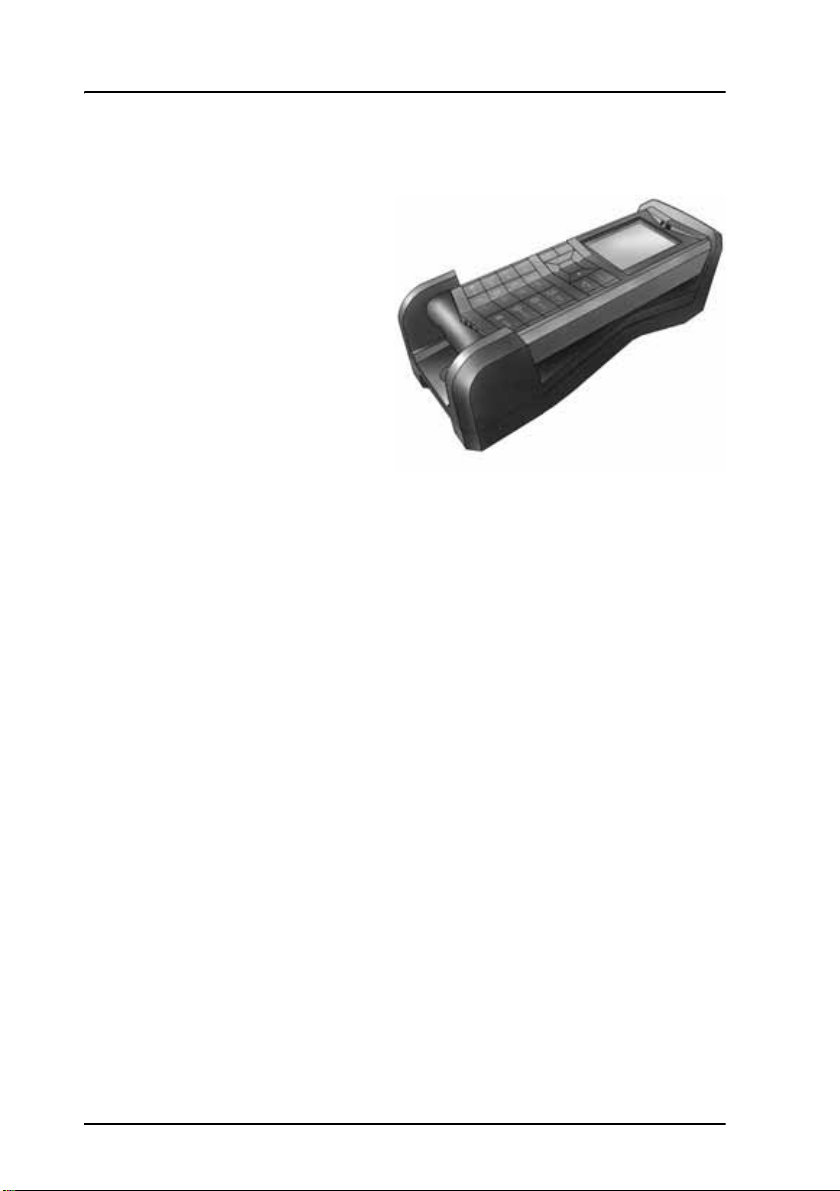
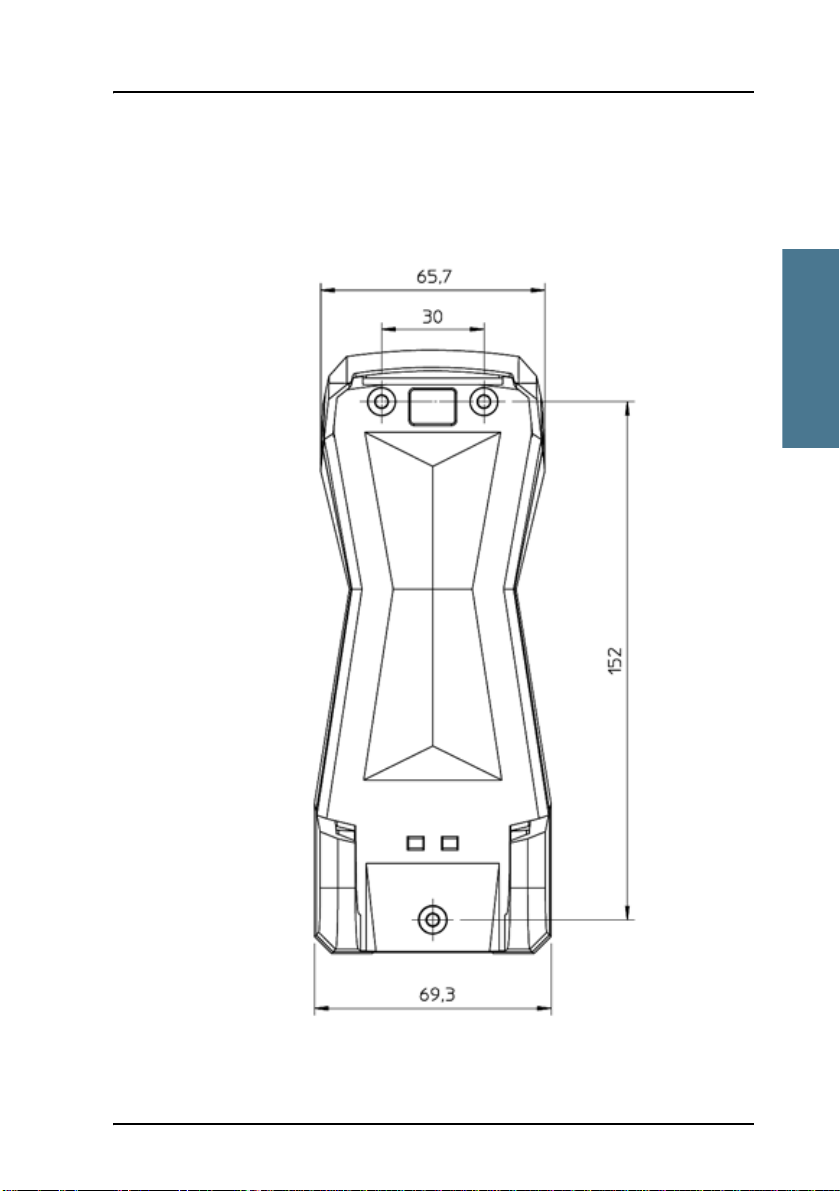
Installing the cradle
Mount the cradle on a wall or a desktop with 3 screws fitting in the holes
indicated in the drawing below (front view).
2222
Getting started with the wired IP Handset 11

Chapter 2: Getting started
Note
Note
Connecting the wired IP Handset to a BGAN terminal
The LAN interface on the BGAN terminal must supply Power over
Ethernet.
To connect the wired IP Handset to a BGAN terminal do as follows:
1. Start up the BGAN terminal as described in the user manual for the
terminal.
2. Connect the LAN cable from the IP cradle to one of the LAN (PoE)
connectors on the BGAN terminal.
The cable between cradle and terminal must be maximum 80 m.
If you insert a switch or similar between the cradle and the
terminal, make sure that it conforms to the industry PoE standard
IEEE 802.3 af (using data pairs).
The IP Handset starts up automatically when connected to the BGAN terminal.
However, you may have to configure user name and password if the handset
has not been connected before. For further information, see Establishing a
connection using BGAN terminal on page 21.
12 Getting started with the wired IP Handset
Chapter 2: Getting started
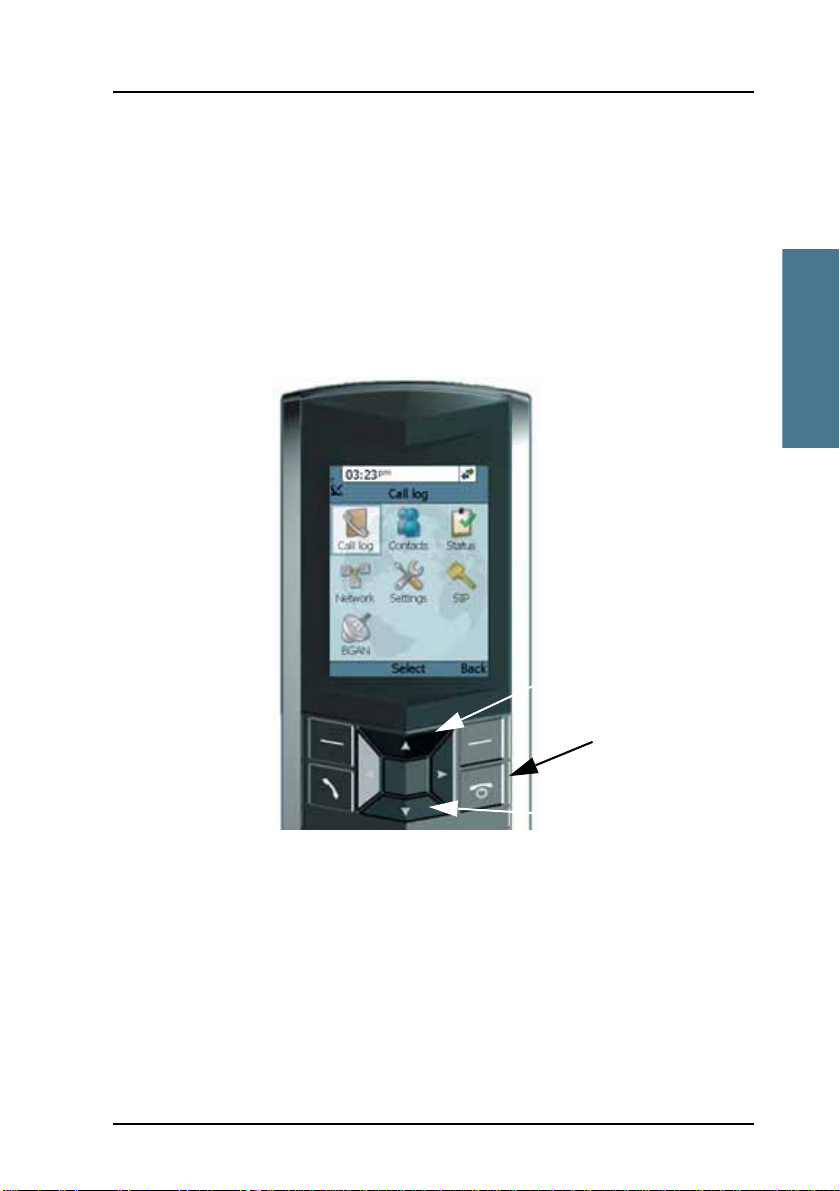
Getting started
On/off key
Volume up
Volume down
Starting up the wired IP Handset
To switch on the IP Handset
The wired IP Handset is automatically powered when it is connected to a LAN
interface with PoE.
If the handset has been switched off, you can switch it back on by pressing
and holding the on hook key until the display lights up.
2222
If the handset does not start up, the reason may be that there is no PoE in the
LAN interface. If you are connecting to a BGAN terminal, check that the PoE
indicator on the terminal lights green for the connected port. For further
information, refer to the installation manual for the BGAN terminal.
To switch off the IP Handset, press and hold the on hook key again until the
display is turned off.
Getting started with the wired IP Handset 13

Chapter 2: Getting started
Wireless access point (WLAN)
BGAN terminal
Charging cradle
IP Handset, Wireless
Getting started with the wireless IP Handset
Introduction
Overview
The wireless IP Handset connects to a wireless access point, which is
connected to a BGAN terminal or other IP connection or directly to a BGAN
terminal with integrated wireless access point. The internal battery is charged
from the dedicated cradle connected to an external power supply.
14 Getting started with the wireless IP Handset

Chapter 2: Getting started
Getting started
Mini-USB for charging Jack connector for headset
IP Handset connectors
The handset has two connectors on the side of the handset:
• one connector for connecting a headset.
• one Mini-USB 5-pin connector, for charging the handset from a computer
or USB charger.
Preparing the hardware
For the wireless IP Handset you need the following hardware:
2222
• A BGAN terminal with integrated wireless access point or a separate
wireless access point complying to the Wireless Local Area Networking
(WLAN) standard 802.11b/g
• for charging the handset:
• an external power supply with 10-32 V DC nominal power, min. 7 W, or
• a computer and a USB cable with a mini-USB 5-pin connector at one
end and a USB-A connector at the other end.
To connect the wireless access point
If the BGAN terminal has not an integrated wireless access point you may
connect the wireless access point to a BGAN terminal or to your standard
network connection.
For information on how to install the wireless access point, refer to the
documentation that comes with your wireless access point.
Getting started with the wireless IP Handset 15

Chapter 2: Getting started
Terminal block J101
DC Connector
To connect an external power supply to the cradle
The cradle for the IP Handset serves as a charger when it is connected to an
external power supply (10-32 V DC, 7 W).
To connect an external power supply to the cradle, do as follows:
1. On the back of the cradle, unscrew the two screws holding the cover.
2. Remove the cover.
3. Connect your power supply to the cradle.
There are two options for connecting to the cradle:
• Using the internal DC connector in the cradle.
The connector is a proprietary DC Jack, 2.5 mm, positive center.
16 Getting started with the wireless IP Handset
Chapter 2: Getting started
Getting started
Note
• Using the internal terminal block (J101).
Connect the wires from your DC supply to DC+ and DC- in the terminal
block J101.
4. Secure the cable with a cable relief at the cable exit on the cradle.
Make sure the cable relief matches the size of the cable.
5. Mount the cover and fasten the two screws.
For information on how to mount the cradle on a wall or desktop, see
Installing the cradle on page 11.
2222
Getting started with the wireless IP Handset 17

Chapter 2: Getting started
Charging the IP Handset
Introduction
The battery icon next to the handset icon
in the top right corner of the display
shows the battery status of the handset.
When the battery level is critically low,
the handset makes a sound and shows a message, and the icon starts flashing
to indicate that the battery needs recharging. If the battery is not recharged,
the handset will eventually switch off.
There are two options for charging the handset:
• To charge the IP Handset using the cradle
• To charge the IP Handset from a computer or USB charger (only wireless
model)
On delivery the battery of the IP Handset is approximately 50% charged and
ready for use.
To charge the IP Handset using the cradle
The cradle must be connected to an external 10-32 V DC power supply, as
described in the previous section.
Place the IP Handset in the cradle with the display facing up. The handset
automatically starts the charging process.
To charge the IP Handset from a computer or USB charger
You need a computer or a USB charger and a USB cable with a mini-USB 5-pin
connector at one end and a USB-A connector at the other end.
Do as follows:
1. Connect the mini-USB connector to the connector at the side of your
handset.
18 Getting started with the wireless IP Handset
Chapter 2: Getting started
Getting started
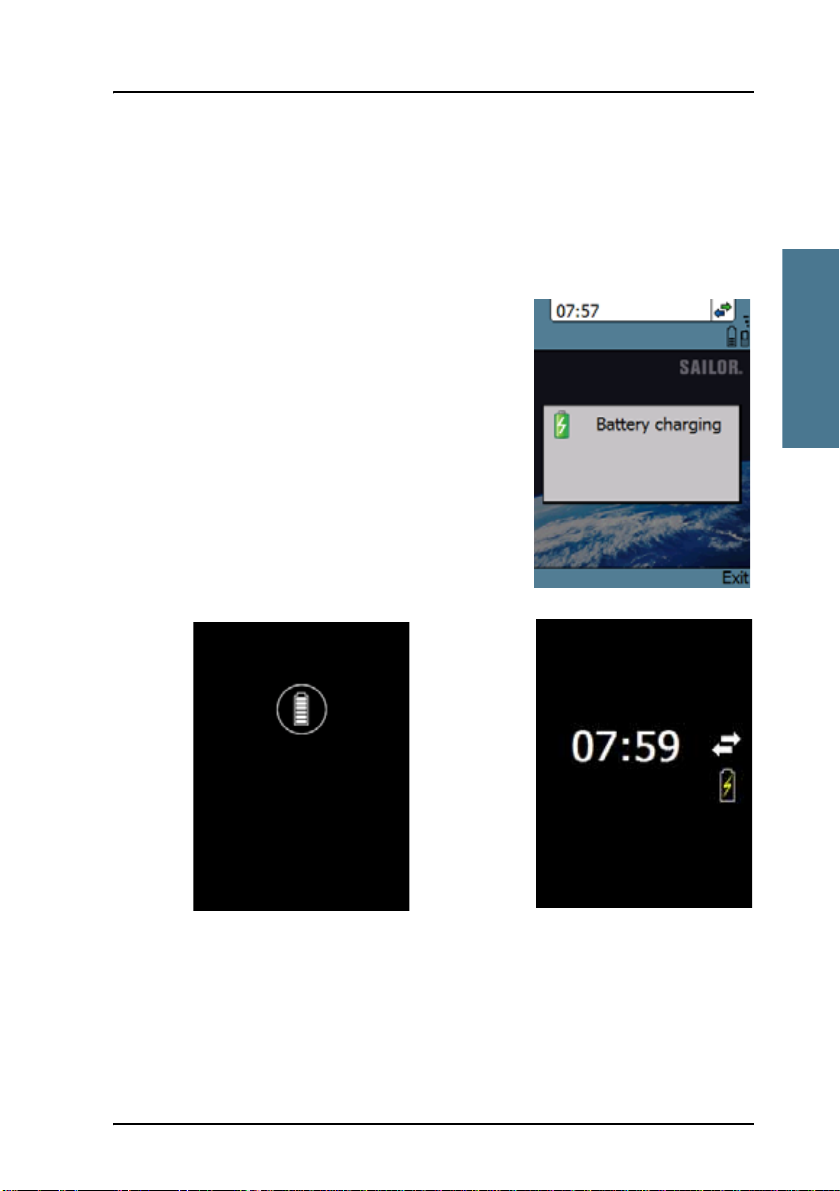
Handset off (animated).
Screensaver mode
The icon is turned off after
a while, but reappears when
a key is pressed.
2. Connect the other connector on the cable to a USB port on your computer
or your USB charger. The IP Handset automatically starts the charging
process.
Indications during charging process
A message appears briefly in the display, the
IP Handset makes a sound and the battery
icon is animated to show that the battery is
charging.
Below are examples of the display when the
IP Handset is off and when it is in screensaver
mode while charging the battery.
2222
Getting started with the wireless IP Handset 19
 Loading...