

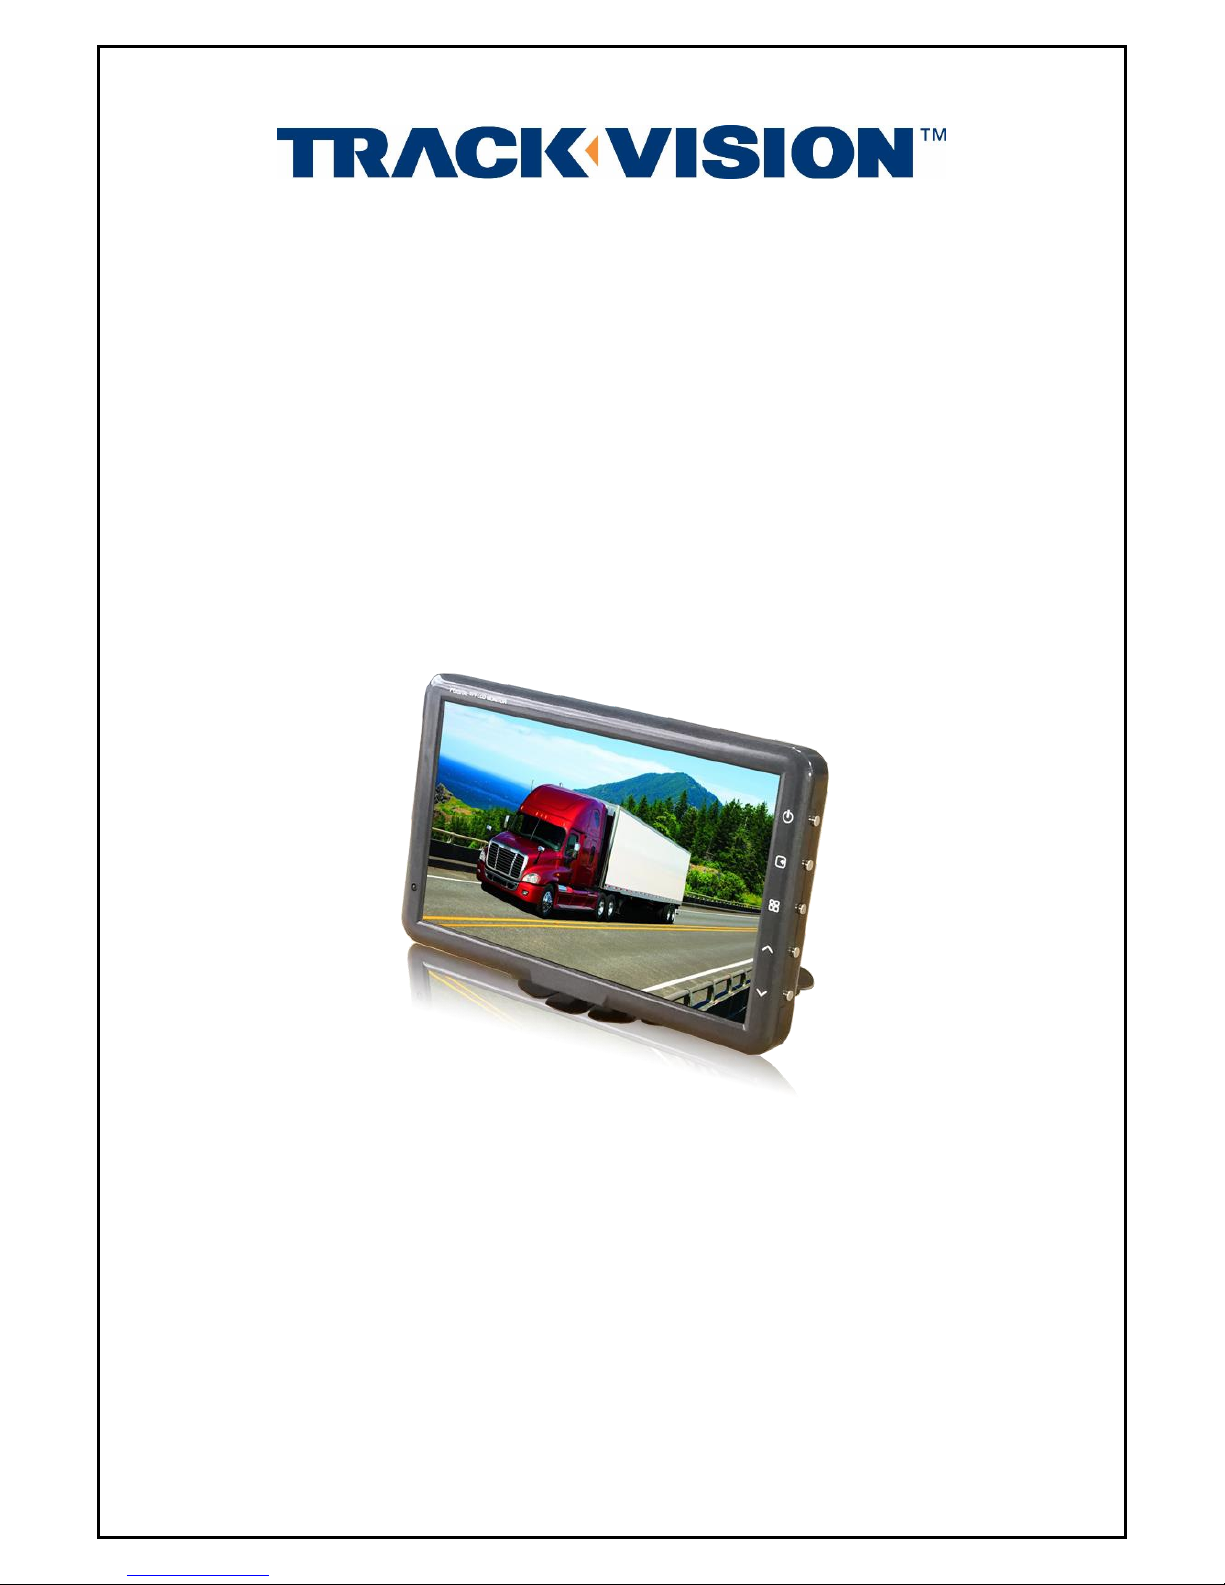
USER MANUAL
TRV10100
7” HD COLOR MONITOR
Commercial Monitor

Safety Instructions
☞ Do not use a damaged or loose connector.
This may cause an electric shock, short circuit or fire
☞ Do not pull the connector by the wire or touch the connector with wet hands
- This may cause an electric shock, short circuit or fire.
☞ Do not place the monitor face down.
- The TFT-LCD surface may be damaged.
☞ Do not spray detergent directly on the monitor.
- Use recommended LCD cleaning solution with a smooth cloth.
☞ Do not open the monitor
- In case of problems, contact your local reseller.
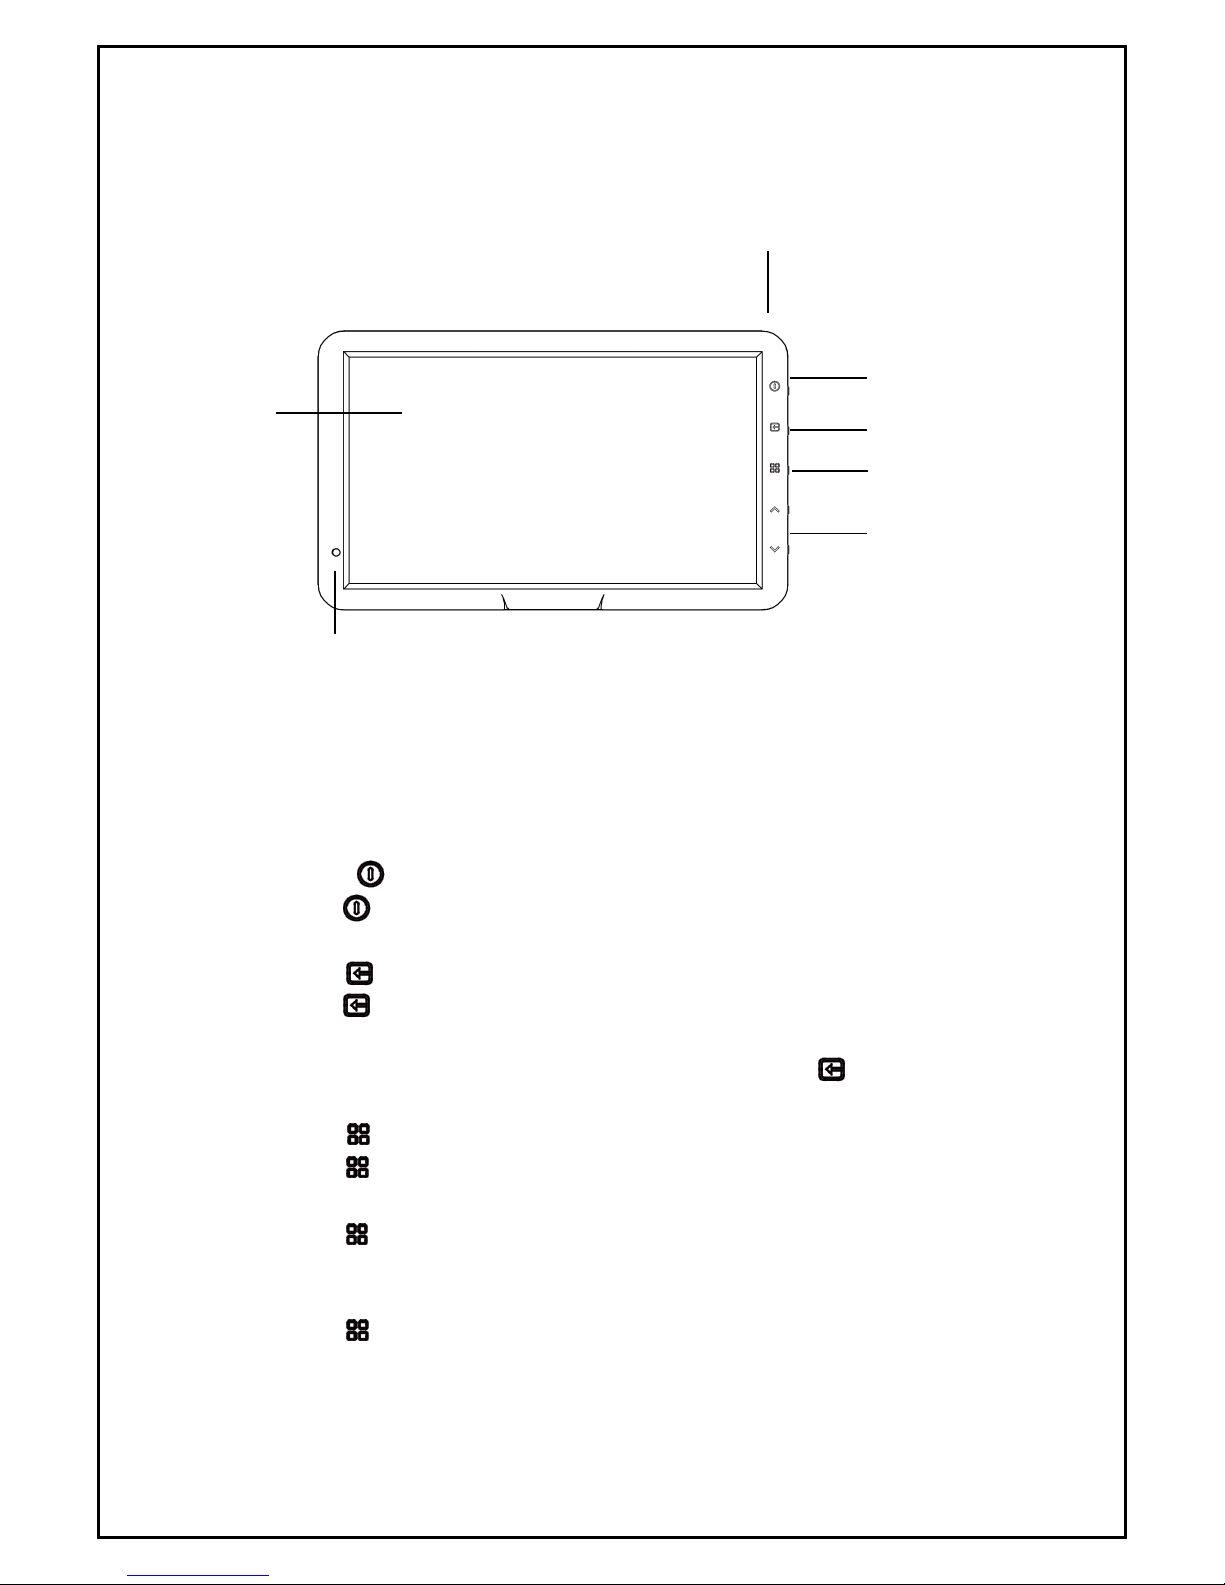
1. PART NAME
①. LCD SCREEN: WVGA(800x480)
②. DIMMER SENSOR: Automatic brightness control sensor.
③. TOUCH KEYS: POWER, ENTER, MENU, UP, DOWN.
2. KEY FUNCTIONS
④ POWER
Press button to turn the monitor on / off.
⑤ ENTER
Press button for viewing
CAM1 > CAM2 > CAM31) > CAM4
1)
In the setting menu, sub menu data is changed by pressing button.
⑥ MENU
Press button to enter display menu (by pressing short)
and setting menu (by pressing long)
Press to switch as below steps.
DISPLAY MENU : BRIGHT > CONTRAST > COLOR > SHARPNESS > TINT>
(Marker width) > (Marker height)
Press to switch as below steps in the setting menu.
SETTING MENU: CAMERA1 > CAMERA2 > CAMERA31) > CAMERA41)
> SYSTEM CONIFG.
①
⑥
⑦
1) Available 4CH monitor system.

⑦ UP/DOWN
Press button to move sub menu where want to change.
When the menu OSD is not displayed, control the volume level.
3. VOLUME CONTROL
When the menu OSD is not displayed, control the volume level.
Level : 0~60
4. DISPLAY MENU
Press button to enter display menu (by pressing short)
Press button to switch as below steps.
SETTING MENU : CAMERA1 > CAMERA2 > CAMERA3
1)
> CAMERA4
1)
> SYSTEM
CONFIG
(If operation button is not selected within 10 seconds, the OSD will disappear automatically).
level : 0~60
When marker display is activated, user can adjust marker width and height.
level : 0~60
5. SETTING MENU
Press button to enter setting menu (hold the button few seconds).
Press to switch as below steps in the setting menu.
SETTING MENU : CAMERA1 > CAMERA2 > CAMERA3
1)
> CAMERA4
1)
> SYSTEM
CONFIG
Press button to move sub item where want to change
Press button to change sub menu value.
(If operation button is not selected within 10 seconds, the OSD will disappear automatically).
■VOLUME
■■■■■■■■■■■■■
[30]
■BRIGHT
■■■■■■■■■■■■■
[30]
■CONTRAST
■■■■■■■■■■■■■
[30]
■COLOR
■■■■■■■■■■■■■
[30]
■SHARPNESS
■■■■■■■■■■■■■
[30]
■TINT
■■■■■■■■■■■■■
[30]
■MARKER WIDTH
■■■■■■■■■■■■■
[30]
■MARKER HEIGHT
■■■■■■■■■■■■■
[30]

1) CAMERA SETTING MENU
① MIRROR: ON/OFF
ON : MIRROR OFF : NORMAL
② UPSIDE DOWN: ON/OFF
ON : UPSIDE DOWN OFF : NORMAL
③ TRIGGER ENABLE: ON/OFF
ON : If there is trigger signal input, the connected screen (Trigger input screen) is
displayed / OFF
④ TRIGGER SUSTAIN: 0~20sec
Each trigger’s delay time is adjustable from 0sec to 20sec.
⑤ MARKER DISPLAY: OFF/TRIGGER/ALWAYS
TRIGGER : Distance line display when trigger signal input.
ALWAYS : Display always distance line.
⑥ MARKER TYPE: TypeA/TypeB
⑦ VIDEO FORMAT : AHD/CVBS
AHD : Set input to high density (AHD) video, 1280x720P
CVBS : Set input to standard analog video, 720x480 (NTSC or PAL system)
▣ MIRROR :OFF
▣ UPSIDE DOWN :OFF
▣ TRIGGER ENABLE :ON
▣ TRIGGER SUSTAIN :02sec
▣ MARKER DISPLAY :TRIGGER
▣ MARKER TYPE :TypeA
▣ ASPECT RATIO :16:9
■ CAMERA1 SETTING
Type B
Type A

2) SYSTEM CONFIG MENU
① AUTO POWER : ON/AUTO/OFF
ON : When power is input, screen is displayed automatically.
OFF
AUTO : Follow last selected condition.
② AUTO DIMMER: ON/OFF
ON : Automatic brightness control sensor.
③ AUTO SWITCHING: ON/OFF
ON : Screen switches from cam 1 to split3 mode automatically.
When auto switching is ON, user can set each camera switching delay time.
④ SPEED SWITCH: ON/OFF (Option)
The selected camera screen display automatically at over certain speed that user
set in advance.
⑤ LANGUAGE : ENGLISH/ FRANCAIS/ NEDERLANDS/ SUOMI/ SVENSKA/ NORSK/ KOREA.
( 7 languages )
⑥ FACTORY RESET: Ver1.0
▣ AUTO POWER :ON
▣ AUTO DIMMER :OFF
▣ AUTO SWITCHING :OFF
▣ SPEED SWITCH :OFF
▣ LANGUAGE :ENGLISH
▣ FACTORY RESET :Ver1.0
■ SYSTEM CONIFG

Connection
Specifications SM-702C
Power Input DC 10V~32V
Power Consumption Max. 12Watt
Video System NTSC / PAL compatible
Panel 7" Digital
Resolution 800 (H) x 480 (V) x 3 (RGB)
Format 16:9 wide
Camera input(4CH) Mini DIN 4P, 1Vp-p 75Ω
Specification
Power input DC 12V~32V
Power Consumption Max. 12Watt
Video system AHD/NTSC/PAL
Video input Resolution Max. 1280 x 720P
LCD 7” Digital TFT LCD
Resolution 800(H)x480(V)x3RGB
Format 16:9 wide
Camera input Mini DIN 4P, 1p-p 75Ω
Operating Temp -30°C~+75°C
Storage Temp -40°C~+85°C
Vibration 6G
Dimension 180(W) x 108(H) x 20(D)mm
Weight Approx. 350g

Need another Track-Vision backup camera system?
Visit our NEW online store at track-vision.com !
Distribute by:
RMT Equipment Inc.
30 Emilien-Marcoux, Suite 101
Blainville, QC J7C 0B5
Toll Free : 1-800-648-8132
info@rmtequip.com
rmtequip.com
 Loading...