


UNIVERSAL TRACKER USER GUIDE
Model:TRKM010
Brand:trackimo
Manufacture:HUIZHOU QIAOWEI INTELLIGENT OVERSEAS CO.,LTD

User Guide v7
Table of Contents
1. GETTING STARTED ..................................................................................................... 2
1.1. UNPACKING YOUR DEVICE .................................................................................................... 2
1.2. CHARGING YOUR DEVICE FOR THE FIRST TIME ....................................................................... 2
1.3. REGISTRATION .................................................................................................................... 3
1.4. TURNING ON YOUR DEVICE ................................................................................................. 3
1.5. ACTIVATING YOUR DEVICE ................................................................................................ 3-7
1.6. RESETTING YOUR PASSWORD .............................................................................................. 8
1.7. YOUR DEVICE LIGHTS AND SOUNDS ..................................................................................... 9
2. TRACKIMO DASHBOARD ......................................................................................... 10
2.1. DASHBOARD OVERVIEW ................................................................................................ 10-11
2.2. DEVICE LOCATION INFORMATION ........................................................................................ 12
2.3. UPDATE DEVICE LOCATION ................................................................................................ 13
2.4. DEVICE LOCATION FREQUENCY ..................................................................................... 13-14
2.5. DEVICE HISTORY ............................................................................................................... 14
2.6. DEVICE ALARMS AND SETTINGS .................................................................................... 15-16
2.7. MANAGING RENEWAL SUBSCRIPTIONS ................................................................................ 17
2.8. GEO FENCES ................................................................................................................ 17-18
1
User Guide v7
1. Getting Started
1.1. Unpacking Your Device
Carefully unpack your Trackimo device. Your packaging should include:
• Battery
• Locking Belt Clip
• Adhesive Velcro
• Adhesive Magnet
• Water Resistant Sleeve
• USB Cable
• Screw Driver
• Keychain and Lanyard
A Quick Start Guide and a Safety & Warranty page are also included.
• Use only approved accessories.
• Accessories may vary by country or region.
1.2. Charging Your Device for the First Time
Your battery will not be installed or charged when you first unpack your device.
Install the battery by taking off the back cover and inserting the battery. To take
off the back cover, gently push it in the middle and slide it off.
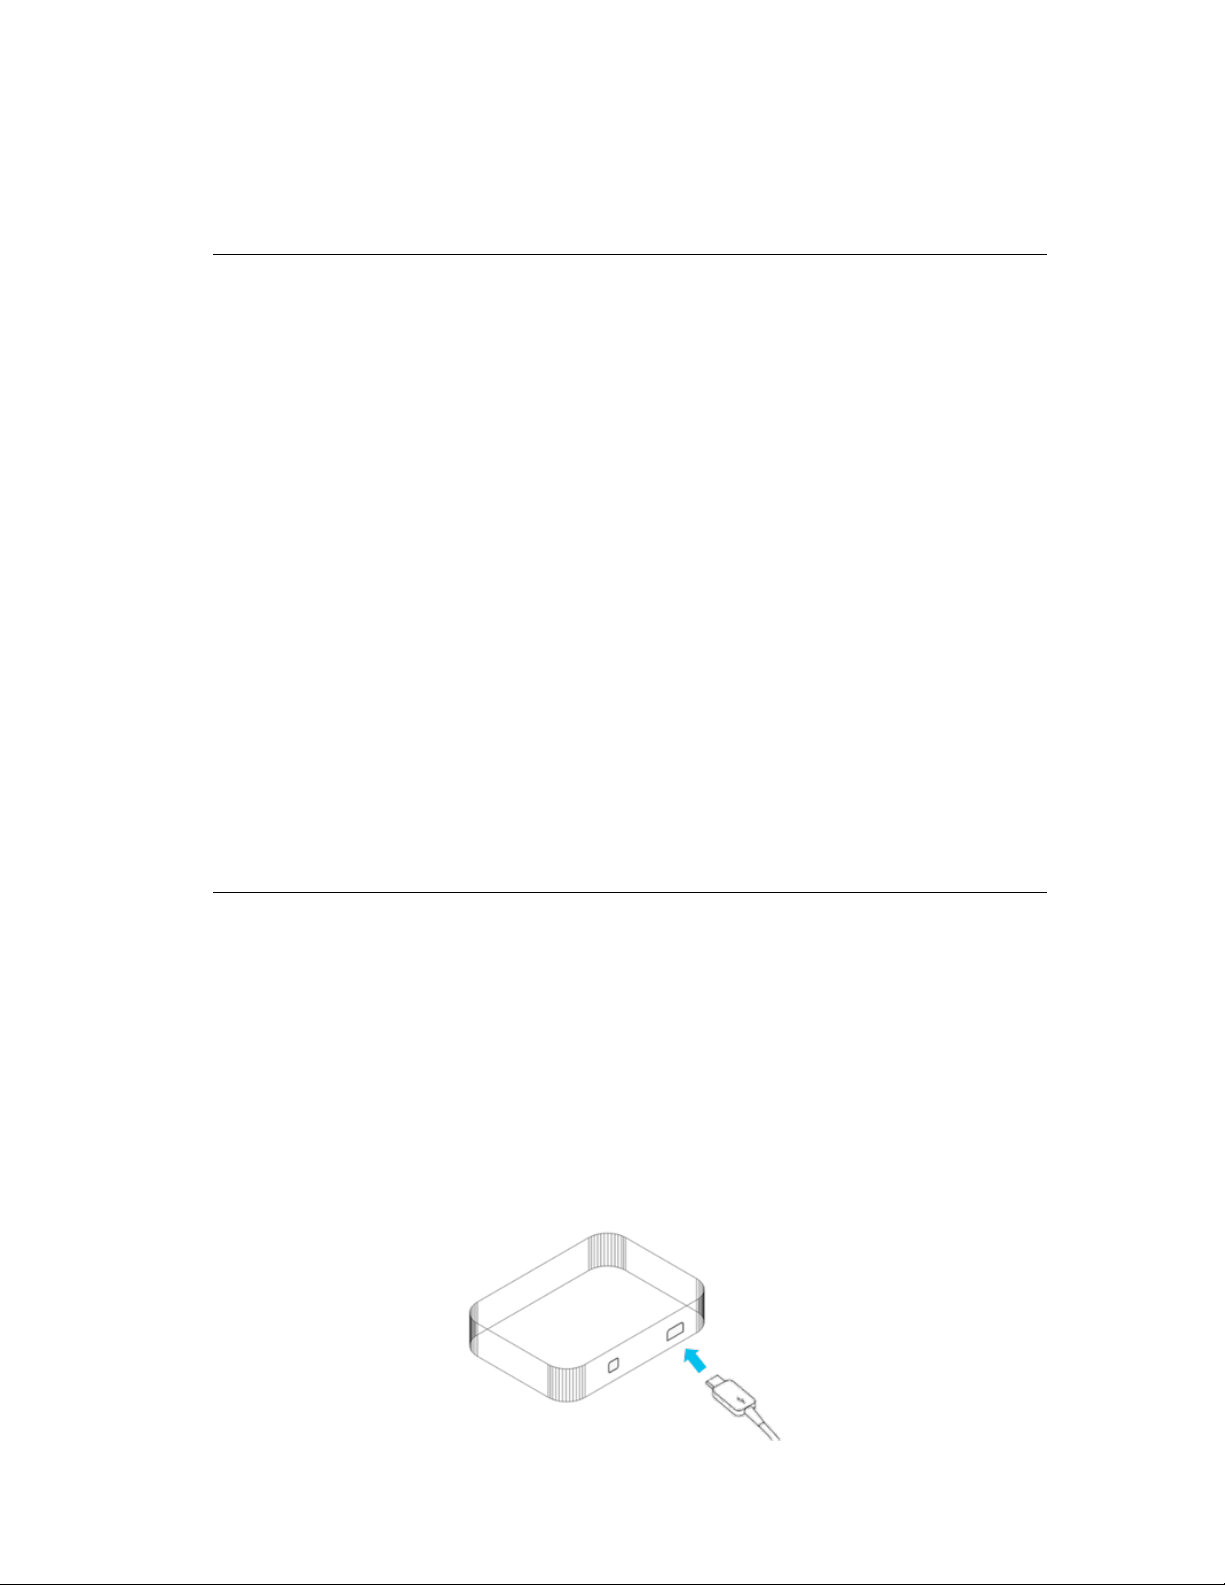
To charge, connect one end of the data cable to the charger port at the bottom of
the device, and the other end to a power USB adaptor.
Then connect the USB adapter to a power outlet. Charge the device for 12
hours.
2
User Guide v7
1.3. Registration
On your PC (not smartphone), using the latest version of your Internet
Browser, visit www.trackimo.com and click on “Log In” and then “Sign Up”.
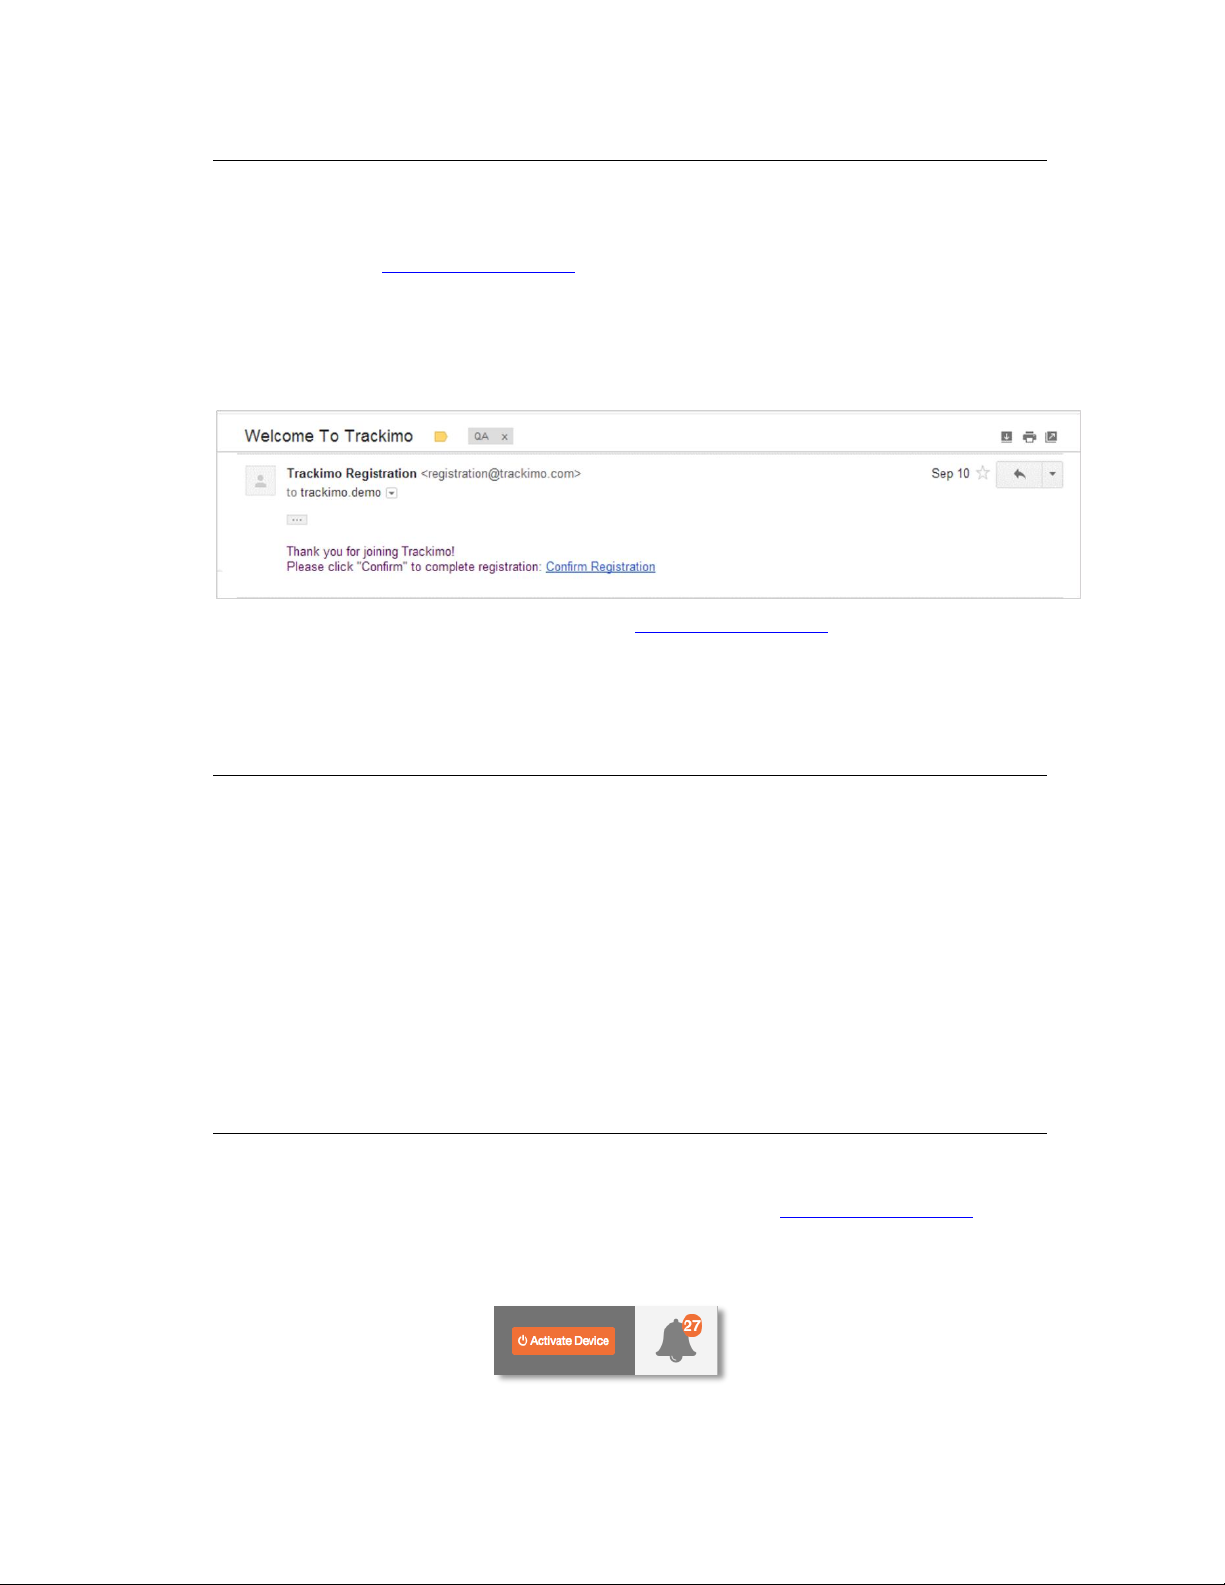
Enter your email, choose a password, re-enter the password and click on the
“Sign Up for Trackimo” button. You will receive a confirmation email to validate
your email address.
From this point on you can login through www.trackimo.com.
IMPORTANT: You must locate this email and click the confirmation link. If you
don’t receive the email in your Inbox within 2-3 minutes of registering, check
your Junk / Spam Folder as it may have been received there.
1.4. Turning On Your Device
Once your device has been fully charged (the red light on the device will stop
blinking and will remain on – this typically takes at least 8 hours), press the red
button on the top of the device and hold for at least 5 seconds. The green light
on the front of the device should flash for 3 seconds.
We recommend that you allow the device to receive its first GPS signal before
activating. Place your device outside in an open area with strong cellular service
and a clear, unobstructed, southwest view of the sky (satellite location).
Wait at least 15 minutes. Now you are ready to activate you device using you PC
(not smartphone).
1.5. Activating Your Device
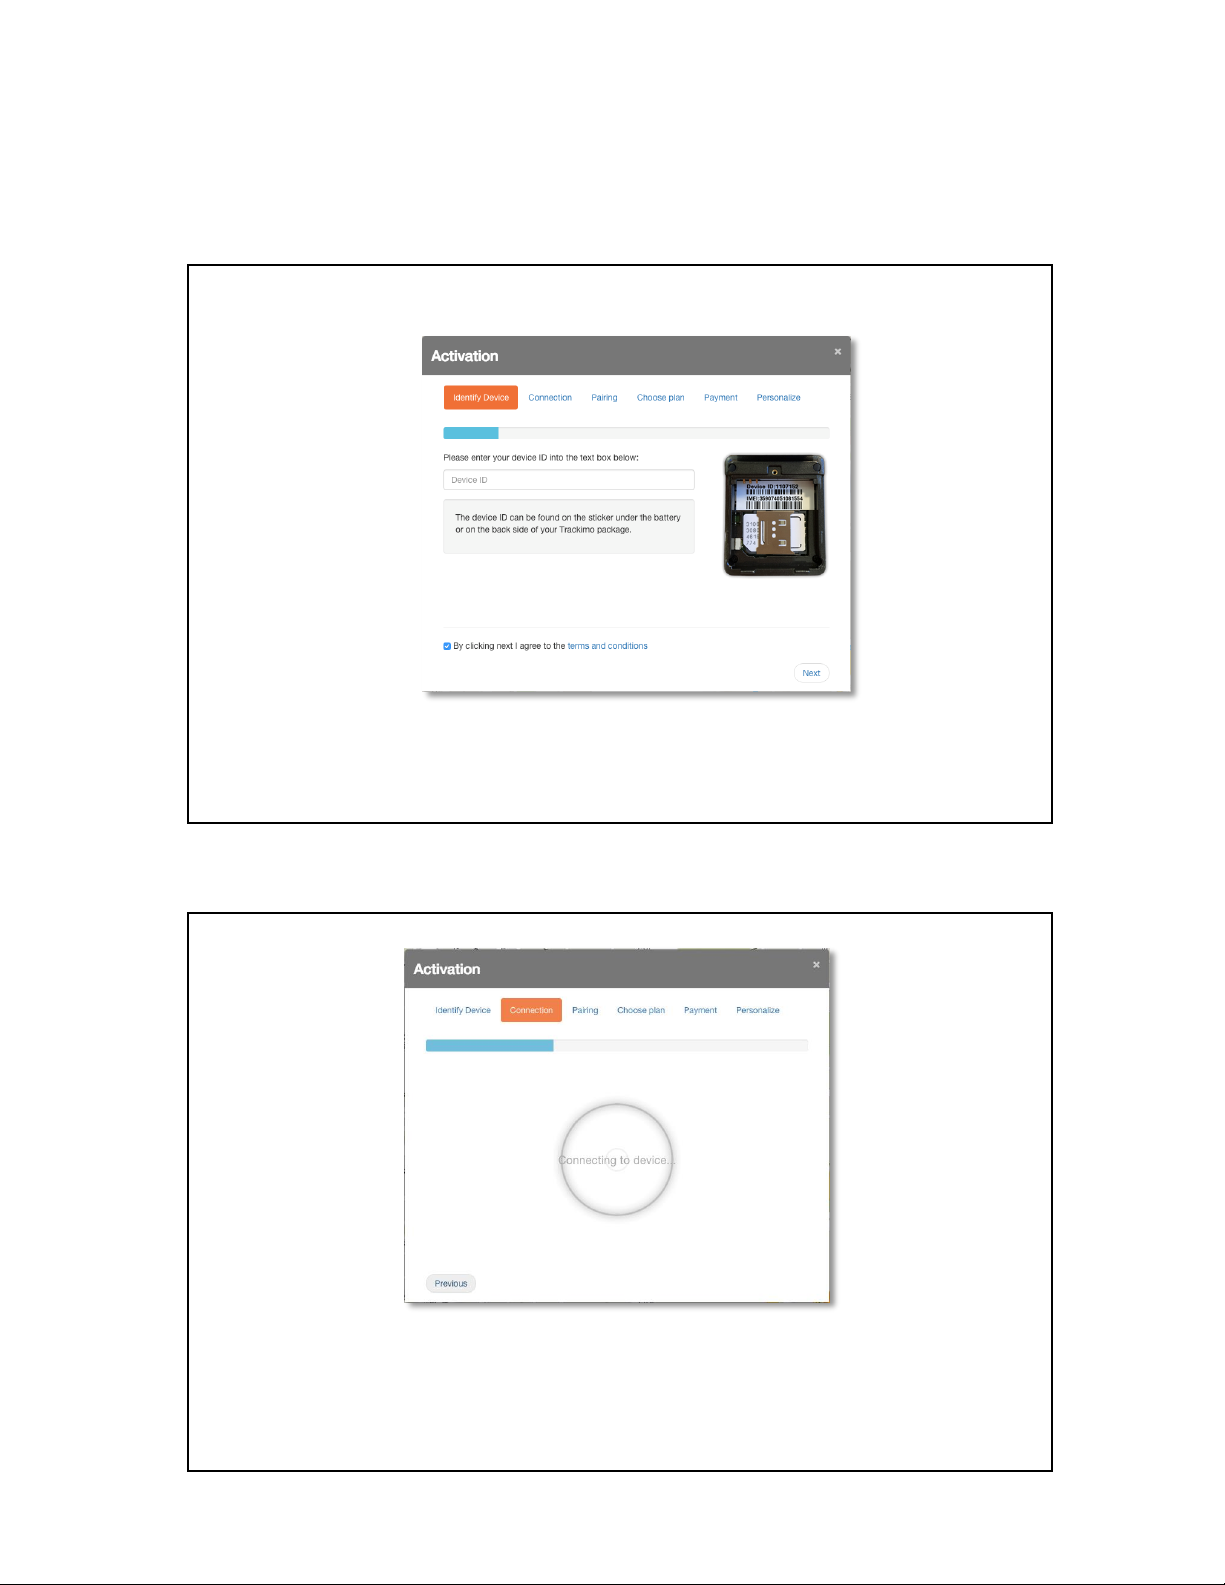
When you are logged into your Trackimo account on www.trackimo.com, press
“Activate Device” to begin the activation process.
3
User Guide v7
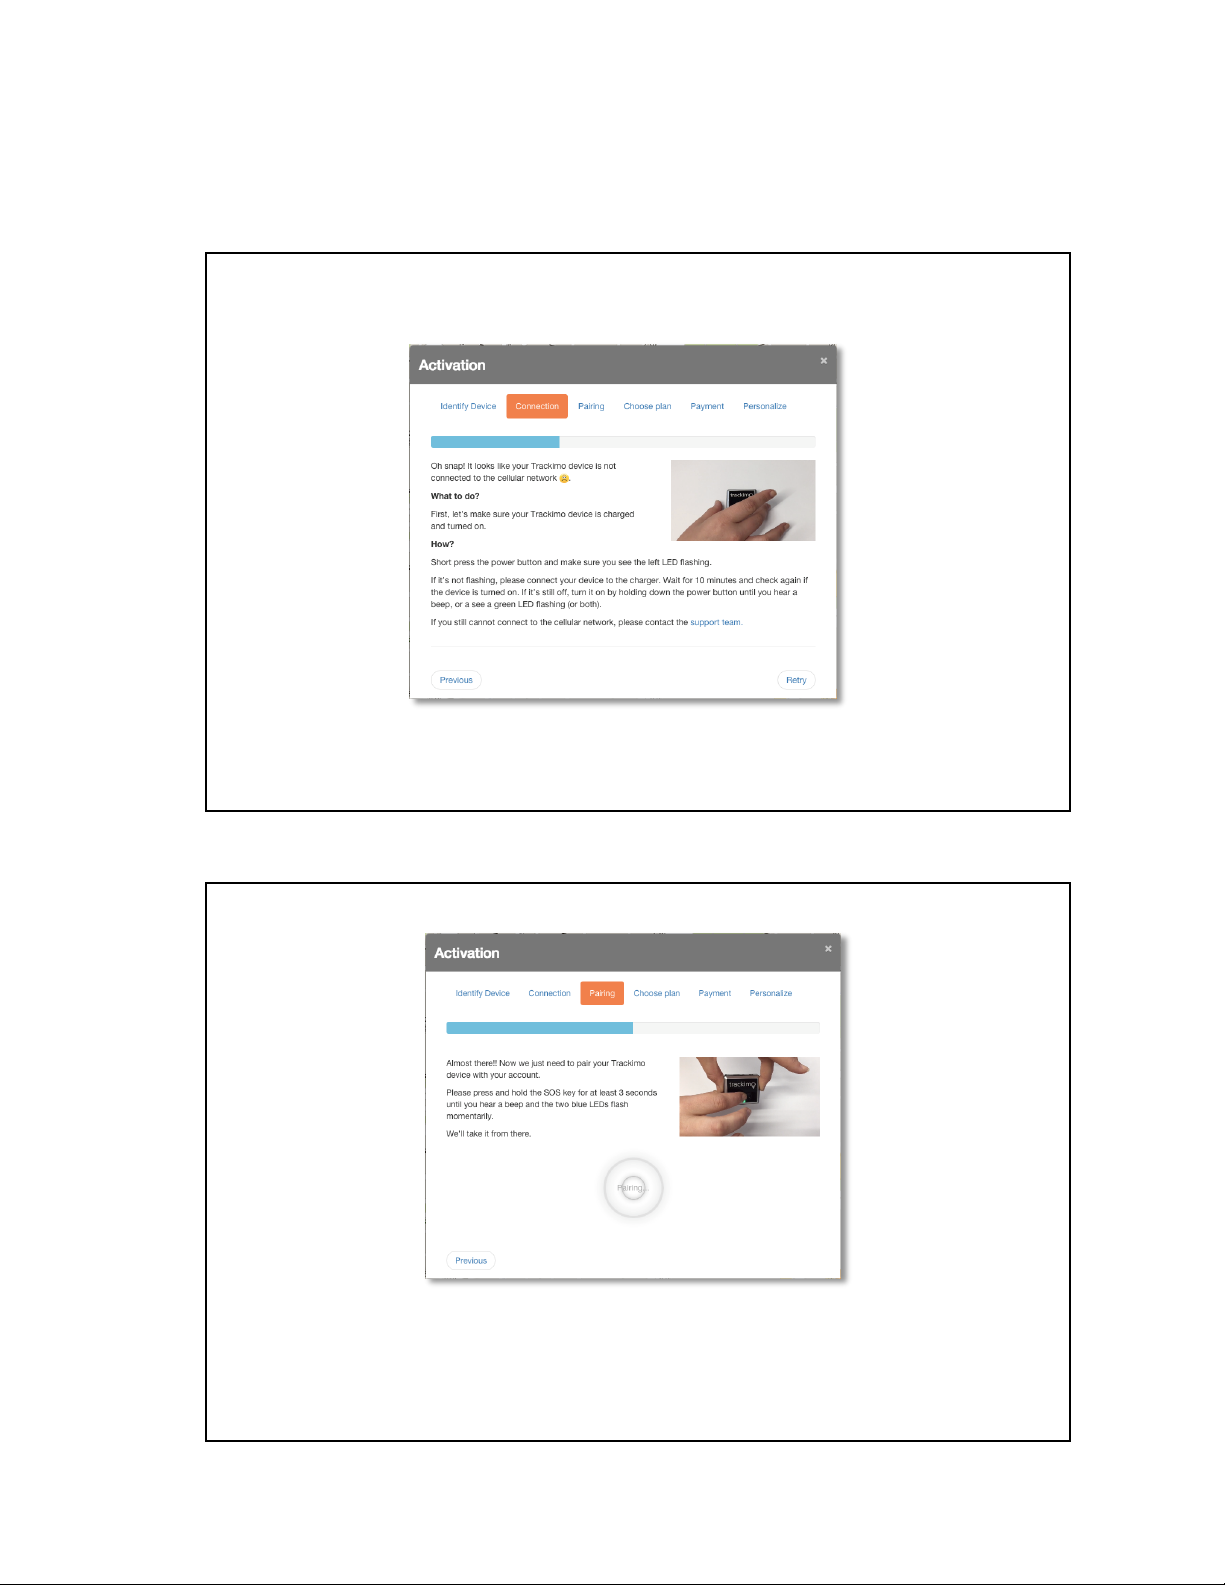
Initial Activation Screen
Identify the “Device ID” of your Trackimo. This is a 7-digit number, located on the inside
of your Trackimo under the battery, and printed on the package. Enter this number.
After you enter the device ID, the system will check the connectivity of the your
Trackimo to GSM network. This may take a couple of minutes.
4
User Guide v7
If your Trackimo is not properly connected to the cellular network, you will see this:
In case the device is not connected to GSM network, you will be asked to perform a
few short steps and retry the connection.
The system needs to verify that your device is actually in your possession. This is
done by physically associating your device to your account. Follow the instructions
and click on the SOS button to associate the device to your account.
5
User Guide v7
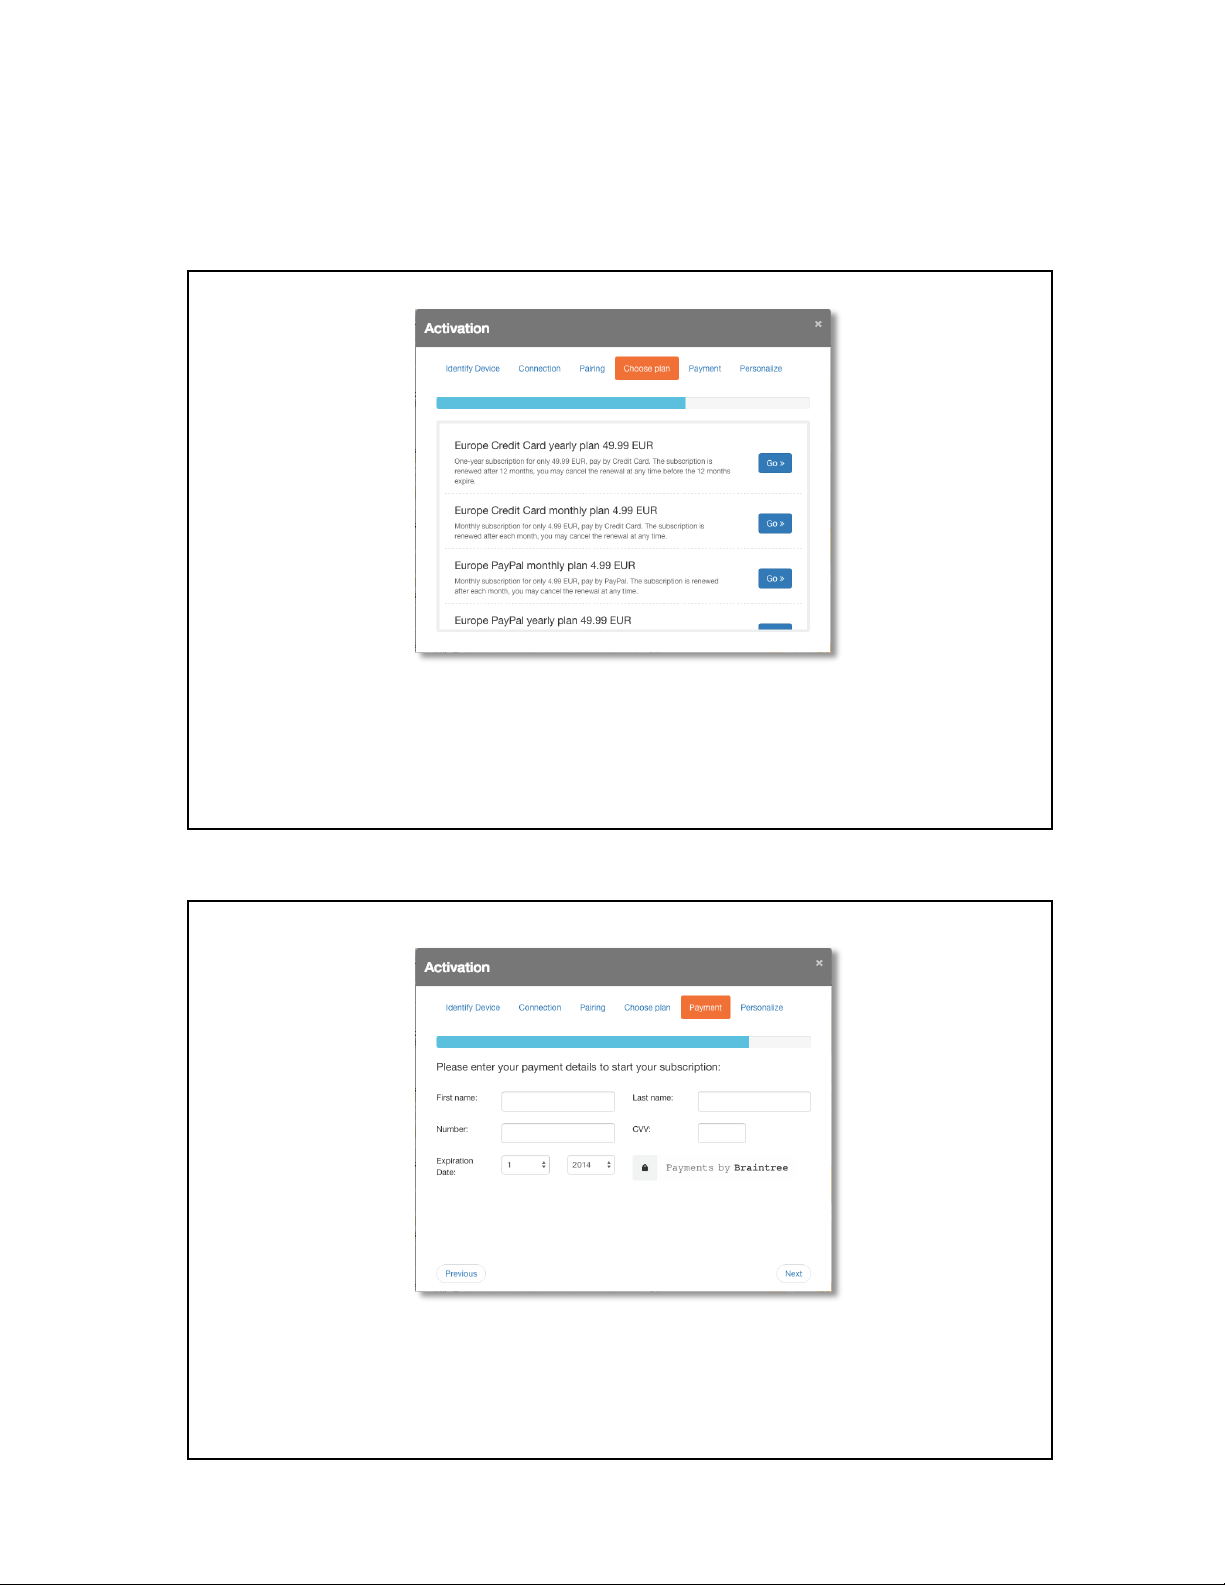
If you purchased a Trackimo device that requires a subscription payment (not a
prepaid device) then you will be required to choose your preferred billing plan and
payment method.
If your device does not have a prepaid subscription, you then have to enter your
Credit Card or PayPal details
6
 Loading...