

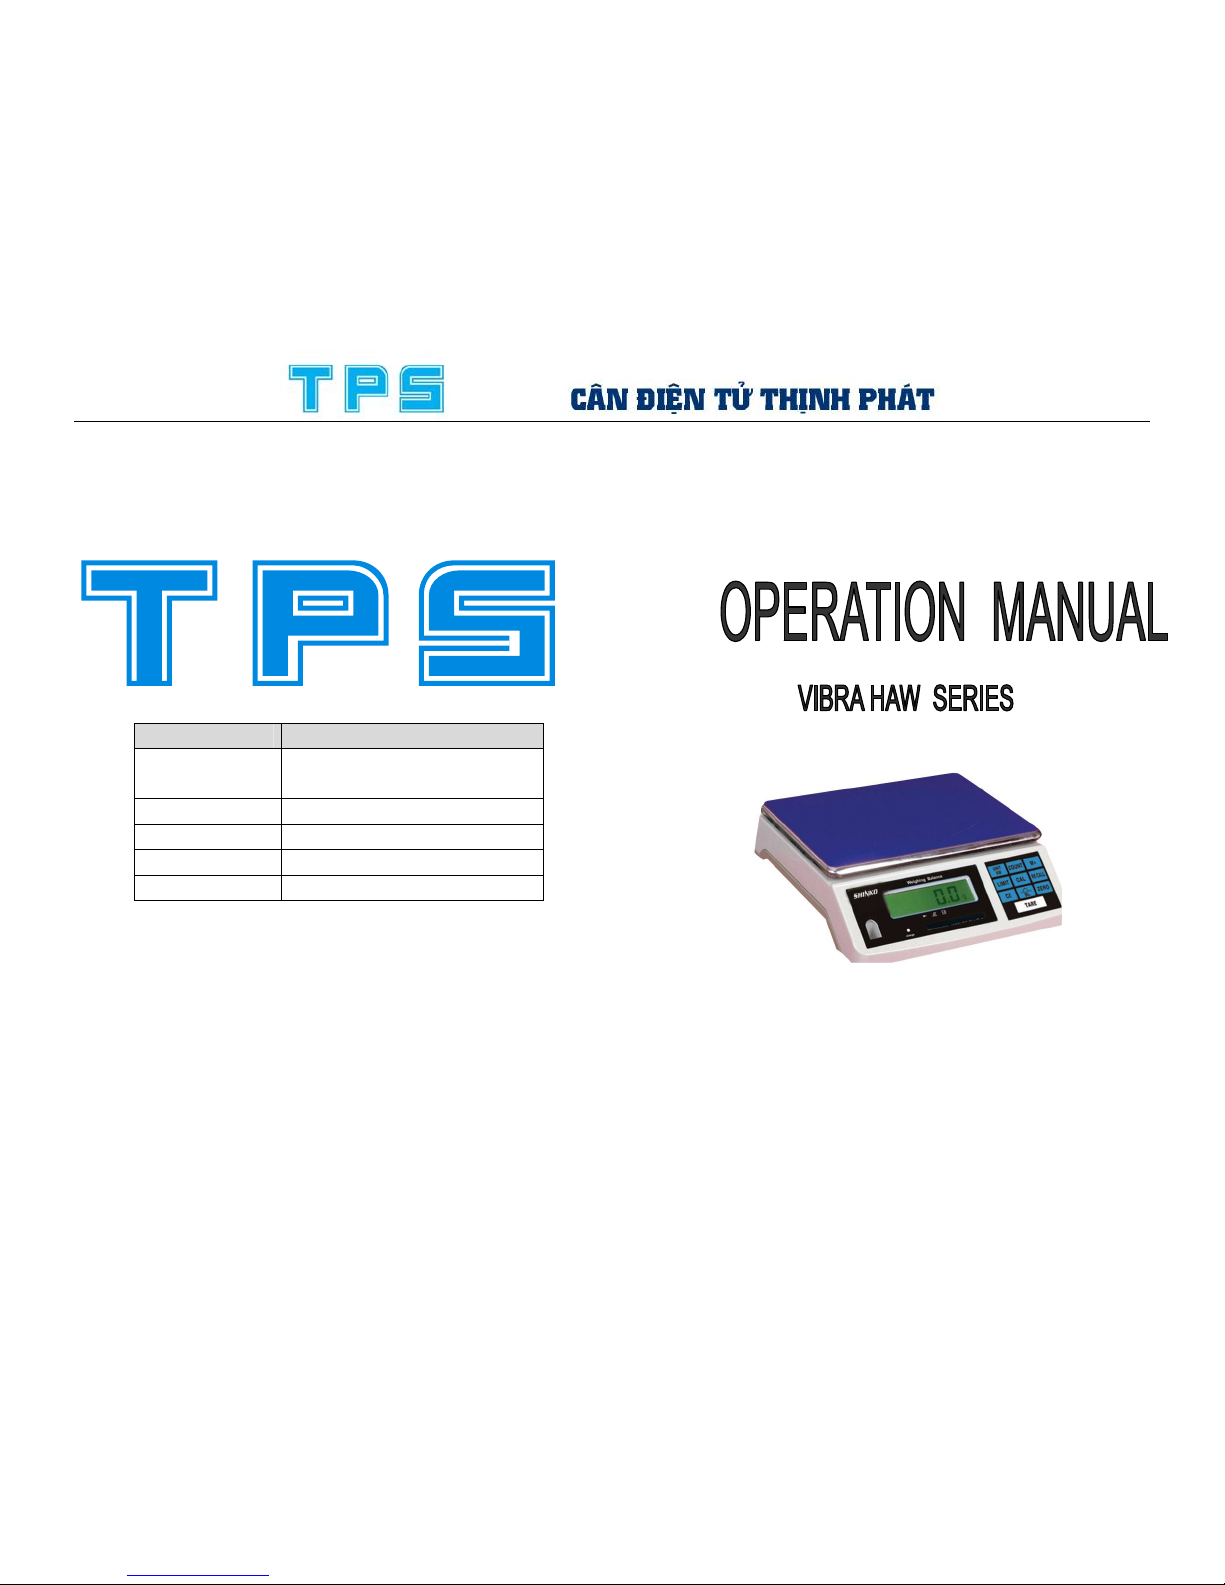
TPS VIBRA HAW SERIES, VIBRA HAW 6, VIBRA HAW 3, VIBRA HAW 15, VIBRA HAW 30 Operation Manual
...Page 1
Call Tel
Hotline (+84.8) 62.888.666
(+84.8) 62.999.111
Mr Cuong (24/24) 0084 915.999.111
Mr Xa 0084 974.000.333
Ms Cuong 0084 908.444.000
Delivery 0084 919.555.444
Page 2
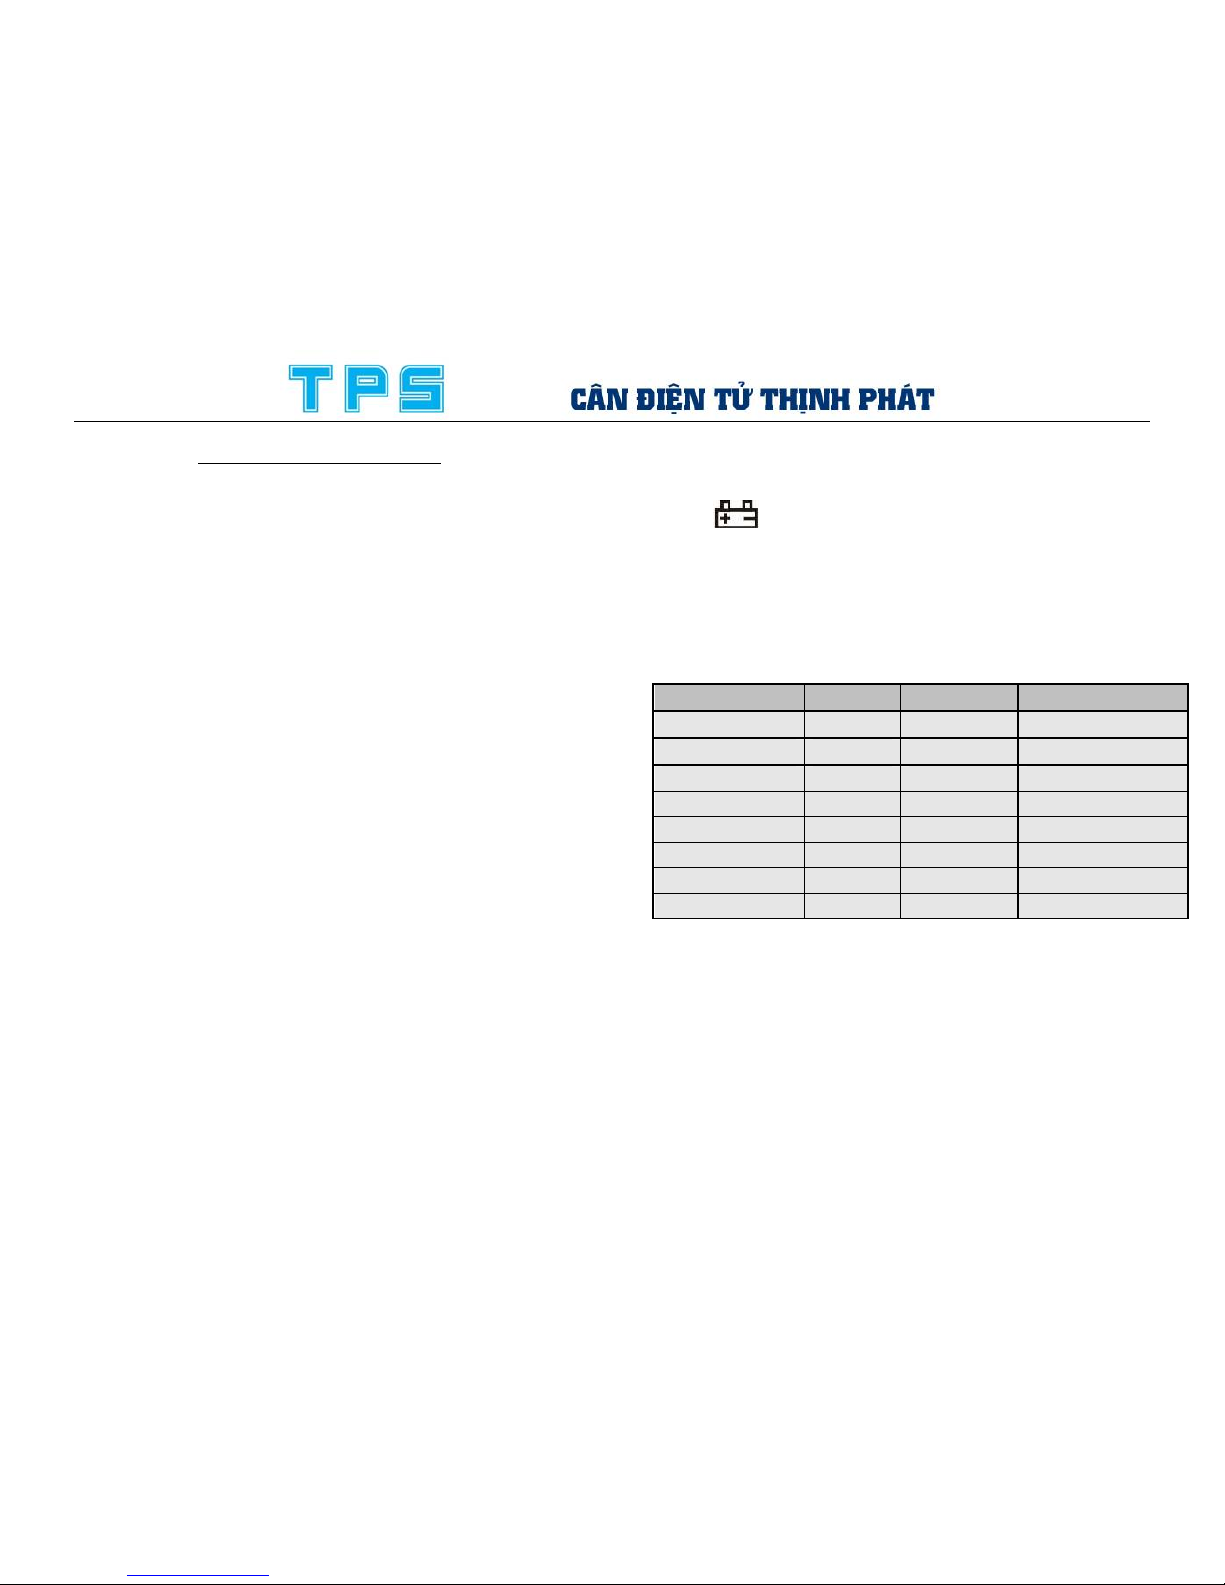
TABLE OF CONTENTS
I. Major Parameter -----------------------(1)
II. Special Remarks -----------------------(1)
III. Display Explanation-------------------(2)
IV. Connection Between Sensor And Instrument
-----------------------------------(2)
V. Keypad Functions ----------------------(3)
VI. Operations -------------------------(4)
VII. Power Source Illustration ---------------(8)
III. Power Source Illustration
Low battery warning
When symbol appears in the upper left hand corner of
the LCD display, the internal battery needs to be recharged.
If the battery is not recharged and the battery symbol appears,
the scale will switch off automatically after approximately 2-3
hours of additional use.
Model number Capacity Division Pan Size (mm)
VIBRA HAW 3 3kg 0.1g
230 x 290
VIBRA HAW 6 6kg 0.2g
230 x 290
VIBRA HAW 15 15kg 0.5g
230 x 290
VIBRA HAW 30 30kg 1g
230 x 290
VIBRA HAW 2 2kg 0.1g
230 x 290
VIBRA HAW 5 5kg 0.2g
230 x 290
VIBRA HAW 10 10kg 0.5g
230 x 290
VIBRA HAW 20 20kg 1g
230 x 290
8
Page 3
I. Major Parameter
Mode: HAW series, FWD series, FHW series
Division Value: 1~75000 Non-linearity: ≤0.01%F.S
Load cell excitation: 5V DC,5% 100mA
Load cell: 350Ω
Operation keypad: 10
Display: LCD, 6 digits, green backlight
Operating Temperature: 0~40℃;≤85%RH Fuse: 500mA
Power Source: AC 110V/220V (±10%) + DC 6V/4.5AH
Rechargeable Battery
II. Special Remarks
1. Put the scale on a firm level surface for accurate weight
readings.
2. Please use independent AC outlet to avoid the interference
of other electrical appliances; Please don't place anything
on the scale pan while power on.
3. Avoid the machine near the exhaust port of ventilating
system.
4. Please warm up the machine 15-20 minutes before
operation.
5. All goods weighed should be placed in the centre of the
platform for a accurate weighing. The overall dimensions of the
goods being weighed should not exceed the dimension of the
plaster.
1
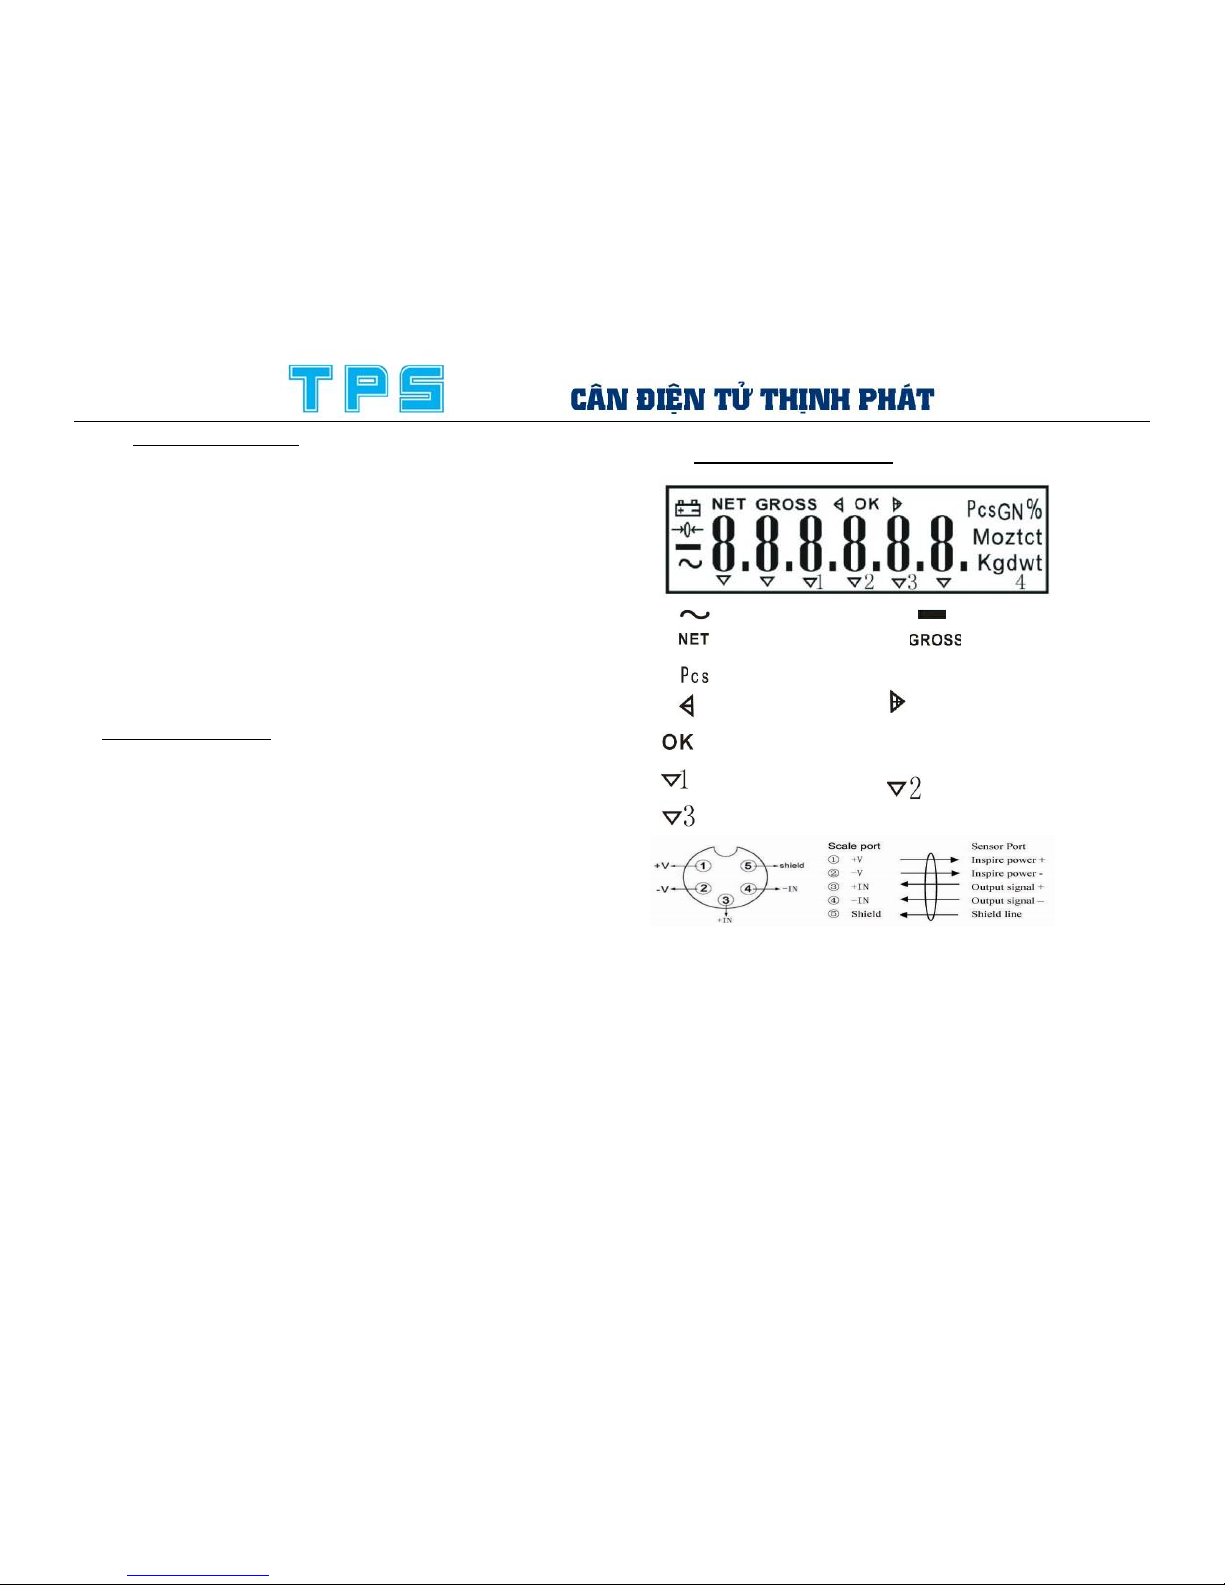
III. Display Explanation
:Low battery indication : Zero indication
:Stable indication :Negative indication
:Net weight :Gross weight
:Counting mode unit : GN ,Mo, oz, ozt, ct, kg, g, dwt
:low preset limit value : High preset limit values
:The range between high and or low limit weight values
: Accumulate : Sample too Small
: Unit Weight too Small
IV. Connection between Sensor and Instrument
Instrument and sensor are connected by the five core aviation
plug. The function of each pin is as follow:
2
Page 4
(VI) Counting function
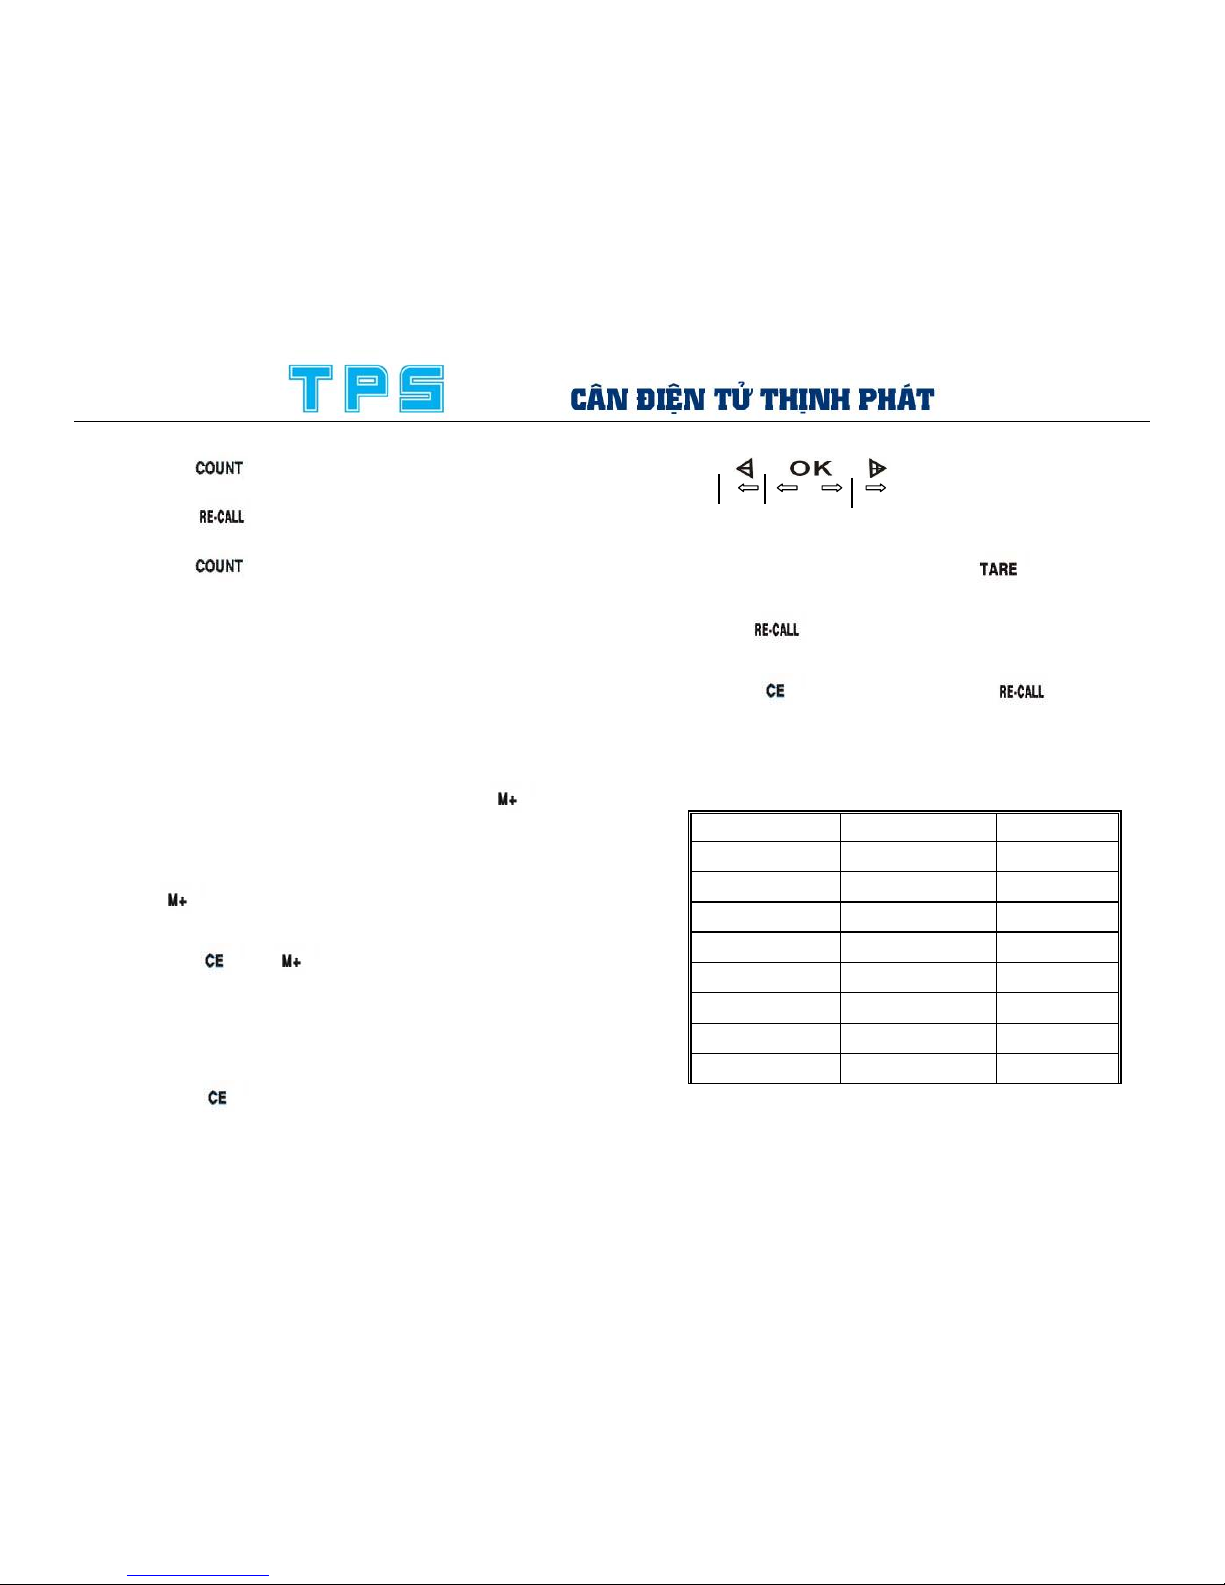
Press the key to the sample size (10, 20, 50, 100,
200, 500 and 1000 pieces), put the sample number on the scale
and press the key, when the scale is stable, the
display shows the present quantity on the platter.
Press the key to return back the weighting mode.
NOTE:
<1>. SAMPLE TOO SMALL: Sample is less than 10 divisions.
(The minimum sample weight = 10d)
<2>. UNIT WEIGHT TOO SMALL: Unit weight is less than 1/5
of a division.
Under such conditions, the scale can still work, but may result
in deviation.
The larger the sample size, the more accurate the unit weight.
(VII) Accumulating
Place the object onto the scale and stable, press key
to “Add” and then show the accumulate number of weighing
and accumulated weight.
Recall the accumulated value
Press the key to recall the accumulated value.
Clear the accumulated value
Press the and key to clear the accumulated
value.
NOTE:The totaling function can be used up to a maximum
of 99 times with 6 digits maximum.
If the accumulated value is extra the range, it appear
“ADDOL” Press to exit.
7
(3)The way of LCD bright
10d low limit high limit
value value
Under entering preset mode, press key to exit.
(4)Recall the pre-set value
Press key to recall the preset and weight value.
(5)Clear pre-set value
Press key to and then press key to clear
the preset weight value..
(V) The units transform
The weighing unit conversion table (the conversion factor
corresponds to gram)
UNIT Conversion factor
Marked
Kilogram 1000
Kg
Carat 5 ct
Ounce 0.035273962 oz
Troy ounce 0.032150747 ozt
Dramming 0.643014931 dwt
lb 0.0022045 lb
British
15.43235835 GN
Mommes 0.26670000 mo
6
Page 5
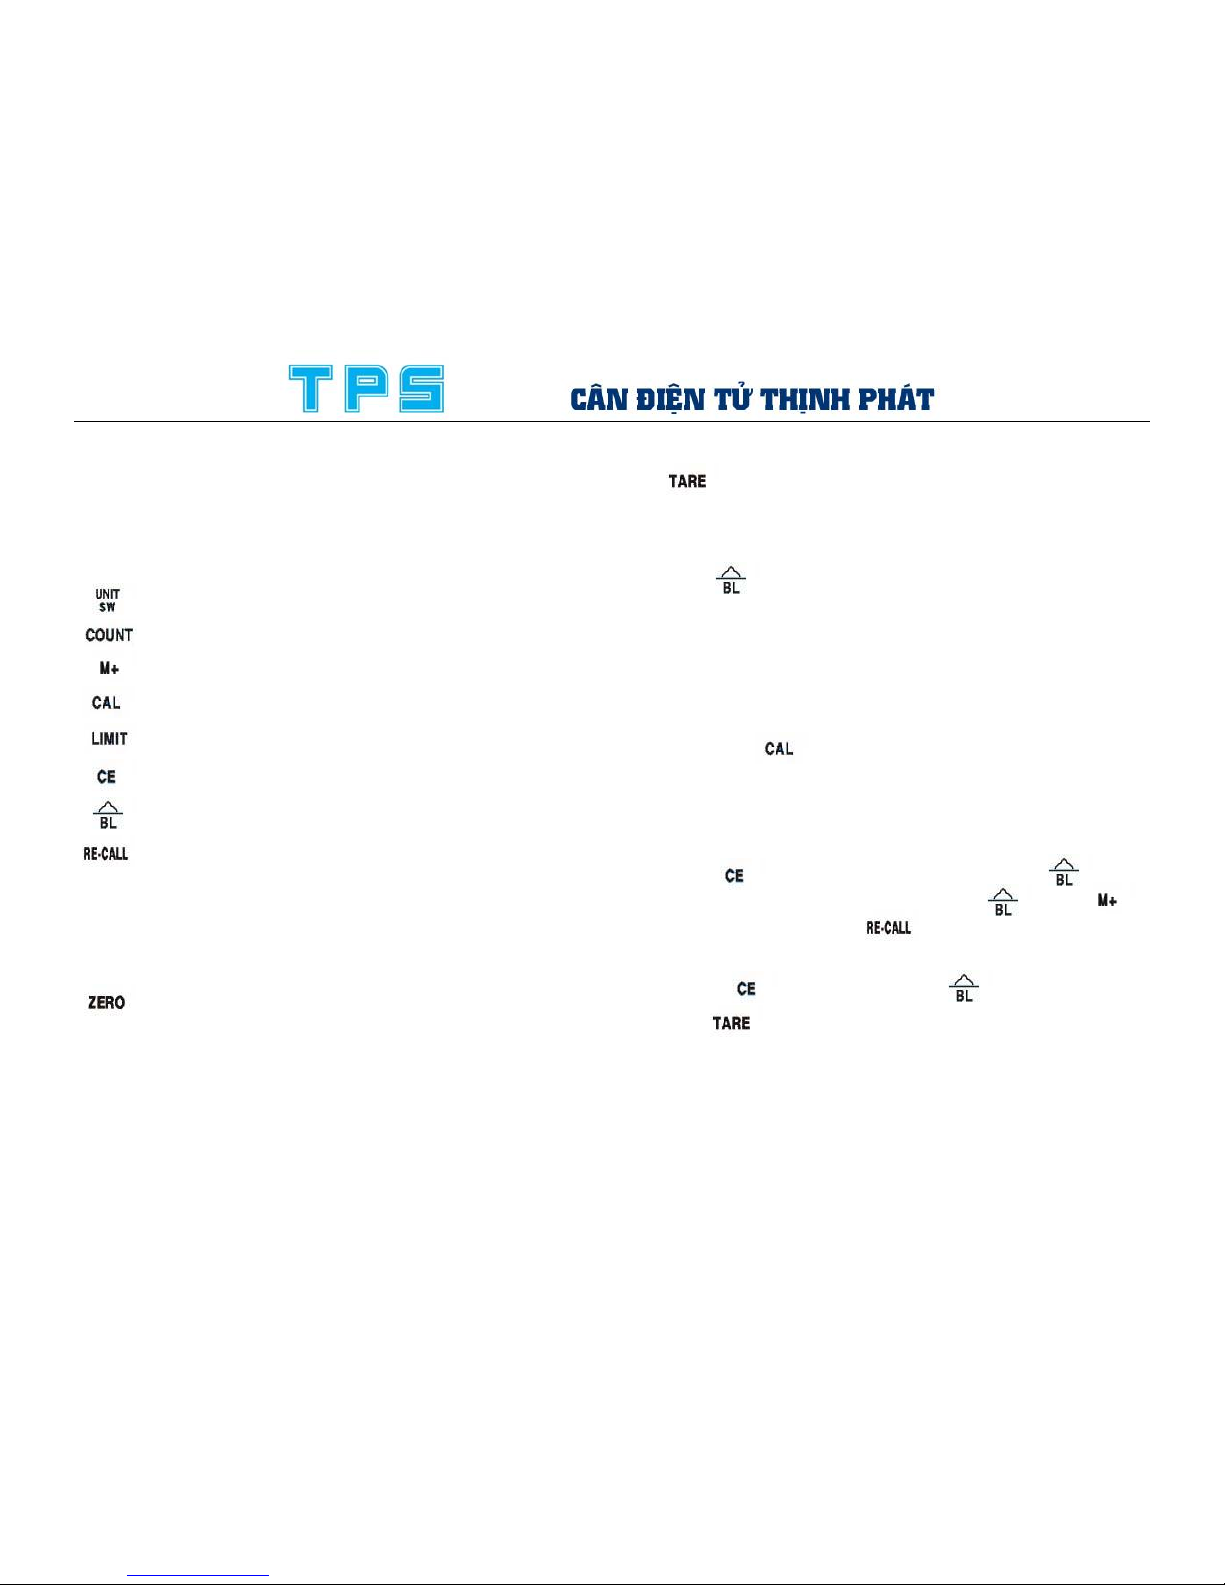
V. Keyboard Function
:Use this key to select the unit weight
: Use this key to enter the counting mode
:This key is used for weight accumulation
: Calibration function
:memory recall ,to recall limit data from memory.
:Use this key to clear the readings entered.
:data entry key and backlight key
:Preset high and low limit value warning function; Warning
while outrun the high limit value; Warning while lower than the low
limit value; Warning while between low and high limit value;
Warning while our of low and high limit value.
: : If there is a minor weight displayed without anything on
3
the pan ,hit the this key to clear the display
: Use this key to subtract that the current weight readings is net weight.
VI. Operation
(I) Backlight
Press key to choose the display backlight mode:
1. AUTO: “Auto Backlight” mode. When the weight is over 5
divisions, the backlight will be switched on.
2. ON: Display backlight is on all the time.
3. OFF: Display backlight is off.
(II)Calibration
Press key, put on the weight with value same as
the screen display, when the scale is stable and the buzzer
sounds ,the calibration is finished.
NOTE: When the screen display the value of the weight,
press key for 1 second and then press ,it will
show “0- - - -- - “, then input 0-9 by , press the
key to input point, press key to figure, when the input
value flickers, put on the weight to calibration.
Press key and then press to clear the value.
Pres key for one second to exit the calibration mode.
(III)Recover the factory Set
4
Page 6
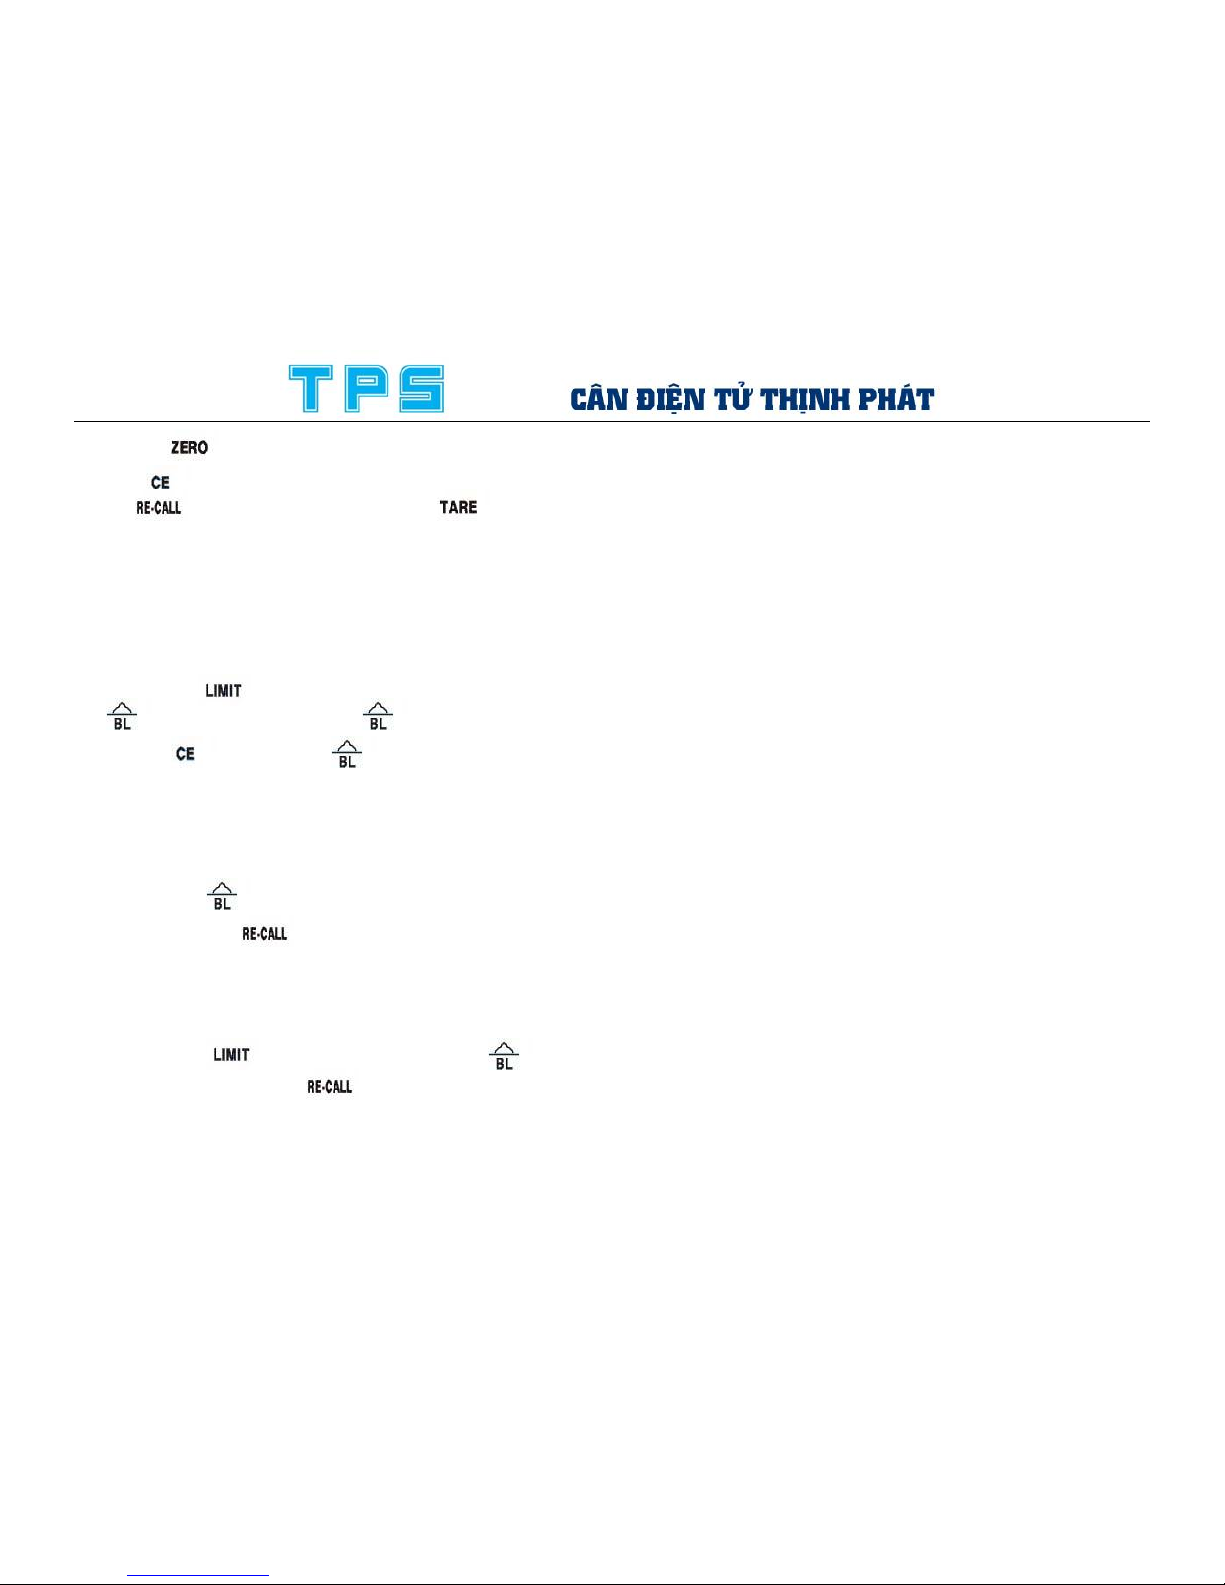
Press key to return the display to zero, and then
press key to show “Centr” and before it disappear
press key to appear “RES”, press key to
recover the factory set.
(IV) Pre-set Warning
The weight range can be preset, if exceed the weight range;
the buzzer will sound every time.
(1) Pre-set low limit value and high limit value
Press the e key to shows “- - LO - -”, press the
key toto display “0----“,press key to input 0-9 .
Press key and then key to clear the value.
After setting the low limit value, the display
shows”—HI—“ to set the high limit value, the method is the
same to the setting low limit value.
After enter the low and high value, the display shows ”IN
OU”, press key to select warning out of low or high
limit value. press to select warning between low
and high value.
(2) Pre-set high limit value or low limit value
After setting the low limit value, when the display show “- -
Hi - -”, press key to show “LO Hi”, press to
select high limit value; press to select low limit value.
5
 Loading...