

Page 1
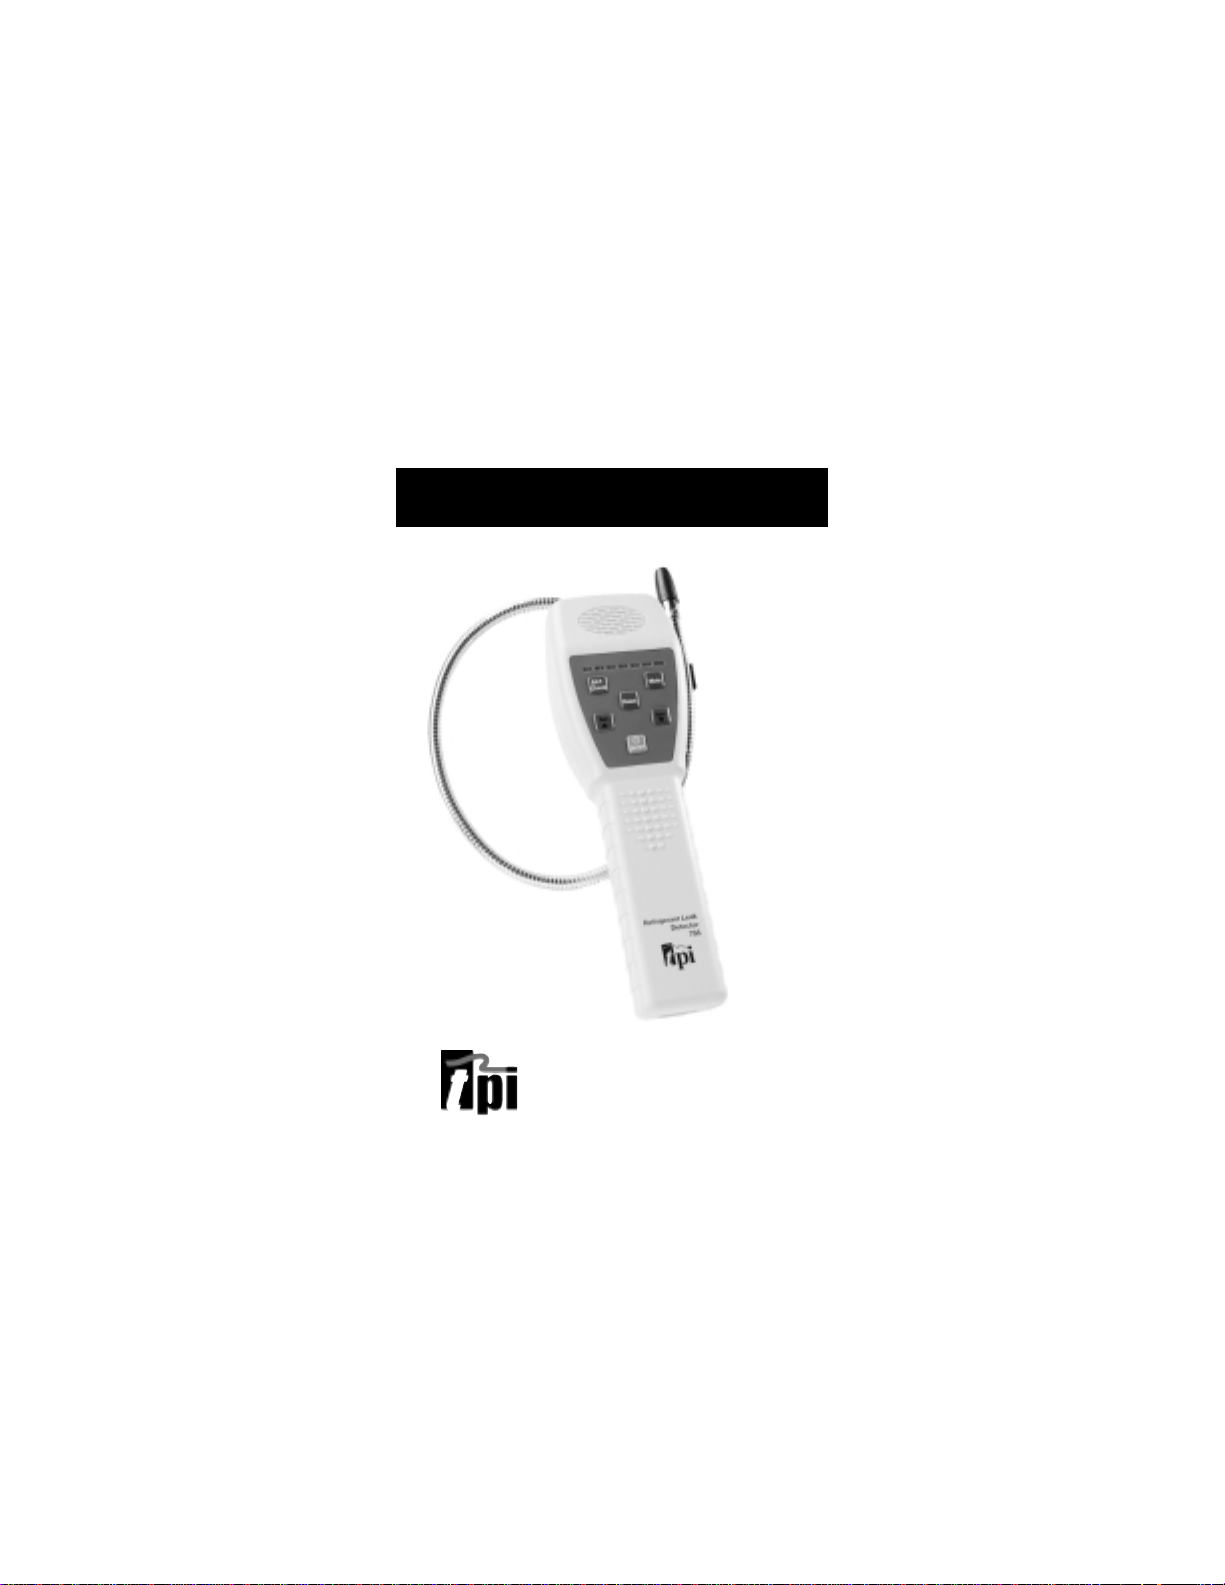
755
Refrigerant Leak Detector
The Value Leader
TM
www.tpi-thevalueleader.com
Page 2

Contents
• Specifications
• Product Features
• Replacement parts and accessories
• General Description
• Operating Instructions
• Battery Replacement
• Sensor Replacement
• Warranty
Specifications
Power Supply: 2 "C" Alkaline Batteries
Sensor: Conductive Polymer
Ionization (CPI)
Sensitivity: Selectable to 0.1 oz/yr
134a
Warm up: Approx 2 seconds
Response time: Instantaneous
Duty Cycle: Continuous
Battery Life: Approx. 30 hrs.
Size: 3.0" x 9.5" x 2.28"
(77 x 240 x 58) mm
Weight: 1.1 lbs (500g)
Probe Length: 16"
Accessories
Standard Accessories:
Sensor: A721
Instruction Manual: 755 Instruction Manual
Soft Case w/Strap A755
Optional Accessories:
Earphone A710
Test vial A713
General Description
The TPI 755 is a state-of-the-art refrigerant leak
detector capable of detecting al halogen based
gases. The internal diaphragm pump and unique
sensor design provide fast and reliable gas sensing. Selectable sensitivity combined with audible
and visual leak indicators will allow any service
professional to pinpoint those tough to find leaks
even in contaminated environments.
Operating Instructions:
1. Turn the unit on in an uncontaminated environment pressing the ON/OFF button. Both the
pump and the tick will start.
2. All LED's will illuminate YELLOW indicating auto-
Page 3

matic zeroing at start up. The GREEN ready light
will then illuminate if there is ample battery
power. If the GREEN light flashes RED it is necessary to change the batteries.
3. Approach suspected leak areas with the sensor
until the tick begins to increase. When the tick
increases and the LED's illuminate showing only
RED in color, do not move the sensor from the
area, press the RESET button and wait approximately 2 seconds for a stable tick to begin again.
The LED's will illuminate from GREEN to RED
indicating up to 14 levels of leakage. When all
RED LED's appear the leakage is at its maximum
level. The RESET button must be pressed again.
4. To find very small leaks use the same procedure
as listed in paragraph 4, but increase the sensitivity by pressing the "Sen ?" button. The LED's
will become RED in color and increase in number indicating higher sensitivity. When all 7
RED LED's are illuminated the unit is in its most
sensitive mode.
5. After selection the GREEN LED will illuminate
and the tick will be faster.
6. To reduce sensitivity press the "Sen ?" button.
When this is selected the number of RED LED's
will decrease corresponding to lowered sensitivity.
7. There are 7 levels of sensitivity. When initially
powered the sensitivity is preset to the midrange (4 RED LED's illuminated)
8. If the GREEN LED fails to illuminate or begins to
flash, change the batteries. The "BAT. Check" can
be pressed to indicate relative battery strength.
When all LED's illuminate GREEN, the batteries
are at full strength.
9. A mute button disables the alarm sound that
indicates gas concentrations in excess of 0.5
oz/yr of R-22 (or equivelent).
10. An earphone can be plugged into the earphone
jack when using the instrument in noisy environments.
11. If the tick is erratic, check the sensor for tightness and cleanliness. Cleaning the sensor with
alcohol is permitted as long as the instrument is
turned off.
12. If the instrument does not perform, replace the
sensor. Sensor replacement is recommended
annually.
13. To turn off press and release the ON/OFF button.
Battery replacement
1. Remove the battery compartment door from the
bottom of the handle by sliding the door away
Page 4

from the front side of the instrument.
2. Remove the batteries and replace by sliding the
negative (-) end of the batteries in first.
3. Replace the battery door by sliding the door into
the slots provided in the handle and allow it to
snap into place.
4. For best performance use a quality alkaline battery.
Sensor Replacement
Replace the sensor when:
· The tick is erratic.
· There is reduced sensitivity.
To replace the sensor:
1. Turn the unit off.
2. Remove the old sensor by unscrewing in a counterclockwise direction.
3. Install the new sensor by screwing in a clockwise direction until finger tight.
4. Do not change the sensor in a hazardous environment
Warning: Turn unit off before cleaning or
replacing the sensor. Failure to do so may
result in a mild electrical shock.
Warranty and repair/exchange policy
Your TPI 753 is warranted to be free from
defects in materials and workmanship for a period of one year after purchase (excluding sensor,
calibration and batteries). If within the warranty
period your instrument should become inoperative from such defects, the unit will be repaired
or replaced at our option. This warranty covers
normal use and does not cover damage which
results from alteration, tampering, accident,
misuse, abuse, neglect or improper maintenance. A purchase receipt or other proof of
original date of purchase will be required before
warranty performance will be rendered.
Instruments out of warranty will be repaired for a
service charge. Return the unit postpaid and
insured to:
Test Products International, Inc.
9615 SW Allen Blvd.
Beaverton OR 97005
(503) 520 9197
This warranty gives you specific legal rights and
you may also have other right which vary from
state to state.
Page 5

Copyright © 2001, Test Products International, Inc
The Value Leader
TM
www.tpi-thevalueleader.com
Test Products International, Inc.
9615 SW Allen Blvd
Beaverton, OR 97005-4814 USA
755 Instruction Manual
 Loading...