

Page 1
Test Products International, Inc.
9615 SW Allen Blvd., Ste. 104
Beaverton, OR USA 97005
503-520-9197 • Fax: 503-520-1225
tpiusa@msn.com
Test Products International, Ltd.
342 Bronte Road South, Unit 9
Milton, Ontario L9T5B7
Canada
905-693-8558 • Fax: 905-693-0888
L373M • 4/24/00 copyright © 2000 Test Products International, Inc.
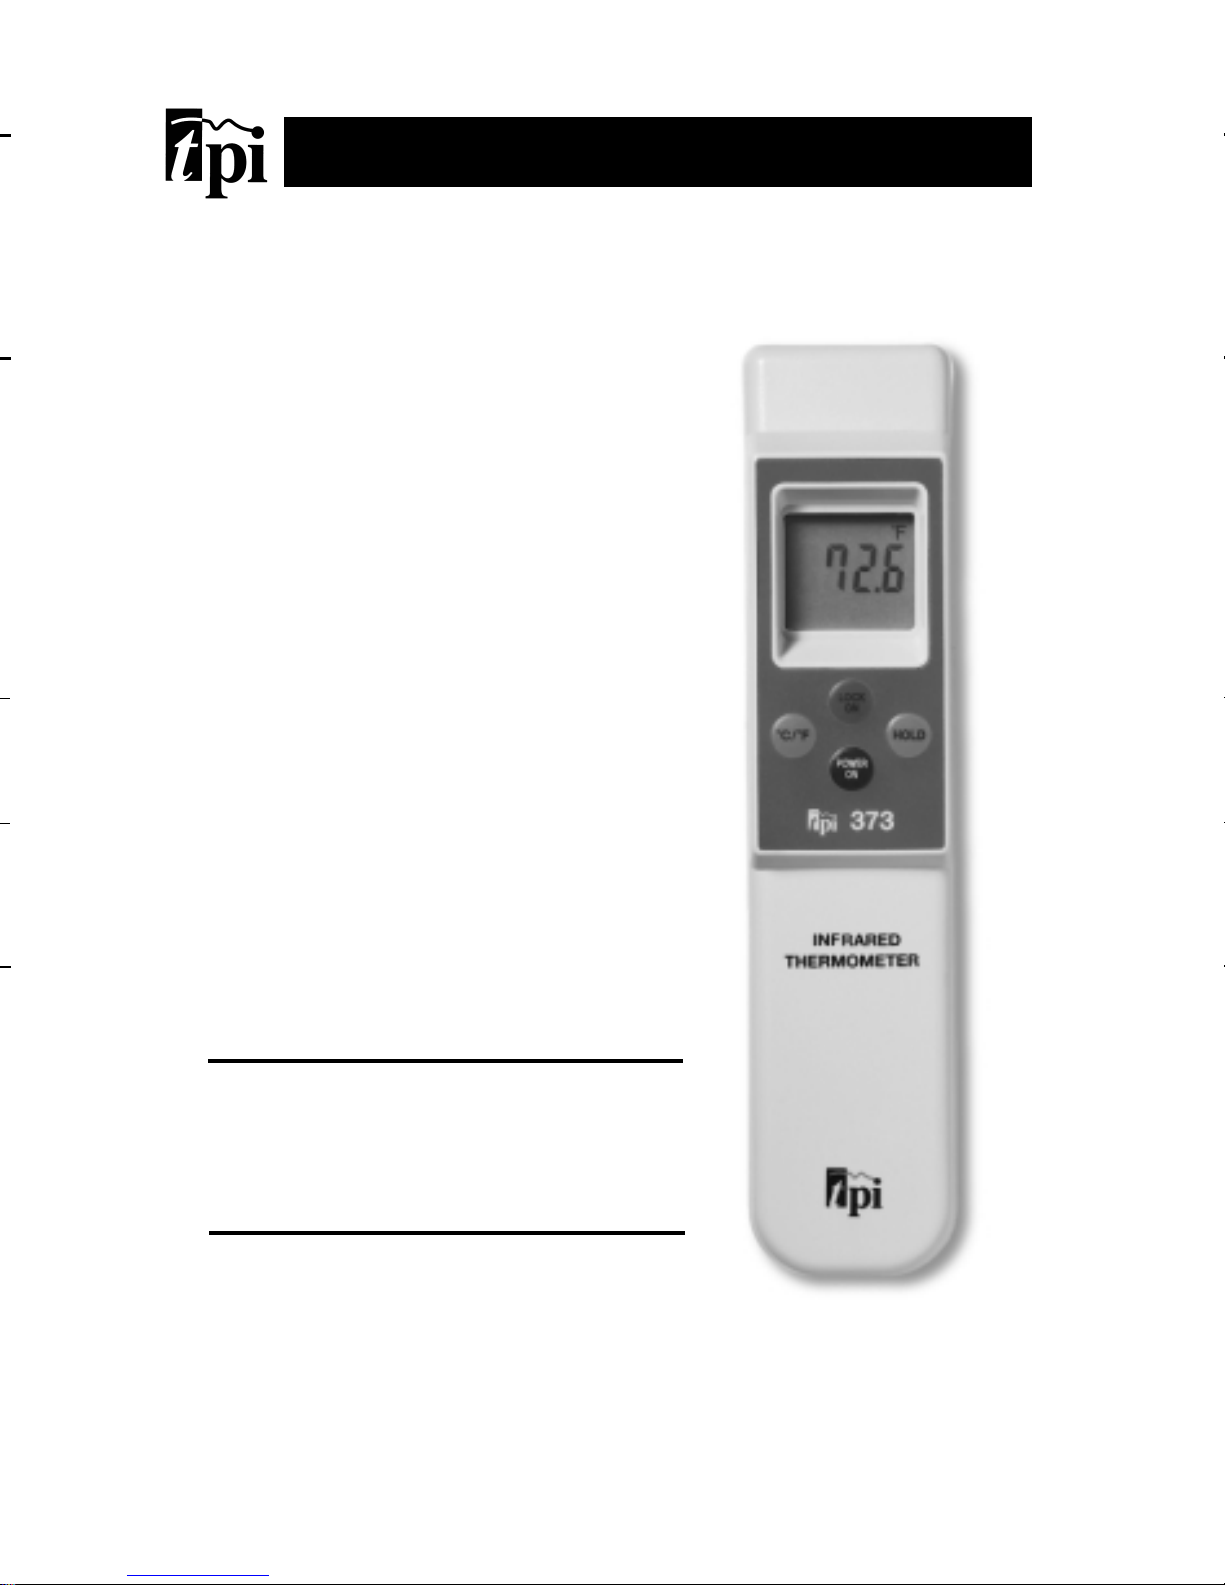
Infrared Thermometers 370/371/372/373
from
Test Products International, Inc.
The Value Leader
Visit www.testproductsintl.com
Page 2

Page 3

D. MEASUREMENT TECHNIQUES
Push Buttons
1. POWER ON: Push the POWER ON button on the 370/371/372/373. The
thrmometer will power up and the laser will be visible (except 370). After
releasing the POWER ON button, the thermometer will automatically turn off
after 10 seconds. For extended measurement time you can either hold the
POWER ON switch down or release the POWER ON switch and push the LOCK
ON switch.
2. LOCK ON: This locks the power on and is indicated by the word LOCK on the
LCD. Pushing the LOCK button once more deactivates the lock feature and the
unit will turn off after 10 seconds.
3. °F/°C: This button allows you to view the reading in Fahrenheit or Celsius. The
thermometer will power on in the unit of measurement last set when the thermometer automatically powered off.
4. HOLD: This button freezes the reading on the LCD. Pushing it a second time
releases the LCD to normal mode.
Temperature Measurement
CAUTION: LASER RADIATION - DO NOT STARE INTO BEAM.
OUTPUT <1Mw WAVELENGTH 645 - 660nm. CLASS II LASER PRODUCT.
1. Turn the thermometer on and either hold down the POWER ON button or activate the LOCK ON feature.
2. Line up the laser (except 370) with the target and hold the front of the thermometer eight inches from the target (spot size will be one inch at this distance).
3. Read the temperature on the LCD.
T
urning the Laser ON and OFF
1. With the thermometer off, hold down the POWER ON button.
2. Push the LOCK button to turn the Laser ON or OFF. The laser icon
will be on the LCD when activated.
3. Release the POWER button once the LASER is set to the desired mode.
E. ACCESSORIES
Item # Description
A009A ....................................9 Volt Alkaline Battery
A370 ......................................Soft Carrying Pouch for 371/373
Page 4

 Loading...