

Page 1

TPC
Surgical Handpiece Cleaning
and Lubrication System
User Manual
TPC Advanced Technology
851 S. Lawson St.
City Of Industry CA 91748
www.tpcdental.com
Page 2

TPC
Installation instruction
1.
Place the H6000 in a location
where you have an air line.
Generally this location will be
located near your sterilization
area. You will also need an
electrical outlet, Connect your air
line and electrical.
2.
Fill lubrication reservoir with the
supplied lubrication fluid. Make
sure not to over fill the reservoir
or spillage will occur. After
filling, be sure to tighten the oil
reservoir cap.
3.
Place absorbent pads into place.
These pads will absorb any
excess lubrication that is
released in the chamber. The
pads need to be replaced every
tank cycle.
Page 3

TPC
Operation Instructions
4.
Open the door and attach up to 2
handpieces to the unit
• When attaching straight
noise cone and contra
angles, make sure that the
latch attach is secure.
Notice how all the latches are almost
flush with the connector.
Correct
Notice the latch is not flush with
the stem of the E-type connector.
NOT CORRECT
Page 4
TPC
5.
After attaching handpieces, close
the door. The unit will not operate
if the door is not properly closed.
6.
Select the S (Short-35 second cycle),
L (Long-45 second cycle) or E (Extra
long-50 second cycle) for each
individual handpiece. If no light for
1,2 or 3 is illuminated the position is
turned off.
• SHORT CYCLE For high
speed handpieces
• LONG CYCLE For low
speed handpieces & air
motors
• EXTRA LONG CYCLE For
speed reduction handpieces
• NO LIGHT ILLUMINATED
Hand Piece position is in the
off position
7.
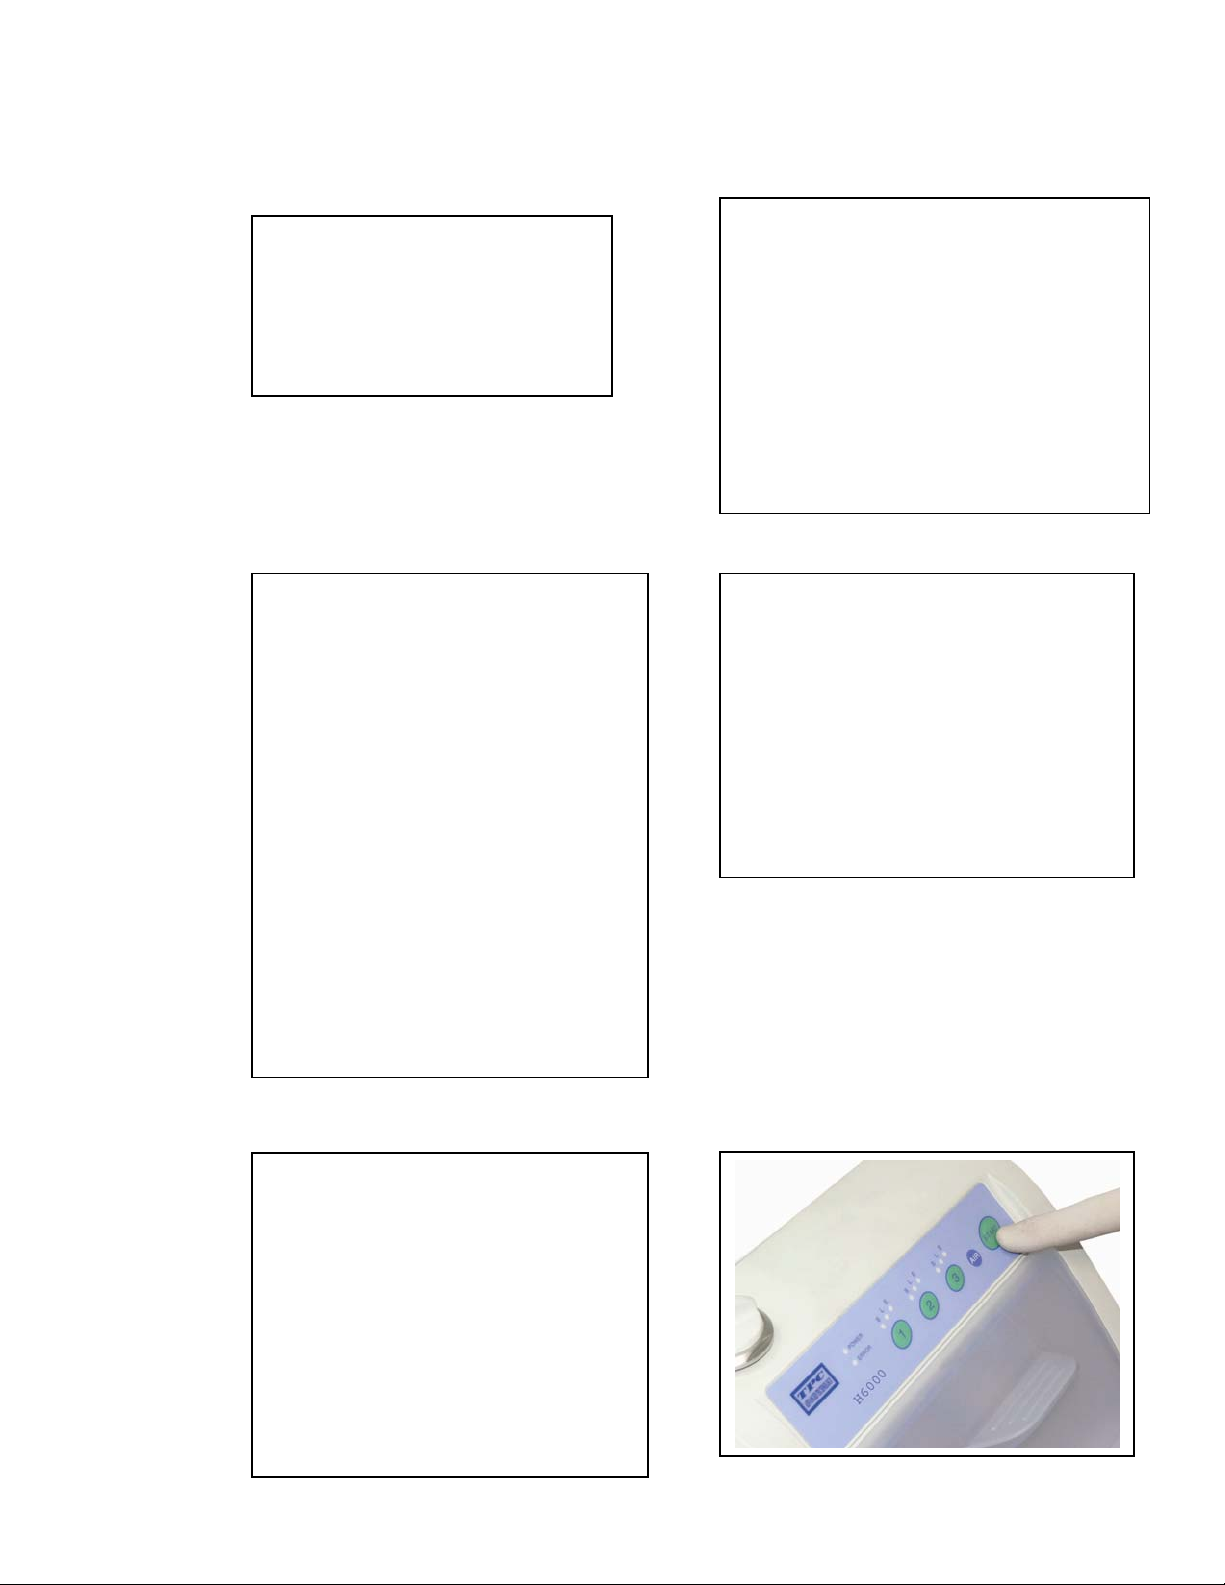
Press the start button. In less than 3
minutes all handpieces are correctly
cleaned and lubricated. (3 minutes for
3 handpieces)
Page 5

TPC
8.
Press the air button if you wish to
run a cycle of only air through your
handpieces. This process removes
any excess lubrication fluid from
the turbine
9.
Remove your handpieces from the
unit. Lubrication and cleaning is
now complete. To remove the
handpiece turn the HP nut counter
clockwise to un-screw it.
For E-type attachments press the
button release to unlock and
remove the straight noise cone or
contra angle.
You may proceed to sterilization (if
necessary).
10.
You may adjust the pressure in the
reservoir to adjust the amount of air
pressure that is supplied to the hand
piece. Pull the knob outward to
unlock it. Turn the knob counter
clockwise to lower the pressure.
Turn the knob clockwise to increase
the pressure. Reference the air
pressure gauge on the side of the
unit to verify the set pressure.
The silver knob located next to the
air pressure adjustment knob is
used to regulate the amount of oil
that is dispensed in a cycle. If you
wish to increase the amount of oil,
turn the valve counter clockwise. If
you wish to decrease the amount
turn the valve clockwise. This must
be adjusted prior to starting a cycle.
Page 6

TPC
p
Error light will
illuminate when the
door is opened or there
is a malfunction in the
system
Lubrication reservoir
fill cap.
Overview of Controls
Start button: Starts the
cycle of the H6000
when pressed.
Air button, only runs
air through the hand
pieces. No
lubrication is being
discharged.
Door switch. When
the door is not closed
the unit will not
erate.
o
Lubrication chamber
level indicator.
Three handpiece
locations.
 Loading...