

Please refer to the following sources for additional information:
• Your vehicle’s Owner’s Manual
• Your vehicle’s Repair Manual
• Genuine Toyota Spark Plugs Brochure (Available in English and
Spanish)
Moving parts like the fan blade and drive belts, as well as extreme
heat in the engine compartment or from the exhaust system can
result in serious injury.
• Approach with caution and care.
• Never take shortcuts when replacing parts.
• Improper servicing may damage your Toyota and lead to
personal injury.
• Unless you have proper knowledge, equipment and tools, you
should have your Toyota Dealer Service Department perform
the repair s and maintenance.
Proper installation of Genuine Toyota replacement parts is essential
for the safe and reliable operation of your vehicle.
Following these instructions will:
• Help to assure your personal safety
• Assist you in the proper replacement of specific parts
There are many variations in the step-by-step procedures used in
installing various parts, and varying skill levels of individuals doing
the parts replacement. These instructions cannot anticipate all
circumstances or provide advice and caution on each. If you are
in doubt concerning your ability to replace the part or have any
questions, consult your local Toyota Dealer Service Department
and have the work performed by an experienced technician.
For further assistance, contact your Toyota dealer.
REFERENCES
CAUTION
IMPORTANT SAFETY NOTICE
Visit our Web site at www.toyota.com
M/N 00405-HOWTO-SPLUG
There is a loud hissing noise: One or more spark plugs have
been improperly tightened –
re-check.
One or more spark plugs
may have double washers –
re-check.
Spark plug may have been
cross-threaded – re-install.
If noise persists or if the threads
in the engine head are stripped,
DO NOT DRIVE THE VEHICLE –
have it towed to your Toyota
Dealer Service Department for
diagnosis and repair.
CONDITION ACTION
There is a very loud clicking or
tapping noise:
A foreign object may have fallen
into one of the cylinders. If the
noise persists, DO NOT DRIVE
THE VEHICLE – have it towed
to your Toyota Dealer Service
Department for diagnosis
and repair.
Engine has poor performance,
runs hot or overheats:
The incorrect plugs may have
been installed – re-check.
The spark plug gap may be
incorrect – re-check.
One or more ignition wires may
have been damaged.
If the problem persists, take
the vehicle to your Toyota
Dealer Service Department for
diagnosis and repair. DO NOT
DRIVE THE VEHICLE if the
engine overheats.
The "Check Engine" light
comes on:
Take the vehicle to your Toyota
Dealer Service Department for
diagnosis and repair.
Engine runs rough or will not run: Check the ignition wires
or coil packs for proper
connection to the spark plugs.
Check the ignition wires or coil
packs for proper connection
to cylinders.
TROUBLESHOOTING
SparkPlugsHowToBroch(New).qxd 7/21/04 7:09 PM Page 1

V8 (2VZ-FE) – When
facing the engine with
the drive belts closest
to you, the left side of
the engine has cylinders
2-4-6-8. The right side
has cylinders 1-3-5-7.
ALWAYS REMOVE THE KEYS FROM THE IGNITION WHEN
WORKING ON THE VEHICLE. SEE
CAUTION ON BACK PANEL.
mWARNING: To prevent injuries, allow the engine to cool
before starting to work. See CAUTION on back panel.
NOTE: Mark each ignition wire and corresponding spark plug
location (if so equipped) with a number on a piece of masking
tape. For in-line engines, start #1 at the front of the engine and
mark the wires in order to the rear. The front of the engine is
always where the drive belts are located. For "V" engine
configurations, mark as
follows:
V6 – When facing the
engine with the drive
belts closest to you, the
left side of the engine
has cylinders 1-3-5. The
right side has cylinders
2-4-6. This also applies
to transversely
mounted engines.
DIFFICULTY LEVEL
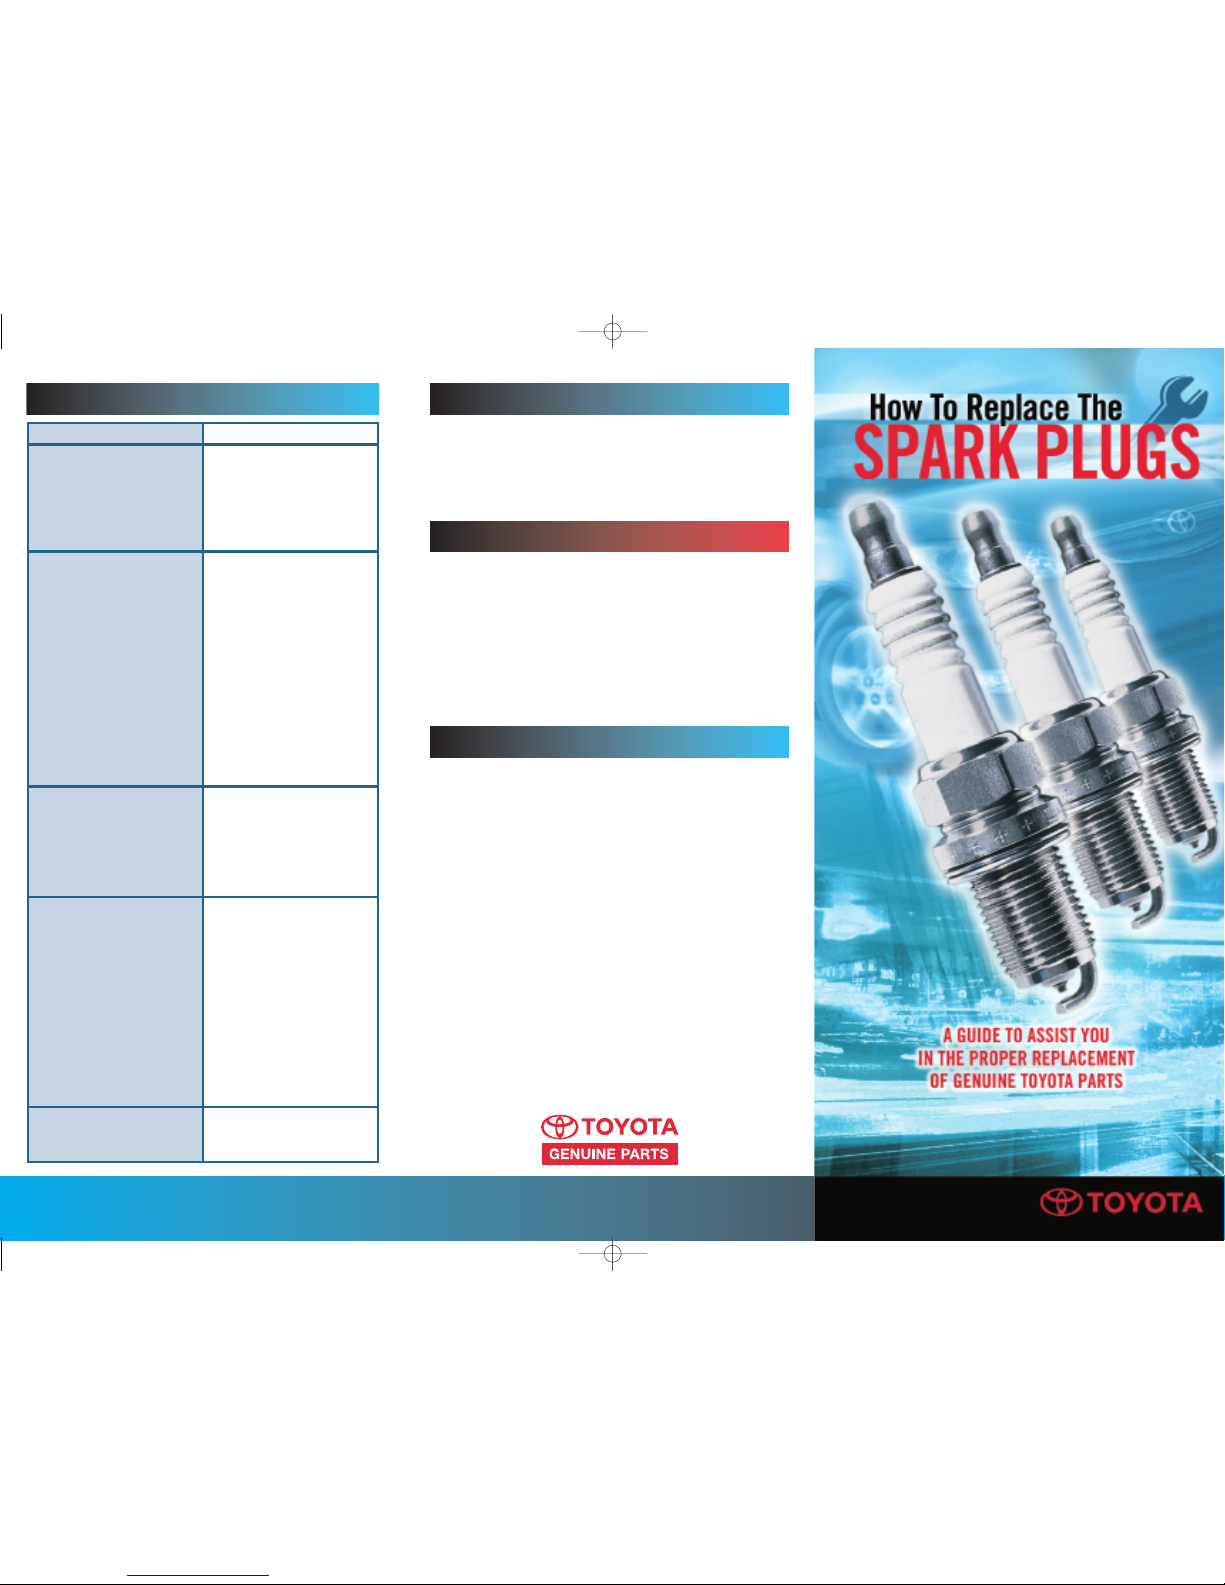
• Genuine Toyota Spark Plugs
• Spark plug wrench or socket set with spark plug socket
• Gapping tool and wire feeler gauge
• Rag or paper towels
• Penetrating oil
• Torque wrench
• Pen or pencil
CHECK THAT OLD WASHERS ARE REMOVED FROM THE
SPARK PLUG HOLES – Remove any old spark plug washers
from spark plug holes.
CAUTION: Be sure that no dirt or foreign object falls into the
spark plug holes.
DISCONNECT THE IGNITION WIRES OR COIL PACKS – Pull
the plug cable boot straight out to disconnect each cable. On
models with individual ignition coil packs, pull the coil pack
straight out. Some engines may require the removal of the top
cover to access the plugs.
CAUTION: Do not pull on the wire itself. This may damage the
carbon conductor inside, which may affect engine
performance. Also, do not pull the cable out from the distributor
cap (if so equipped).
60
MINUTES
FROM ONE TO FOUR–FOUR BEING THE MOST DIFFICULT
INSTRUCTIONS
TOOLS AND SUPPLIES
1
INSTRUCTIONS
(continued)
INSTRUCTIONS
(continued)
2
REMOVE SPARK PLUGS
– If you can reach the
base of the spark plug,
apply penetrating oil
where it seats to the
cylinder head. This will
protect the threading in
the cylinder head.
Remove each spark
plug and its metal
washer with a spark
plug wrench or spark
plug socket. Keep the
plugs in order as you
remove them.
3
INSPECT OLD SPARK
PLUGS – If the plugs
have anything other
than brown to light tan
or gray deposits, save
them, and speak to your
Toyota dealer's service
department advisor.
Check repair manual for
description of bad spark
plugs. Spark plugs are
good diagnostic
indicators of engine
performance problems.
NOTE: Platinum tip spark plugs with a service life of more than
50,000 miles and iridium tip plugs with a service life exceeding
100,000 miles are installed on some Toyota models. Refer to
your Owner's Manual or the Toyota Spark Plug Application
Chart for the correct type of spark plugs for your vehicle.
4
5
SET SPARK PLUG GAP –
Using the wire feeler
gauge, check the gap
between the electrodes
to the correct clearance.
Carefully bend the outer
electrode as required to
feel a slight drag on the
wire gage. See the repair
manual for correct spark
plugs and the gap
clearance specification.
6
INSTALL SPARK PLUGS – Be sure that each new spark plug
has a new metal washer. Install each plug as far as possible by
hand. Make sure the plug is correctly threaded. Tighten firmly
with the spark plug wrench or socket but
DO NOT OVER-
TIGHTEN.
See the repair manual for proper torque specification.
CAUTION: NEVER re-use old washers. ALWAYS screw in the plug
several turns by hand to avoid cross threading the spark plugs.
NOTE: Spark plug threading on aluminum cylinder heads is
easily damaged. DO NOT FORCE THE PLUG.
7
CONNECT THE IGNITION WIRES OR COIL PACK – Install the
wires or coil packs in the correct order. Push the spark plug
boot (if so equipped) firmly over the plug end.
8
TEST DRIVE THE VEHICLE – Remove masking tape from the
ignition wires. Start the engine and listen for any unusual noises.
Test drive the vehicle. Record the date and mileage that the
plugs were changed in your service maintenance log. Check
the scheduled maintenance guide to assure all maintenance is
performed at the appropriate time for the mileage.
CAUTION: Make sure that all tools and supplies are removed
from the engine compartment.
9
ESTIMATED TIME INVOLVED
1
3
5
6
4
2
8
6
4
2
7
5
3
1
SparkPlugsHowToBroch(New).qxd 7/21/04 7:09 PM Page 2
 Loading...