

TOYO ELECTRIC MFG TY 16F Users manual
Operating Instructions
16 Function LED C9 Lights with Remote
What’s next
• Read enclosed Safety Instruction Sheet before starting.
• Remove the lights, remote control and battery from the packaging and follow the instructions below.
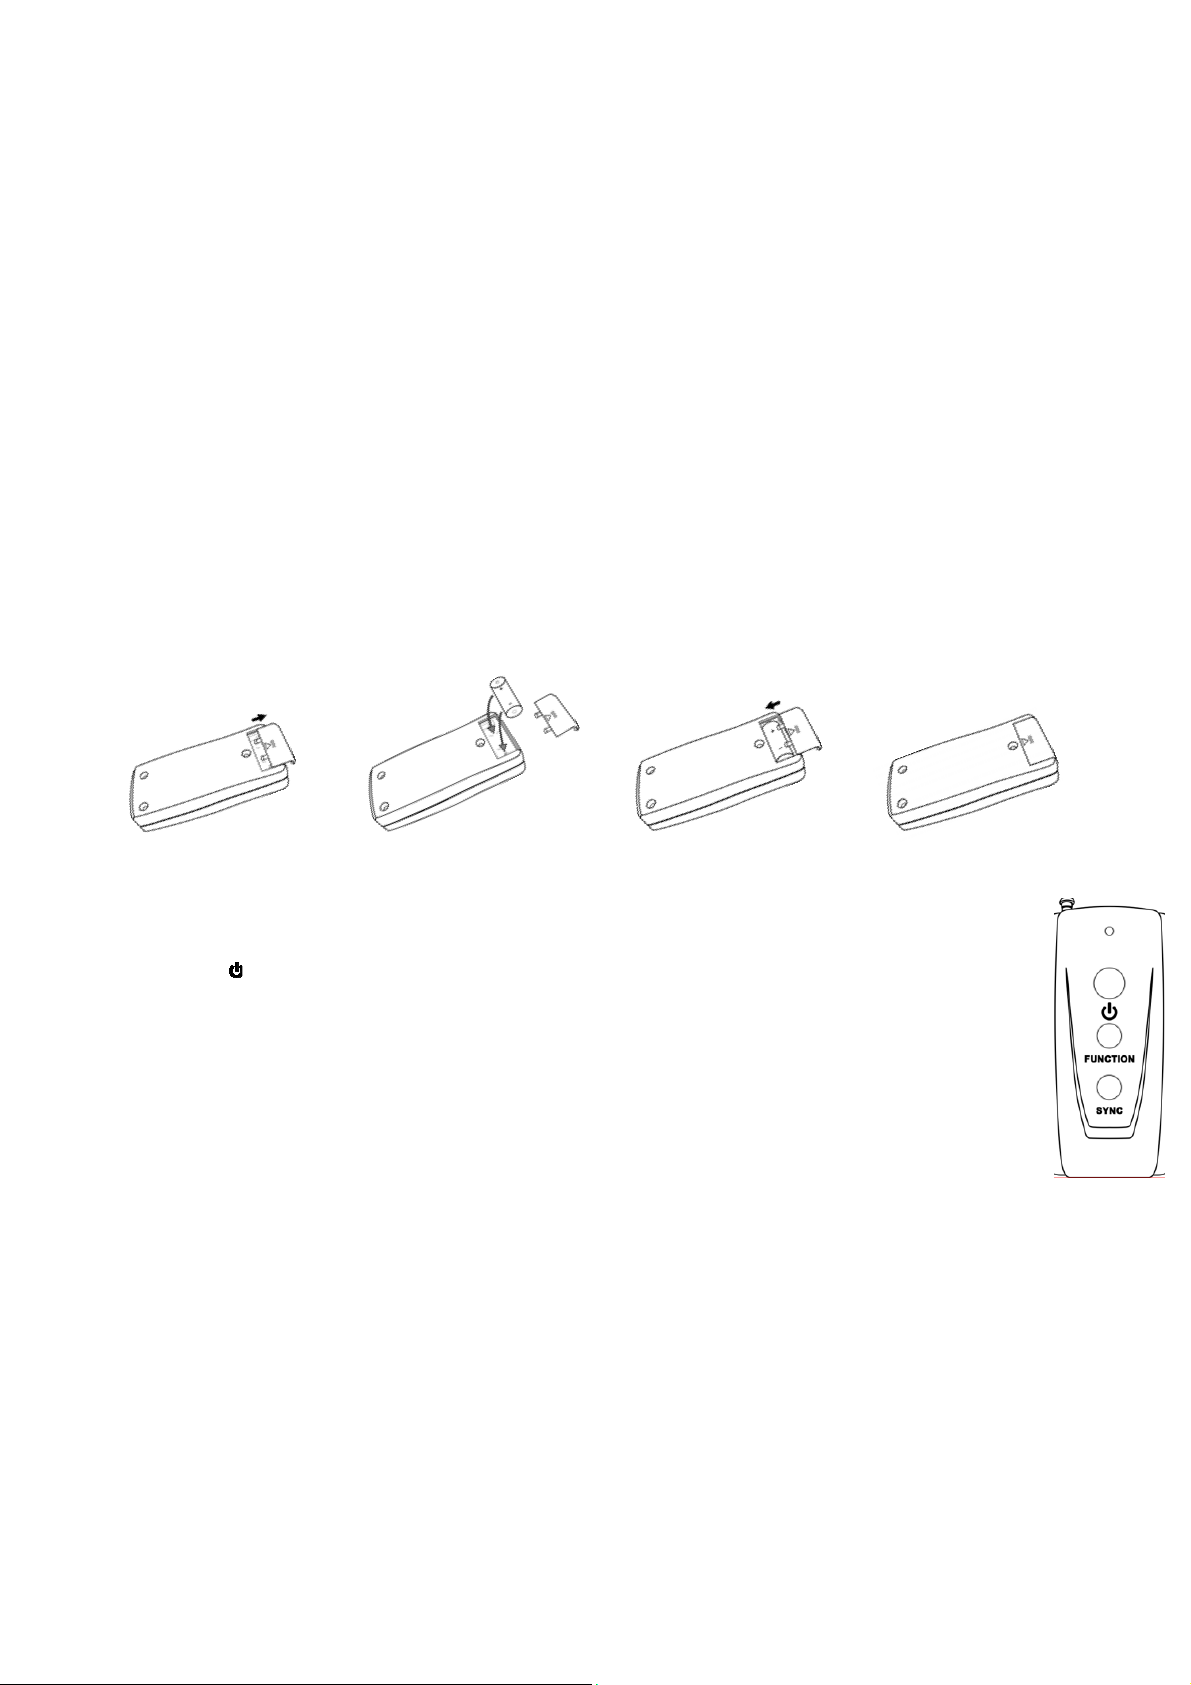
Remote Control Battery Installation
1. Remove the remote control and battery from the plastic bag.
2. Open the battery cover on the back of the remote by sliding the cover towards the bottom of the remote
3. Clean the battery contacts and also those of the device prior to battery installation.
4. Use only same type 23A, 12V Alkaline battery for replacement, use of other batteries may damage remote.
5. Insert negative (-) end of the battery (see marking on battery) into the spring side of the battery holder and insert positive (+) end of
the battery into other side.
6. Close battery cover by sliding back into place.
+
‐
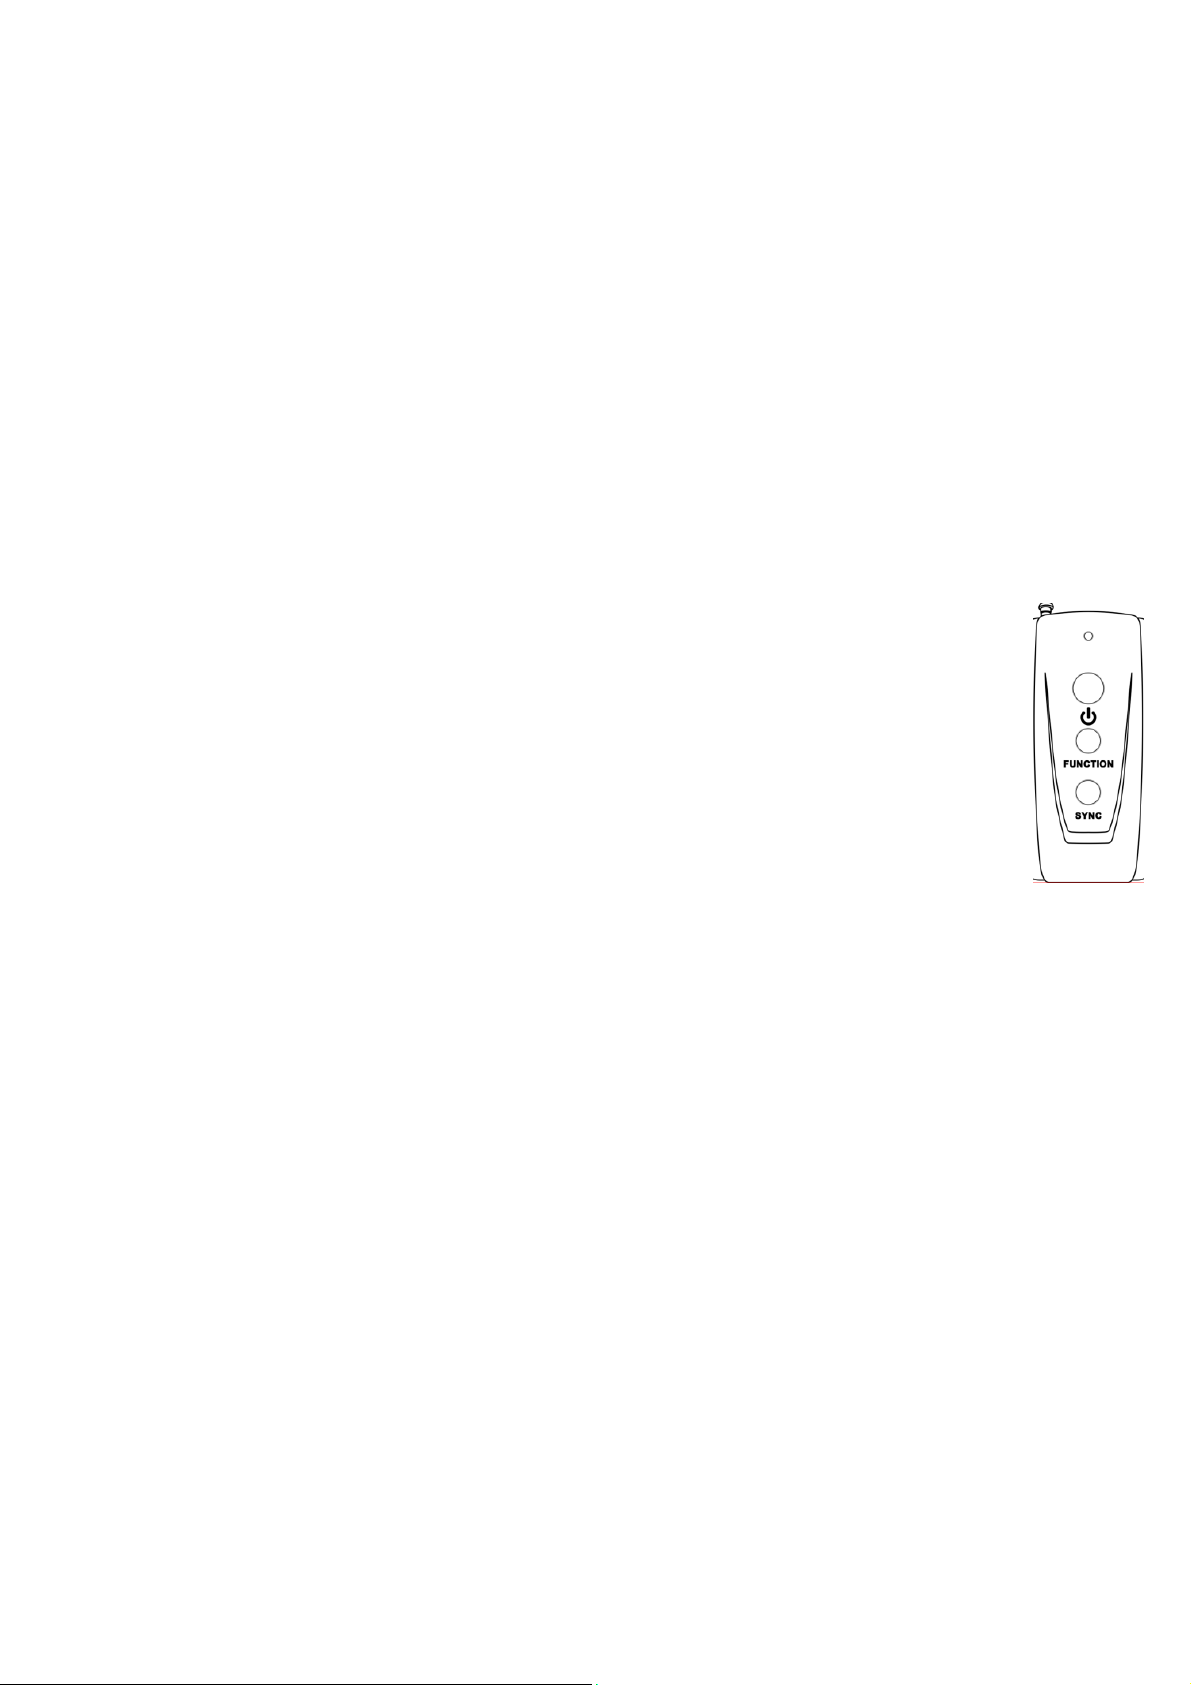
Remote Control Operation
The remote has three buttons on the front side to operate the 16 Function remote controlled set:
a. POWER –
Even when the lights are off, the set still has power to all lamps, to disconnect power, you must unplug the set.
b. FUNCTION – This is a smaller button in the middle. Press to change the light pattern to the next function mode. In
addition to the list below, the light patterns are also listed on the back side of the remote. After reaching function 16, the
set will return to Function 1 by pressing the function button again. For best results, pause for a few seconds before
pushing the “FUNCTION” button again for the next function.
c. SYNC – This is a smaller button located on the bottom of the remote. This button is used if you have multiple sets of the
Philips 16 function lights with remote control. This button allows you to synchronize all your sets to the same function by pressing the
button as long as all light sets are illuminated (sets do not have to be connected to the same outlet, they only need to be within range
of the remote).
– This is the larger button at the top. Press to turn the lights OFF. Press again to turn the lights ON. Note:
TIP – If you want to return the set (or sets if you have more than one) back to Function 1 (steady on white) at any time, just push both
the “FUNCTION ” and “SYNC” buttons at the same time for about 2 seconds until the set returns to steady white color. This resets the
unit back to Function 1 so you can start over and in case you are not sure which function you are on.
Light Set Functions
The light set when used in conjunction with the remote control has 16 different lighting patterns and functions. To change the functions and
patterns of the light set you must use the remote control, so it is important to keep it in a safe place.
The remote will work though most windows and walls, and does not require a line of sight between the remote and light string, so you can
comfortably use the remote inside your home to change your lights if used outdoors.
Light Set Functions and Patterns
1. Steady On – White 9. Chasing – White through Multi
2. Steady On – Multi 10. Chasing – Multi through White
3. Steady On – Blue 11. Twinkling – White
4. Chasing Multi 12. Twinkling – Multi
5. Chasing Multi Pattern 13. Fade In/Out – Fades between solid colors
6. Bi-directional Chasing Red and White 14. Fade In/Out – White to Multi
7. Bi-directional Chasing Blue and White 15. Fade In/Out – Orange to Purple
(great for Halloween decorating)
8. Bi-directional Chasing Multi 16. Automatic – Cycles through functions 4 - 15
The light sets have a memory of the last function they were used in. Each time you turn them off (by using the remote or by disconnecting power
to the set) they will turn on in the same function they were turned off at.
NOTE – If product is turned off with a remote, and then it is attempted to turn them on by plugging in or turning on a wall switch, the lights will
not come on as it will remember the last function that it was turned off at, including if the remote was used to turn the set off. In this case, after
applying power to the set, turn the lights on using the power button on the remote.
Using the Set
• Plug light string into a 110V-125V wall receptacle, lights will turn on. Press power button on remote if they do not turn
on when first plugged in.
• Fully extend the antenna and push the button marked “Function” on remote to advance to next function (after lights are
turned on).
• In case you are not sure which function you are on, you can return the set(s) back to function 1 (Steady On White) by
pressing both the “function” and “sync” buttons at the same time for approximately 2 seconds.
• Note, the red LED at the top of the remote will illuminate with each press of a button on the remote. If the LED does not
illuminate, install or replace the battery into the remote.
Additional Notes for Using a Set:
1. Light set must be plugged into working outlet for the light set and remote control to function.
2. The remote control unit is the only way to change the function setting of this product.
3. When using the remote to turn your set ON, there may be a slight delay before the light pattern starts working.
4. To change the light pattern, it is recommended to wait a few seconds after each time you press the “FUNCTION” button until you
reach the desired pattern/function.
5. If the lights do not change function or the set does not turn on or off with the remote, see the trouble shooting section.
6. If there is a power interruption, including if used on a switched outlet, on a timer, or power failure, the system’s memory will retain the
last light pattern displayed.
7. The operating distance of the remote is up to 90 feet (27.4 meters). Distance may vary due to other radio transmitters in the area (cell
phones, Wi-Fi signals, wireless phones, intercoms, baby monitor, etc.), microwave ovens, computers, materials used in the
construction of your home, trees, hills, bushes and other items that may attenuate the radio signal.
8. The battery in the remote will drain and become depleted very quickly if the remote is placed where one (or both) of the buttons on the
remote are continually pushed (such as placing an item on top of them, or storing the remote upside down).
 Loading...