

Town & Country Fireplaces TCWS.54LOGDW Installation Instructions Manual

INSTALLER: Leave this manual with the appliance.
CONSUMER: Retain this manual for future reference.
These instructions are supplementary to the Installation
and Operating Instructions supplied with the replace
and should be kept together. Refer to the Installation
and Operating Instructions for proper gas supply, safety
requirements and operating instructions.
TCWS54
SEE THRU
LONG BEACH LOG
INSTALLATION
INSTRUCTIONS
INCLUDES INSTALLATION
INSTRUCTIONS FOR
PREREQUISITE DIAMOND
BURNER KIT PART#
TCWS.54NGST03D
PART# TCWS.54LOGDW
210417-08 TCWS.54LOGDW 5056.42519-A
Visit www.townandcountry.com for the most recent version of this manual
For TCWS54DST Series D
Fireplaces
Long Beach Log Set Installation
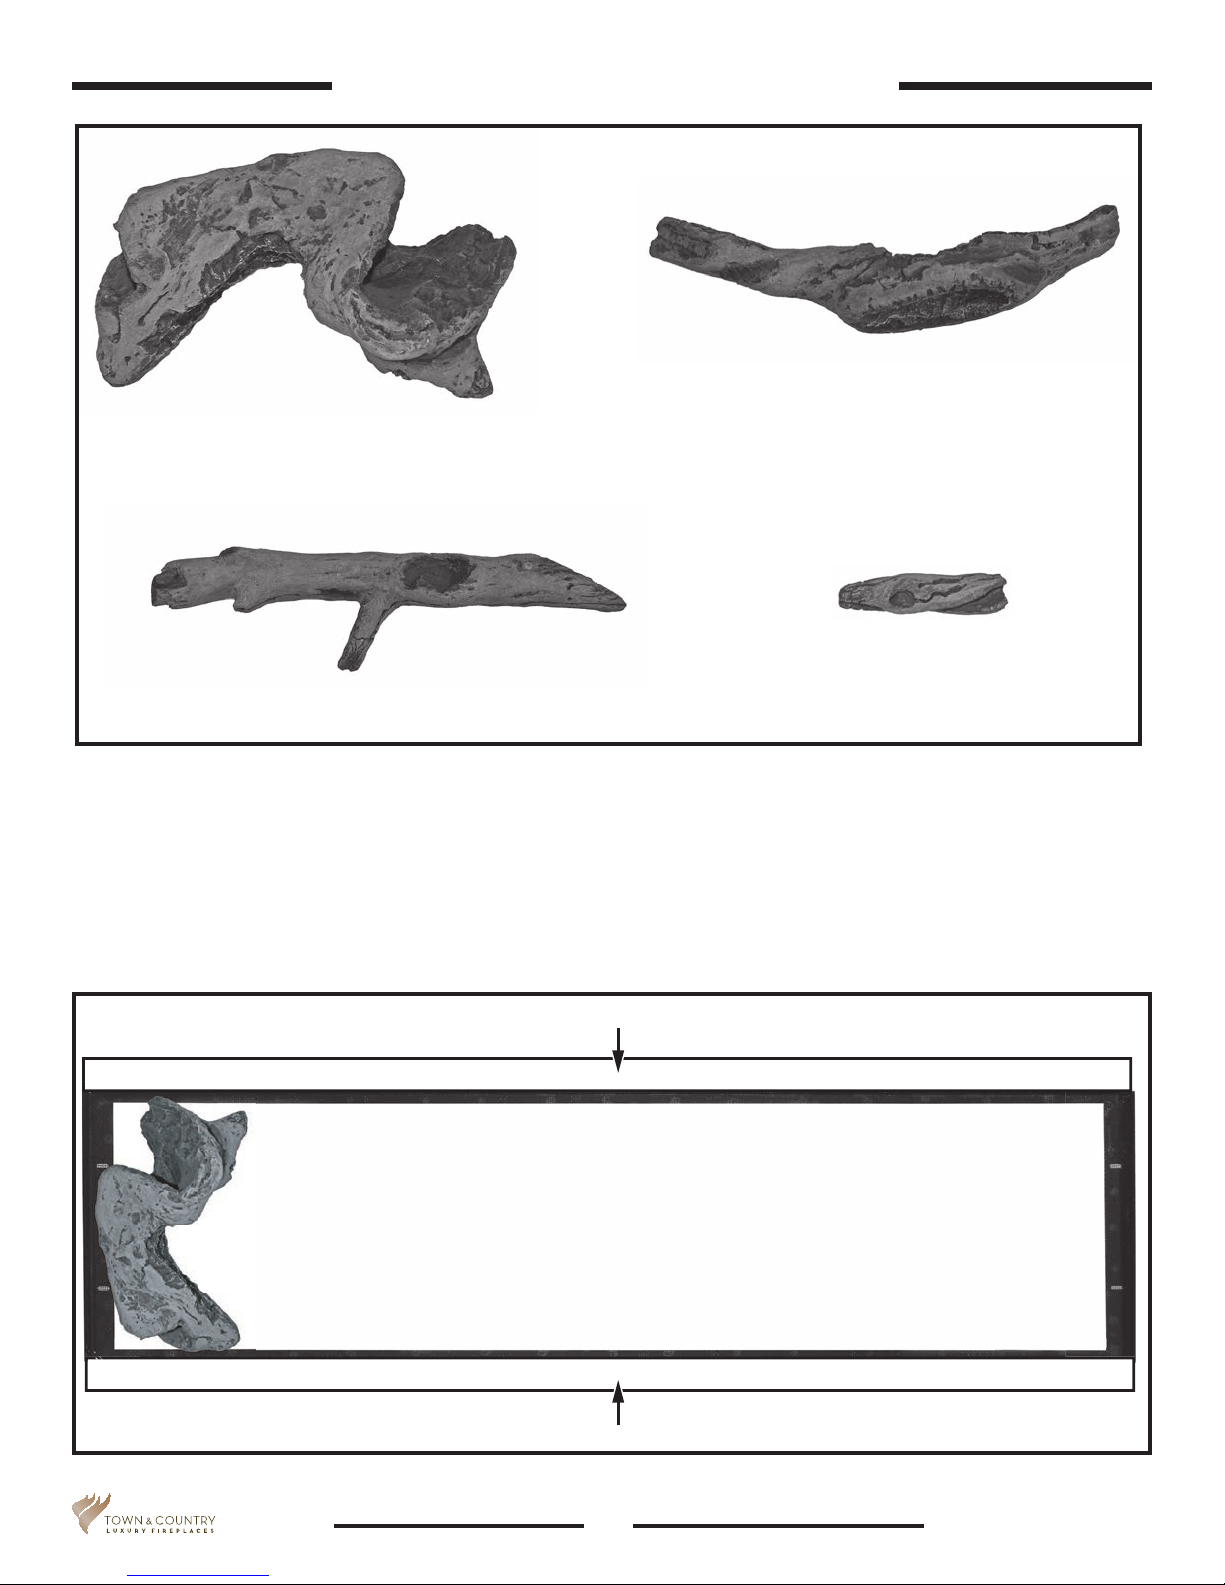
Log 1 x 2 pieces Log 2 x 2 pieces
Log 3 x 2 pieces
Figure 1: Contents of Long Beach log set.
Log 4 x 2 pieces
Log Placement
The Long Beach Log Set consists of four pair of logs for a total of eight logs. Four of the logs will cover one
half of the circumference of the glass tray while the other four will duplicate the pattern of the of the rst four.
Images shown exclude the Diamond glass placement for clarity.
1. Place log 1 so that its’ outer edge is almost at the furthest edge of the tray (Figure 2).
Edge Panel
Figure 2: Log 1 Placement.
5056.42519-A
Edge Panel
2
TCWS.54LOGDW_210417-08
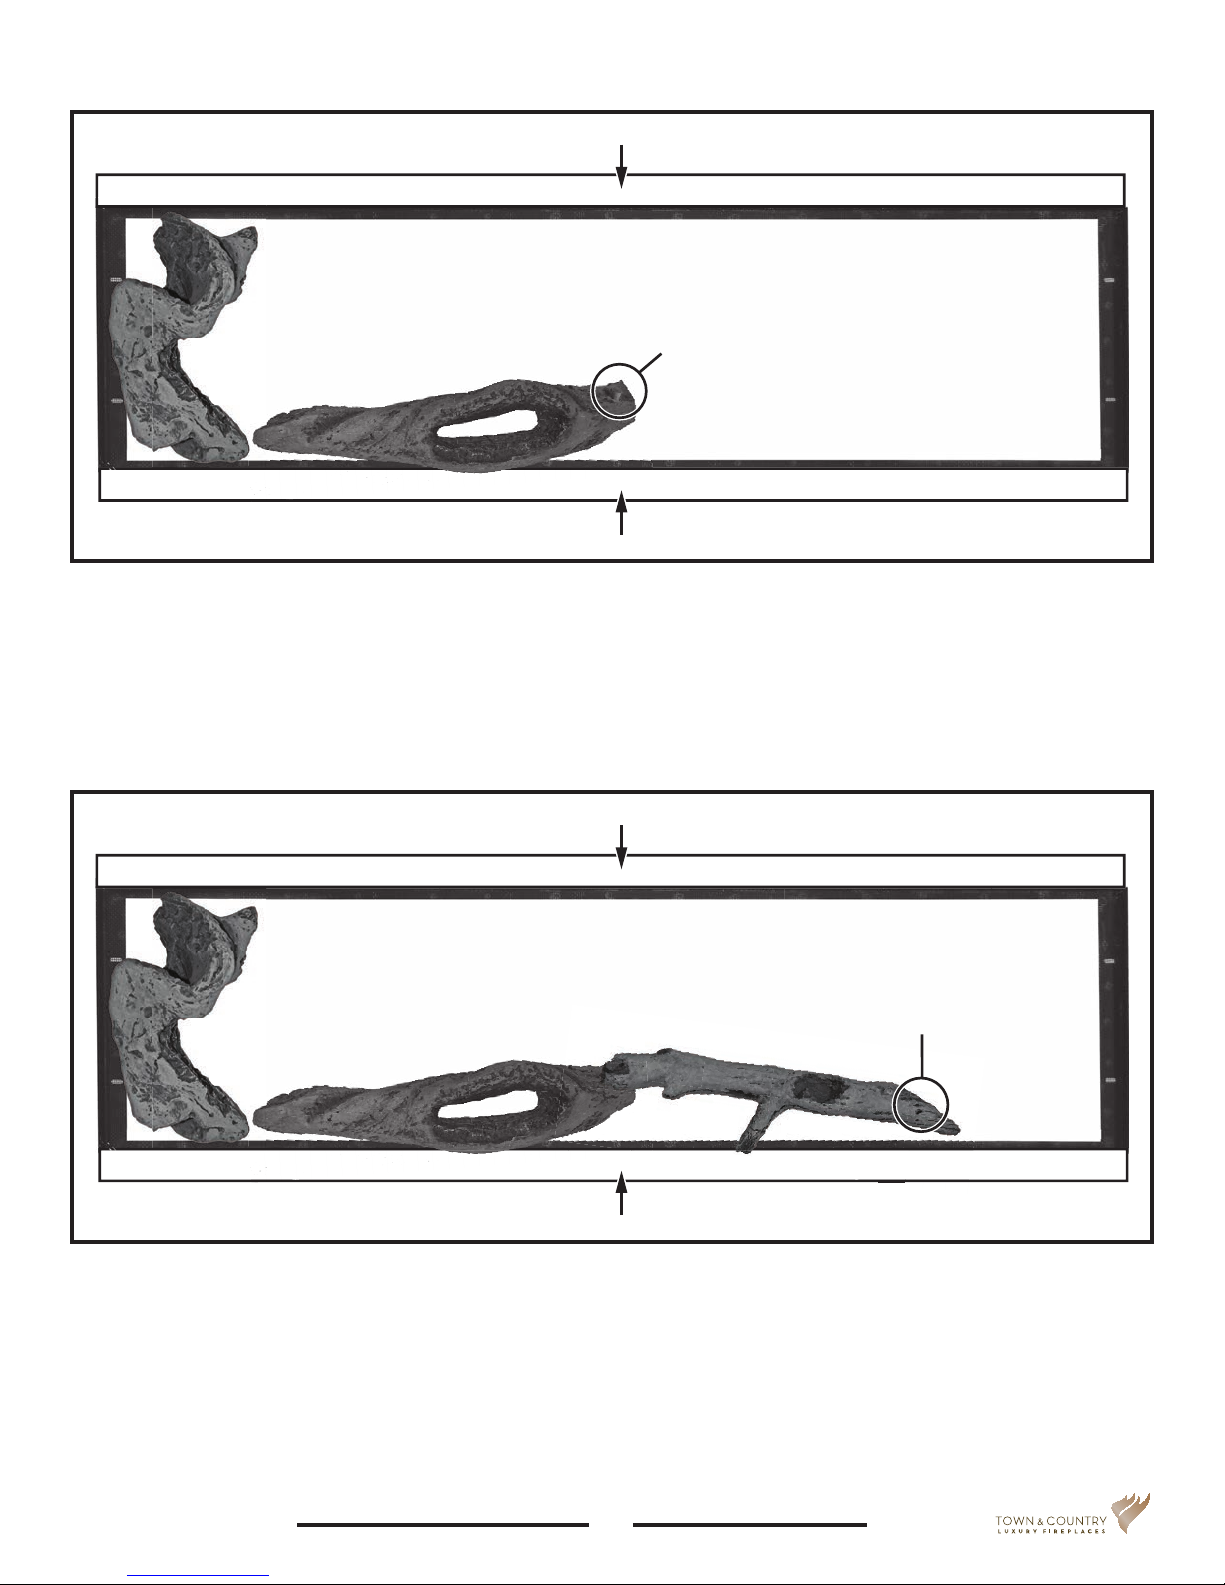
Edge Panel
Location post for 3rd log
Edge Panel
Figure 3: Log 2 placement.
2. Place the 2nd log so that the middle of it overhangs the tray itself and rests on the edge panel as shown
in Figure 3. Note that there is a location post for the 3rd log at one end of the 2nd log. This location post
should have a vertical alignment.
Edge Panel
Location post for 4th log
Edge Panel
Figure 4: Log 3 placement.
3. The 3rd log has a socket on the bottom of one end which will t onto the location post of the 2nd log.
Once the socket and location post have been mated, move the opposite end of the 3rd log toward the
edge panel so that its’ middle branch is resting on the edge panel (Figure 4).
TCWS.54LOGDW_210417-08
3
5056.42519-A
 Loading...