


TotalPass® B600
QUICK
START
GUIDE

1
Thank you for choosing Icon Time, we appreciate your business.
Below are the contents included with your TotalPass B600 time clock.
If anything is missing, please contact our support line for a replacement:
1-800-847-2232.
UNPACK THE BOX
TotalPass B600
Time Clock
15’ Ethernet Cable
Please Note: The comprehensive User Guide can be downloaded from our
website support page: https://www.icontime.com/support/
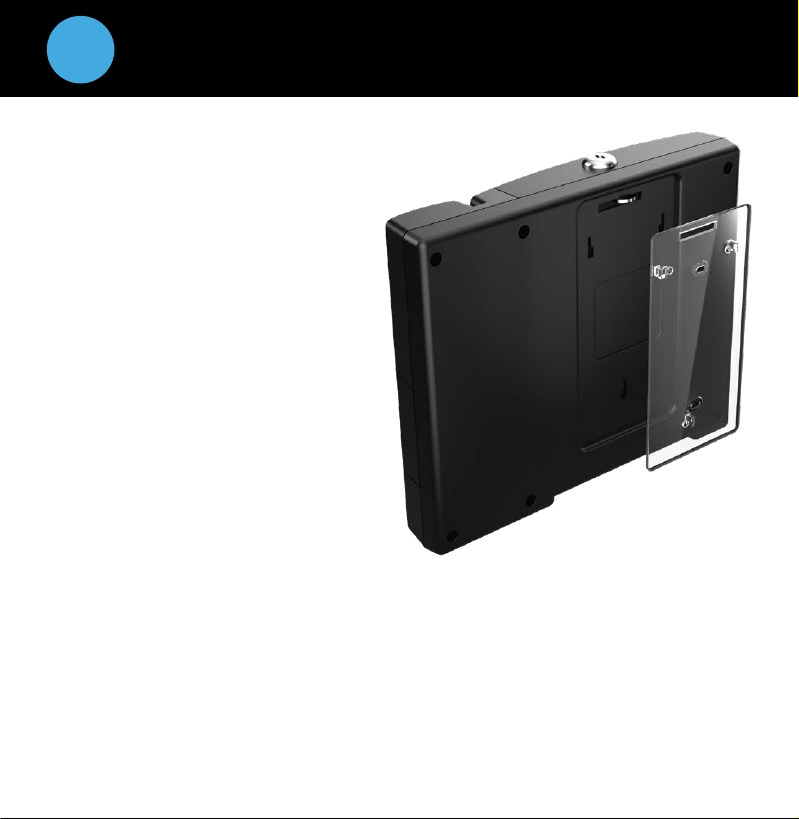
Back View with
Mounting Bracket
15’ USB Cable
2 Screws
2 Keys
Power Supply

2
Registering your product activates your 30 days of free setup support,
which includes:
• Unlimited telephone and email support
• Remote login assistance
• Troubleshooting
Registering your product also ensures that you will be notified about
software updates.
To register your product, please visit:
https://www.icontime.com/registration/
REGISTER YOUR PRODUCT
3
1. Determine your desired height for the clock.
2. Use the 2 wall mount screws provided and
attach the bracket to the wall.
3. Insert the key and turn it
clockwise a quarter of a turn.
4. Push the time clock onto the
mounting bracket so that the
tabs fit into the 3 matching slots
on the back of the clock.
5. Slide the clock downward until
the tabs click into place.
6. Use the key to lock the clock to
the mounting bracket.
7. Remove the key.
MOUNT YOUR TIME CLOCK TO THE WALL

4
SET THE DATE AND TIME
TotalPass B600 Time Clock
1. Plug the power supply into the port located on the bottom of the clock.
2. Plug the power supply into a wall outlet.
3. The display will read: Set Date/Time.
4. Press or on the time clock to select the current month. Press Enter.
5. Follow the same procedure to advance through each step as prompted to
complete the date and time setup. If you make a mistake, press Clear on
the time clock to go back and correct the entry.
6. Once you’ve completed these steps, the time clock will display:
Date and Time Set.
If the clock detects a Wi-Fi connection, the display will read:
Network Detected Press Enter.
^
^
Power Supply
Wall Outlet

5
The TotalPass B600 time clock includes three connection options:
Wi-Fi, Ethernet, or USB.
CHOOSE YOUR CONNECTION OPTION
TotalPass B600 Time Clock

6
1. If your wireless network is detected
automatically, press Enter and go to Step 5.
(If a wireless network is not immediately
detected, please go to Step 6.)
2. Press on the time clock to enter Supervisor Mode.
3. Enter the default security code: 00 00 00.
CONNECT USING WI-FI
4. Use the on the time clock to scroll and go to
Network Settings. Press Enter.
5. Go to Wi-Fi Settings. Press Enter.
6. Go to View Networks. Press Enter.
7. Select your Network from the list. Press Enter.
8. Enter your Network Password using the on the time clock to scroll
through your character options.
Use the key to change the character set to lowercase,
uppercase, # or symbol.
Press Enter to accept a single character.
When you have entered your password, press Enter twice to save it.
Note: Write down the IP Address shown and go to the instructions for
Logging Into Your Time Clock.
^
Wi-Fi Connection
^

7
System Requirements
• Available network port on your router,
modem, or switch.
1. Plug the Ethernet cable into the port located
on the bottom of your clock.
2. Connect the other end of the Ethernet cable into
an available port on your router, switch, or wall port.
3. Disconnect the power supply from the time clock and
reconnect it again to power cycle the time clock.
4. Check to see that the green and amber Ethernet link
lights turn on where the Ethernet cable plugs into the clock.
This verifies that your time clock is connected to your network.
If the lights do not turn on, check the cable connections.
Note: A network connection is not required at all times.
A Network connection is required for accessing the time
clock application and running reports.
5. Press on the time clock to enter Supervisor Mode.
CONNECT USING ETHERNET
6. Enter the default security code: 00 00 00.
7. Press to scroll and find the View IP Address option. Press Enter.
8. Write down the clock’s assigned IP address below for reference.
IP Address:
^

8
System Requirements:
• Windows PC (Vista or above)
• An available USB Port on the PC
1. Plug the USB cable into the USB port located on the bottom of your clock.
2. Plug the other end of the USB cable into the USB port on your PC.
3. Download the USB Communication Drivers from our website and follow
the directions for installation provided on the webpage:
4. After installing the drivers, open your Web browser and navigate to:
http://totalpass.timeclock or http://172.20.20.1
CONNECT TO YOUR PC USING USB
Important: USB connection is compatible with Windows Vista and
above. If you are using a Mac, give us a call for alternative options.

9
1. Open your computer’s web browser and enter the clock’s IP address in the
address bar. Press Enter.
2. Set your Password.
• Enter your New Password (default Username is admin)
• Confirm your New Password
3. For instructions on adding employees and completing setup, click the
Help menu on the navigation bar and download the User Guide.
LOG INTO YOUR TIME CLOCK

10
Set Up Your Pay Period:
1. Go to the Settings menu, and click Preferences.
2. Under the Pay tab, select the applicable Pay Period type. Complete the
rest of the settings accordingly.
Add Employees:
The Employee List is used for maintaining employees in the time clock
including, adding, editing and terminating employees.
Each employee is assigned a default 4-digit PIN.
SET UP PAY PERIOD & ADD EMPLOYEES
1. To access the Employee List, go to Lists, then click Employees.
2. Assign Employees a Personal Identification Number (PIN)

11
Free assistance is available for the first 30 days on new purchases
and includes:
• Unlimited telephone and email support
• Remote login assistance and troubleshooting
For Assistance, please call: 1-800-847-2232 #2, Mon-Fri, 5:00 AM to 5:00 PM PT
To submit an online request: https://www.icontime.com/contact-support/
Product registration is required for our free 30-day assistance.
We also offer extended support contracts which include:
• Annual Hardware Maintenance (Time Clock Insurance)
• Annual Upgrade to the Latest Software Version
• Annual Software Maintenance
• Unlimited Telephone and Email Support
• Remote Login Assistance and Troubleshooting
For instructions on clocking in and out, please refer to the enclosed
Quick Reference Sheet >
For instructions on setting up and using proximity badges, please refer to the
User Guide >
SUPPORT INFORMATION
Quick Start Guide >
© Copyright 2019 Icon Time, Inc. All rights reser ved. TotalPass®, Icon Time an d the Icon Time logo are trademarks
of Icon Time, Inc. The information in this guide is sub ject to change without notice. 9/19. B600QSG-01
 Loading...