

Total Fishing Gear FishSpy User Manual

FishSpy is the result of two years intense development by the team at Total Fishing Gear, thousands of hours of
testing and hardcore fishing – but it’s been worth it. FishSpy will change the way you fish for ever.
Now for the first time you can unlock the secrets of the water and see exactly what lies beneath the surface – you
can finally see what you’ve been missing.
Crystal clear images of the lakebed, live streaming the hottest fish action directly to your mobile device, rough and
tough enough for you to cast over 100M – FishSpy is your edge.
Feature find acres of water in minutes, find the clear gravel amongst unfishable weed, locate the bloodworm
filled silt beds, get your bait bang on the money and watch those indicators fly.
The stealthy no spook camo body allows you to put FishSpy in right in the
zone without spooking fish, while the long battery life lets you keep
your secret weapon trained on your hotspot for hours.
How do fish feed? How do they react to your rigs?
Prepare to see this and so much more.
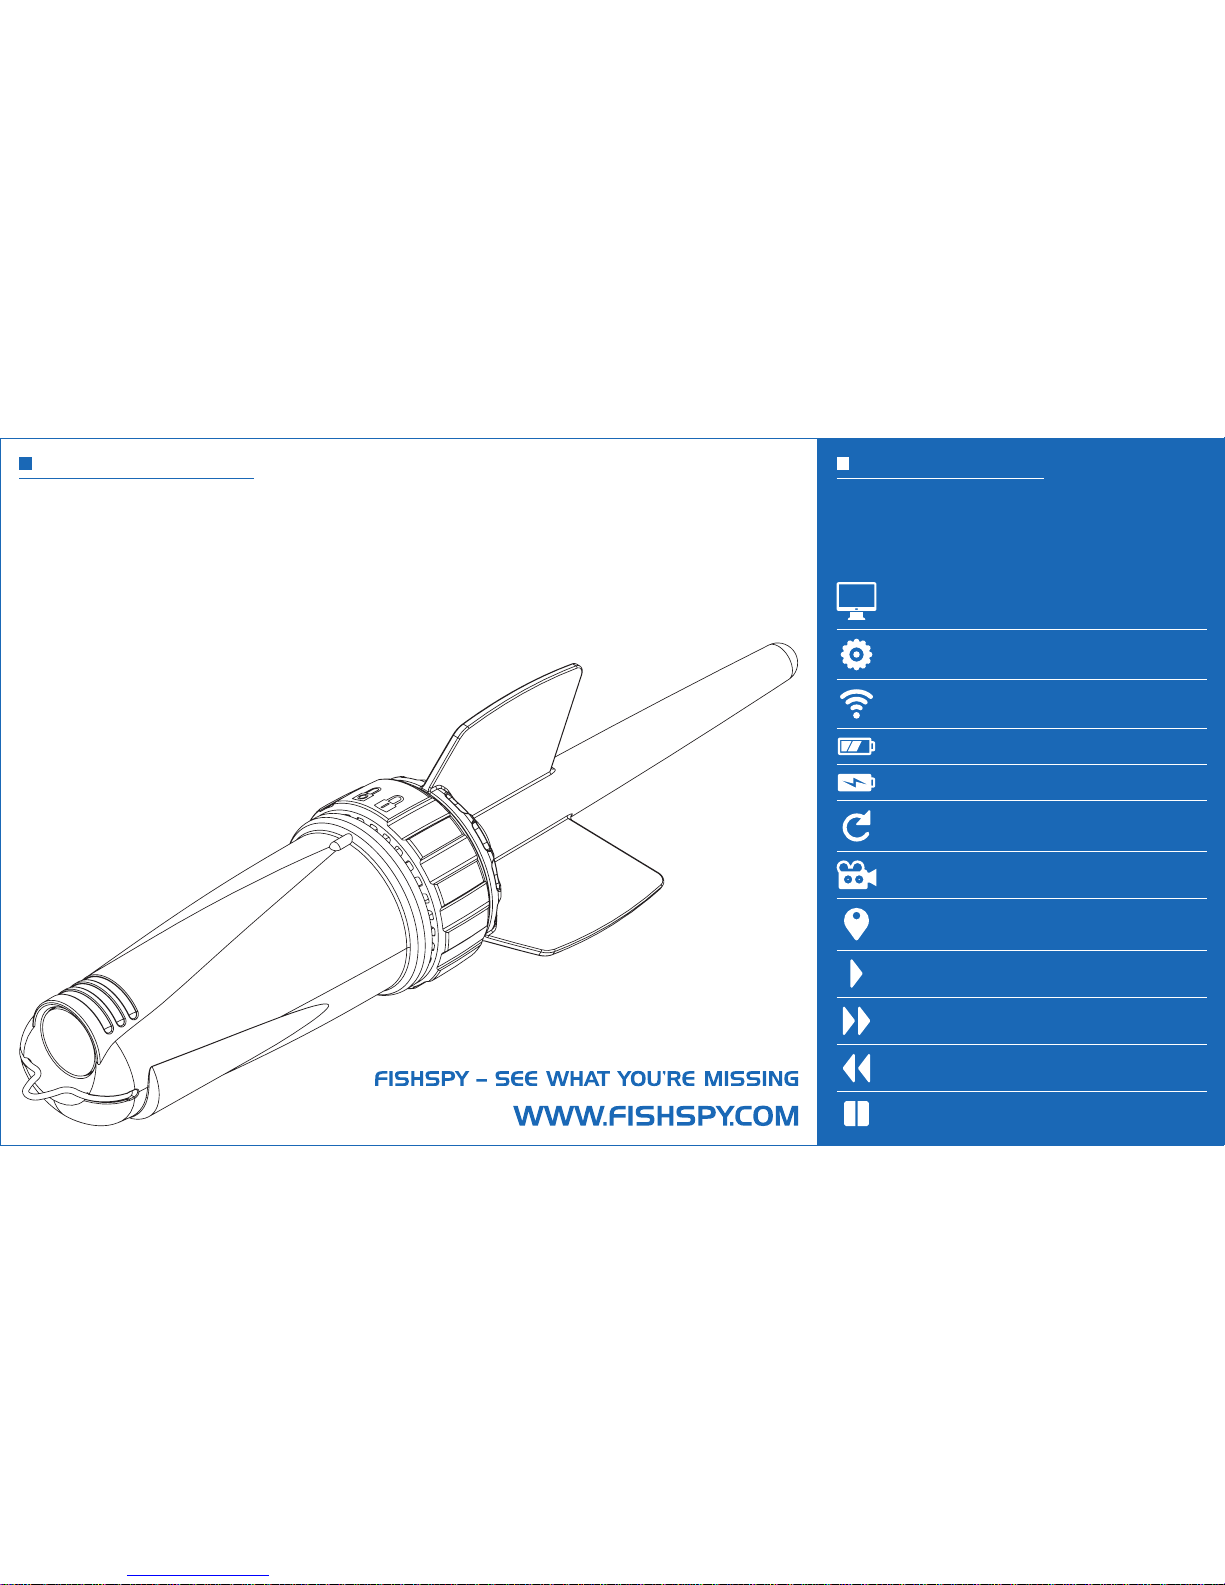
WELCOME TO FISHSPY
FishSpy control layout is simple, with every function
given a clear one touch icon.
Below are the full list of icons to use when operating
FishSpy.
QUICK START GUIDE
Battery charging
Battery level
Settings and recordings
Home screen
Record – start/stop
Pause
Play
Refresh
Action marker
Wi-Fi indicator
Fast forward
Rewind

1. Interchangeable fin
2. Locking ring
3. Camera lens
4. Line attachment link
COMPONENTS
5. Micro USB port
6. Power on status light
Unlock
Remove fin
CHARGING THE BATTERY
You can charge your FishSpy using a USB lead from
either a mains powered device such as a laptop or
portable charging source such as a portable USB
charger.
Unlock the locking ring by twisting in a clockwise
direction
Remove the fin and insert the USB lead into the
micro USB port on the FishSpy. A red charging light
will illuminate. A full charge takes 3 – 4 hours. The
red charging light goes off when fully charged
N.B. Only use chargers marked output 5V 1A. If
you are unsure of the voltage and current of your
charger, use the included USB cable to charge
your FishSpy through your computer USB port.
2
4
3
1
6
5
Place the fin on and turn the locking ring in an anticlockwise direction to the locked position, a red light
will flash and start transmitting the Wi-Fi signal
Turning FishSpy on
GETTING STARTED
Download the FishSpy App from the App store to
your mobile device. We recommend you have the
latest version of iOS installed
When you first use FishSpy on a mobile device you
need to pair it to that device.
Pairing FishSpy to your mobile device
Pairing using Android or Windows
Ensure Wi-Fi is turned ‘ON’ on your mobile device
Go to Wi-Fi options and type Fishspy – then the
model number of your specific FishSpy
*
– and
select JOIN
Load browser. We recommend Google Chrome
Type in 192.168.4.101 in the address bar – you will
now be connected
Pairing using iOS (Apple)
Ensure Wi-Fi is turned ‘ON’ on your mobile device
Go to Wi-Fi options and type Fishspy – then the
model number of your specific FishSpy
*
– and
select JOIN
Open your FishSpy App – you will be connected
automatically
Your unique FishSpy model number is provided on
the base of your FishSpy box. Should the box be
mislaid connect FishSpy via USB to your PC. Your
FishSpy will be displayed as a removable drive – click
on removable drive and your unique number (SSID)
will be displayed.
*
 Loading...