

Torque Fitness X-Series Anchoring Instructions

ANCHORING INSTRUCTIONS
X-RACKS AND X-LABS ARE HEAVY PIECES OF EQUIPMENT. THEY ARE
INTENDED TO SUPPORT SIGNIFICANT WEIGHT DURING ROUTINE
USE AND SHOULD BE SECURELY ASSEMBLED AND FASTENED
TO A SUPPORTING SURFACE OF SUITABLE CONSTRUCTION.
FAILURE TO TAKE PROPER CARE IN SITE SELECTION, ASSEMBLY
OR INSTALLATION CAN LEAD TO SERIOUS PERSONAL INJURY
AND PROPERTY DAMAGE.
These setup instructions are not
intended to be exhaustive,
but are only intended for illustrative
purposes and to be used as guidelines
to provide to your contractor.
Professional installation
is required.
Electrical wires, water pipes etc. can
be running underneath a oor so
understand what is below before
drilling.
Read these instructions carefully
before proceeding and follow the
installation directions carefully
to minimize the risk of injury or
property damage.
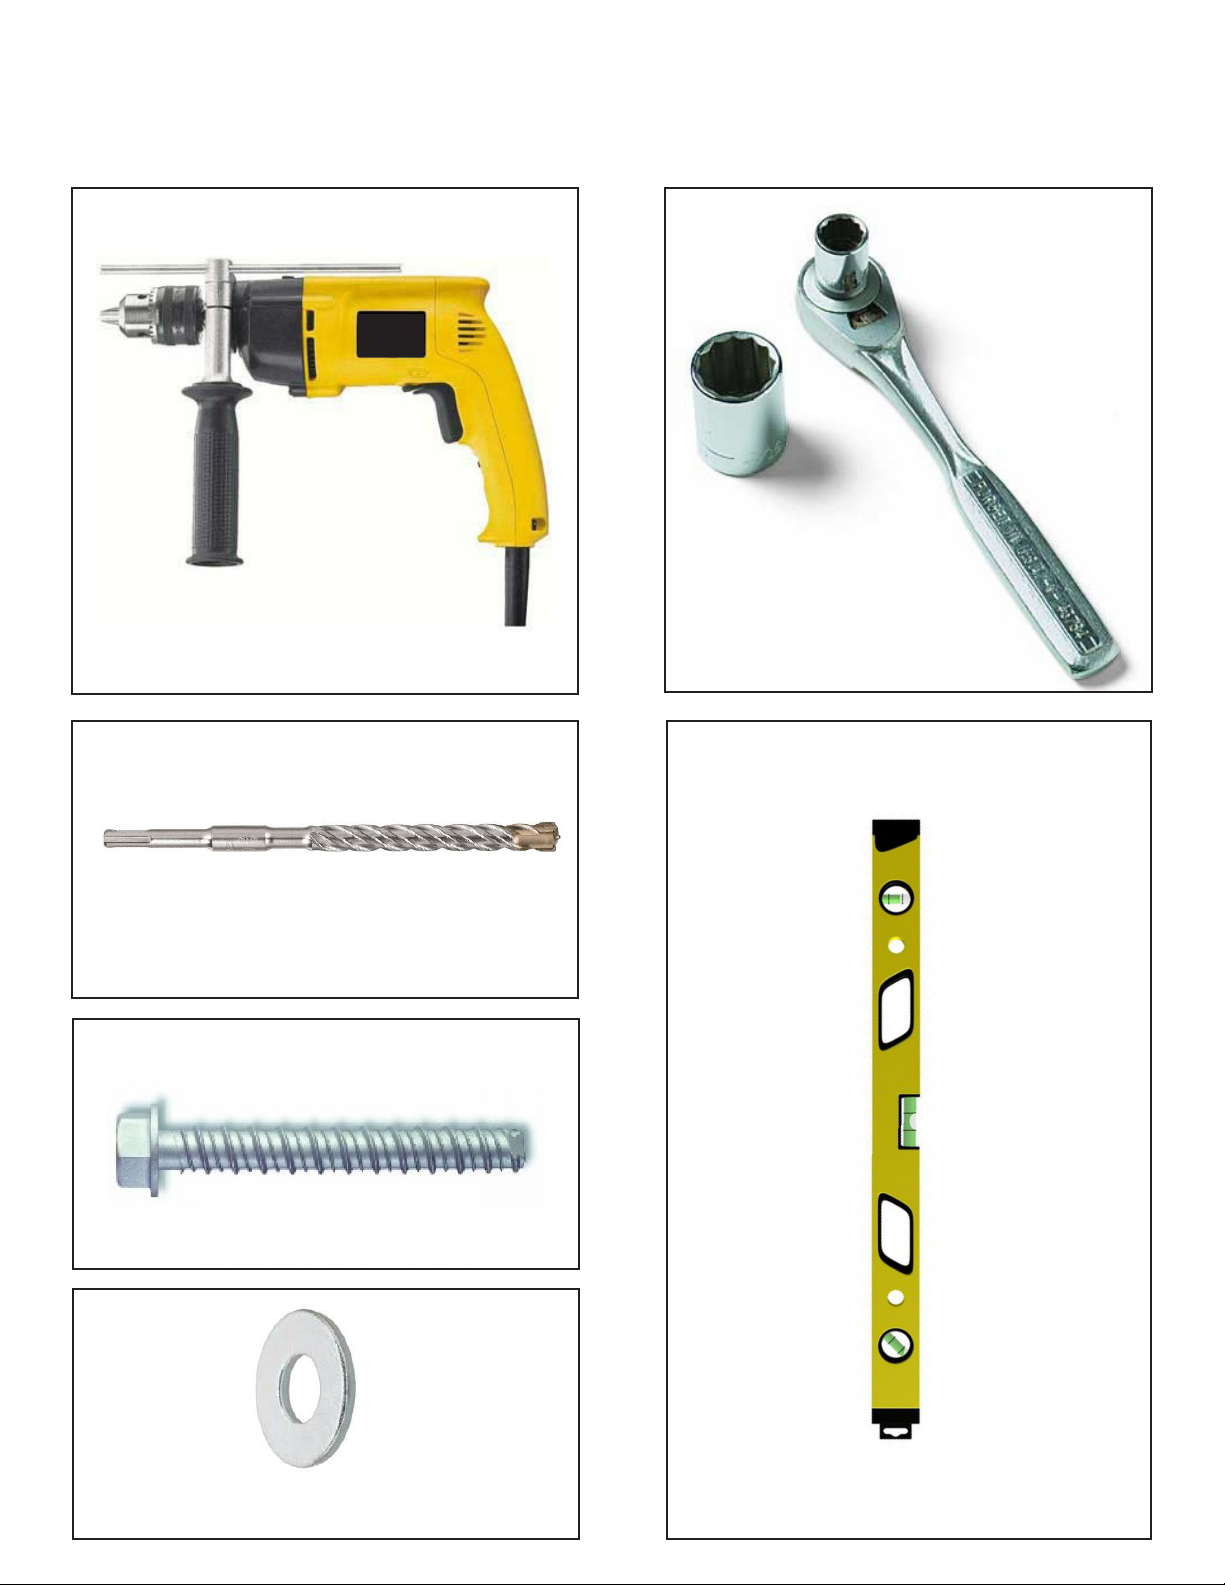
REQUIRED TOOLS AND HARDWARE
FOR ANCHORING TO CONCRETE FLOORS
Hammer Drill
Masonary drill bit
(Reference anchors for correct size)
Socket Wrench and Socket
3/8” x 3” Concrete anchors
3/8” Washers Level
2
 Loading...