

Page 1
FORM NO. 3322–318
RECYCLER MOWER BAGGING KIT
MODEL NO. 59299
Para obtener una versión gratis de este manual en español, escriba a la dirección
indicada más abajo. Asegúrese de indicar el modelo y el número de serie de su producto.
Pour obtenir gratuitement une version en français de ce manuel, écrivez à l’adresse
ci-dessous. N’oubliez pas d’indiquer les numéros de modèle et de série de votre produit.
The Toro Company, Attn: Parts Dept., 8111 L yndale Ave S, Bloomington, MN 55420–1196
Keep this material with your Operator’s Manual and refer
to both documents for instructions concerning safe
operation and proper maintenance procedures.
IMPORTANT: Your Recycler mower has been
updated to permit bagging. Make sure that your dealer
is aware of this whenever parts are ordered or
servicing is required.
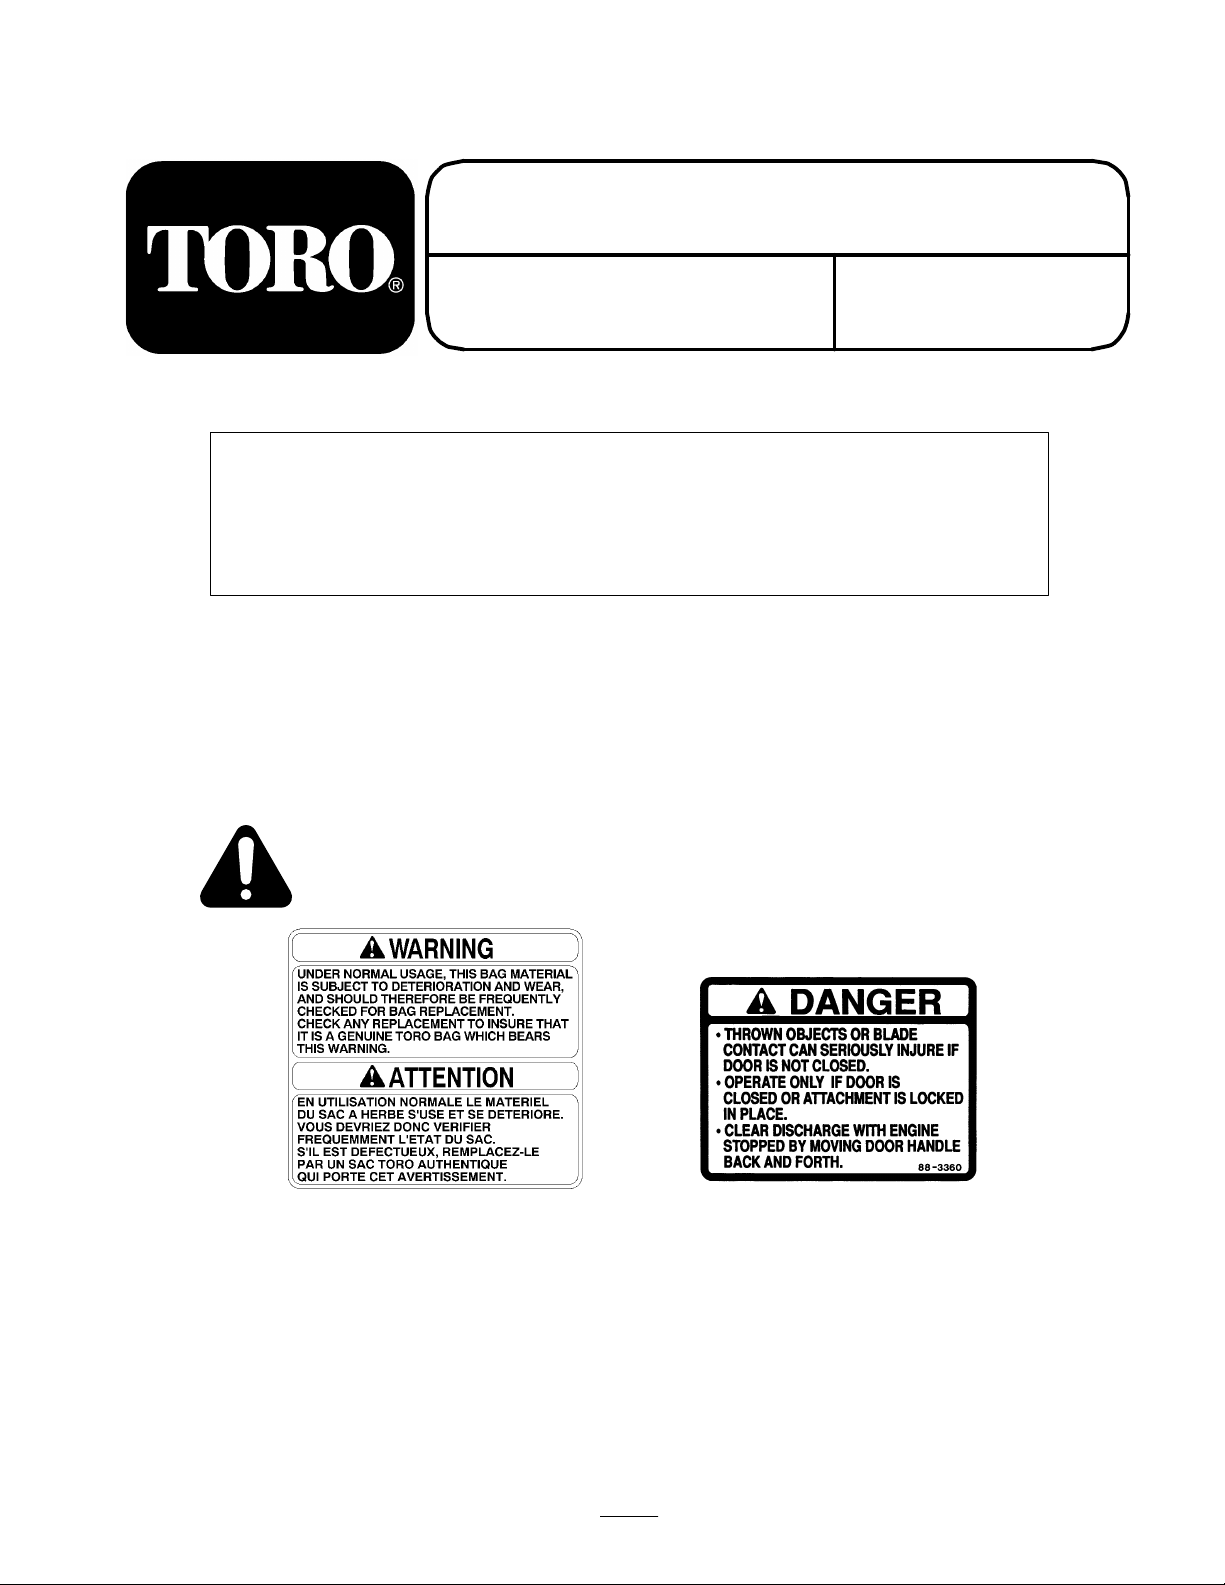
Safety and Instruction Decals
Safety decals and instructions are easily visible to the operator and are located near
any area of potential danger. Replace any decal that is damaged or lost.
INSTALLATION
INSTRUCTIONS
ON GRASS BAG
(Part No. 84–7810)
The Toro Company – 1998
All Rights Reserved
ON DISCHARGE TUNNEL
(Part No. 88–3360)
1
Printed in USA
Page 2
Kit Contents
DESCRIPTION QTY.
Discharge Tunnel Assembly 1
Screw, hex washer head 4
Screw, self-tapping 1
Grommet 4
Knob 1
Grass Bag Assembly 1
Installation Instruction Sheet 1
Assembly
Installing the Discharge Tunnel
1. Stop the engine and disconnect the spark plug wire.
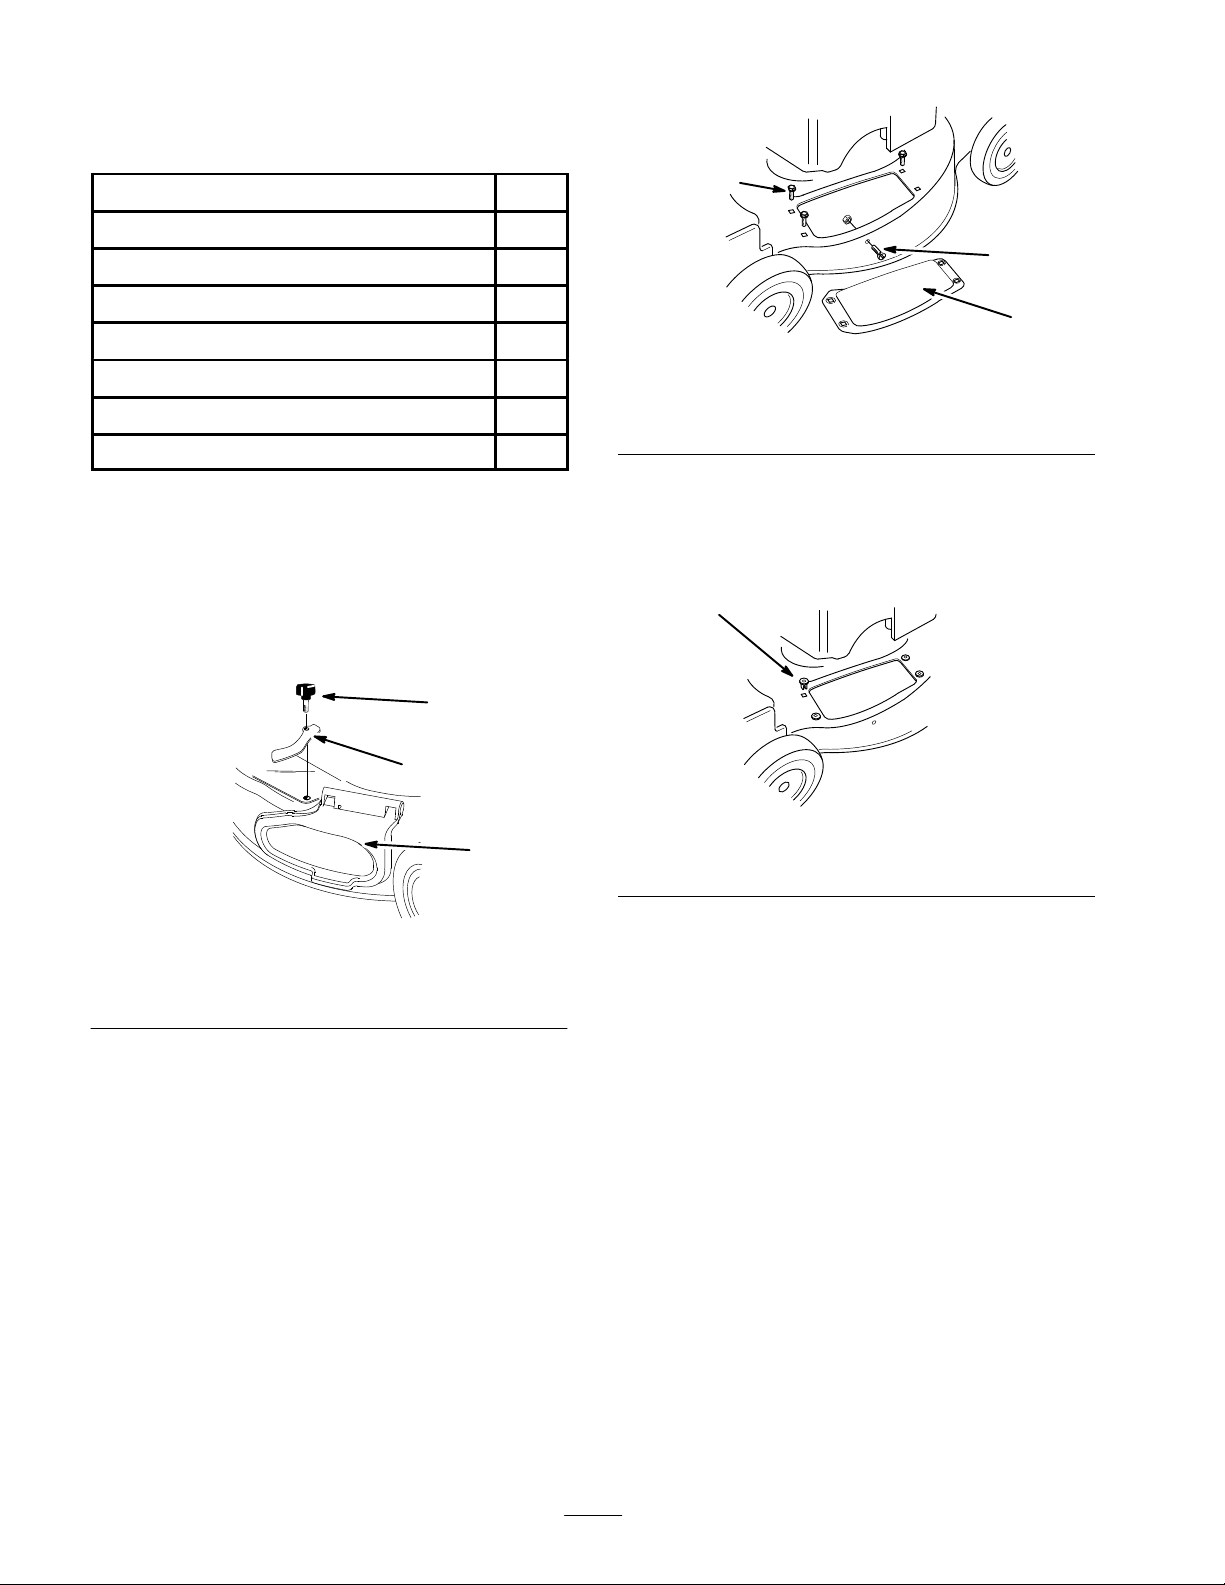
2. Remove the knob and side cover clamp (Fig. 1).
1
2
3
1
m–4275
Figure 2
1. Discharge cover
2. Bolt (3)
4. Remove the screw and nut from side of the mower
(Fig. 2). Save them for future use.
5. Install four grommets supplied with the grass catcher
into the four square holes in the mower (Fig. 3).
1
3. Screw and nut
2
Figure 1
1. Knob
2. Side cover clamp
3. Remove and save the three bolts securing the
discharge cover to the mower (Fig. 2). Save the cover
and bolts for future use.
3. Side opening cover
3
2009
Figure 3
1. Grommet (4)
m–4275
6. Insert the tongue of the discharge tunnel into the
mower (Fig. 4).
7. Align the holes in the tunnel with the grommets in the
mower (Fig. 4).
8. Ensure that the hole in the tongue aligns with the hole
in the side of the mower (Fig. 4).
2
Page 3

5
4
4
1
2
3
2010
Figure 4
1. Discharge tunnel
2. Tongue
3. Self-tapping screw
4. Bolt (3)
5. Discharge tunnel door
9. Install the self-tapping plastite screw supplied with the
grass catcher into the side hole and tongue, and
partially tighten the screw (Fig. 4).
10.Using three screws supplied with the grass catcher,
fasten the discharge tunnel to the mower (Fig. 4).
11. Secure the front, right corner of the discharge tunnel
and the side opening cover with the side cover clamp
removed previously and the long knob supplied with
the grass catcher (Fig. 5)
1
DANGER
POTENTIAL HAZARD
• If the side opening cover is not securely
clamped in place, debris could be thrown out of
the side opening.
WHAT CAN HAPPEN
• Thrown debris can cause serious personal
injury or death to the operator or bystanders.
HOW TO AVOID THE HAZARD
• Always ensure that either the side opening
cover is closed and locked in place by the side
cover clamp or that the side discharge chute is
securely seated in place before starting the lawn
mower.
12.Tighten all four screws and the long knob.
13.Open and close the tunnel door to ensure that it moves
freely (Fig. 4).
Installing the Grass Bag
1. Stop the engine and wait for all moving parts to stop.
2. Ensure that the discharge door handle is fully forward
(door closed) (Fig. 6).
1. Long knob
2. Side cover clamp
Figure 5
2
3
3. Side opening cover
m–4274
DANGER
POTENTIAL HAZARD
• Thrown objects may result if the discharge
door does not close completely.
WHAT CAN HAPPEN
• Thrown objects can cause serious personal
injury or death.
HOW TO AVOID THE HAZARD
• If the discharge door cannot be closed because
grass clippings clog the discharge area, stop the
engine and gently move the discharge door
handle back and forth until the door can be
closed completely . If door still cannot be closed,
remove the obstruction with a stick; not your
hand.
3. Fit the bag door opening over the discharge tunnel
opening as shown in Figure 6.
The bag door latches should straddle the door handle,
and the bag rod hook should be in front of the handle
bracket.
4. Set the rear of the bag frame onto the lower handle.
3
Page 4

2
3
DANGER
1
4
Figure 6
1. Handle fully forward
2. Bag door
3. Bag door latch
5. Pull the handle rearward until the handle latch locks in
the notch in the bag door latch (Fig. 7).
The discharge door in the mower housing is now open
and the bag is locked into position. The latch should
seat in bottom of the notch.
1
4. Bag rod hook in front of
handle bracket
2022
POTENTIAL HAZARD
• A worn grass bag could allow small stones and
other similar debris to be thrown in operator’s
or bystander’s direction.
WHAT CAN HAPPEN
• Thrown objects can cause serious personal
injury or death to the operator or bystanders.
HOW TO AVOID THE HAZARD
• Check the grass bag frequently. If it is
damaged, install a new genuine Toro
replacement bag that has this or a similar
warning.
Emptying the Grass Bag
1. Stop the engine and wait for all moving parts to stop.
2. Lift the door latch until it clears the bag notch and
move the discharge door handle forward (Fig. 6).
3. Grasp the bag frame handle and the rear of the grass
bag and lift the bag off of the mower.
4. Gradually tip bag forward to empty clippings.
Figure 7
1. Handle latch locked in bag
notch
2. Notch in bag door latch
DANGER
POTENTIAL HAZARD
• Grass clippings and other objects can be
thrown from an open discharge tunnel.
WHAT CAN HAPPEN
• Objects thrown with enough force could cause
serious personal injury or death to the operator
or bystander.
HOW TO AVOID THE HAZARD
• Never open the door on the discharge tunnel
when the engine is running.
2
Maintenance
Cleaning
548
Always be sure that discharge tunnel door locks closed
when handle is released. If debris prevents discharge door
from locking closed, clean inside of discharge tunnel and
door thoroughly.
1. Stop engine and pull wire off spark plug. Remove key
from switch (key start models).
2. Remove fuel tank cap. Use a pump-type syphon to
drain fuel into a clean gas can.
Note: This is the only procedure recommended for
draining fuel.
3. Tip mower on side; refer to mower’s Operator’s
Manual for proper side to use. Avoid rotating blade
because starting problems may result.
4. Remove dirt and grass clippings that stick to housing
with a hardwood scraper. Avoid burrs and sharp edges.
5. Turn mower upright.
6. Remove debris from inside of discharge tunnel.
7. Refill fuel tank.
4
 Loading...