

Toro 145-1261 Installation Instructions
CEKit
122cm,132cm,or152cmZMaster
ModelNo.145-1261
ModelNo.145-1262
ModelNo.145-1263
Note:T ocreateaCEbagger,installthiskitontheBaggerKit(ToroModel78463).
Safety
SafetyandInstructional
Decals
Safetydecalsandinstructionsare
easilyvisibletotheoperatorandare
locatednearanyareaofpotential
danger.Replaceanydecalthatis
damagedormissing.
®
4000SeriesRidingMower
InstallationInstructions
FormNo.3448-130RevA
1.Warning—readthe
Operator’sManual;wear
hearingprotection.
2.Thrownobject
hazard—keepbystanders
away.
3.Thrownobjecthazard,
deectorshield—do
notoperatewithoutthe
deector,dischargecover,
orgrasscollectionsystem
inplace
decal117-0923
117-0923
4.Cutting/dismemberment
hazard,
impeller—disengage
thePTO,removethekey ,
andwaitforallmoving
partstostop.
5.Cutting/dismemberment
hazard,impeller—stay
awayfrommovingparts;
keepallguardsand
shieldsinplace.
©2021—TheT oro®Company
8111LyndaleAvenueSouth
Bloomington,MN55420
Registeratwww.Toro.com.
OriginalInstructions(EN)
PrintedintheUSA
AllRightsReserved
*3448-130*

Installation
LooseParts
Usethechartbelowtoverifythatallpartshavebeenshipped.
ProcedureDescription
1
2
3
4
5
6
7
8
9
10
Nopartsrequired
Nopartsrequired
Nopartsrequired
Nopartsrequired
CEpulleyguard
CEbelt-coverbracket(ifnotpreviously
installed)
Hex-headbolt(1/4x1inch)
Carriagebolt(1/4x3/4inch)
Locknut(1/4inch)
Hex-headbolt(3/8x1inch)—122cm
mowerdecksonly
Flangenut(3/8inch)—122cmmower
decksonly
Clipnut
Rearguard(122cmmowerdecksonly)
CEshaftguard
CEforwardguard
CEtensionerguard
CElowerguard
Hex-headbolt(1/4x3/4inch)
Washer(1/4inch)
Locknut(1/4inch)
Hex-headbolt(1/4x3/4inch)
Washer(5/16x3/4inch)
Washer(1/4x1/2inch)
Retainer1
Lowersupportrod1
Flange-headbolt(1/4x3/4inch)
Locknut(1/4inch)
Height-of-cutcoverplate(122cmdecks)
Height-of-cutcoverplate(132cmand
152cmdecks)
Locknut(1/4inch)
Carriagebolt(1/4x3/4inch)
Qty.
Use
–
–
–
–
1
1
1
1
2
1
1
1
1
1
1
1
1
2
2
2
1
1
1
1
1
2
2
2
2
Preparethemachine.
Removetheexistingsidedischarge
chute.
RemovetheOEMcoverandbrackets.
Removethebeltcoverfortheblower(if
installed).
InstalltheCEpulleyguards.
InstalltheupperCEguards.
InstallthelowerCEguard.
InstalltheCEbeltcover.
Installthenewlowersupportrod.
Installtheheight-of-cutcoverplates.
11
Nopartsrequired
2
–
Adjusttheenginespeed.

1
2
PreparingtheMachine
NoPartsRequired
Procedure
1.Parkthemachineonalevelsurface.
2.Engagetheparkingbrake.
3.Shutofftheengineandremovethekey.
4.Thoroughlycleanthemowerdeck.
Note:Y oumustremoveallthedebristoensure
thatthekitwilltproperly.
5.Repairallbentordamagedareasandreplace
anymissingparts.
6.Lowerthemowerdecktothelowestheight-of-cut
position;refertothemowerOperator’sManual.
RemovingtheExistingSide
DischargeChute
NoPartsRequired
Procedure
Removethebolt,spring,spacer,andlocknutsecuring
thedischargechuteandremovethedischargechute
(Figure1).
Note:Retainthesidedischargechute,bolt,spring,
spacer,andlocknutforinstallationifyouoperatethe
machinewiththebloweraccessoryremoved.
1.Bolt
2.Dischargechute5.Locknut
3.Spring
3
g348922
Figure1
4.Spacer
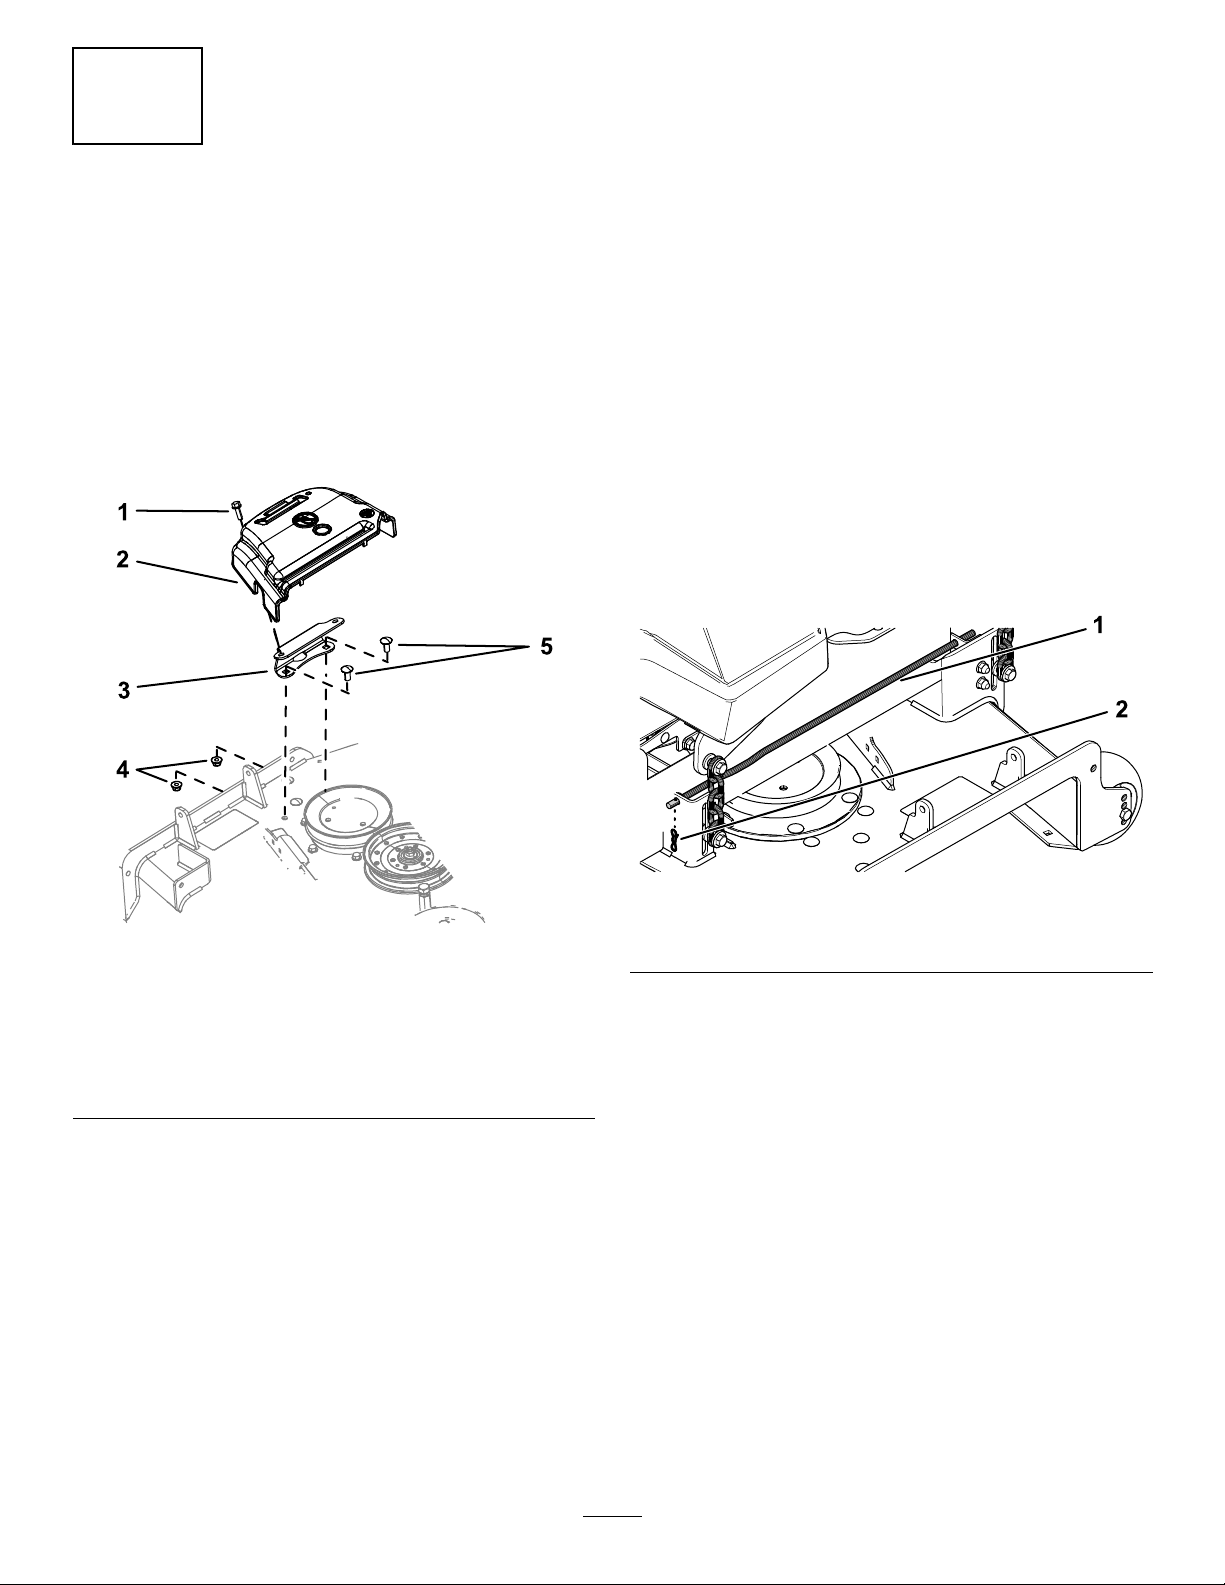
3
RemovingtheOEMCover
RemovingtheCoverMounting
Bracket
1.Removethe2boltsand2angenutsthat
securethecovermountingbrackettothedeck
(Figure2).
andBrackets
NoPartsRequired
RemovingtheBeltCover
IftheOEMbeltcoverisinstalled,removeitasfollows:
1.Rotatetheboltthatsecuresthebeltcovertothe
deckcounterclockwisetoloosenit(Figure2).
2.Removethebracket.
Note:RetaintheOEMcovermountingbracket,
bolts,andangenutforinstallationwhen
operatingthemowerwiththebloweraccessory
removed.
RemovingtheExistingLower
SupportRod
Removethelockingcotterpinfromtheexistinglower
supportrodandremoveit(Figure3).
Note:Retainthelockingcotterpinandlowersupport
rodforinstallationifyouoperatethemachinewiththe
bloweraccessoryremoved.
Figure2
1.Bolt(retainedtothebelt
cover)
2.Beltcover
3.Cover-mountingbracket
2.RemovetheOEMbeltcoverandboltfromthe
mountingbracket(Figure2).
Note:RetaintheOEMbeltcoverandboltfor
installationwhenoperatingthemowerwiththeblower
accessoryremoved.
4.Flangenut(3/8inch)
5.Carriagebolt(3/8x7/8
inch)
g350950
Figure3
g203155
1.Existinglowersupportrod2.Lockingcotterpin
4
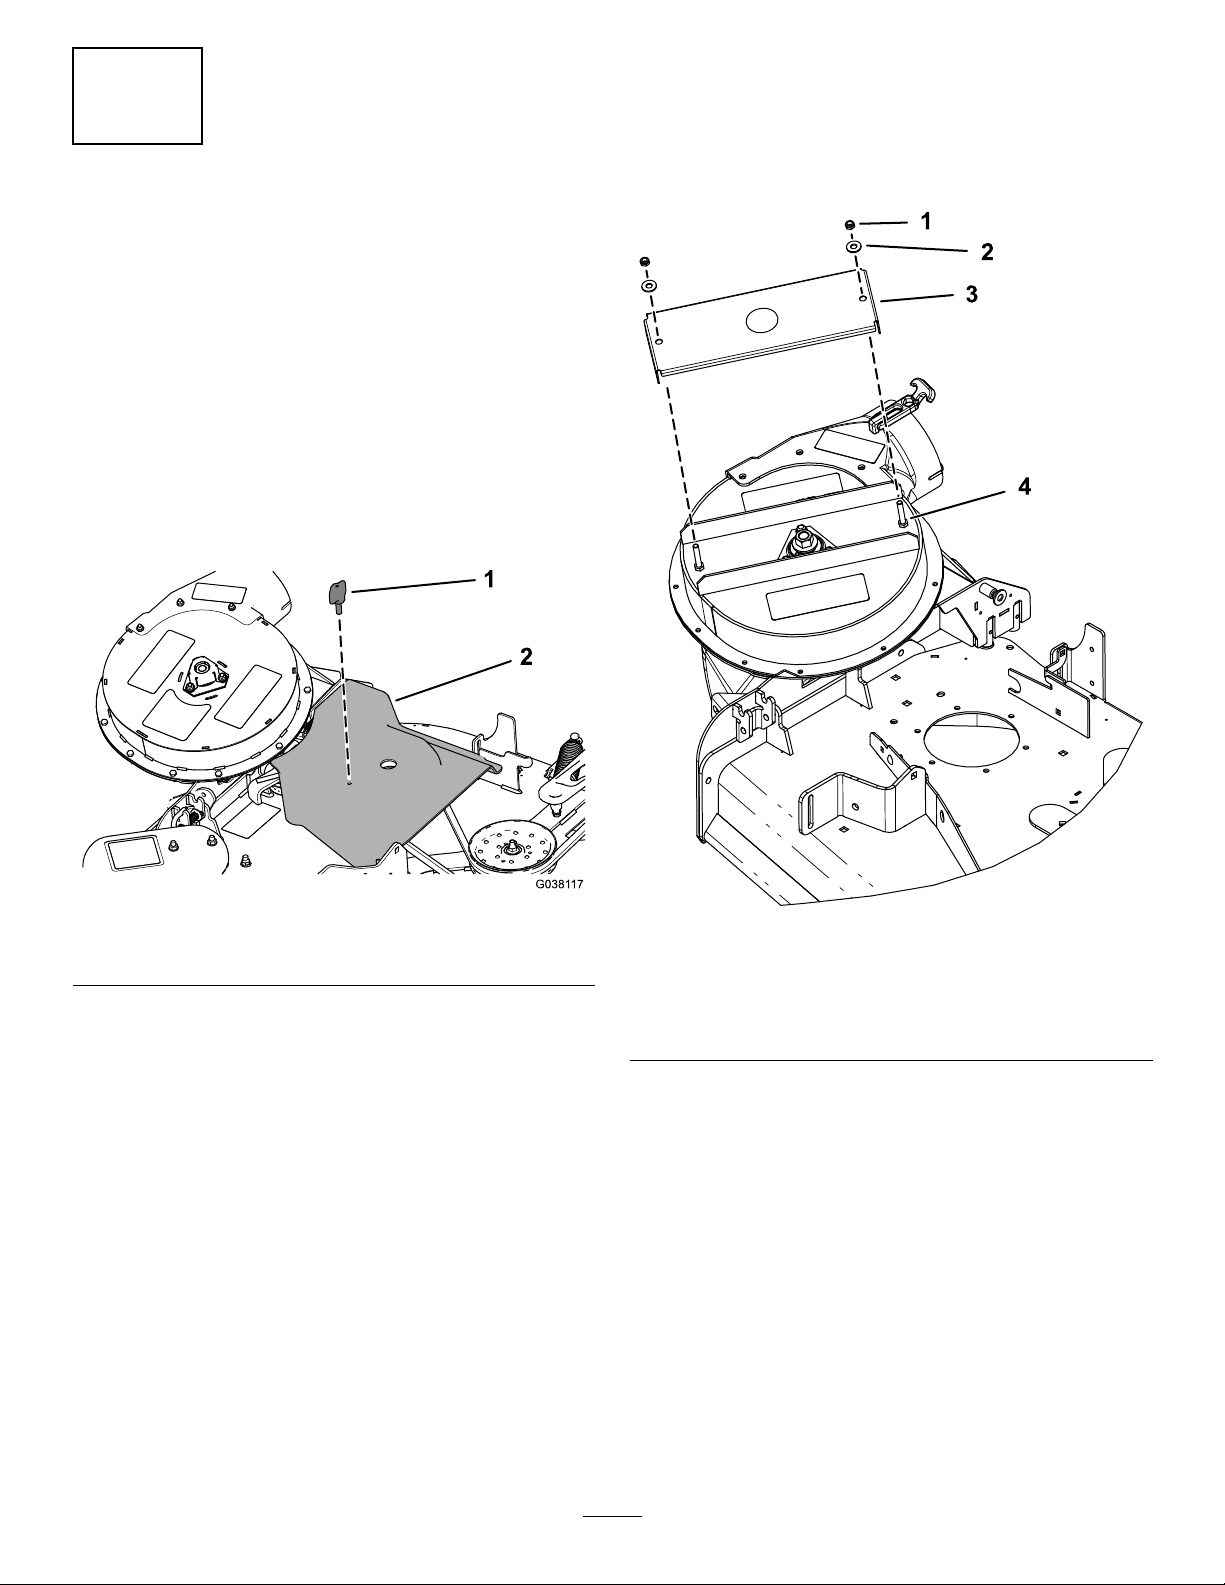
4
RemovingtheBeltCover
fortheBlower(IfInstalled)
NoPartsRequired
RemovingtheBeltCoverforthe
Blower
Iftheblowerkitisinstalledonthemachine,remove
thebeltcoverinstalledfrombloweranddrivekitas
follows:
1.Removethethumbscrewthatsecuresthebelt
cover(Figure4).
RemovingtheOEMShaftCover
andHardware
1.Removethe2nutsand2washersthatsecure
theOEMshaftcovertotheblowerassembly
(Figure5).
Figure4
1.Thumbscrew2.Beltcover
2.Movethecoveroutwarduntiltheedgeofthe
coverclearsthehooksinthedeckanges
(Figure4).
3.Removethecoverfromthedeck.
Note:Discardthethumbscrew.
g038117
Figure5
122cmMowerDeckShown
1.Nut
2.Washer4.Bolt
2.RemoveanddiscardtheOEMshaftcover
(Figure5).
3.OEMshaftcover
g203344
5
 Loading...