

Toptec Hex Sierra Installation Instructions Manual
Installation Instructions
TopTec Products, LLC
7061 Highway 221
Moore, SC 29369
Phone: (800) 845-2830
Fax: (800) 921-7750
e-mail: sales@TopTecProducts.com
www.TopTecProducts.com
Hex Sierra
Form # 20040813
© 2004 TopTec
Tent Top (1)
36" Nail Head Stake (6)
Leg Base (6)
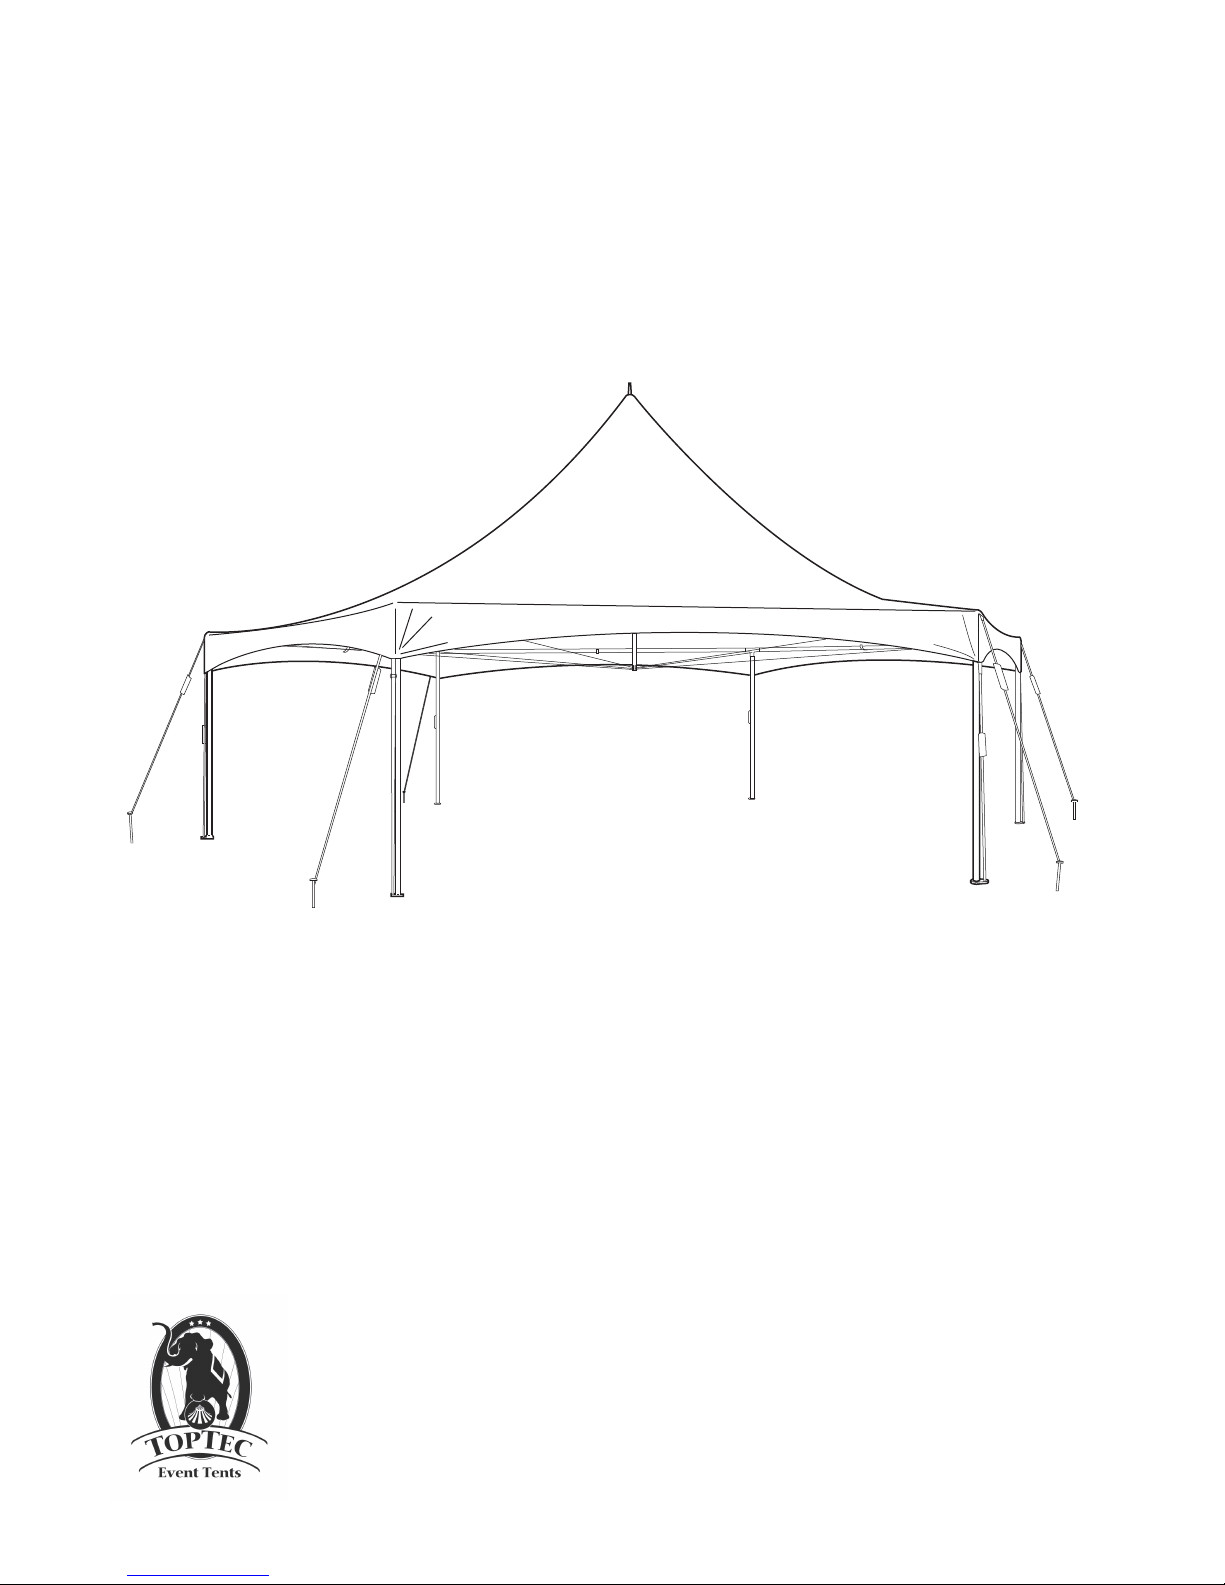
Sierra Hexagonal Tent Installation Instructions
Please read these instructions in advance of
assembly. Always be cautious of wind and
weather conditions. Partially assembled tents
are large sails in windy conditions. Always tie
Ratchet or Rope - Out Guys (6)
18" J-Hook Stake (6)
Corner Bracket (6)
RECOMMENDED TOOLS AND EQUIPMENT
Personal Safety
• Gloves and Hard Hat.
off frames.
Top Tie Down (6)
Cross Cable (3)
Center Pole (1)
Perimeter Pole (6)
Leg Pole (6)
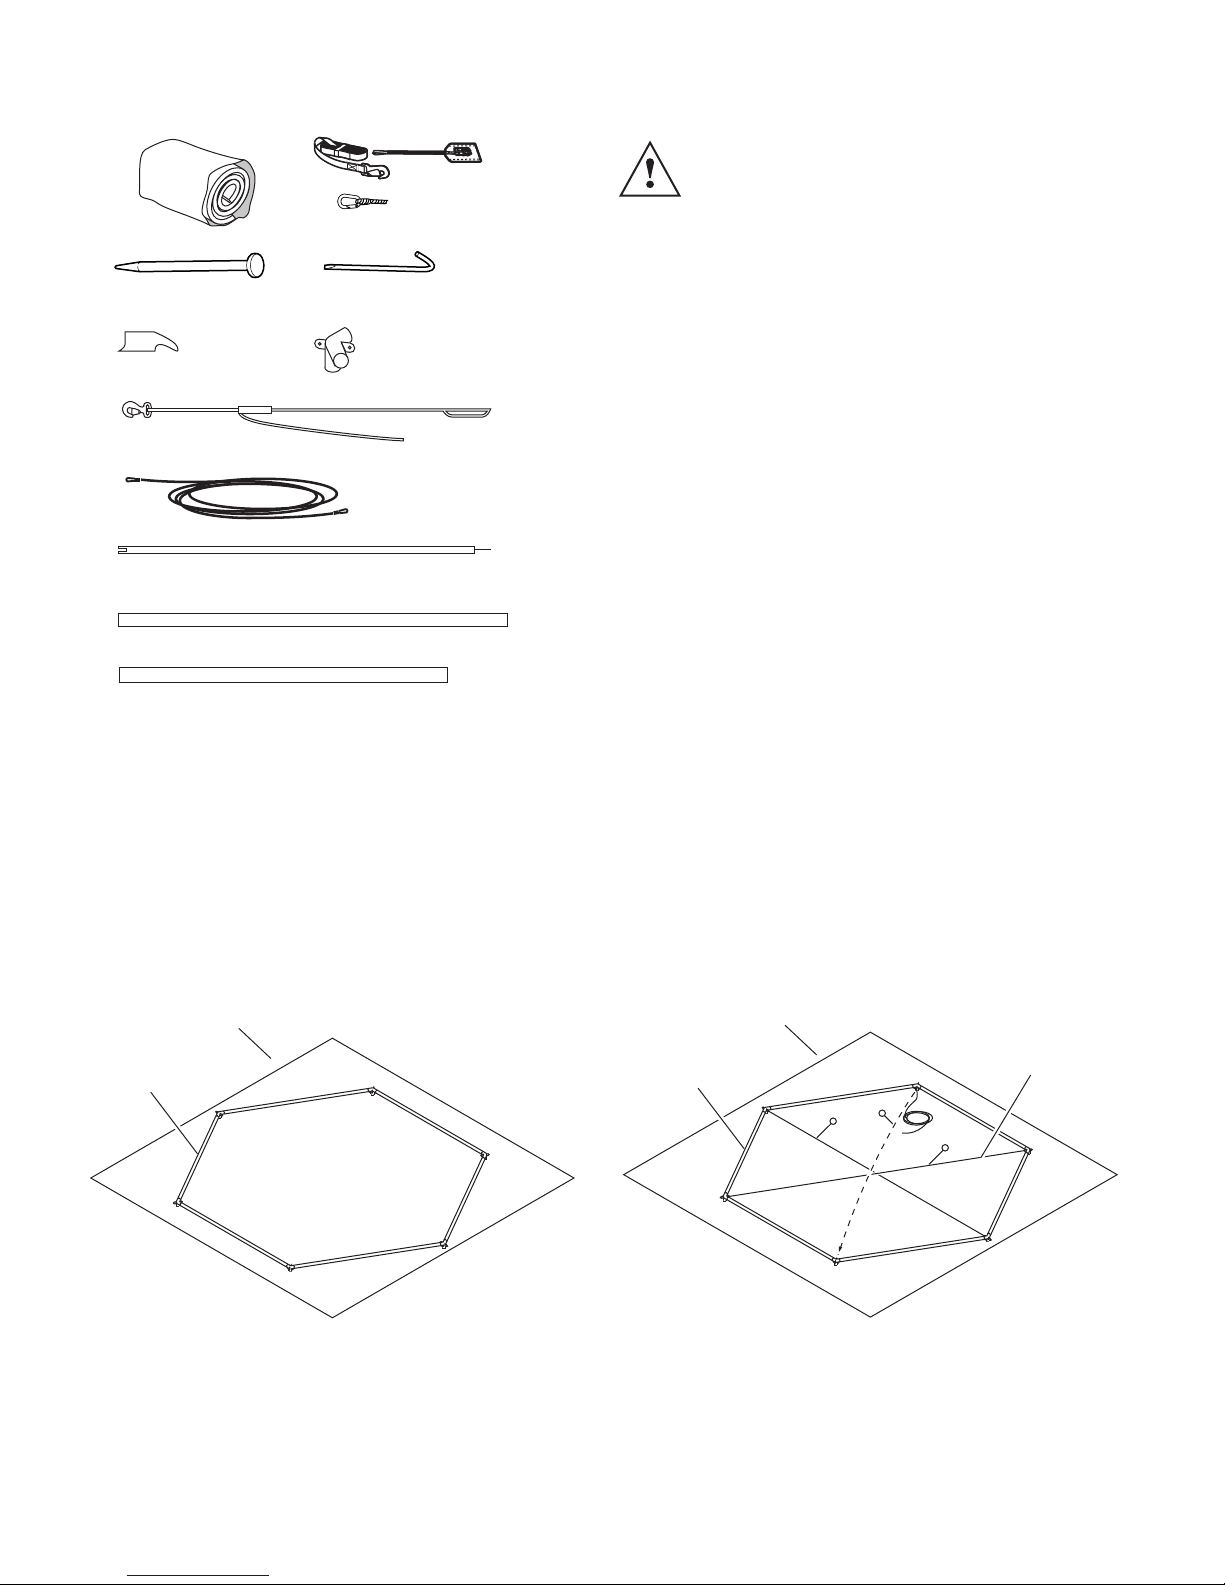
Components for the Hex tent installation
are as shown above.
Site Transport
• Hand Truck for Moving Components.
Frame Assembly
• Various wrenches and other types of tools (varies
according to tent size)
• Tent jack for raising frame to install legs.
• Ladder - Minimum six (6) foot tall.
Stake Installation and Removal
• 1" capacity rotary hammer for drilling holes in pavement
for stakes.
• An 8 to 16 pound sledge hammer.
• 24" Pipe Wrench for spinning stakes out of wet soil.
• Mechanical stake puller.
Top Installation
• Ground cloths to protect vinyl from dirt and abrasion.
• Cleaning supplies to remove any marks acquired during
installation.
GROUND CLOTH
ASSEMBLED
20 FT. LONG
RIMETER POLES
PE
Step 1. Lay ground cloth over desired location of tent
being installed. Arrange poles and corner brackets in
sequence as shown above.
Sierra Hex
GROUND CLOTH
ASSEMBLED
20 FT. LONG
IMETER POLES
PER
3
1
2
Step 2: Stretch cables to opposing corners as shown
in diagram above.
Note: Remember location of top cable for center pole
installation (Step 5)
Form # 20040813
TENSION
CABLES
 Loading...