

Tonze aw 6660 User Manual

User’s Guide
0
Wireless 802.11ag AP
User’s Manual
Version 1.0

User’s Guide
1
Copyright Statement
No part of this publication may be reproduced, stored in a retrieval system, or transmitted in any form or by any means,
whether electronic, mechanical, photocopying, recording, or otherwise without the prior writing of the publisher.
MAY. 2005

User’s Guide
2
Contents
1. Introduction................................................................................................................ 3
2. Safety Notification...................................................................................................... 4
3. Hardware Installation................................................................................................. 5
4. How to Configuring the Dual Band AP ....................................................................... 8
4.1 Setup – Network Setup............................................................................................ 9
4.2 Wireless – Wireless Settings ................................................................................. 10
4.3 Wireless – Wireless Mode................................................................................... 12
4.4 Wireless MAC Filter............................................................................................... 13
4.5 Wireless – Wireless Security ................................................................................. 14
4.6 Wireless – Advanced Wireless Settings................................................................. 15
4.7 Administration – Management ............................................................................... 18
4.8 Administration – Reboot AP ................................................................................... 19
4.9 Administration – Firmware Upgrade....................................................................... 20
4.10 Administration – Factory Defaults ........................................................................ 21
4.11 Status – Local Network ........................................................................................ 22
4.12 Status – Wireless Network ................................................................................... 23
4.13 Status – Wireless Statistics .................................................................................. 24
5. Troubleshooting – Q & A.......................................................................................... 25

User’s Guide
3
1. Introduction
Thank you for purchasing your Wireless 802.11ag AP.
This user guide will assist you with the installation procedure.

User’s Guide
4
2. Safety Notification
Your Wireless AP should be placed in a safe and secure location. To ensure proper operation, please keep the unit away
from water and other damaging elements. Please read the user manual thoroughly before you install the device.
The device should only be repaired by authorized and qualified personnel.
Please do not try to open or repair the device yourself.
Do not place the device in a damp or humid location, i.e. a bathroom.
The device should be placed in a sheltered and non-slip location within a temperature range of +5 to +40 Celsius
degree.
Please do not expose the device to direct sunlight or other heat sources. The housing and electronic components may
be damaged by direct sunlight or heat sources.
User’s Guide
5
3. Hardware Installation
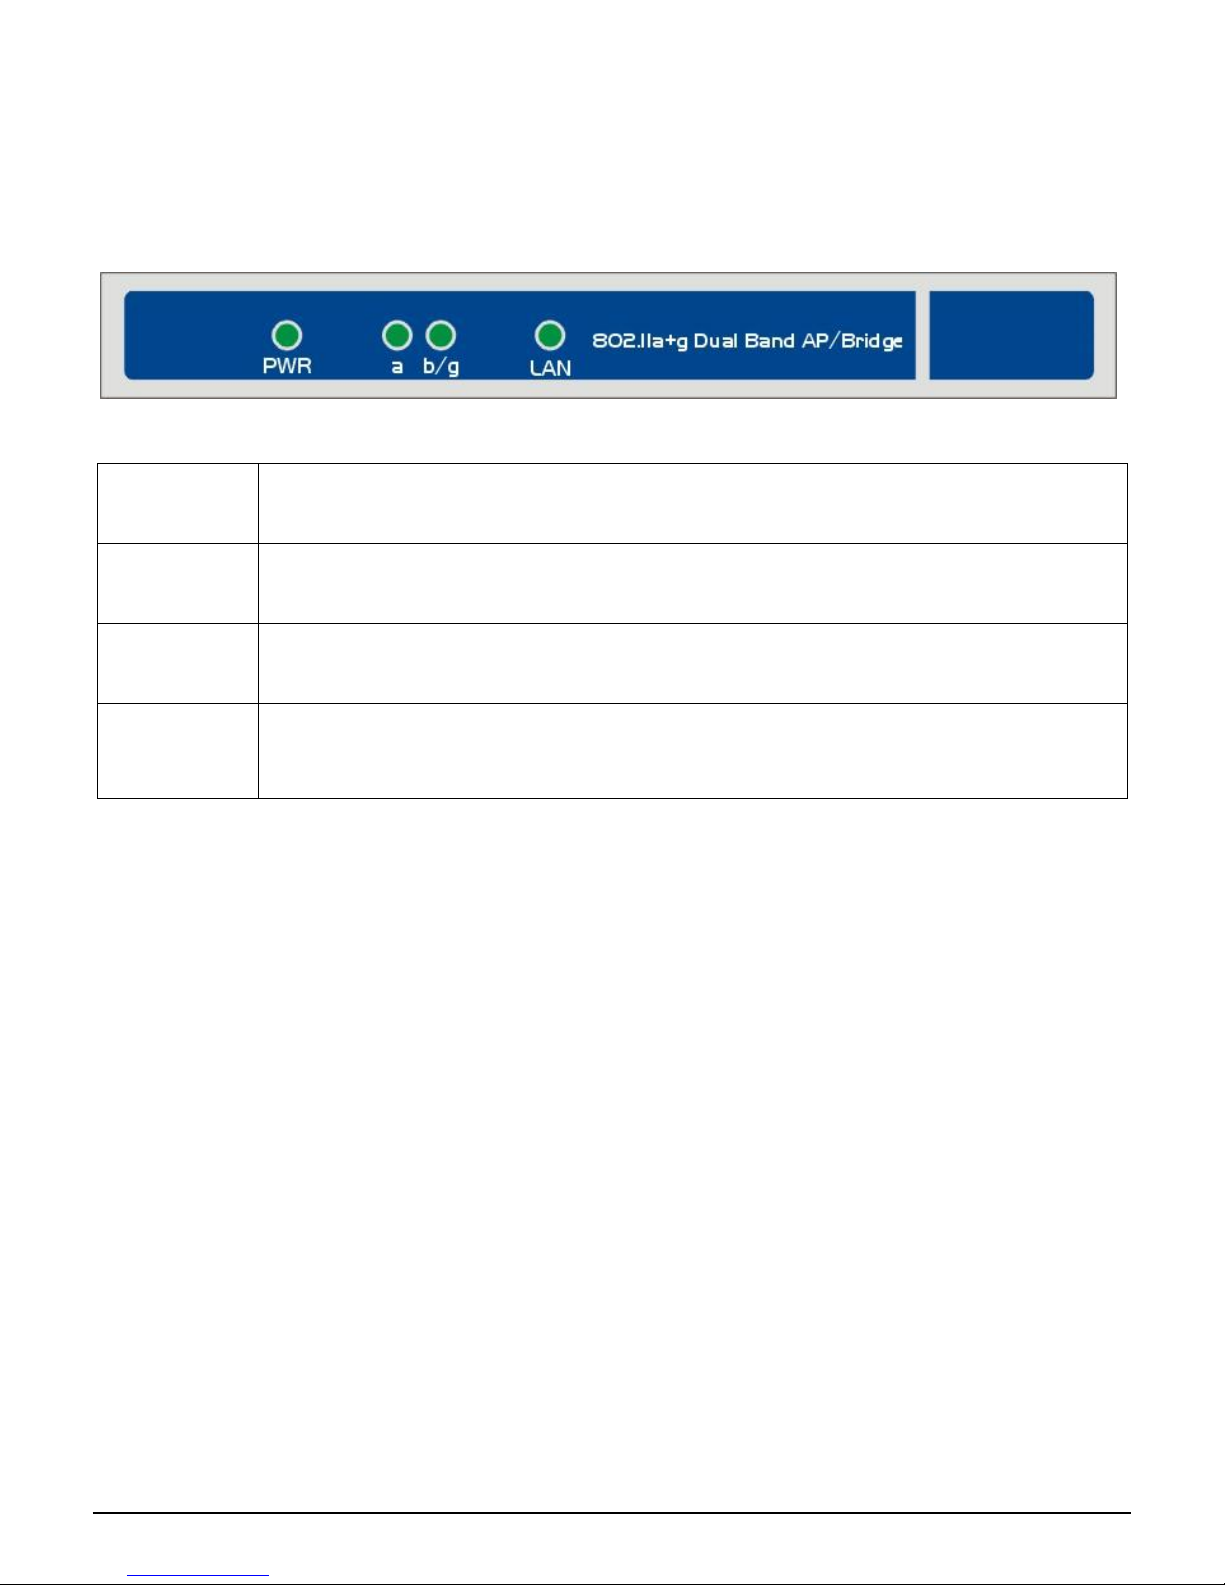
Front Panel
The front panel provides LED’s for device status. Refer to the following table for the meaning of each feature.
Power
The Power LED lights up and will keep while the AP is powered on. When the AP goes through its selfdiagnostic mode during every boot-up, this LED will flash. When
the diagnostic is complete, the LED
will be lit continuously.
11a
The 11a LED flashes when there is a successful Wireless-A connection.
11b/g
The 11b/g LED flashes when there is a successful Wireless-B/G connection.
LAN
The LAN
LED lights up when Ethernet port of AP was connected to LAN. When the LED is flashing that
indicates the network activity over that port.
User’s Guide
6
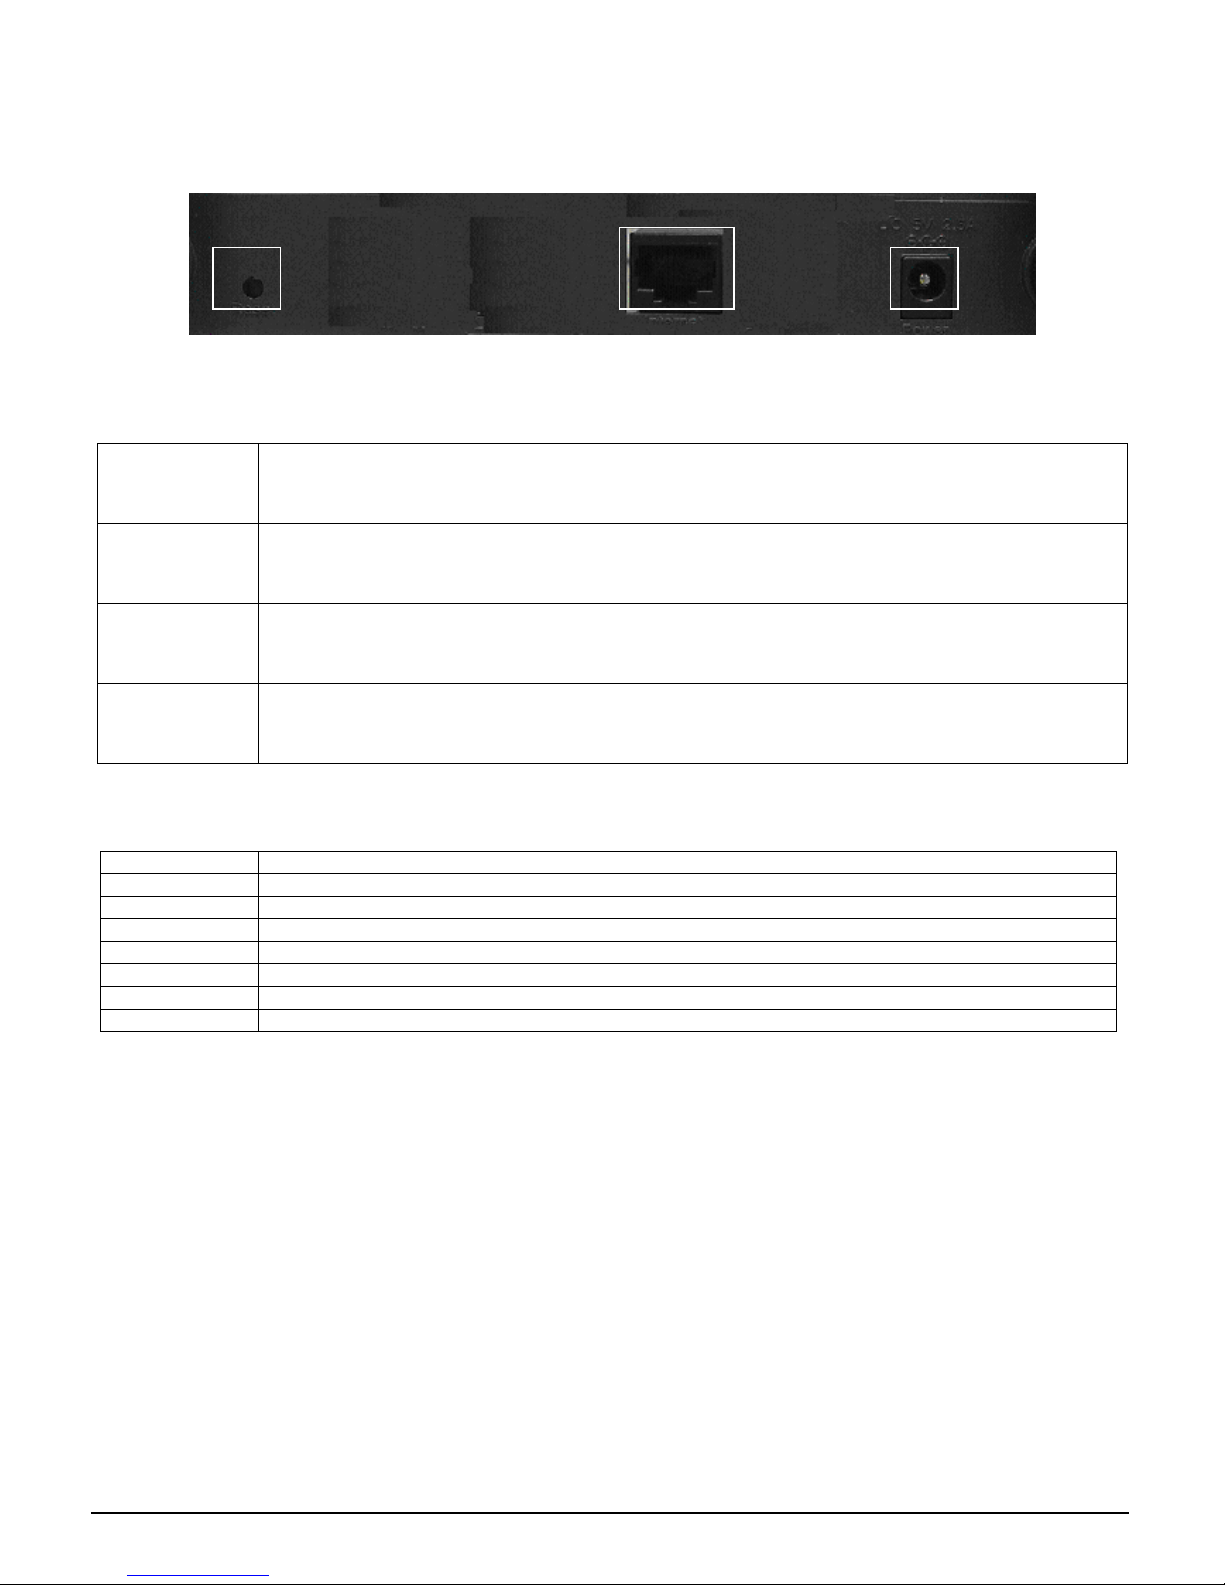
Rear Panel
The rear panel features 1 Ethernet port, Reset button and Power port. Refer to the following table for the meaning of
each feature.
RESET Button
The RESET button can restore device to factory default settings by press this button for approx
. 10
seconds during device power on status.
LAN
The port connects the AP to your networked PCs and other Ethernet network devices.
Connectors There are two RPSMA Female connectors, Ant 1 is for 802.11a and Ant 2 is for 802.11b/g.
Power
The POWER port is where you will connect the power adapter.
AP Default Settings
User
Password admin
IP Address 192.168.1.250
Subnet Mask 255.255.255.0
RF ESSID A band: wlan-a G band: wlan-g
Channel A band: Auto G band: 6
Mode G band: Mixed
Encryption Disabled
RESET
Ethernet
Power

User’s Guide
7
Hardware Installation for Connection to Your local network
1. Power off your network devices.
2. Locate an optimum location for the AP. The best place for the AP is usually at the center of your wireless network,
with line of sight to all of your wireless devices.
3. Adjust the antennas. Normally, the higher location of your AP will get better the performance.
4. Using a standard Ethernet network cable, connect the AP’s Internet port to your broadband modem.
5. Connect your network PCs or Ethernet devices to the AP’s LAN ports using standard Ethernet network cabling.
6. Connect the AC power adapter to the AP's Power port. Then connect the other end to an electrical outlet. Only use
the power adapter supplied with the AP. Use of a different adapter may cause product damage.
7. The Hardware installation is completed, please refer to the following content for AP configuration.
 Loading...