

Tonon Forty VTP, VTI, VTS Instructions For Installation, Use And Maintenance Manual
INSTRUCTIONS FOR INSTALLATION, USE AND MAINTANCE
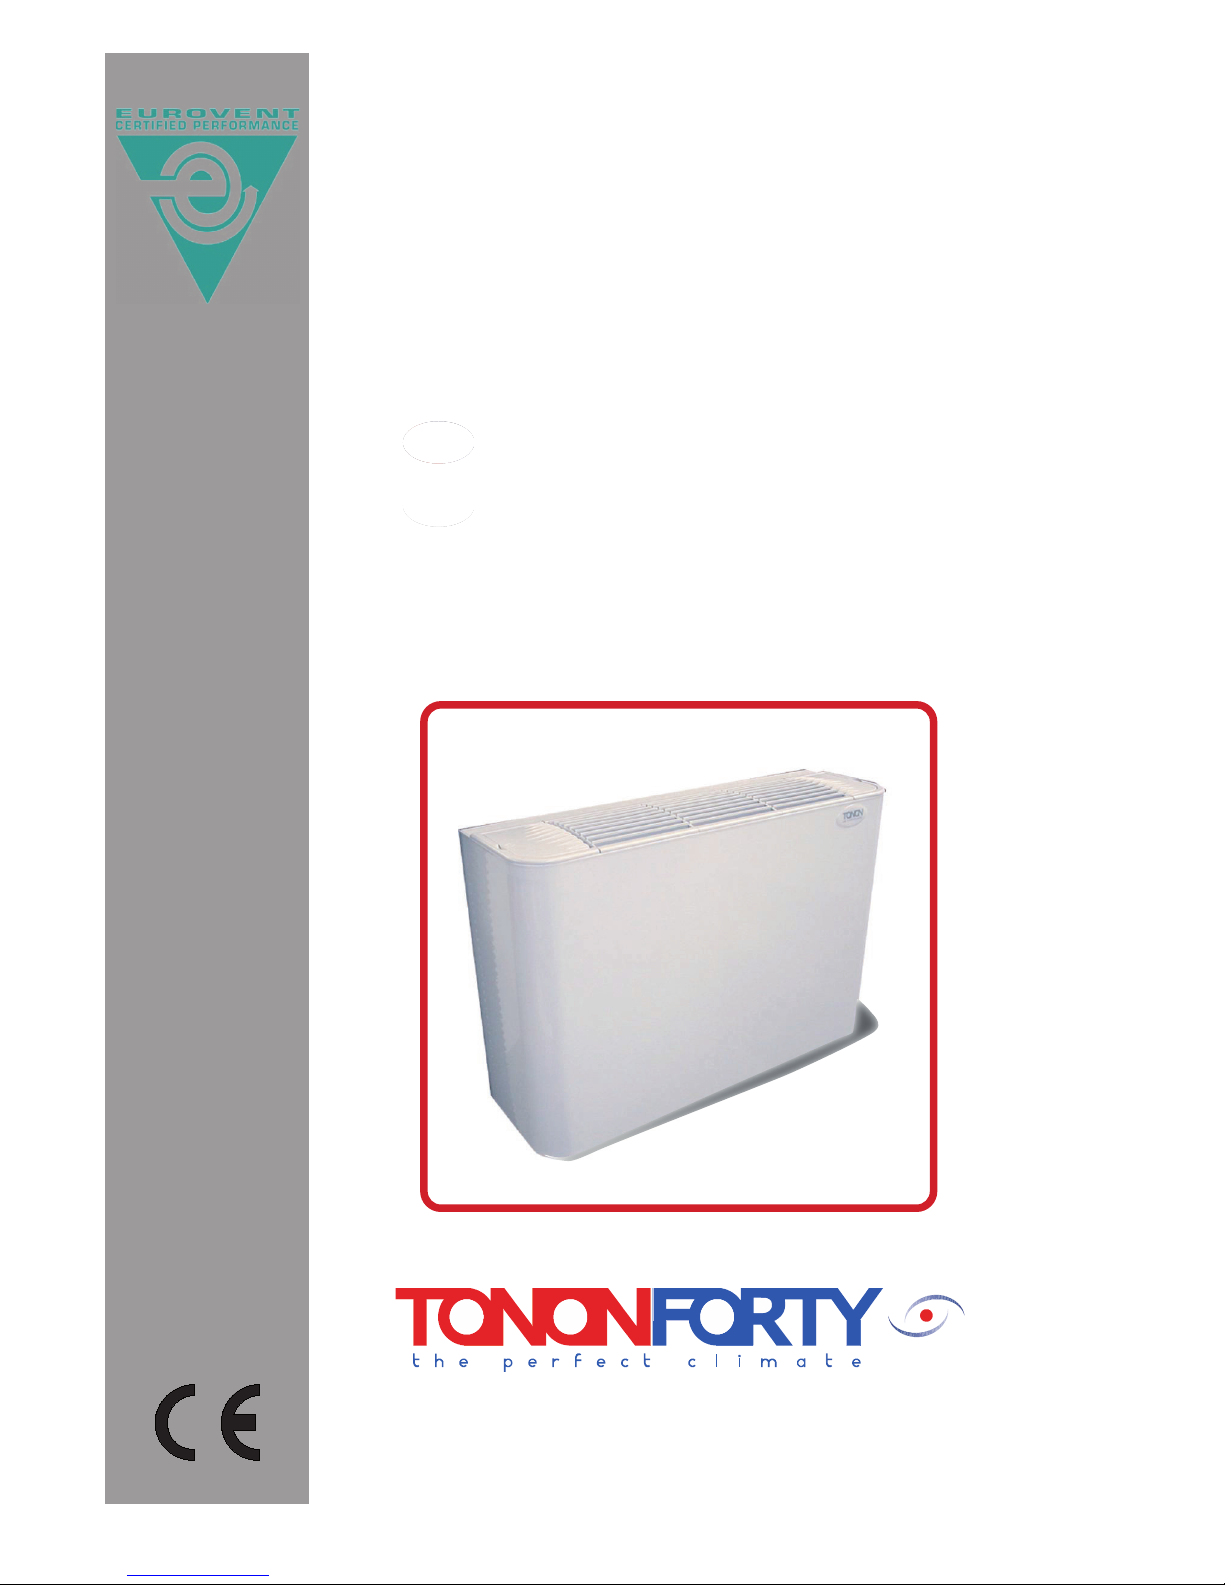
VTP/ VTS/ VTI
CA’ D’ORO fan coil heaters
ITALIANO
ENGLISH
DEUTSCH
INSTALLATORE / INSTALLATION / INSTALLACIÓN
FRANÇAISEESPAÑOL
ITALIANO
ENGLISH
DEUTSCH
UTENTE / CUSTOMER / KUNDENBERATER / USAGER / UTENTE
FRANÇAISEESPAÑOL

1.0 CARATTERISTICHE DELL’APPARECCHIATURA p. 5
1.1 DESCRIZIONE DELL’ ”UNITÀ” p. 5
1.2 DESCRIZIONE DEI COMPONENTI STRUTTURA PORTANTE p. 5
1.3 VERSIONI DISPONIBILI p. 5
2.0 NORME PER UNA CORRETTA INSTALLAZIONE p. 5
2.1 IMBALLO E TRASPORTO p. 5
2.2 INSTALLAZIONE DEI VARI MODELLI p. 5
3.0 COLLEGAMENTI IDRAULICI p. 6
4.0 COLLEGAMENTI ELETTRICI p. 6
5.0 INVERSIONE ATTACCHI BATTERIA p. 7
1.0 AVVIAMENTO p. 28
2.0 ACCESSORI DI REGOLAZIONE p. 28
3.0 USO DEL VENTILCONVETTORE p. 28
4.0 MANUTENZIONE p. 28
5.0 INDIVIDUAZIONE DEI GUASTI p. 28
1.0 FEATURES OF THE HEATER p. 8
1.1 DESCRIPTION OF THE HEATER p. 8
1.2 DESCRIPTION OF THE COMPONENTS p. 8
1.3 AVAILABLE TYPES p. 8
2.0 INSTRUCTIONS FOR CORRECT INSTALLATION p. 8
2.1 PACKAGING AND TRANSPORT p. 8
2.2 INSTALLING THE VARIOUS MODELS p. 8
3.0 HYDRAULIC CONNECTIONS p. 9
4.0 ELECTRIC CONNECTIONS p. 9
5.0 INVERTING THE BATTERY ATTACHMENTS p. 10
1.0 START VP p. 29
2.0 REGULATION ACCESSORIES p. 29
3.0 USING THE FAN-COIL HEATER p. 29
4.0 MAINTENANCE p. 29
5.0 FAULT FINDING p. 29
1.0 GERÄTEEIGENSCHAFTEN p. 11
1.1 BESCHREIBUNG DER EINHEIT p. 11
1.2 BESCHREIBUNG DER BESTANDTEILE p. 11
1.3 VERFÜGBARE VERSIONEN p. 11
2.0 NORMEN FÜR EINE KORREKTE INSTALLATION p. 11
2.1 VERPACKUNG UND TRANSPORT p. 11
2.2 INSTALLATION DER VERSCHIEDENEN MODELLE p. 11
3.0 WASSERANSCHLUSSE p. 12
4.0 STROMANSCHLUSSE p. 12
5.0 UMKEHRUNG AGGREGATANSCHLUSSE p. 13
1.0 INBETRIEBNAIIME p. 30
2.0 ZUSATZGERÄTE DER REGELUNG p. 30
3.0 GEBRAUCH DES GEBL SEKONVEKTORS p. 30
4.0 INSTANDHALTUNG
p. 14
1.1 DESCRIPTION DE L’UNITE p. 14
1.2
DESCRIPTION DES COMPOSANTES STRUCTURE PORTANTE
p. 14
1.3 MODELES DISPONIBLES p. 14
2.0 NORMES POUR UNE INSTALLATION CORRECTE p. 14
2.1 EMBALLAGE E TRANSPORT p. 14
2.2 INSTALLATION DES DIFFERENTS MODELES p. 14
3.0 BRANCHEMENTS HYDRAULIQUES p. 15
4.0 BRANCHEMENTS ÉLECTRIQUES p. 15
5.0 INVERSION EMBOUTS BATTERI p. 16
1.0 DEMARBAGE p. 31
2.0 ACCESSOIRES DE RÉGULATION p. 31
3.0 EMPLOI DU VENTILO-CONVECTEUR p. 31
4.0 ENTRETIENT p. 31
5.0 LOCAUSATIONDESANOMAUES p. 31
1.0 CARACTERISTICAS DELAPARATO p. 17
1.1 DESCRIPCIÓN DE LA UNIDAD
p. 17
1.3 VERSIONES DISPONIBLES p. 17
2.0 NORMAS PARA UNA CORRECTAINSTALACIÓN p. 17
2.1 EMBALAJE Y TRANSPORTE p. 17
2.2 INSTALACIÓN DE LOS VARIOS MODELOS p. 17
3.0 CONEXIONES HIDRÀULICAS p. 18
4.0 CONEXIONES ELÉCTRICAS p. 18
5.0 INVERSIÓN CONEXIONES BATERíA p. 19
1.0 PUESTAENMARCHA p. 32
2.0 ACCESORIOS DE REGULACIÓN p. 32
3.0 USO DEL VENTILCONVECTOR p. 32
4.0 MANTENIMIENTO p. 32
5.0 DETECCIÓNDELAS AVERIAS p. 32
INDEX_TABLE

ENGLISH
INSTALLATION
ATTENTION:
Every intervention must be done by qualied staff and following
the safety norms in force. Before every intervention on the fan coils,
please, read carefully this manual. The present manual must be kept
for all the machine life for future information. Tonon Forty Spa declines
every responsibility for any installation or for using not listed into this
manual.
1.0 FEATURES OF THE HEATER
1.1 DESCRIPTION OF THE HEATER
The “CA’ D’ORO” fan coil heater is a terminal unitfor room air
conditioning, ventilation, heating in the winter and cooling in the
summer.
1.2 DESCRIPTION OF THE COMPONENTS
BEARING STRUCTURE: made from adequately thick galvanised steel
piate, sound and heat insulated.
HEAT EXCHANGE BATTERY: made with copper tubes mechanically
expanded into aluminium ns, 1/2” F bronze manifolds for water
attachments with air valve (maximum working pressure 10 bar).
FAN UNIT:
doublé intake centrifugai fans with 1-2-3 fan wheels, single
phase three-speed eiectric motor with heat protection and condenser
permanently activated.
F1LTER UNIT: made from a micro-perforated propylene panel tted on
a hearing fraine with a protection grid, tted to the intake side, it can be
easily removed for cleaning or washing.
COVER: made from moulded and painted steel piate, resistant to
chemical agents and insulated with anti-condensation materia!, the
delivery grid directions can be changed and the access aps to the
electric and hydraulic controls are made in heat resistant ABS. Colours
are RAL 9010 series, with other colours available on request.
1.3 AVAILABLE TYPES
The following types are available:
VTP = wall tted version
VTS = ceiling tted version
VTI = built-in version for the wall or ceiling
Ali the fan coil heaters have a consent thermostat tted standard
(the motor turns only if the water in the exchanger has reached a
temperature of 35°C).
2.0 INSTRUCTIONS FOR CORRECT INSTALLATION
2.1 PACKAGING AND TRANSPORT
Each single unit is packed in a strong cardboard box protected by polythene
and polystyrol shock buffers.
The unit must be handled with care during transport and movement. No more
than three units must be stored on top of each other in the vertical position
and no more than ve in a horizontal position. Check the packaging is not
damaged and do not use any sharp or cutting instruments to open it. When
the unit has been removed from the box, check that it is not damaged and
corresponds to the model effectively ordered with the relative accessories.
Any sort of problem should be immediately communicated to the constructor.
2.2 INSTALLING THE VARIOUS MODELS
Installation must be done by a qualied technician, before beginning
check that the power supply corresponds to the requirements printed
on the plaque attached to each single unit, which also gives the serial
and model number. If the unit is supplied with feet, these should be tted
internally and externally and the supplementary tray if supplied (VEV VEO). Drill the wall for the VTP and VTP/ZC models, drill the ceiling for
the VTS and VTS/ZC models, following the measurements given in the
“dimensions” page. Mount the fan coil heater using the expansion nogs
and through screws in the slots on the edge of the unit, the screws must
have a minimum diameter of 6 mm with a washer under the screw head.
The same procedures are used for xing the VTI and VTI/F models to
the wall or ceiling. The air conditioning ceiling versions mounted on the
ceiling must be installed with special attention paid to the inclination, to
ensure the condensation water is emptied into the horizontal tray, the
outlet pipe must be a 16 mm diameter exible tube and smooth inside. If
the unit is installed in the bathroom, it must be placed in a position where
the switches and controls cannot be touched by anyone in the bath or
shower. The power le ad must have a normal PVC sheath (designation
227 EIC 53) type N07V-K or FROR, measuring 3x1.5 mm (for versions
with heating element, use a lead with the section adequate to the power
intake).The heater must not be placed beneath a power socket.
WARNING!
FOR THE BUILT-IN VERSIONS, THE TEMPLATE IS PREPARED
ON SITE, AND THE DIMENSIONS OF THE AIR INTAKE AND
DELIVERY SECTIONS MUST BE RESPECTED AND ATTENTION
MUST BE PAID THAT THERE IS NO CONTACT BETWEEN THE
MOVING PARTS AND THE POWERED ELECTRIC PARTS.
For the ceiling mounted versions, it is advisable not to mount the
fan-coil heater at more than 2.5-2.8 meters from the oor, to avoid air
recycling during the heating phase.
VTP-VTS MODELS
Remove the cover (1),
by unscrewing the two screws (2) on the bottoni
edge and lift it in the direction shown by the arrows, to completely
extract it from the positioning pins (3). During these operations it is
advisable to replace the unit and lter in its packaging.
3
1
2
2

ENGLISH
INSTALLATION
2.3 CONFIGURATIONS
VTI/F
VERTICAL BUILT-IN VERSION WITH FRONTINTAKE
VTI/F
HORIZONTAL BUILT-IN VERSION WITH FRONTINTAKE
VTP
VERTICAL WALL VERSION
VTS
HORIZONTAL CEILING VERSION
VTI
VERTICAL BUILTIN VERSION
VTI
HORIZONTAL BUILTIN VERSION
3.0 HYDRAULIC CONNECTIONS
Connect the heat exchanger using a 1/2” GF attachment to the water
supply, using a spanner and counter-spanner to avoid damage to
the battery connections. The pipes can come from the oor, wall or
ceiling. To bleed any air in the circuit, use a at screwdriver to open the
valve on the top at the side of the attachments. If the fan-coil heater is
also used for air conditioning, connect the condensation outlet to the
collection circuit; if the additional external tray has not been requested,
the cooling water pipes must be insulated against condensation. It is
advisable to make a water trap on the condensation outlet pipe to avoid
intake of evil-smelling air. When the connections are terminated, check
there are no water leaks from the exchanger or tray. The exchangers
are supplied to work with a maximum pressure of 10 bar. The battery
attachments on the tandard unit are on the left but if needed they can be
moved to the tight (refer to the inverting battery attachments chapter). To
instali the valves on the two or four pipe versions, follow the instruetions
given in the technical manual or included in the valve kit.
- IN COOLING FUNCTION (TO AVOID WATER CONDENSING) WE
SUGGEST EV2, EV4.
4.0 ELECTRIC CONNECTIONS
Turn the power of at the mains before beginning the electric connections.
The connections must be made in conformity with current standards in
force following the enclosed wiring diagram with each fan-coil heater. Ali
the fan-coil heaters are supplied with a connection box (standard tting on
the right), which contains ali the regulation components and the grounding
terminal. To reach the components, unscrew the two screws in the cover
next to the lead outlets. Each fan-coil heater must be power ed with single
phase 230 volts (tolerance of-51+10) 50 Hzfrequency. A bipolar motor-ci
cuit switch must be installed upstream from the fan-coil heater.

ENGLISH
INSTALLATION
5.0 - INVERTING THE BATTERY ATTACHMENTS
VTP / AB
VTP / CRE
THE CONNECTION BOX CONTAINS:
Standard wall mounted models with cover
VTP/VB version
- VB controls complete with summer/winter - off selection switch and
3 speed selection switch.
- Consent thermostat (for heating)
- Power terminal board
VTP/AB version
- AB control complete with summer/winter - off selection switch,
3 speed selection switch and room temperature regulation
thermostat.
- Consent thermostat (for heating).
- Power terminal board
VTP/CRE version
- Onboard electronic control
- OFF, E/I and 3 fan speeds
- Automatic/manual speed modes
- Ambient temperature thermostat
- Valve control
- Fan consent sensor
Standard models without cover or ceiling mounted (VTI/VTS)
The box just contains a terminal board for connecting the motor
(simple or three speed), the consent thermostat and the grounding
terminal. Ali the settings for speed, temperature, etc, are done by the
installer. On request TONON S.p.A., can supply the following controls
which can be mounted on the wall: CVM: three speed regulator
and summer/winter selection switch. TAM: electronic thermostat
and summer/winter selection switch. CEM: three speed regulator,
electronic thermostat, summer/winter selection switch and solenoid
valve control CEM/D: electronic thermostat, three speed regulator,
summer/winter heating element and solenoid valve control selection
switch. CRE: Electronic thermostat with manual and automatic speed
switch, manual and automatic summer/winter switch, valve control and
electric heating element. These controls are mounted on the wall using
screws and expansion nogs as described in the instruetions contained
with the controls. If the heating element is installed, it must be powered
separately paying special attention to the absorbed current (refer to the
technical feature plaque on the heater). The heater must always be
grounded.
5.0 INVERTING THE BATTERY ATTACHMENTS
A Dismantle the electric control panel.
B Disconnect the motor lead connector - POS. 9.
C Dismantle the consent thermostat POS. 4 pulling ìt outfrom the
battery ns.
D Loosen the motor base xing screws POS. 10, remove the battery
xing screws POS. 6; hold the battery at both ends and pulì ìt out in
the direction ofthe arrow (taking care not to damage the insulation),
rotate the battery by 180°, replace the attachments on the opposite
side and tighten the screws POS. 10.
E Invert the position of the condensation outlet plug POS. 7 and the
position of the condensation tray POS. 8, if tted.
F Dismantle the motor connection leadfrom the right side andt it to
the housing on the left side.
G Reassemble the electric control panel on the opposite side, connect
the electric leads (follow the wiring diagram).
H Piace the consent thermostat (or probe) between the battery ns, in
the opposite position from before; if the room air thermostat istted,
position the bulb (or probe) with the special xings POS. 3.
VTP / VB
 Loading...