

Tone King 20th Anniversary Imperial User Manual
Tone King
Tone King
Tone King Tone King
th
th
thth
“20
“20
“20“20
User’s Manual
User’s Manual
User’s ManualUser’s Manual
1.0 7/19/2013
Anniversary Imperial”
Anniversary Imperial”
Anniversary Imperial” Anniversary Imperial”
Tone King Amplifiers
A division of Premier Builders Guild LLC
4401 Eastern Avenue, Bldg 45-2A, Box 38
Baltimore, Maryland 21224
www.toneking.com
mail@toneking.com
Note fr
Note from the Builder
Note frNote fr
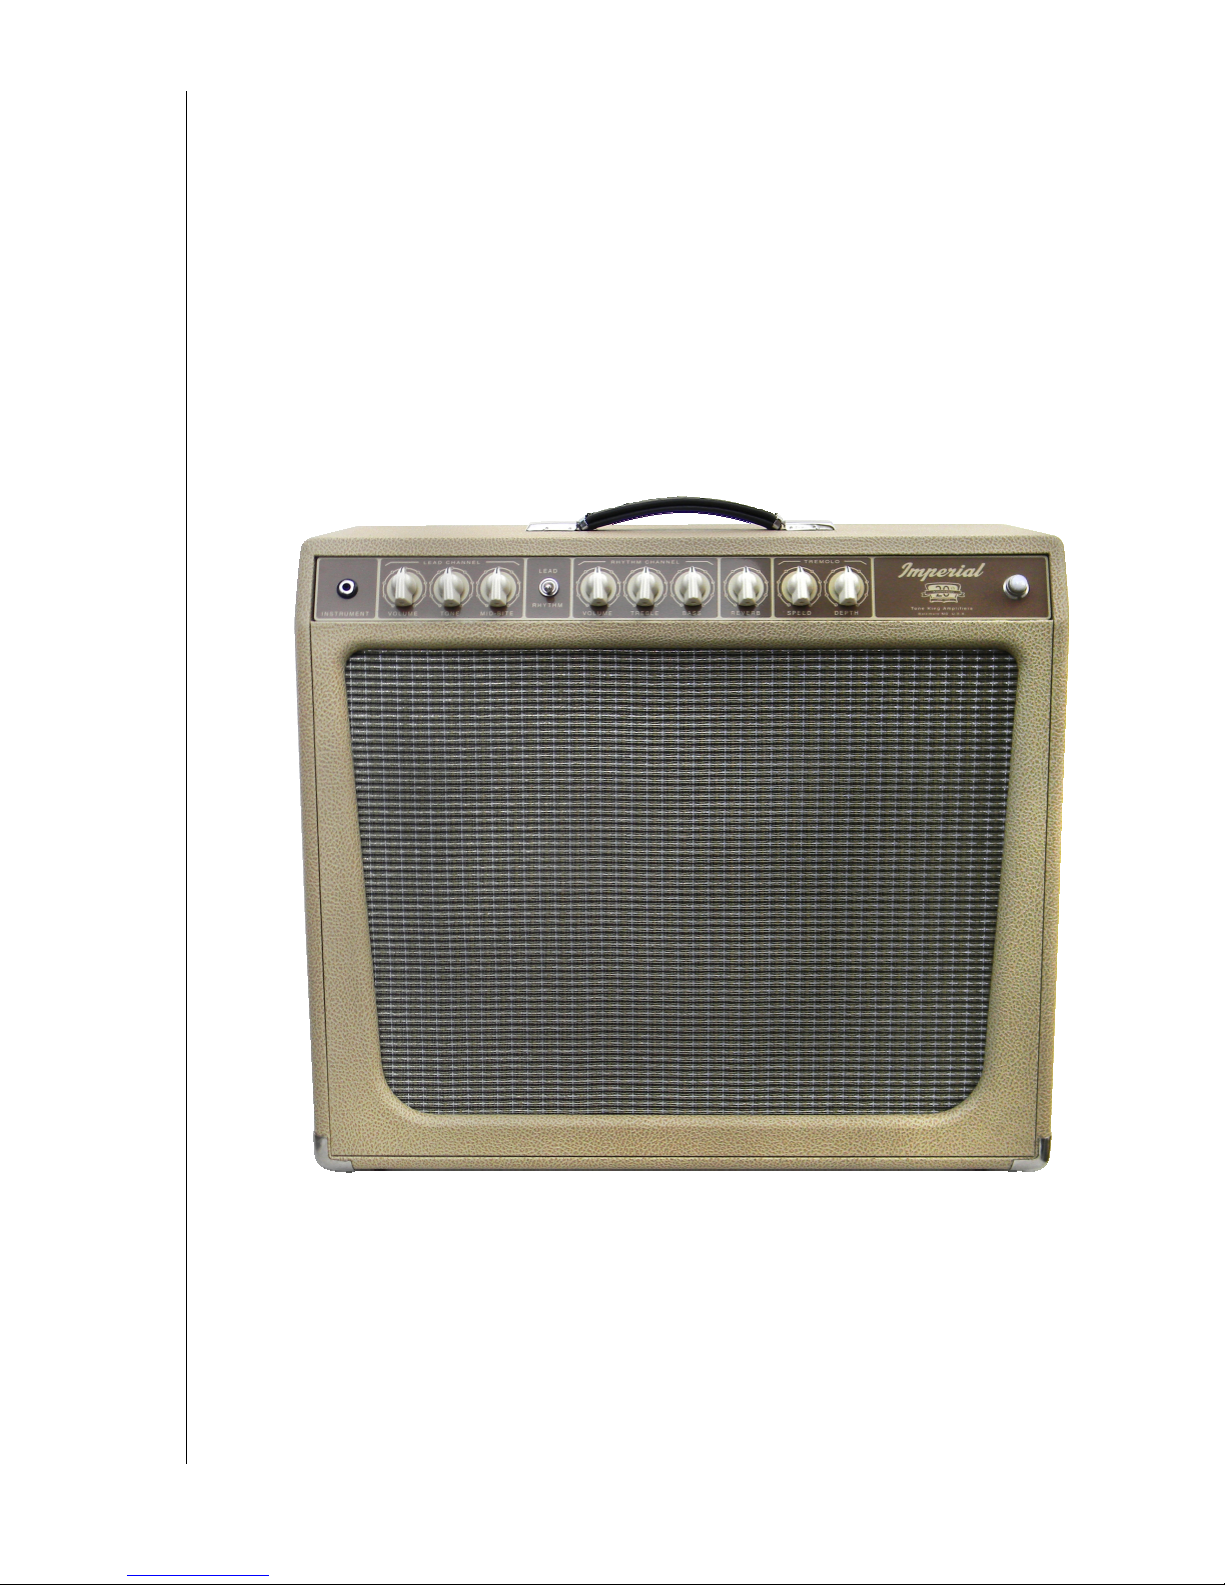
Thank you for choosing Tone King’s “20th Anniversary Imperial” guitar amplifier. The
Imperial was the very first production model built by Tone King, and the 20th
Anniversary Imperial is a very special rendering of this classic model.
amps like these was hard to come by, so I started from a blank slate, guided solely by
my knowledge of engineering, technical skills, woodworking, and most importantly
critical listening.
I eventually came to realize that getting the
sound and feel I was after would require more
than just getting the electronics right – an equal
amount of effort would have to be put into the
speaker cabinet design. A lot of the great tonal
characteristics of those genuine vintage amps
came not from the circuitry, but from the
particular qualities of the speaker cabinet. The
old cabinets had a certain sound quality that
was lacking in newly made cabinets, and I put
considerable effort into understanding how to tune a cabinet to achieve these qualities
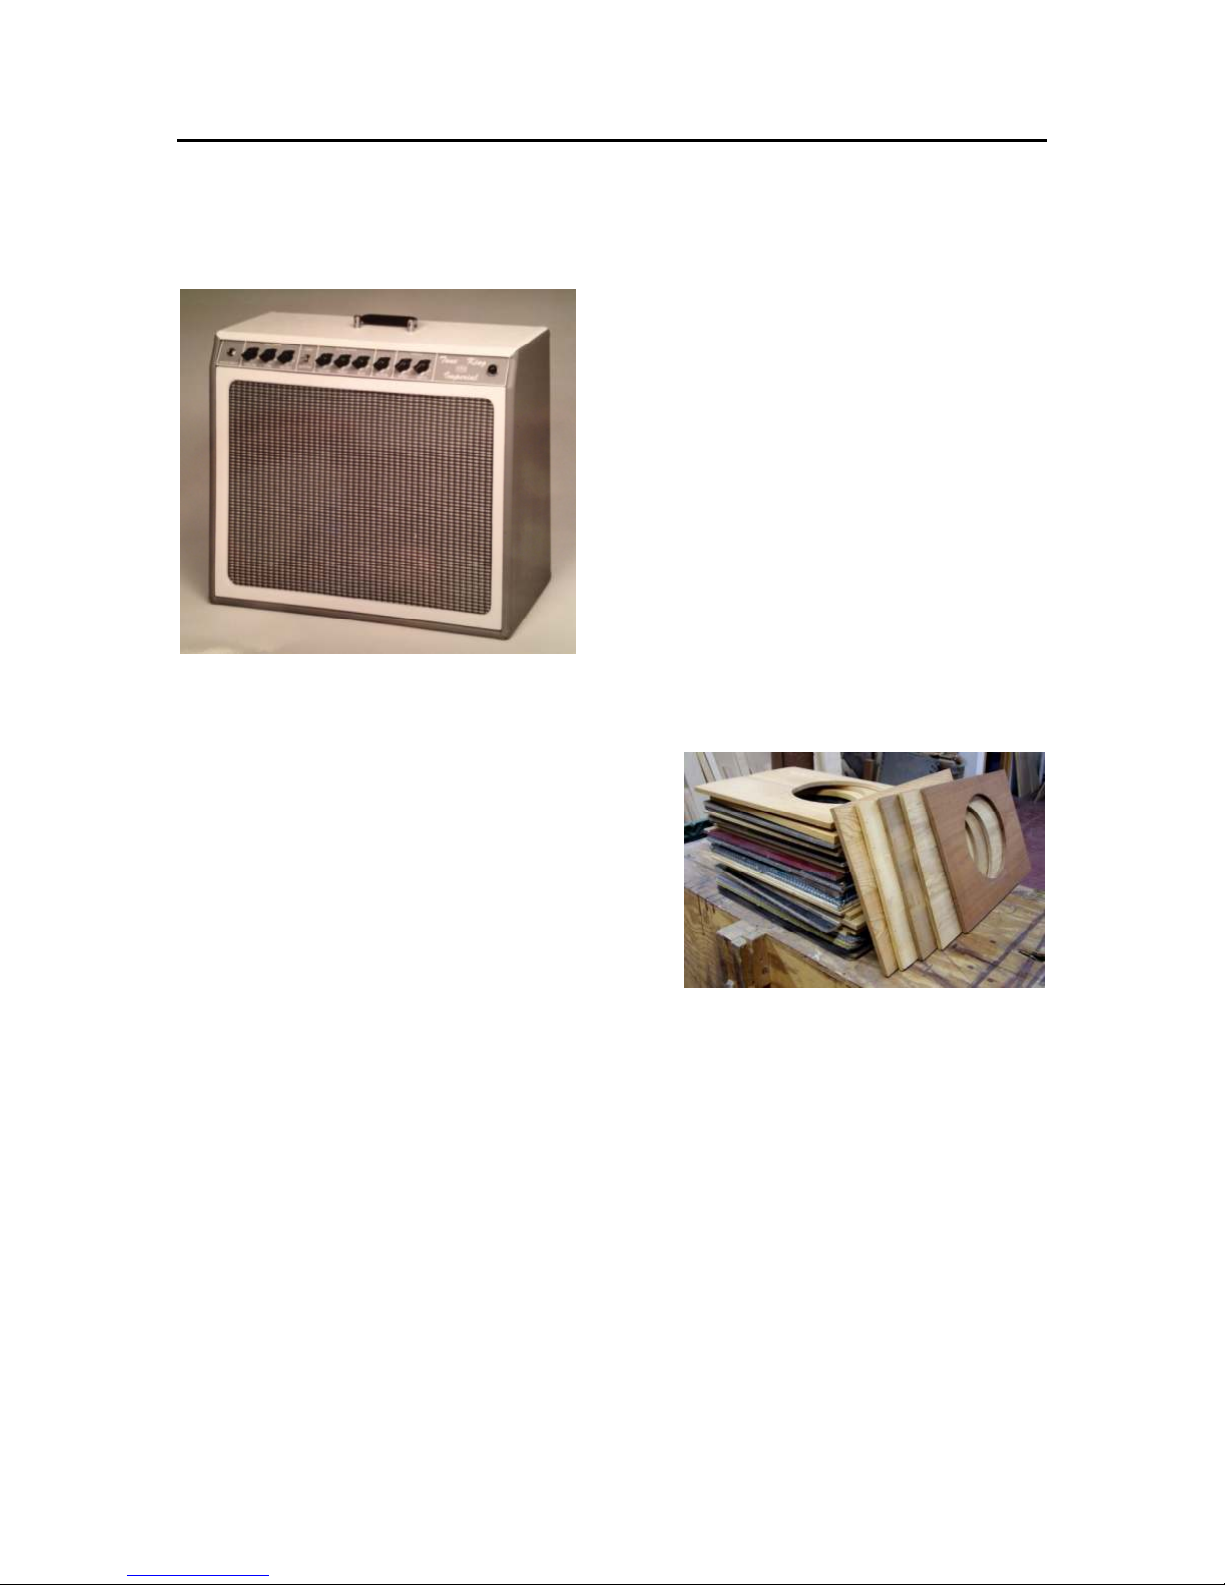
in a newly made cabinet. The photo at right shows a stack of test baffle boards from
those early experiments, showing just a few of the many types of wood that I
experimented with in order to achieve that wonderful sound and feel of a genuine 50
year old cabinet.
In the end, the Imperial turned out to have the right sound, right power level, and right
features to make it a very successful small club amp for the past 20 years since its’
introduction. I thank you for your purchase of this special version of the Imperial, and
I hope you enjoy playing it as much as I do.
Best Regards,
Mark Bartel
Tone King Amplifiers, a division of Premier Builders Guild LLC
om the Builder
om the Builderom the Builder
I designed the Imperial back in 1992-1993,
with the idea of combining a clean rhythm
tone inspired by a vintage blackface Deluxe
Reverb with a lead tone inspired by a Tweed
Deluxe. Then, as now, my design
methodology involved not simply producing a
clone of those vintage amps, but something
much more. The idea was to deconstruct the
sound of certain inspirational amps - identify
the characteristics that make them great, but
also identify the characteristics that I thought
could be improved. Then, the design process
became a matter of using any means possible
to deliver more of the “good” characteristics
and less of the “bad” ones. At the time,
information about the construction of vintage
1

Safety Instructions (Important !)
Safety Instructions (Important !)
Safety Instructions (Important !)Safety Instructions (Important !)
1. Please read these instructions, and keep them for reference.
2. Please follow all instructions described here.
3. Do not use this apparatus near water.
4. Clean only with a dry cloth.
5. Do not block any ventilation openings.
6. Do not operate near any heat sources such as radiators or heat registers.
7. Protect the power cord from being walked on or pinched, particularly at the plugs
and at the point where they exit from the apparatus.
8. Only use attachments/accessories specified by the manufacturer.
9. Unplug this apparatus during lightning storms or when unused for long periods of
time.
10. Refer all servicing to qualified service personnel. Servicing is required when the
apparatus has been damaged in any way. For example, if the power supply cord or
plug is damaged, liquid has been spilled or objects have fallen into the apparatus, the
apparatus has been exposed to rain or moisture, does not operate normally, or has
been dropped.
11. CAUTION: To disconnect the unit completely from the MAINS, unplug the unit.
Turning the power switch off does not disconnect the unit completely from the MAINS.
2

Contents
Contents
ContentsContents
1. Front Panel Controls 4
Two Preamp Channels – Lead and Rhythm 4
Rhythm Channel 4
Lead Channel 5
Reverb 6
Tremolo (Rate & Depth) 6
2. Back Panel Controls 7
AC Power 7
Fuse 7
Power Switch, Standby Switch 7
Footswitch 7
Speaker Jack 8
Attenuation Controls 8
Notes on Using the Attenuator 9
3. Tube Installation and Replacement 10
Choice of Tube Types and Brands 10
12AX7 Tubes 10
6V6 Tubes 11
Alternate Tube Choices 11
Installing Tubes 12
Replacing Output Tubes 12
Tube Quality 12
4. Warranty 13
3
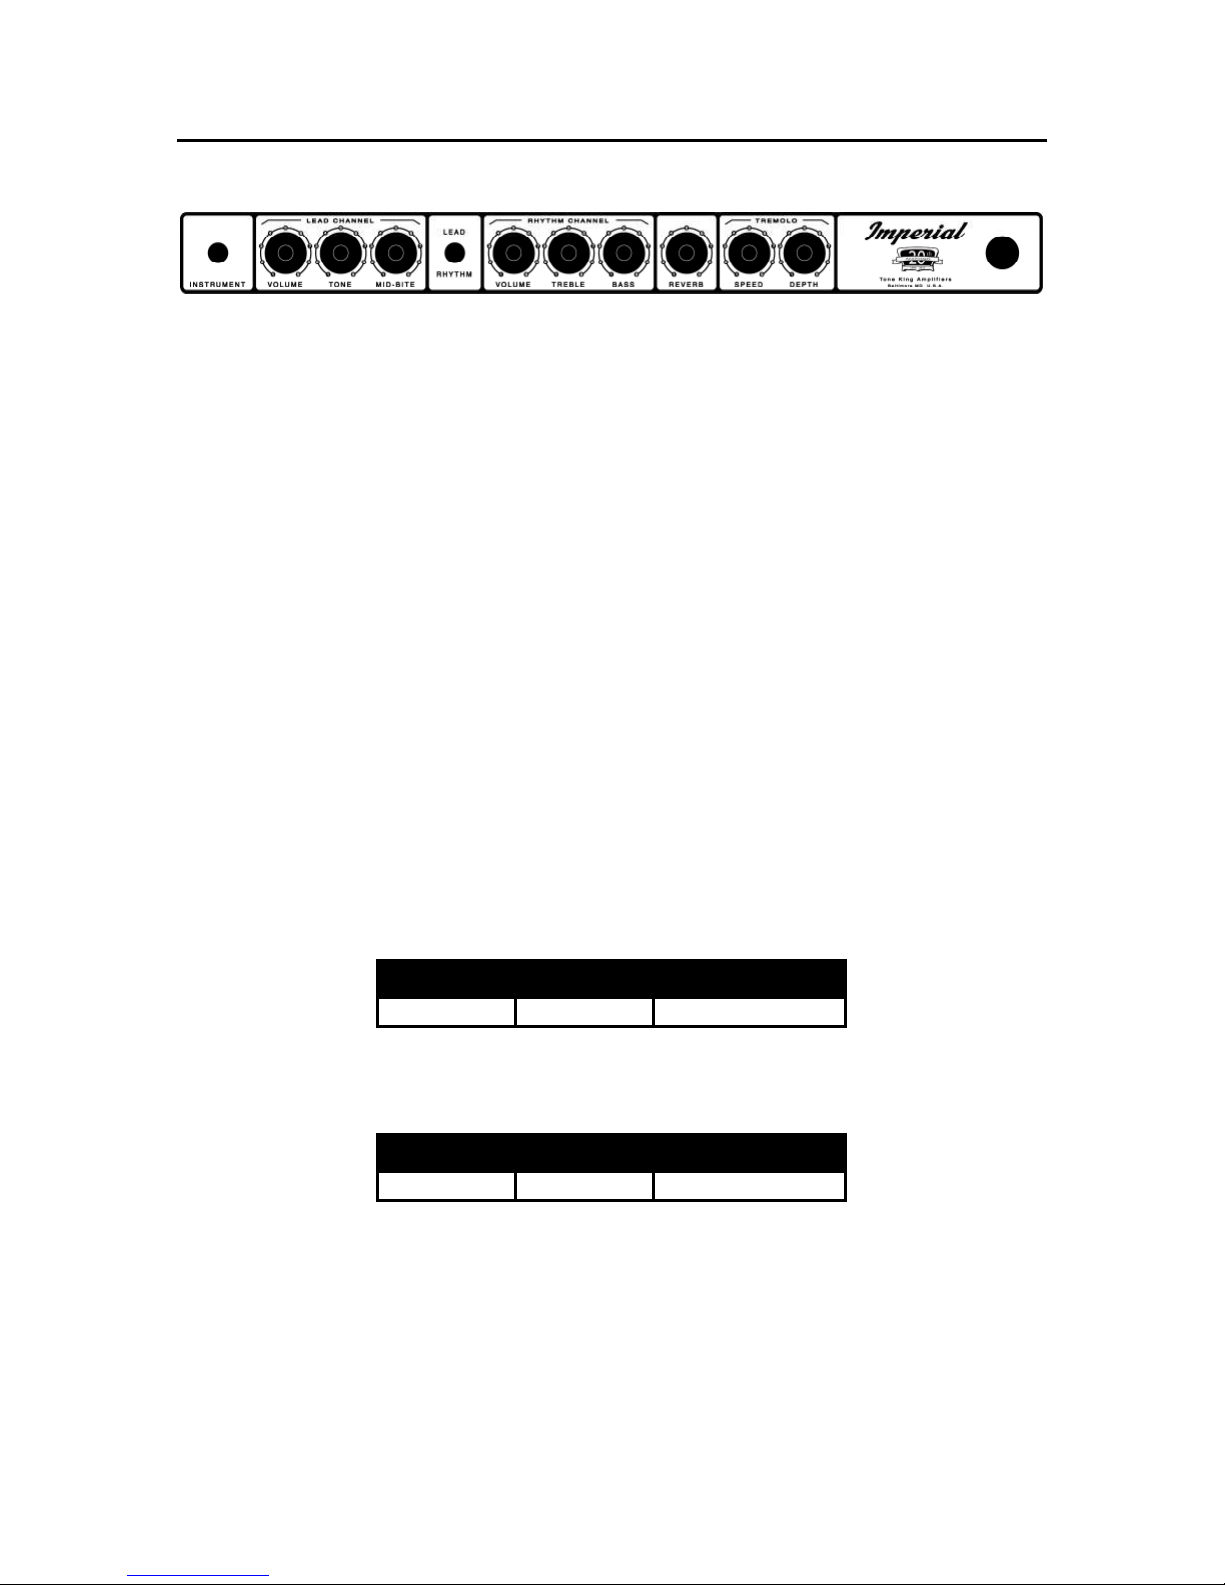
1. Front Panel Controls
1. Front Panel Controls
1. Front Panel Controls1. Front Panel Controls
Two Preamp Channels
Two Preamp Channels ———— Lead and Rhythm
Two Preamp Channels Two Preamp Channels
The Imperial has two separate preamplifier channels, each with its own unique voicing.
You can switch between the channels with either the “Lead/Rhythm” switch (on the
front panel) or with the “Channel” switch on the footswitch. When using the footswitch,
you should set the front panel switch to the “Rhythm” position. You’ll notice that the
LED on the footswitch indicates the channel selected. When the LED is lit, the Lead
channel is selected. When the LED is not lit, the Rhythm channel is selected.
Rhythm Channel
Rhythm Channel
Rhythm ChannelRhythm Channel
Lead and Rhythm
Lead and Rhythm Lead and Rhythm
The Rhythm channel includes controls for Volume, Treble, and Bass. This channel is
designed to deliver a “vintage 1960’s clean tone” – the type of tone you might associate
with a well known brand of amplifier made in California during that period. This tone
is characterized by a crisp, present top end, a slightly “scooped” midrange, and a full
bottom end.
The Bass and Treble controls act much like they would on a genuine vintage amp of
this type. The Imperial is a bit unique in that you’ll find a wide range of usable tones at
just about any setting of the Bass and Treble controls, but here are a few sample
settings to get you started:
1960s Clean Tone
1960s Clean Tone
1960s Clean Tone 1960s Clean Tone
Volume Treble Bass
“Pushed” Clean Tone
“Pushed” Clean Tone
“Pushed” Clean Tone “Pushed” Clean Tone
3 4
Volume Treble Bass
6 3
6
3
4
 Loading...