

Page 1
- 1 - - 2 - - 3 - - 4 -
TF-200
VER 102
Operation Manual
www.tmteng.com
Attention
(1) All rights rese rved.
(2) This manual’s contents are chan ged without notice .
(3)
If you want to k now about detail ed of this manual an d
want to as k something t o our company please conta ct
to our age ncy or head office.
(4) Please understan d that we don’t take any responsibility
about this product.
(5) We can not provide se cure service be cause it will
possible in terference this year.
A. INTRODUCTION
Thank you very much for purchasing our products. TF-200
is designed to deal for various request of industry scene.
You can use anytime this radio system.
Please read this manual before you use t his product then
to make use of collect and to apply functions.
<Precaution>
◆ Please avoid it from changeable temperature.
◆ please don’t too much shock to it.
◆ Please put it seasoned place.
◆ Keep it out of the direct rays of the sun and
avoid a vibration.
◆ Please don’t put it high voltage and too much
electric wave place.
◆ Please avoid from the rain.
◆ Don’t take it apart, remodel, convert and fix
intentionally.
◆ Please you charge only use an adapter for
attachments.
B. FEATURE
◆ The wireless transmitter and a receiver.
◆ It can use for wireless printer if it connect to
serial-printer.
USER MODE : YJ-360 printer
EXT. KEY MODE : YJ-380 printer
C. TECHNICAL SPECIFICATIONS
◆ General specifications
Case material
Engineering Plastic
Temperature range
-10℃ ~ 40℃
Display lamp
Red (power on)
Adaptor
DC 5V, 1A
◆ Wireless communication specifications
RF frequency range
2400 ~ 2483.5 MHz
Output power
Max. 4dBm/7dBm
Channel width
2 MHz
Frequency offset
< ±30ppm
Transmit data rate
250Kbps,500Kbps
Receiver sensitivity
-99dBm (PER <1%)
Maximum input level
0dBm
RF In/out impedance
50 ohm (TXRF, RXRF)
Spurious(2nd
harmonics)
< -30dBm
Radio link
effective range
Approx. 100M (Open space)
◆ PRODUCT SIZE
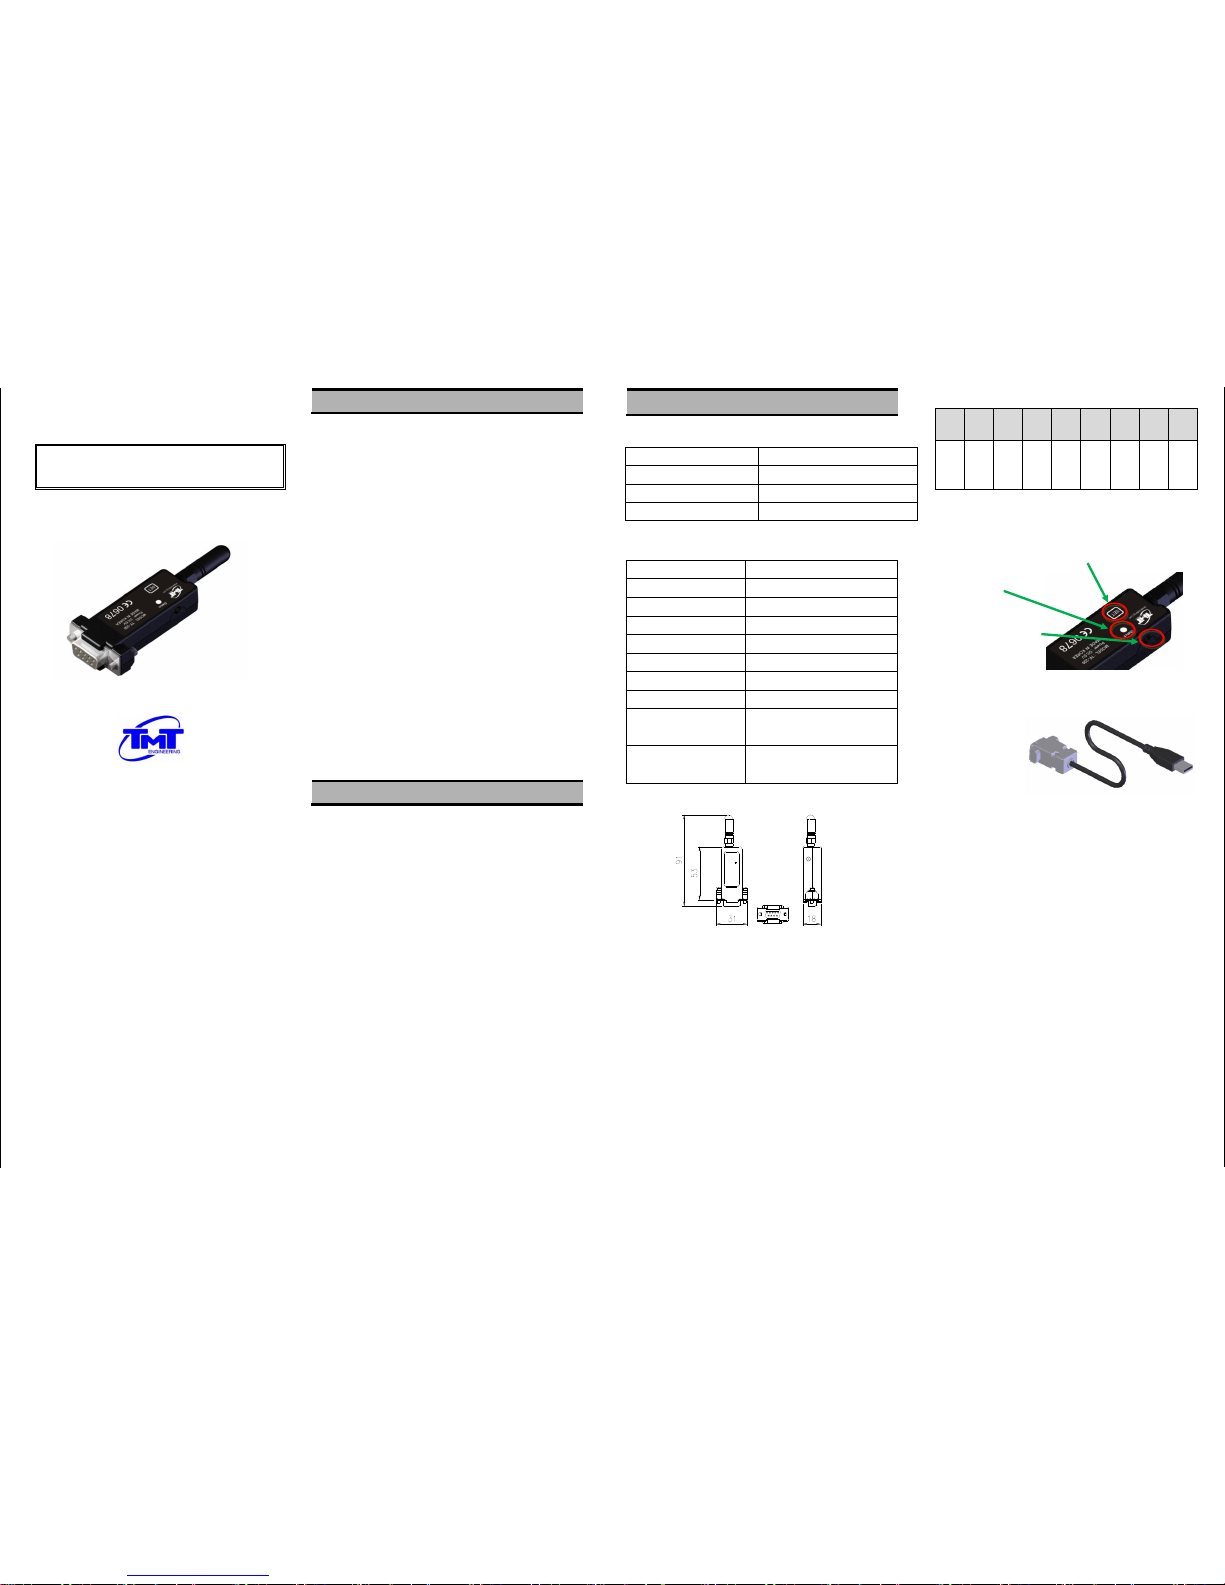
◆ SPECIFICATIONS: 9PIN D-SUB CONNECTOR
PIN1 PIN2 PIN3 PIN4 PIN5 PIN6 PIN7 PIN8 PIN
9
TXD
RXD
GND
VCC
DC
5V
Baud rate: 9600bps, 8bit, 1 stop bit, none parity
◆ LAMP & ADAPTOR JACK
Switch of setting up state and wireless mode
Lamp of state
Adapter of power (5V)
◆ ITEMS
- Body: 1EA
- Manual: 1EA
- Adaptor: 1EA (OPTION)
- USB-RS232C cable: 1EA (OPTION)
WIRELESS DONGLE
Page 2
- 5 - - 6 - - 7 - - 8 -
D. CONSTITUTION OF WIRELESS
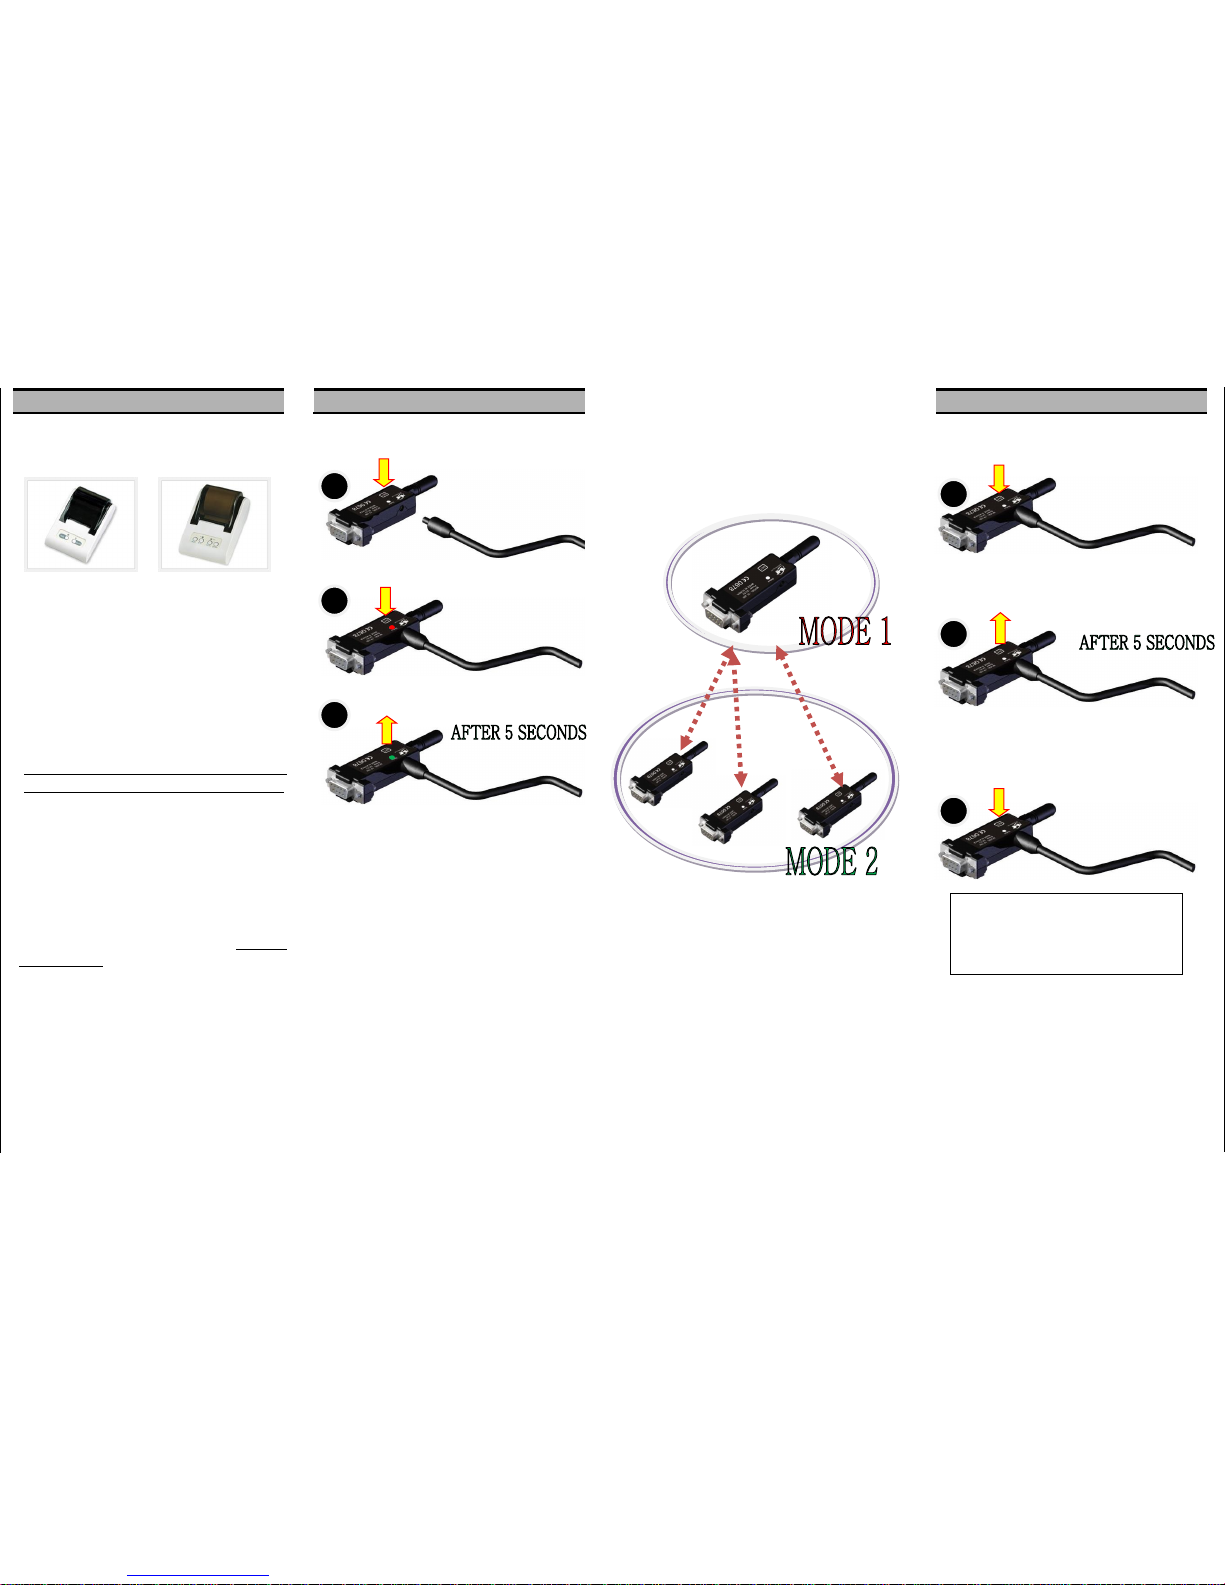
(1) Serial printer [When it use for printer to set MODE 2]
It can print weigh date by wireless when it connects
to serial printer.
[YJ-360] [YJ-380]
YJ-360
It can print only USER MODE. It has many functions
TF-100 It use for printing to use wireless controller.
YJ-380
It has many functions for example are EXT.KEY
MODE etc.
It can print the total and subtotal from simple
indicator or a scale
when they connect to it.
When YJ-360 or YJ-380 uses it needless any power s
ource from external. ( Printer has power sources itself)
(2) PC : RS-232C 9PIN D-SUB serial port
When computer has 9PIN D-SUB serial port, you can
use TF-200 by connecting directly. But when that time,
you must use additional power adaptor (it is being sold
separately)
(3) PC : USB port
It needs not to use additional power adaptor by using the
extra
exchanging cable (it is being sold separately. cable has p
ower sources itself)
E. SETTING MODE
◆ Setting of mode
- The way to change mode.
-
Connect the power while pressing the switch
- Mode is changed after light that is orange color turning on
and off of light for the 5 seconds.
red -> green green -> red
- When the changing to the mode you hoped is not
completed, can change by repeating the flow 1~3 till success
◆ Map of constitution
- MODE 1 [lamp: red] : COORDINATOR
- MODE 2 [lamp: green] : END DEVICE
There is only one of ‘Mode 1’ in group. ‘Mode 2’ can connec t
with the m achine numbe r of N.
You can co nnect like the picture of bel ow [ 1 : 1 ] [ 1 : N ]
F. SETTING A WIRELESS GROUP
◆ Setting a wireless group
- The way to enter the pairing mode
- When you enter the pairing mode, it has no connection
with a condition of mode. Press “set switch” of the TF200
for the 5 seconds with the power on that connected.
- After 5 seconds , If entering to the pairing mode is
completed, Light that is suitable to the mode turns on and
off.
Way to enter the pairing mode of both products of MODE
1 and MODE 2 are same way.
If you press the ‘set button’ on the MODE 1
when condition of that is same with (2),
Entering to the pairing mode will be completed
over turning on and off with red & green.
 Loading...