

TME WSH-12030 Getting Started
Website
English: Website
(http://www.waveshare.com/4inch-hdmi-
lcd.htm)
Chinese: 官网
(http://www.waveshare.net/shop/4inch-
hdmi-lcd.htm)
Onboard Interfaces
RPi I/Os HDMI
4inch HDMI LCD
800×480, IPS
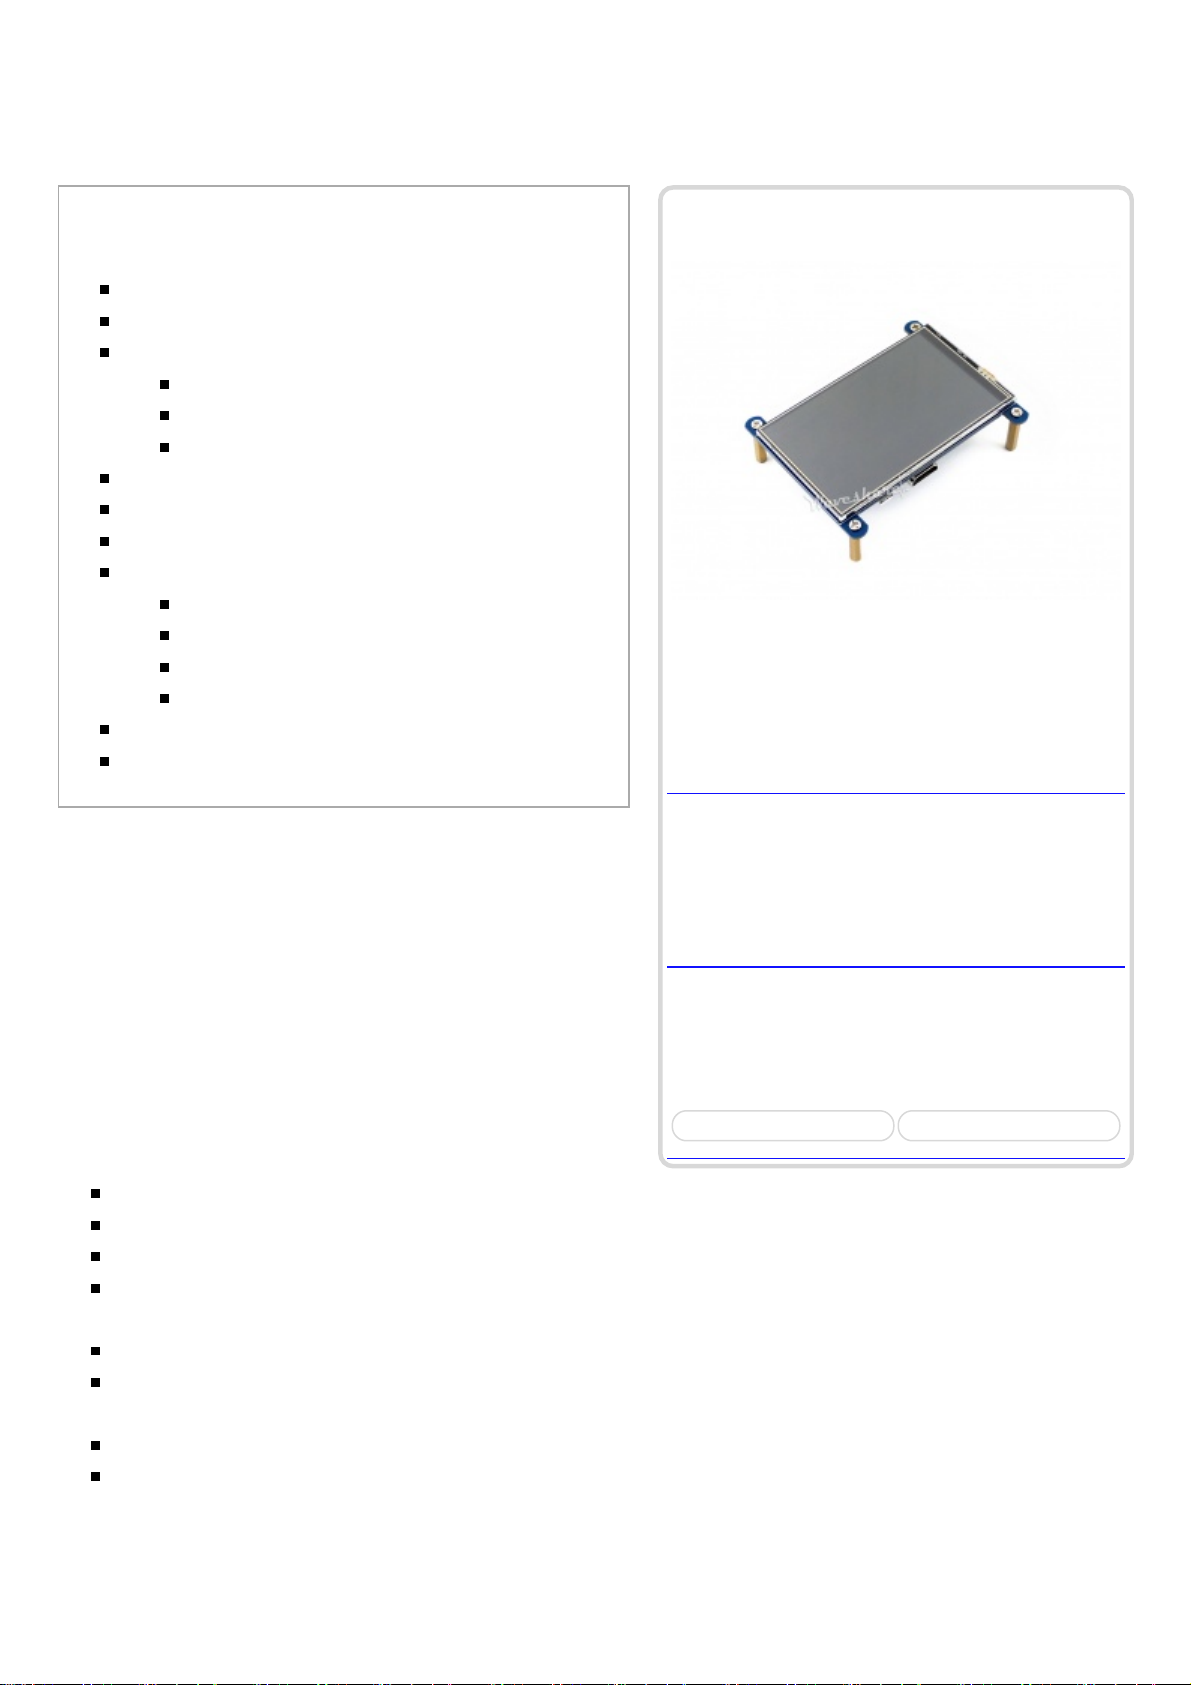
4inch Resistive Touch Screen LCD, HDMI interface,
IPS Screen, Designed for Raspberry Pi
Primary Attribute
Category: OLEDs / LCDs, LCD, Raspberry
Pi LCD
Brand: Waveshare
4inch HDMI LCD
From Waveshare Wiki
Contents
1 Introduction
2 Features
3 Getting Started
3.1 Hardware Connection
3.2 Method 1. Driver installation
3.3 Method 2. Using Ready-to-use image
4 Screen orientation settings
5 Touch screen calibration
6 Interface
7 Resource
7.1 Driver
7.2 Software
7.3 Image
7.4 LCD Panel Dimension
8 FAQ
9 Support
Introduction
4inch Resistive Touch Screen LCD, HDMI interface, IPS
Screen, Designed for Raspberry Pi
More (http://www.waveshare.com/4inch-HDMILCD.htm)
Features
800×480 high resolution
Resistive touch control
IPS technology, high quality and perfect displaying from very wide viewing angle
Compatible and Direct-connect with any revision of Raspberry Pi (except the Pi 1 model B or Pi
Zero, which requires an HDMI cable)
Drivers provided (works with your own Raspbian/Ubuntu directly)
Also works as a computer monitor, in this case, touch panel is unavailable and HDMI cable is
required
HDMI interface for displaying, no I/Os required (however, the touch panel still needs I/Os)
Back light control to lower power consumption
Getting Started
Hardware connection
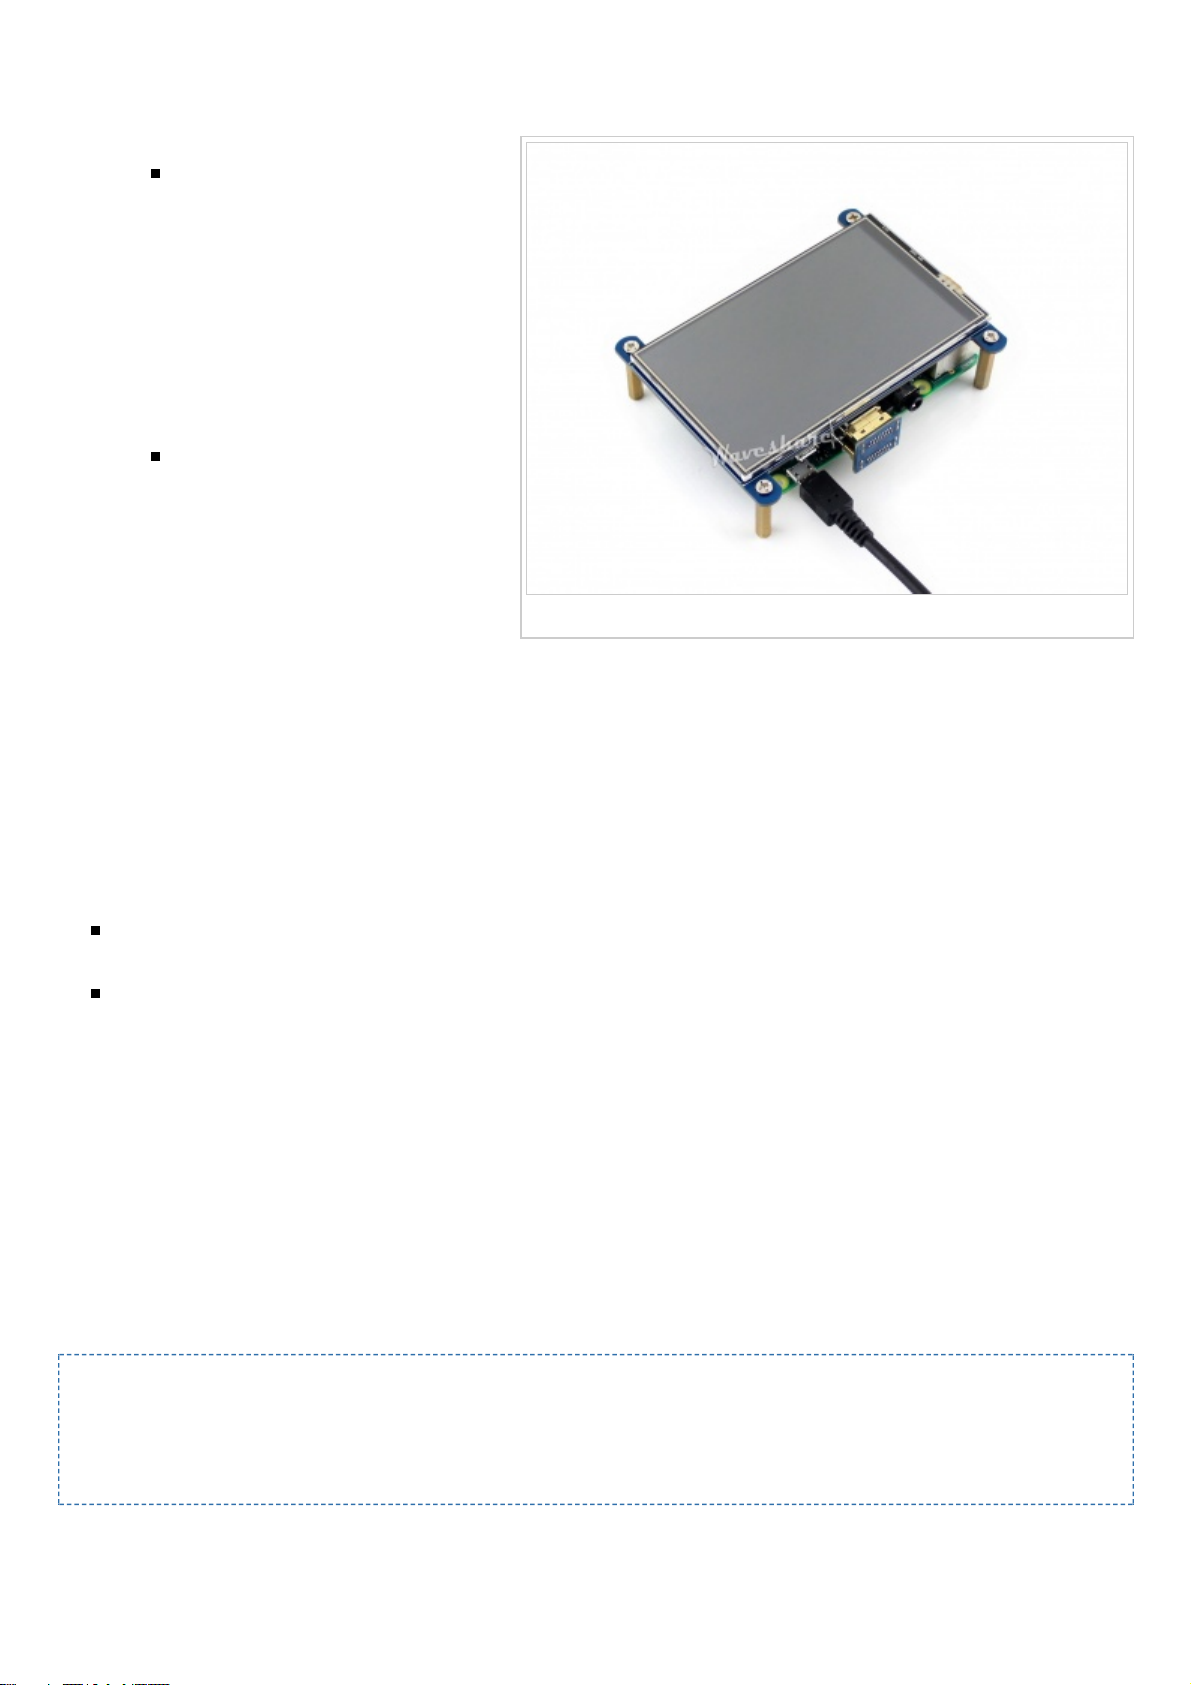
Hardware Connection
1. Plug the LCD to your Raspberry Pi:
There are 40 pins on
Raspberry Pi Model A+/B+/2
B/3 B but only 26 pins on the
LCD, so you should pay
attention to connecting the
pins to your Pi accordingly.
2. Connect the HDMI Connector to
both the HDMI interfaces on the
LCD and the Pi.
You should connect the LCD
to Raspberry Pi Model B or
Raspberry Pi Zero with an
HDMI cable rather than an
HDMI Connector.
3. Turn on the "backlight" switch on
the back of the LCD.
You can enable the touch in two ways: Method 1. install driver to your Raspbian/Ubuntu Mate OS.
Method 2. use the Ready-to-use image file of which LCD driver was pre-installed.
Method 1. Driver installation
Description: If the touch screen doesn't work properly, please install the driver: LCD-show-
170703.tar.gz, but not LCD-show-161112.tar.gz.
LCD-show-170703.tar.gz (network connection is required while installing)
(http://www.waveshare.com/w/upload/0/00/LCD-show-170703.tar.gz)
LCD-show-161112.tar.gz (http://www.waveshare.com/w/upload/4/4b/LCD-show-161112.tar.gz)
1) Download the Raspbian / Ubuntu Mate image from Raspberry Pi website
(https://www.raspberrypi.org/downloads/) and extract it on a PC.
2) Connect your micro SD card to the PC and write the image to the card using Win32DiskImager.
How to write an image to a micro SD card for your Pi? See RPi Image Installation Guides for more
details)
3) Copy the LCD driver to the micro SD card (or copy the driver to the system of Pi using a USB drive).
4) Append the following lines to the config.txt file which is located in the root of the card:
hdmi_group=2
hdmi_mode=87
hdmi_cvt 480 800 60 6 0 0 0
dtoverlay=ads7846,cs=1,penirq=25,penirq_pull=2,speed=50000,keep_vref_on=0,swapxy=0,pmax=255,xohms=150,xmin=200,xmax=39
00,ymin=200,ymax=3900
display_rotate=3
5) The LCD will display after booting up. Then open a terminal to install the touch driver which can be
found in the /boot/ directory.
 Loading...