

Page 1
Public address systems
& Commercial sound systems
AP-W228K
DUAL CASSETTE DECK
www.t-koko.com
Page 2
Preface
Thank you for choosing AP-W228 double cassette deck. For better use
the unit, please read this manual book at first before operating it. And keep it
for future reference.
Attentions:
keep the unit away from high temperature, damp place. And avoid direct
sunshine. A stable and flat place should provide for the unit.
Keep recorder tapes and videotapes away from the unit. For the unit may
produce magnet while working.
Please do not open the cover of the unit while it is working. And do not touch
the power connector with wet hand.
Don't operate the unit on a surface which may impede the normal air flow
around it, for the it will produce some heat when working.
If the unit malfunctions, please refer servicing to qualified personnel.
Otherwise, the company will not be held responsible for any loss.
Please do not clean the unit with alcohol, ammonia or erodent, and volatile
liquid to clean the unit. If it is necessary, just use some cotton cloth with warm
water to clean its surface.
A package of the unit includes one machine, one user's manual, one warranty
and one
Features:
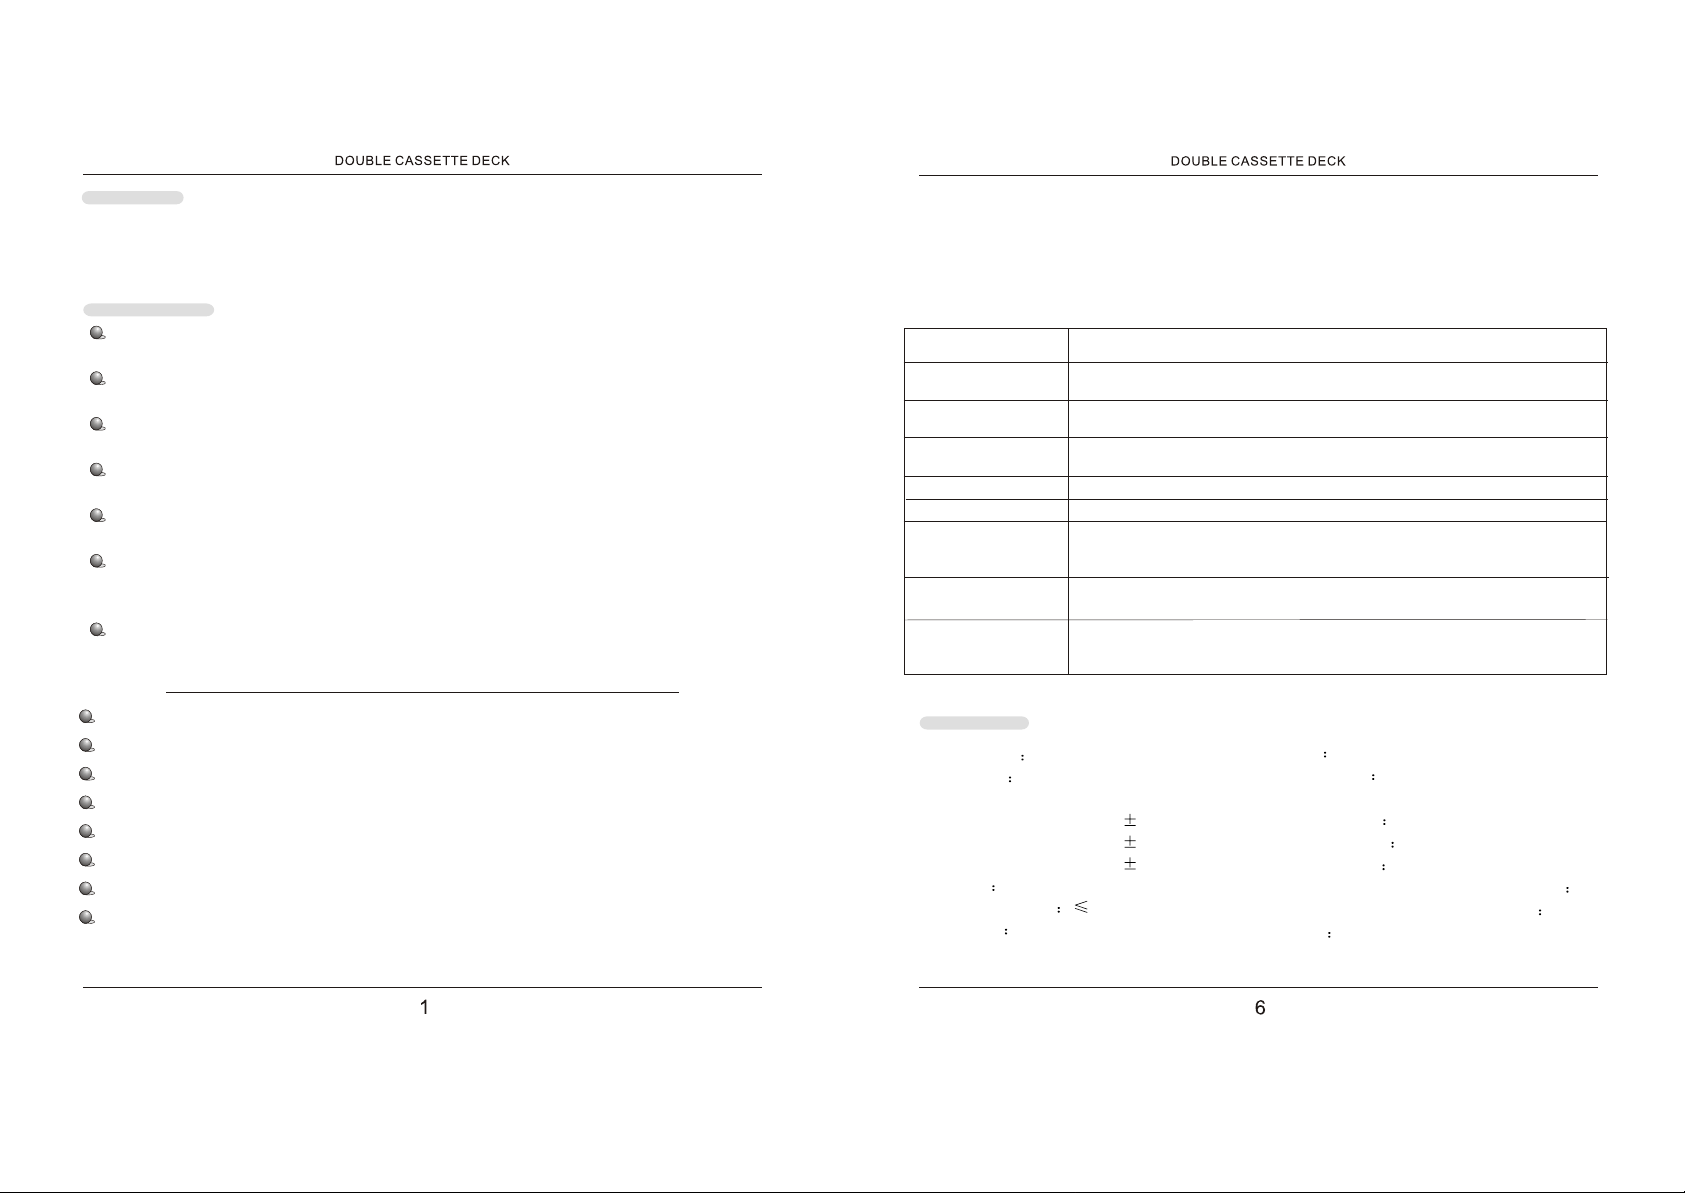
When some malfunction happen, you may check the unit as follow: If the unit still
fails to work after the following efforts, please consult the qualified personnel, do
not fix the unit by yourself.
Phenomenon The possible causes and how to deal with them
The power connector has not properly linked with the socket, no power in
No power
the socket, or the fuse is broken. Press POWER button.
and no display.
No sound
Noise
Failure in inserting the tape
Tapes often tangle with deck
Poor sound
Failure in recording
Improper display
Power is on? No tape or blank tape. Improperly link with audio input or
output? The amplifier is not properly set? The unit pauses?
The audio output is not properly linked, or the output audio cable is not shielded?
The effect from the nearby electric welding machine, dynamotor, hair drier, etc.
Do not forget to put the tape-exposed side downward.
Tight tape? Incorrect tape insert? Poor quality tapes?
Digital DNR function is in the right condition? The magnetic head is
dirty or magnetized? The tape is dirty, broken, or in poor quality?
Improper link with the amplifier? The amplifier is not properly set?
The protector in the tape is removed? All the cables are properly linked? The
magnetic head is dirty?
The unit is strongly affected by the surrounding. Unplug the power
cable and plug it ten seconds later, the press the POWER button down.
Excellent Hi-fi sound.
Automatically recording system with good recording.
High-quality auto backspace movement.
First-class Hi-fi recording movement.
Double-color FL mountain-like electric level indicator.
DIGITAL DNR professional noise reducing system.
Multi styles of tape are optional for both playing and recording. (A&B deck)
Recording electric levels of the left and right audio are of independent
control.
Specification
1.Audio output 2 Ways and 4 Sound Tracks
2.Tape Speed 4.8m/s
3.Freq Response(-20dB Recording)
40-14000Hz ( 3dB) Normal tape
40-15000Hz ( 3dB) Cro2 tape
40-16000Hz ( 3dB) Metal tape
4.S/N ratio 58dB
5.Wow Flutter Ratio 0.15%
6.Separation 60dB(1KHz)
Specifications are subject to change
7.THD K3 0.5% THD 1%
8.Track space 40dB(1KHz)
9.Double 12V motor
10.Signal input 80mV/50K MIN
11.Signal output 80mV/5k
12.Power input AC220V 50/60Hz
13.Power consumption in working mode1 0W
14.Power consumption in ready mode 0.3W
15.Size 430*120*260
Page 3

H).When the recording source and
electric level are correctly set, put the
record tape into deck B as the picture
shows. And close the deck until a
"Kluck" is heard. And press REC in
deck B to start recording.
I).Press the STOP button in deck B
to stop recording.
Put the Tape
exposed side
downward.
The importance of cleaning the magnetic head.
The magnetic powder and dust will be piled on the magnetic head, tape guide, and capstan
when the recorder is using. And this will affect the quality of the sound, decrease output
electric level, and cause imperfect erasure of the tape. As a result, poor recording occurs. So,
for better recording and playing, please clean the magnetic head when it works for ten hours.
Front panel
How to clean magnetic head?
Use the sanitary cotton stick with waterless alcohol to rub the magnetic head, the tape
guide and the capstan. For effective cleaning, please get the cleaning staff from audio
shops. After cleaning, please make sure that the parts are dry when operate the unit.
Cassett B
Magnetic head Magnetic head
Cassett A Tape Guide
Magnetic head
Capstan
How to degauss?
The magnetic head will be magnetized after long
hours of operation. And the magnetic objects can
also magnetize it. The magnetized head will cause
noise. When noise exceeds a certain extent, the high
frequency of the tape will be erased.
It is suggested that the magnetic head and other
parts working with the tape should be degaussed
once every 20-30 working hours by demagnetize.
(It can be bought at audio shop).
How to deal with minor malfunction?
Magnetic head
Demagnetizer
1.The indicator of the direction of
movement of deck A.
2.High-speed recording indicator.
3.Power indicator.
4.LINE recording input indicator.
5.Cro2 tape indicator in the playing mode.
6.Peak value electric level display.
7.Cro2 tape indicator in the recording mode.
8.Digital noise reducing indicator.
9.Recording mode indicator.
10.Deck A.
11.When playing, press it down to play one
side continuously; press it up to play both
sides continuously in deck A.
12.Press it to play the tape in deck A.
13.Press the REW button for rewinding in
deck A.
14.Press FF button for fast-forward.
15.Press it to stop and open the deck.
16.Press it to choose the direction of the
movement of deck A.
17.High-speed recording switch.
18.Left audio recording electric level control.
19.Switch for recording from LINE.
20.Cro2 tape function selection in the play
mode.
21.Power switch.
22.Cro2 tape function selection in the record
mode.
23.Digital noise reducing function off.
24.Right audio recording electric level control.
25.Digital noise reducing function on.
26.Deck B record button
27.Deck B play button.
28.Press the REW button for rewinding in
deck B.
29.Press FF button for fast forward in deck B.
30.Deck B stop.
31.Deck B pause.
32.Deck B.
Page 4

Real panel
(5).Press DIR button to change
the direction of the movement
in deck A.
(7)Press the REW button
for rewinding.
(6).Press the MODE button
to choose play one-side or
both sides.
(8).Press FF button for
fast-forward.
33.Record line input.
34.Audio output 1.
35.Audio output 2.
36.Connect with ground.
37.AC 220V power input.
How to play?
Link the unit with stereo amplifier. Please keep the unit some distance away
form the amplifier. If you put them together, some noise may incur. C-120 tape
(tape that can play for 120 minutes forward and backward) or even thinner tapes
are not recommended to use in the unit. For thin tapes will be easy to tangle with
the deck.
1.Press POWER button.
3.Put the tape into the deck and
close it, when a' kluck' is heard,
the deck is closed.
4.Press the PLAY
button to play.
A
2.Press STOP/EJ button
to open the deck.
Please put the tape
expolsed side downward
B
(9).Press PAUSE button in
the B deck to pause.
(10).Press DNR ON button to
enter automatically digital
noise reducing. And press
OFF to stop.
How To Record?
A)The loose tapes may tangle with
the deck. If there are any loose tapes,
please tighten them with a pencil.
Pencil
D).How to select the recording source?
1.Choose deck A to be the source. Just play the tape in it for recording.
2.Choose LINE to record from device link to it.
3.Choose deck A and LINE to be the sources for mix recording.
E).How to set the recording electric level?
Use the right and left electric level control
knobs to adjust the level. Usually turning
the indicator to the middle it can work very well.
F)In the recording mode, press
REC function button to select
tape type.
G).In the playing mode, press
PLAY function button to select
tape type.
LINE
 Loading...