


Ver.3
4
5
6-8
9-10
11-12
13-14
14
15-19
20-21
22-24
25-26
27
28-35
36
37-38
39
40
41
FCC DECLARATION OF CONFORMITY
Packing Guide
Quick Guide
Channel Settings
Introduction
How to take care of your GRAND VIDEOKE
Package Contents / Optional Items
Nomenclature
- Main Player
- Wireless Microphone
- Remote Control
How to operate the GRAND VIDEOKE
- Power On/O
- Installation of Song Transfer Pack
Installation Guide
- Connecting the microphone to the GRAND VIDEOKE
- Connecting the GRAND VIDEOKE to the TV
- Connecting the GRAND VIDEOKE to other Sound Systems
Additional Menu Function & Conguration Settings
- Search Menu
- Favorite Menu
- Record Menu
- Conguration Menu
SD Card
- Caution in using SD CARD
- SD CARD manual
Encorder
- What is TJ media Encoder?
- TJ media Encoder Installation
- How to install TJ media Encoder Program
MUSIC NOTE
USB Function
- PC connection
- Using your photos as background image
Troubleshooting Guide
Q&A - Other
Product Specication
www.grandvideoke.com
3
Declaration of Conformity
Trade Name : TJ media
Model : TKR-361MP
Responsible Party : TJ media Co.,Ltd.
Address : 23, Hwagok-ro 64-gil, Gangseo-gu, Seoul, Korea
Telephone : +82-2-3663-4700
This device complies with part 15 of the FCC Rules.
Operation is subject to the following two conditions:
(1) this device may not cause harmful interference, and
(2) this device must accept any interference received,
including interference that may cause undesired operation.
Notice for customers in the U.S.A.
Use of TJ media wireless devices is regulated by the Federal
Communications Commision as described in Part 74 subpart
H of FCC regulations and users authorized thereby are
required to obtain an appropriate license.
IMPORTANT NOTE :
To comply with the FCC RF
exposure compliance requirements, no change to the antenna
or the device is permitted, Any changeto the antenna or the
device could result in the device exceeding the RF exposure
requirements and void user’s authority to operate this device.
This device complies with FCC radiation exposure limits set
forth for uncontrolled equipment and meets the FCC radio
frequency (RF) Exposure Guidelines in Supplement C to
OET65. This device has very low levels of RF energy that it is
deemed to comply without testing of specific absorption radio(SAR).
Output Power listed is 0.00627W ERP.
4
www.grandvideoke.com
PACKING GUIDE
1. Main Unit(Player)
2. Wireless Microphone x 1
3. Wired Microphone X 1
4. Remote Control
5. Song list & Manual & Quick Guide
6. Auto-Volt Power Adaptor
7. MIC Cable
8. Audio/Video Cable(RCA cable)
9. USB Cable
10. 2 x AA Batteries(Wireless Microphone)
11. 2 x AAA Batteries(Remote Control)
12. MIC Cover
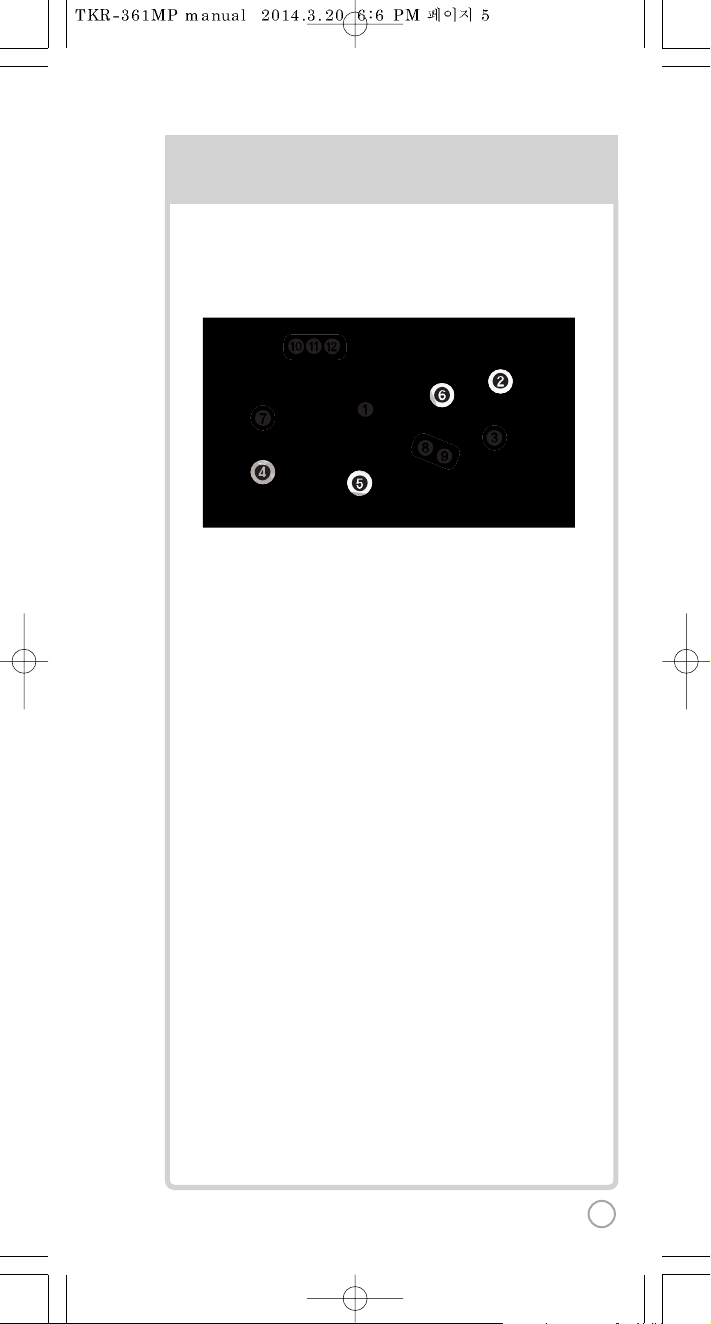
Upper View
5
BASIC FUNCTIONS
SECOND
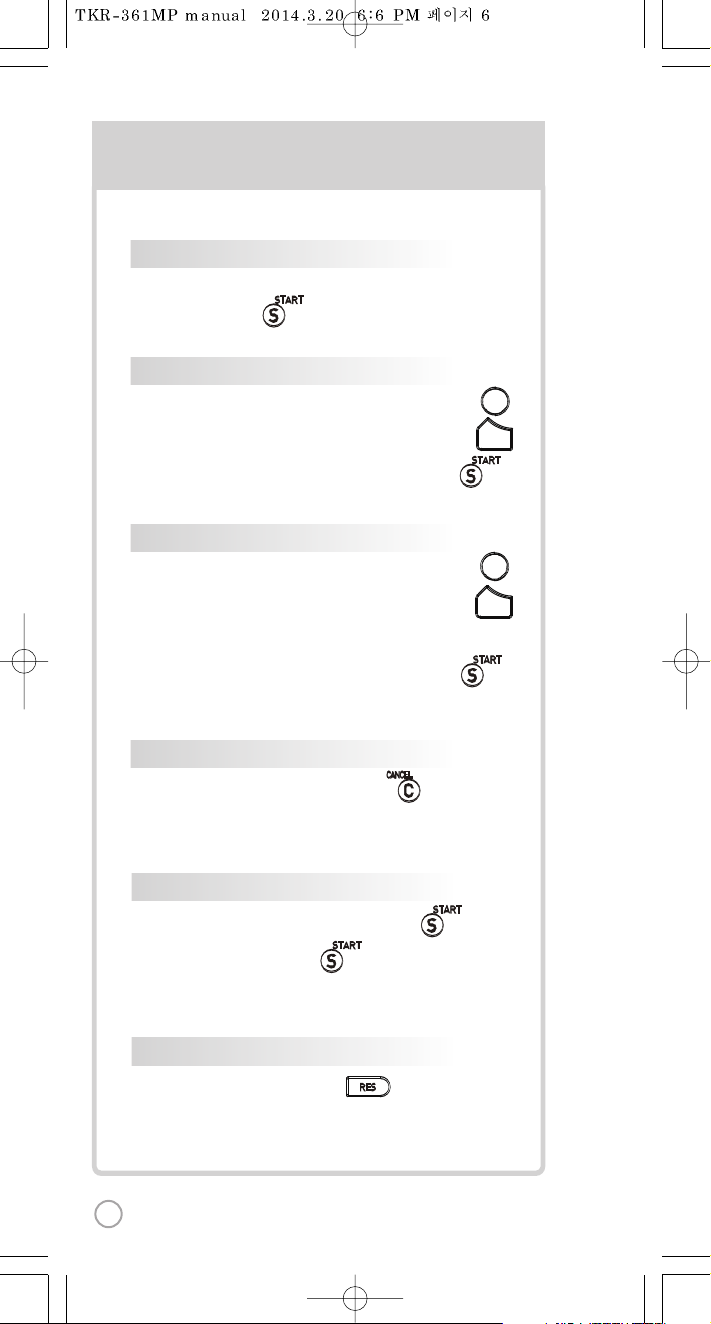
SONG SELECTION & PLAYBACK
METHOD 1 By entering song number directly
Key in the song number using the alphanumeric keypad,
then press .
METHOD 2 By sorting the song in the list
1) To Open the Song List: Press the Arrow keys or .
2) To Sort by Title, Artist, Lyric or Number: Press .
3) To Select: Press the Arrow keys, then press .
VOL
VOL
METHOD 3 By searching the song
1) To Open the Song List: Press the Arrow keys or .
2) To Sort by Title, Artist, Lyric or Number: Press .
3) Input the Title, Artist, Lyric or Number by typing on the
alphanumeric keypad.
4) To Select: Press the Arrow keys, then press .
STOP
To stop a song while playing, press .
SELSEL
SELSEL
PAUSE
1) To pause a song while playing, press .
2) To continue, press .
RESERVATION
Select a song, then press .
VOLUME(MUSIC
1]
2]
3]
KEY
Press , . (W
TEMPO
Press , . (W
SKIP
METHOD 1 P
METHOD 2 R
METHOD 3 V
6

BASIC FUNCTIONS
SECONDARY FUNCTIONS
VOLUME(MUSIC, MIC, ECHO)
1] Volume : Press .
2] Type selection(MUSIC, MIC, ECHO) : .
3] Adjustment : , .
VOL
VOL
KEY
Press , . (While playing).
TEMPO
Press , . (While playing).
SKIP
METHOD 1 Prelude/Interlude skip
Press (While playing), .
METHOD 2 Rewind a tune, Forward a tune
Press (While playing), , .
METHOD 3 Verse skip
Press (While playing), .
FA
R
SE
SO
GA
7
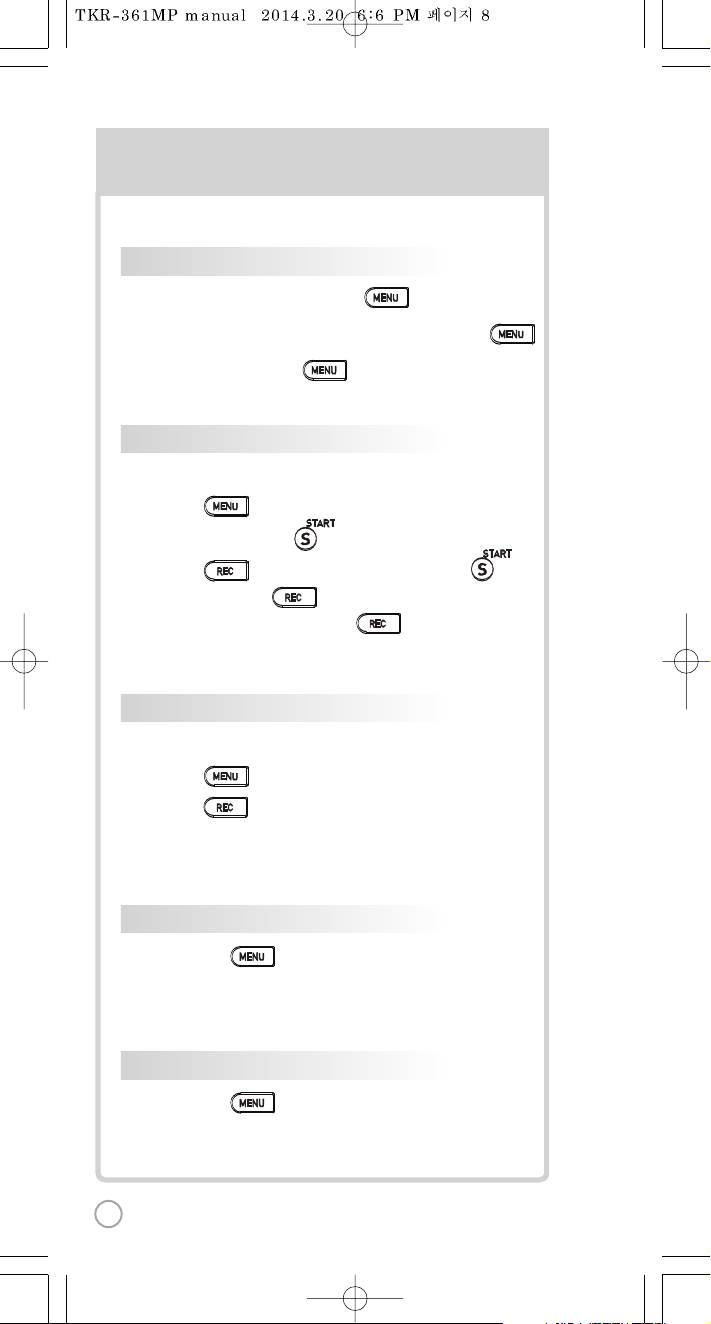
SECONDARY FUNCTIONS
1) , Select “REC”, Select“RECORDING”,
SONG SEARCH, .
2) , Select“RECORDING”, SONG SEARCH, .
3) SONG LIST, : Record the song.
4) While playing music, press :
Record the playing song.
1) , Select “REC”, Select “REC.SONGLIST”.
2) , Select “REC.SONGLIST”.
FAVORITE SONGS
1] To Add: Select a song, press .
2) To Remove: Select a song that has been added, press .
3) To Search: Press , then select “FAVORITE”.
RECORDING
You can record a song in 4 ways:
SEARCHING RECORDED SONGS
You can find a recorded song in 2 ways:
SONG REPEAT
Press , Select “Repeat”.
GAME FUNCTION
Press , Select “Game”.
8
[St
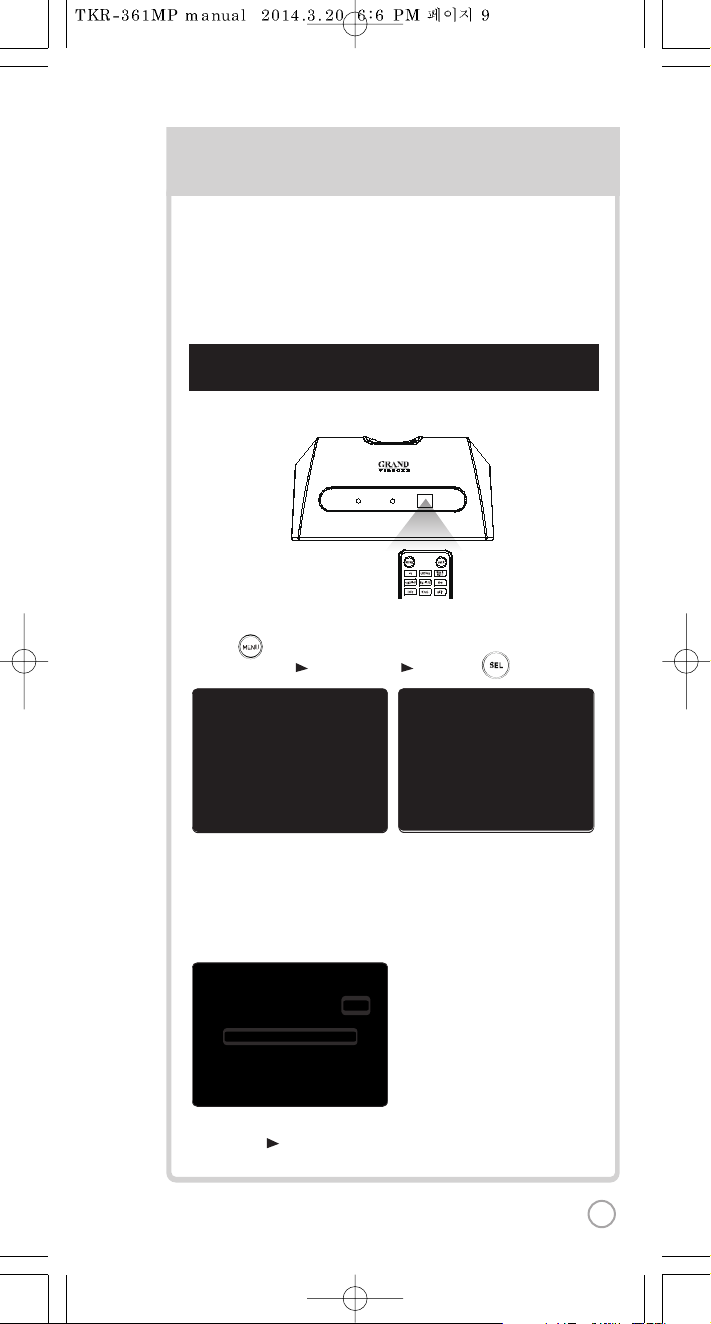
[Step1] Change the channel on the main unit by using the
remote control.
3) Please take note that the Firmware Version information will appear on
your screen. On the first line, it will show the version and the channel.
4) Select a channel number from 1 to 8 using the alphanumeric keypad
on the remote.
(In case of interference, please change the channel from the present setting)
CHANNEL SETTINGS CH
2) Go to channel select menu:
Press button +
choose “Config” ”System Setup” ”Version” + button.
TKR-361MP has eight (8) available channels for the wireless microphone.
Please take note that the microphone and the main player should be on the
same channel.
In case of channel interference (either the microphone cannot be detected
by the main player), follow the instructions below for re-channeling.
1) Turn on the main unit. Make sure no song is playing.
5) [Power off] [Power on] to save.
1) T
2) P
T
3) P
T
4) P
5) Pres
M
POWERPOWER MICMIC
9
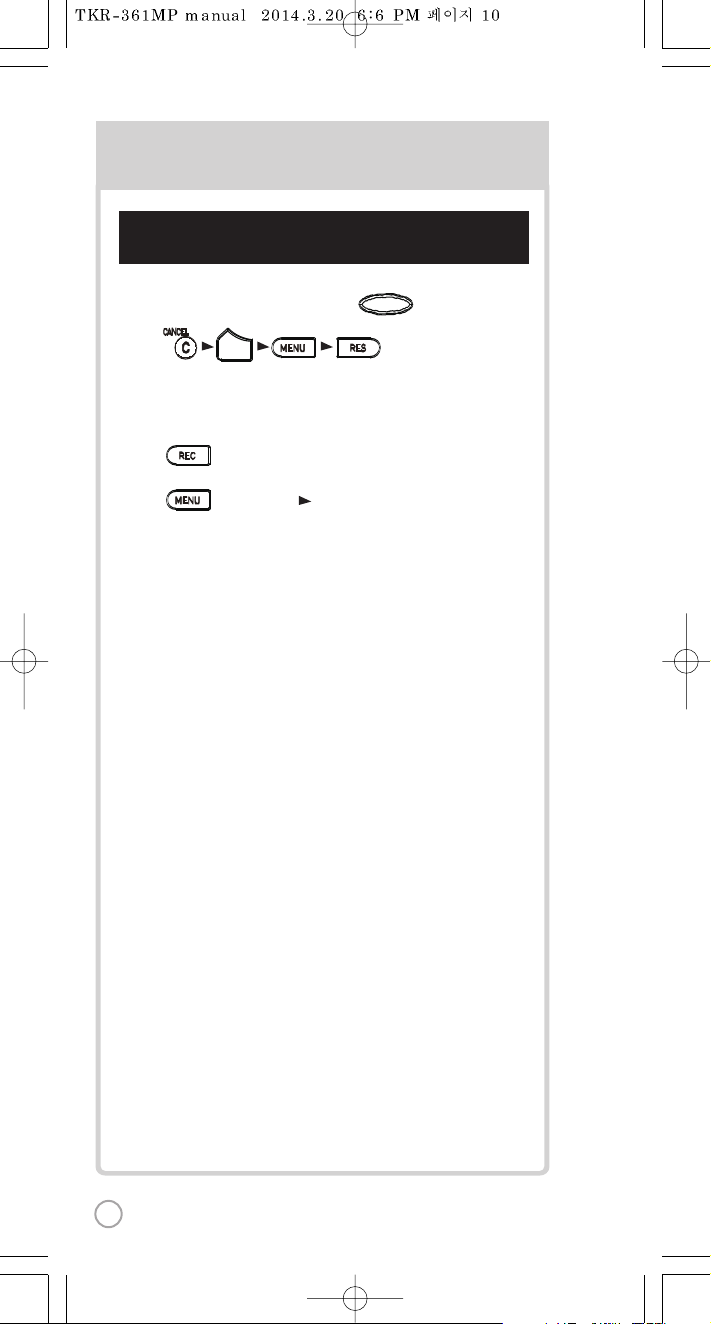
[Step2] Set the channel of the microphone using the
microphone's keypad.
CHANNEL SETTINGS
1) Turn on the microphone by pressing the button.
2) Press button in order.
The microphone LED will be turned on and off twice.
3) Press the same channel number that you set in the main player.
The microphone LED will be turned on and off twice.
4) Press button. Microphone LED will be turned on and off twice.
5) Press button to save.
Microphone LED will be turned on and off 6 times.
VOL
POWERPOWER
10
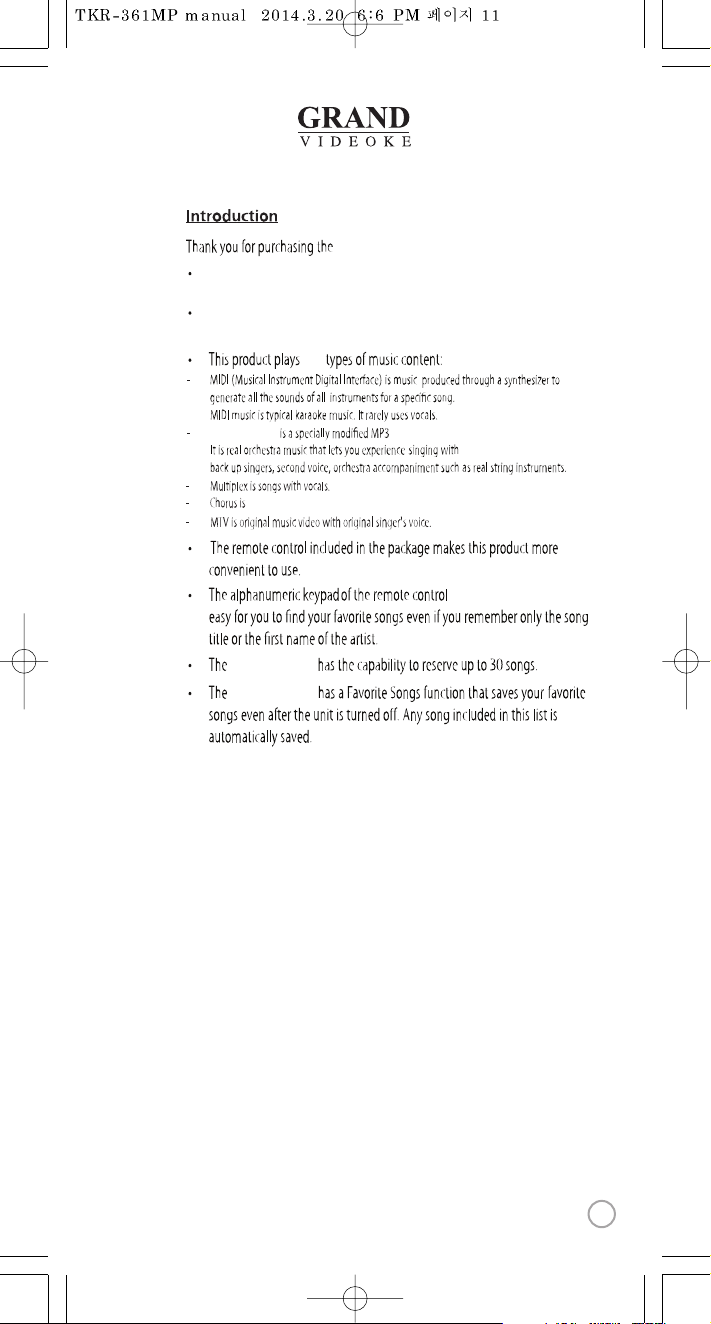
GRAND VIDEOKE
makes it
GRAND VIDEOKE
The GRAND VIDEOKE provides various kinds of Moving Picture Background.
(Nature, WorldTour, 3D, MT V, K-POP M/V, K-Drama etc.)
The GRAND VIDEOKE provides additional built-in memory space of
64MB, so you can either record songs save pictures to use as background image.
ve
GRAND VIDEOKE.
GRANDVIDEOKE
music for karaoke use developed by TJ media.
songs with backup vocals.
www.grandvideoke.com
11
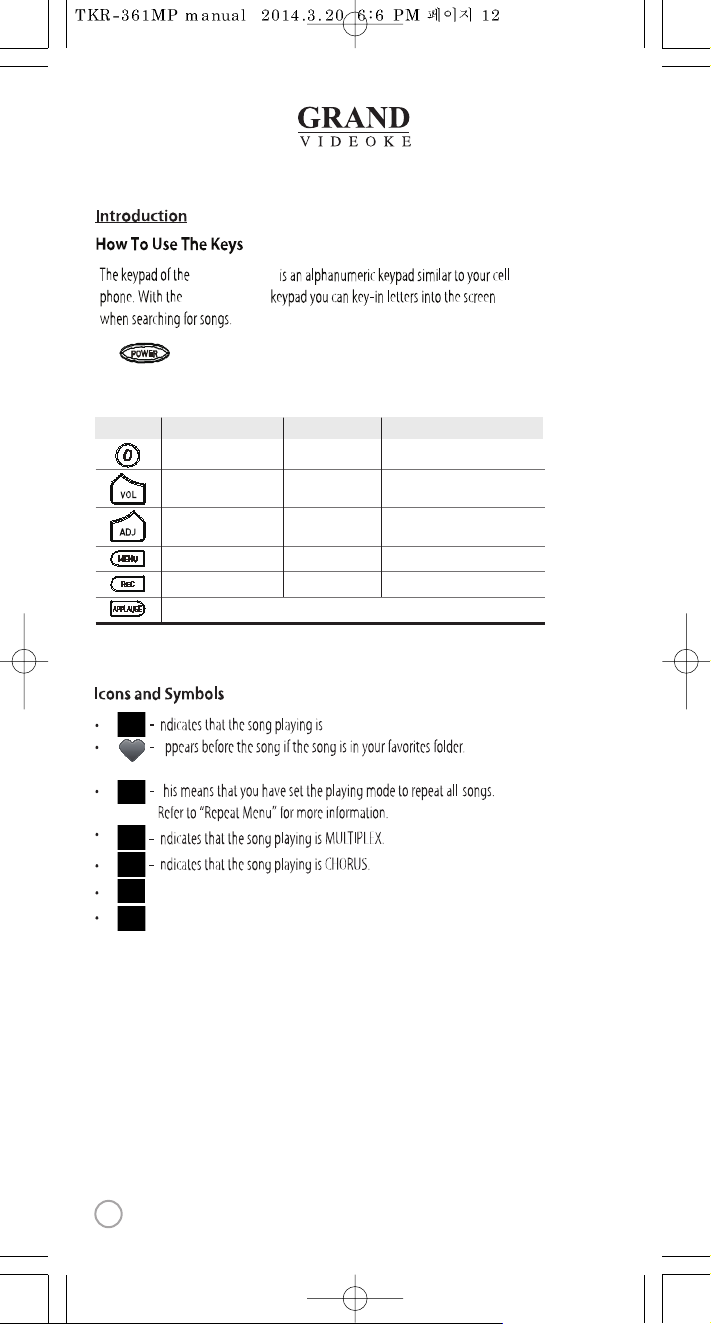
- Indicates that the song playing is MTV.
I
I
A
I
T
- Duet song from the list indicated.
GRAND VIDEOKE.
Refer to“Favorite Menu”for more information.
The in the GRAND VIDEOKE Microphone is used to p ower on the Microphone.
GRAND VIDEOKE
GRAND VIDEOKE
Button/Key Play Standby
Skip “0” “SPA C E”→“0”
Move to Music, MIC,
Echo Volume
Move to Music,
MIC, ECHO Volume
Move to Title, Artist,
Lyrics, Number Search Modes
Record the playing song
Applause
Record Menu Record the song
MenuMenu
Adds the highlighted song to favorites list
Move to Key, Tempo, Melody Levels,
BGV, VOCAL ON/OFF(Only Multiplex)
BGV
Search Mode
12
www.grandvideoke.com
GRAND VIDEOKE.
GRAND VIDEOKE.
GRAND VIDEOKE
GRAND VIDEOKE”
GRAND VIDEOKE
GRAND VIDEOKE
GRAND VIDEOKE microphone.
GRAND VIDEOKE
GRAND VIDEOKE.
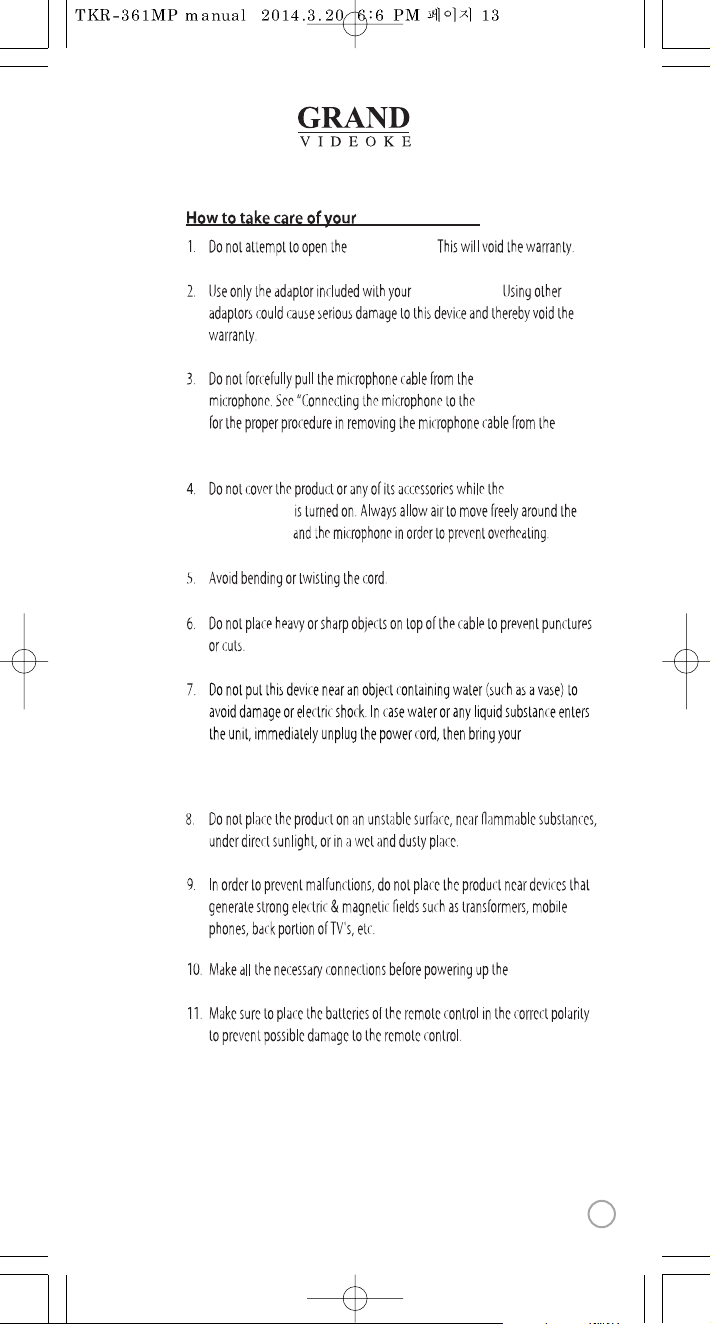
GRAND VIDEOKE
to the nearest dealer or service center to check for damage and for repair,
if necessary.
www.grandvideoke.com
13

GRAND VIDEOKE
Songpack : You can buy additional song packs to add to the built-in song selection of
your GRAND VIDEOKE.
An additional song packs will allow you to sing with your loved ones and friends.
Wired MIC : You can add one more wired microphone.
The TKR-361MP can support up to 3 mics(1 wireless, 2 wired).
GRAND VIDEOKE
Songlist&Manual
2xAAA Batteries
USB cable RCA cable(3P)
MIC cable
Auto-Volt Power Adaptor
Remote control
(2AAAbatteries included)
Quick Guide
2xAA Batteries
STP
(SONG TRANSFER PAC K)
MIC cover
Carry bag
GRAND VIDEOKE
14
www.grandvideoke.com

DEFDEF
MNOMNO
WXYZWXYZ
GHIGHI
PQRSPQRS
MIC 1MIC 1 MIC 2MIC 2
POWERPOWER
OFFOFF ONON
SD CARDSD CARD USBUSB SONG PACKSONG PACK
POWERPOWER MICMIC
DC IN 12VDC IN 12V AUDIOAUDIO
RR LL
VIDEO OUTVIDEO OUT
Power indicator
Wireless MIC indicator
Adaptor input
Audio output(R/L)
Video output
MIC input
(for dynamic microphone)
Power switch
SD card slot
USB port(for PC)
Song pack slot
www.grandvideoke.com
15

(Remote Control)
3
6
8
9
21
4
7
12
11
15
17
19
14
16
18
10
5
13
16
www.grandvideoke.com

(Remote Control)
NO
1
2
3
4
5
6
7
8
9
10
11
12
13
14
15
16
17
18
19
FUNCTION
MENU
USER
RS
CHORUS
MUSIC NOTE
FAVO RITE
MULTIPLEX
MTV
DUET
VOCAL
SKIP
KEY ▲,▼
MELODY
REC
TEMPO ▲,▼
BGV
APPLAUSE
▲,▼,◀,▶
SEL
RES CANCEL
RES
NUMBER/TEXT
CANCEL
STAR T
SONG SEARCH
FUNCTION
MUSIC/MIC/ECHO
GAME
SUBSTANCES
Menu display.
Select the user video & user MP3.
Display the list of RealSound songs.
Display the list of Chorus songs.
Display the list of Favorite songs.
Display the list of Multiplex songs.
Display the list of MTV songs.
Display the list of Duet songs.
Vocal Assist - Vocal On - Vocal O.
Jump prelude or interlude, a tune, verse of a playing song.
Adjust key to a lower(male) or higher(female) voice.
Control the speed of playing songs.
Select the background video.
Create a mood with applause eect.
Move up, down, left, right in the list or display function.
Select.
Reservationca ncel.
Reserve a song to play or Display the list of reserved song.
Number / Text.
Cancel.
Play, Pause.
Song search by Title, Artist, Ly rics, Number.
View lyrics or help.
Control the volume of accompaniment, echo and microphone.
Game function.
Play(Music note display on/o )
Standby(Displays the list of songs with Music Note)
Select the volume of melody playing.
(None - Low - Middle - High)
Record display or Start recording.
www.grandvideoke.com
17

(Remote Control)
When to change the batteries(2 x AAA Batteries)
1. Please pull up to uncover.
18
www.grandvideoke.com

(
Microphone
)
microphone.
microphone
microphone
1. Please push down and
pull up the cover.
www.grandvideoke.com
19

GRAND VIDEOKE
-GRAND VIDEOKE main unit
-GRAND VIDEOKE main unit
GRAND VIDEOKE
Please refer to the Installation Guide.
3. Turn on the main unit.
4. Check if the POWER LED on the front of main unit is turned on.
1. Turn o the main unit.
2. Check if the POWER LED on the front of main unit is turned o.
MIC 1MIC 1 MIC 2MIC 2
POWERPOWER
OFFOFF ONON
button on the microphone will turn on and o the microphone but
not the main unit.
1. Press button.
2. Check if the POWER LED is turned on.
3. Check if the icon is indicated on the TV screen.
- To check the icon, the main unit must be turned on.
- If no icon is on the screen, the microphone is not connected properly.
Please refer to “CHANNEL SETTING”for more information.
4. To turn o the microphone, please press the button for 2 seconds.
5. Check if the POWER LED is turned o.
DEFDEF
MNOMNO
WXYZWXYZ
GHIGHI
PQRSPQRS
20
www.grandvideoke.com

GRAND VIDEOKE
You can use up to 11 Song Transfer Packs including the 10 STPs copied to the
internal memory of the main unit. Song Transfer Pack can also be direct ly played
from the song pack slot.
Song Pack Installation
1) Please turn o the main unit.
2) Insert the Song Transfer Pack into the song pack slot on the left side of the main unit.
3) Turn on the main unit.
4) Key in a song number from the SongTransfer Pack .If yo u can't nd the songs,
repeat steps 1 to 4.
The songs will automatically be added to the song library.
www.grandvideoke.com
21

GRAND VIDEOKE
On the front of the
GRAND VIDEOKE player, connect the microphone
cable to the MIC1 or MIC2.
Connect the other side of the cable to the bottom of the microphone as
shown above.
When inserting the microphone cable to the GRAND VIDEOKE microphone,
you should hear a clicking sound that indicates that the cable is properly
inserted.
To remove the microphone cable, hold the movable locking mechanism
of the microphone cable and gently pull it down.
With GRAND VIDEOKE, there are two kinds of second microphone
that you can use. Your rst option is to use a GRAND VIDEOKE Microphone
with remote control keypads. This type of microphone has the
same buttons as the remote control. Your second option is to use an
ordinary microphone that you can buy from any audio/video store.
Please see the last page for the speciÞcations of the ordinary microphone
compatible with GRAND VIDEOKE.
If you have a second GRAND VIDEOKE microphone, you can connect it to the
MIC2 using the method above.
You can use an ordinary type of microphone that is impedance 600 ;
simply connect to either
MIC1 or MIC2.
MIC 1MIC 1 MIC 2MIC 2
POWERPOWER
OFFOFF ONON
22
www.grandvideoke.com

DC IN 12VDC IN 12V AUDIOAUDIO
RR LL
VIDEO OUTVIDEO OUT
input
TV
Mainplayer back view
GRAND VIDEOKE to the TV
www.grandvideoke.com
23

GRAND VIDEOKE
TV
AUDIO
R-AUDIO-L
24
www.grandvideoke.com

The Favorite Songs list contains user selected songs that are stored in the
GRAND VIDEOKE’s memory. This list is retained even after the GRAND VIDEOKE is turned o.
Heart
title, artist, and number, then
Heart
VOL
50
To add songs to the favorite list :
Managing the favorite list :
To access menu functions & conguration settings, press .
You can navigate through the menu items by pressing .
To enter a menu function, Press .
www.grandvideoke.com
25

Record/ User Photo
Voice Effect
Built-in
None
Built-in, SD card
None, Robot, Kid
SongPack
System Setup
None None, Save, Delete
Button effect
Melody
Middle None,Low,Middle,High
Recorded songs are stored in the
GRAND VIDEOKE
's built-in memory.
The user memory is shared by the recorded songs and the user photos.
The total memory is 64MB which is equivalent to 60 minutes of recorded
songs. 40 minutes is immediately available while the remaining 20 minutes
was used for the pre-loaded user photos. To maximize the capacity of the
user memory you may delete the user photos using the USB function.
The Conguration menu enables you to change some of the setting of the
GRAND VIDEOKE
like lyrics alignment, and diculty level of the scoring.
Here is the list of the default values for each conguration option.
To change any of the conguration options, highlight it by pressing ,
then press to change the values until your desired value is displayed.
When you’re done with the conguration menu, press .To exit the menu
screen press once.
SELSEL
26
www.grandvideoke.com

Caution in using SD Card
Please make sure to insert the SD Card before turning on the main player.
Do not disconnect the SD Card from the main player while the device in operation.
It may cause malfunction of the device or damage on the contents of SD Card.
The directories of [MUSIC], [PHOTO], [RECORD], [VIDEO]
will be created when you rst insert the SD Card to the main player.
In order to enjoy certain contents in the device, you need to locate
accordant les in the applicable directories.
Manufacturer is not responsible for the user’s negligence on using SD Card.
SD Card
manual
Procedures
: TKR-361MP Power OFF → Insert SDCARD → TKR-361MP Power ON →
System → booting (SD CARD directories created) →
TKR-361MP Power OFF →
Disconnect SD Card and connect to PC by USB cable →
Input data to the newly created directories.
Created directories
Directories
- MUSIC : Space to save USER MP3.
- PHOTO : Space to save USER PHOTO.
- RECORD : Space to save recorded songs.
- VIDEO : Space to save USERVIDEO.
Caution of locating contents in the SD CARD
- Please make sure to locate the applicable photo and video les to the
correspondent directories.
- You need to conver tphoto and video les to be suitable to the device
with the co nverting program which is “TJ media Encoder”.
SD Card
www.grandvideoke.com
27

Encoder
What is TJ media Encoder?
TJ media Encoder is a conver ting program that provides users a way to convert
their moving pictures or image les to the suitable format for TKR-361MP.
System Requirements
Applications
Operating System : Windows XP SP2 or later, Windows Vista
Processor : Intel Pentium 4 or AMD 866MHz or later
Memory : 512MB or later
HDD : 1GB or later
Remark : Installation recommendation of
Windows Media Player 9.0 or upper version
Notice
Converting disabled for the les without videos.
Converting disabled if the le is damaged.
If the average frame rate of the original le is below 10fps,
it may not play properly.
For converting Windows Media Video(WMV, ASF) les,
we recommend you to install Windows Media Player 9.0 or upper version.
MPEG-1/2 (ES/PS/PES/VOB), MP4, AVI,
ASF/WMV/WMA, Matroska,
Flash Video (FLV ) , 3GPP, MKV
MPEG-1 (VCD), MPEG-2 (SVCD/DVD/DVB),
MPEG-4 AVC aka H.264,DivX 5 (Pro),
MPEG-4 ASP in all variants including DivX,
OpenDivX (DivX4), Xvid, WMV7/8 (WMV1/2),
Windows Media Video9(WMV3)(using x86 DLL)
MPEG Layer 1/2 MPEG Layer 3(MP3),
/A52, E-AC3, WMA 9 (WMAv3),
Voxware audio, AAC (MPEG-4 audio),
WMA (DivX Audio) v1/v2, (WMAv3),
ACELP.net etc (using x86 DLLs),
WMA 9 Voxware audio, 3GPP (QCELP, EVRC)
DTS (Dolby Digital) audio (soft ware or SP/DIF),
ACELP.net etc (using x86 DLLs)
Input Format
File Format
VIDEO
Output
IMAGE Output
JPEG(720 X 480)
720 x 480
VIDEO MPEG-4 DivX5.2.0, 720 X 480
AUDIO MPEG Audio Layer3, 44.1KHz, 128Kbps
SD
Video Codec
Audio Codec
ITEM File Format
28
www.grandvideoke.com

TJ media Encoder Installation
Connect the TKR-361MP with PC using USB cable and turn on the power.
Directory named“TKR-361 UM” will be created.
Open the “TKR-361 UM”folder and double click the “TJMediaEncoder.exe”
to execute installation.
Installation progress
[ 1. Program Setup Start]
1.
[ 2.Select Destination Location]
2.
Encoder
www.grandvideoke.com
29

How to install TJ media Encoder Program
1.2.Please insert the device which has the TJ media encoder program into the PC.
Please enter the device folder and install the program.
Installation progress
1.
2. Select Destination Location.
Encoder
30
www.grandvideoke.com

3.Select Start Menu Folder.
4.Select Additional Tasks.
5.Ready to Install.
6.Setup Finished.
Encoder
www.grandvideoke.com
31

Converting moving pictures
Double click the TJ media encoder icon to start the program.
Click [Video].
Click [File Add] to load a le that you want to convert.
Click [SD].
1.
2.
3.
4.
Encoder
32
www.grandvideoke.com

Converting moving pictures
Click [Option] if you want the converted les saved with another le name and
or in dierent location.
Click [Convert] to execute converting.
After converting is nished, you can check the le in the saving folder.
(Initial saving folder : My Documents →TJ media)
5.
6.
7.
Encoder
www.grandvideoke.com
33

Converting Image les
StartTJ media encoder and click [IMAGE].
Click [File Add] to load an image le that you want to convert.
Click [SD].
1.
2.
3.
Encoder
34
www.grandvideoke.com

Converting Image les
SD CARD manufacturers
Click [Option] to save as an another le name and or in dierent location.
You can also spin the direction of the image.
Click [Convert] to execute conver ting.
4.
5.
SanDisk
Transcend
Kingston
cd-r king
RiDATA
KINGMAX
KingCom
memorette
TOSHIBA
PANASONIC
1.
2.
3.
4.
5.
6.
7.
8.
9.
10.
1GB, 2GB, 4GB, 8GB, 16GB, 32GB
Encoder
www.grandvideoke.com
35

While playing, on the remote control, press the [MUSIC NOTE]
"Music Note" is displayed.
While stand by, on the remote control, press the [MUSIC NOTE]
"Music Note list" is displayed.
While music note is displaying, you can change lyrics mode by pressing
[MUSIC NOTE] button on the remote control.
Built-in Songs are available to display the music notes.
(Medley, Event, MTV, STP some MIDI songs are not available music note display)
Music Note
36
www.grandvideoke.com

‘TKR-361 UM’
GRAND VIDEOKE
You can download the recorded songs from the device to your PC, or upload
some image Þles from your PC to the main player.
port.
GRAND VIDEOKE
Windows XP, 7 O/S.
PC connection
www.grandvideoke.com
37

the TKR-361 UM folder.
‘PHOTO’
‘PHOTO’
Open
to resize
1MB.
main player on.
Press “BGV”button to select “MY. P ”and your photos will be shown.
7. You can add approximately 110 images to the main player based on the size
of each image at 350KB.
GRAND VIDEOKE
Using your photos as background image
38
www.grandvideoke.com

GRAND VIDEOKE
GRAND VIDEOKE.
GRAND VIDEOKE
a. Press the {+} MIC volume button on the remote to increase the volume of
the mic.
GRAND VIDEOKE
GRAND VIDEOKE.
switch
GRAND VIDEOKE
www.grandvideoke.com
39

Enter the menu then [Cong], then enter [TV Set-Up] then select either
NTSC or PAL.
TEMPO and KEY
40
www.grandvideoke.com

Analog Wireless Microphone
Microphone Type
494MHz~505.2MHz / F3E
RF Frequency / RF Type
Dynamic / 600Ω
Unit Type / Impedance
10M Less
RF Wireless Distance
1.5V(AA) x 2ea
Battery Spec
50Hz ~ 15kHz
Audio Frequency
0 ~ 40
Operating Temperature
204g(without battery)
Weight (g)
47 x 250.5 x 49.7(mm)
Dimension(WxHxD)
Wireless Microphone
2Vrms
Output
20Hz ~ 20kHz
Frequency
75Ω 1.0Vp-p
Output
AC100~240V (50~60Hz)
Input
DC12V, 0.5A ~ 1A
Output
Audio
Video
Adaptor
Main Station
DC12V, 0.5A ~ 1A
Input
4.6W
Consumption
284g
Weight(g)
148x77.5x135 (mm)
Dimension(WxHxD)
Main Player
Product Specication
www.grandvideoke.com
41

 Loading...