

TITANOX
s.r.l.
FFAABBBBRRIICCAA AARRTTIICCOOLLII MMEEDDIICCOO SSAANNIITTAARRII
MMEEDDIICCAALL SSAANNIITTAARRYY IITTEEMM FFAACCTTOORRYY
2266003388 TToorrrree ddèè PPiicceennaarrddii ((CCRR)) –– IITTAALLYY –– VViiaa CCaannoovvee,, 22//AA –– CCaannoovvee ddèè BBiiaazzzzii
TTeell.. ((00003399)) 00337755 339944006655 ((rr..aa..)) –– FFaaxx ((00003399)) 00337755 339944006677
INSTRUCTIONS MANUAL
DRY HEAT STERILIZING UNIT
MOD. PASTEUR ELECTRIC
FORCED HOT AIR
Rev.10
0499

INTENDED USE
The device is designed to be used in sanitary environments for the purpose of sterilizing non-heat sensitive
medical and surgical instruments. The process of disinfection is based exclusively on the thermal destruction of
the microorganisms present upon the instruments at a typical temperature of about 180º C.
Effectively reaching a steril state for the instruments inserted into the sterilizers depends upon multiple factors:
•
The level of initial contamination of the instruments (total bacterial load);
•
The type of contaminating microorganisms;
•
The permeability of all the contaminated instrument parts by the hot air produced by the sterilizer.
For more information see the paragraph **attention** ahead.
The device must be used only and exclusively by qualified personel.
INDEX
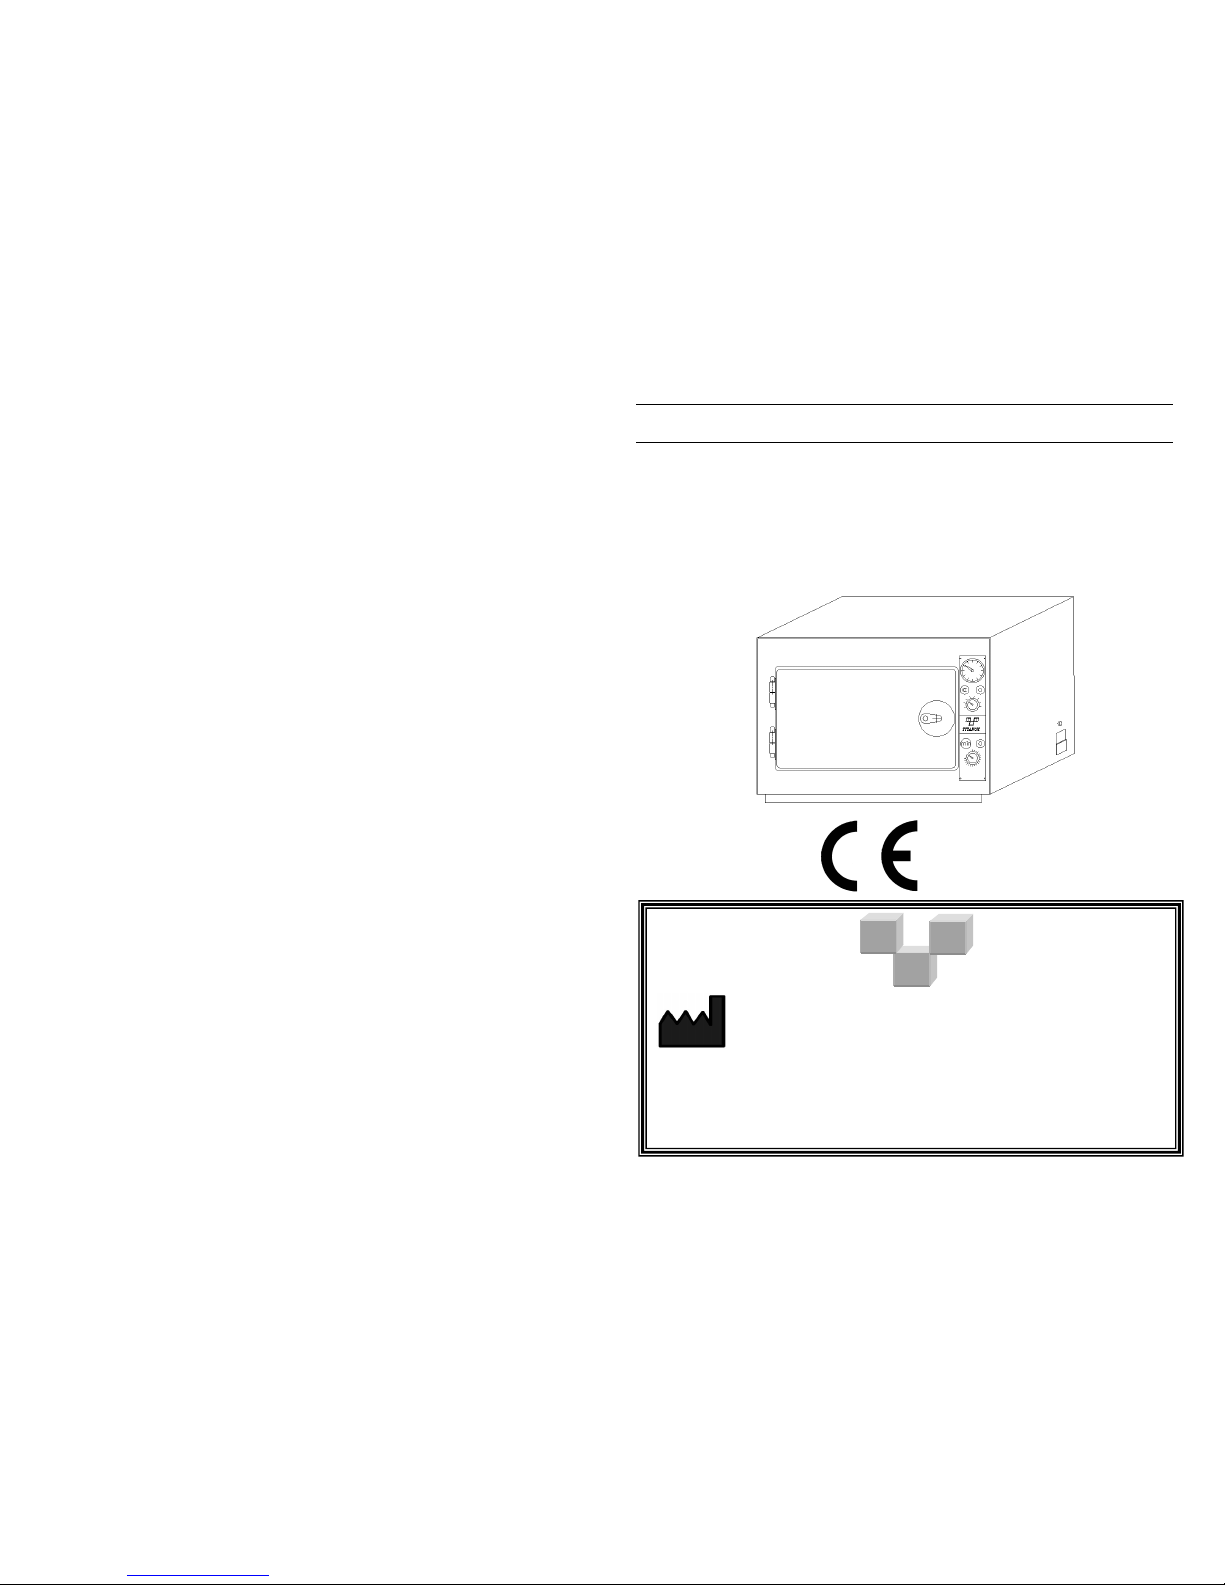
Pos. 1 Thermoregulator internal temperature 50 ÷ 210° C
Pos. 6 Warning light “resistances”
Pos. 2 Programming Timer 2 hours or Manual Pos. 7 Ventilation motor fan (inside)
Pos. 3 Thermometer indicating internal temperature 0 ÷ 200° C
Pos. 8 Closure with key
Pos. 4 Connection plug with fuses Pos. 9 Silicone gasket
Pos. 5 Warning light “timer” or “manual” connected Pos. 10 Security thermostat 260° C
SYMBOLS AND SAFETY WARNINGS
WARRANTY CONDITIONS
1) The device is warranted for a period of one year from date of purchase.
2) Warranty covers the substitution or repairs free-of-charge of components with
manufacturing defects.
3) The device will be repaired only at our factory. Charges, risks arising from the
transport of the device shall be on purchaser’s account.
4) In the event of repairs at purchaser’s home, purchaser shall be charged fixed call costs
covering partial reimbursement of travel and professional visit by personnel.
5) Warranty coverage excludes: internal lighting, damages caused by carelessness of
purchaser, incorrect and improper uses and installations not conforming to warnings,
indicated in these booklet instructions or in any case results from phenomenon
unrelated to the normal working of the device.
6) The warranty expires when the device is tampered with or repaired by unauthorised
personnel.
7) It is excluded the substitution and the extension of the warranty following a
breakdown.
8) It is excluded any compensation for damages direct or indirect of any nature to persons
or objects arising from use or suspension of use of the device.
9) The warranty expires immediately if the relative certificate shows alterations, erasing,
or it’s not issued or convalidated by us. The certificate must accompany the device, or
handed to maintenance personnel for home-repairs.
The manufacturing company Titanox S.r.l. is responsible for the safety, reliability and
performance of the device if:
− the assembly, the additions, the re-setting, the modification or repairs are carried out
by personnel of Titanox S.r.l.;
− the electrical system to which it is connected conforms to safety norms in country of
installation;
− the device is used in conformity to instructions of use and maintenance.
This liability expires immediately when the device is tampered with or repaired by
unauthorised personal.
For any further requirements of spare parts, repairs or checks, it’s necessary contact
directly the manufacturer: TITANOX S.r.l. - Via Canove 2/A – Loc. Canove de’
Biazzi – 26038 Torre de’ Picenardi (CR) – Italia - Tel. (0039) 0375 394065 – Fax
(0039) 0375 394067 communicating the registration number of the device to repair.
1
6
ATTENZIONE:
ALTA TEMPERATURA
ATTENTION:
TEMPERATURE ELEVEE
CAUTION:
HOT SURFACE
ACHTUNG
: HEISS
PRECAUTION:
ALTA TEMPERATURA
ATT ENZI ONE : P R I M A D I A P R I R E T O G L I E R E LA T E N S IONE
C A U T I O N : D I S C O N N E C T V O L T A G E B E F O R E O PE N I N G
ATT ENT ION : A V A N T D’O U V R I R, E N L E V E R L A T E N S I O N
A C H T U NG: VOR DEM OFF NEN STR OMVE RSOR GUNG UNT ERBRE CHEN
C U I D A D O : A N T E S D E A B R I R D E S C O N E C T AR LA TEN SIÓN
C U I D A D O : A N T E S D E A B R I R T I R A R A T E N S Â O
PROTECTION
BINDING-CLAMP

ORDINARY MAINTENANCE
Before initiating any maintenance operation, make sure that:
• the device is not connected to the power source.
• the device is at ambient temperature.
Keep the internal parts and the grid perfectly clean. Even though they may change colour and
become brownish, never use abrasive or inflammable products for cleaning them.
Keep the external parts perfectly clean that they have to be always specular to prevent corrosion and
dust.
PERIODIC MONTHLY MAINTENANCE
After removing the plug from the power socket, check that the fuses are not oxidised specially when
the device is not used for a long time or kept in a humid ambient.
The power socket should not change colour or oxidise. If that happens, replace it immediately.
The power cable must be integral and it should not show cuts, abrasions or bending.
The resistances and the internal electrical system do not require any maintenance.
PERMITTED USES
The device must be used to sterilize metal materials whose point of melting is higher than 300°C
(surgical instruments, plates, and metal screw).
FORBIDDEN USES
It is forbidden to place in the device items whose temperature of melting is lower than
300°C or it’s not known to the operator.
ACCESSORY PARTS
2 Internal shelves
1 Mains cable
SELLING OFF
The sterilizing unit is made of various materials with mechanical, electro-mechanical and electronic
parts.
The selling off has to be made according with the regulations in force in the utilizing Nation.
***ATTENTION***
Laboratory tests following a cycle of 120 minutes at 180ºC on Bacillus subtilis var niger ATCC
9372 spores demonstrated the efficiency of the sterilizer.
Titanox does not guarantee and cannot ensure the effective achievement of the steril state of the
instruments placed in the sterilizer, according to the definition of steril medical instruments forseen
by the EN 556 Norms. The user of the sterilizer therefore has the responsability to conduct all of the
confirmation procedures of the sterilization process and the necessary verifications in order to ensure
the effective completion of every single sterilization cycle.
TECHNICAL SPECIFICATIONS
The device is in conformity to electrical safety norms provided for by the normative
institutes and supplied with bipolar plug which assures perfect electrical grounding.
NON-COMPLIANCE WITH INSTRUCTIONS DESCRIBED IN THIS
BOOKLET SHALL FREE COMPANY TITANOX S.R.L. FROM ANY
LIABILITY.
Device type B.
Caution! See the annexed documentation.
Caution! Hot surface (max. 210°C).
Available operation:
TIME-PROGRAMMED: timer programmable up to 2 hours
CONTINUOUS CYCLE: manual (without timer)
5 2
Models: A3-213-400V A3-214-535V A3-215-670V
Loaded Chamber 3 kg 4 kg 5 kg
External sizes:
Width mm 565 705 835
Height mm 410 475 550
Depth mm 315 420 555
Internal Sizes:
Width mm 405 535 670
Height mm 220 350 430
Depth mm 250 325 425
Weights:
Net weight kg. 13 kg 22 kg 35 kg
Gross weight kg. 15 kg 25 kg 41 kg
Electrical Characteristics:
Nominal tension (Voltage) 230 V 230 V 230 V
Nominal power (Watt) 450 W 950 W 1900 W
Nominal frequency (Hz) 50/60 Hz 50/60 Hz 50/60 Hz
Net’s fuses (mm 5x20) F5A-250 V F5A-250 V F10A-250 V
Ventilation motor (fan) 23 W 23 W 23 W

ENVIRONMENTAL CONDITIONS
• Ambient temperature from 5 to 40° C.
• Relative humidity max. 80% for temperatures up to 31° C with linear decrease up to
50% at the temperature of 40° C condensing included.
• Atmospheric Pressure from 500 to 1060 hPa.
• Voltage supply variation not higher than ± 10%.
• Value of transitory over-voltage in conformity to the installation category (which
provides for 2500V).
INSTALLATION
The device has been calibrated and tested at factory and as such does not require any
further calibration or adjustments before installation and start-up.
Unpack the device and follow the next advices:
1. Position the device on a levelled flat, hard and smooth surface, established with noninfiammable material.
2. Allow space not lower than 10 cm from walls and surrounding furniture.
3.
Do not install the device nearby water sinks or similar to avoid contacts with
water or substances which could cause electrical short-circuit to the system.
4. Install the device in a well aerated location, not near windows or external doors which
could cause an unnatural circulation of the air inside the device and therefore
compromise its correctly running.
5.
Do not install the device nearby heat sources or near other electrical devices.
6. Install the device in such a way that the power cable is never twisted or bent, but it
should connect to the socket free and unhindered. Avoid to positioning the power cable
nearby heat sources or other devices that shall caused damage on it in a long run.
7. In the event the device is placed on a trolley, always check that the lower part of the
device is not enclosed or hindered, as to allow continuos and sufficient ventilation.
Once the device is correctly installed and power cable connected, it’s ready for use.
SAFETY WARNINGS
• The device is designed for use in internal locations.
• The device is not designed for use in presence of gasses or explosive vapours.
• No water or other liquids should be poured into device neither on its base.
• Before any cleaning or maintenance actions, the power cable must always first be
removed.
• Make sure that the electrical system has electrical grounding and that it’s in conformity
to the safety norms in the country of installation.
• Do not remove any label or plate, in case of need, ask for more.
• Always insist on original spare parts.
• Do not open the door of the device until the thermometer of the internal temperature do
not indicate a temperature lower than 30°C.
TIME – PROGRAMMED RUNNING
1. Insert the supplied connection socket of the mains cable in the plug of the device
(Pos. 4) and the feeder- plug in the wall mains socket, after checking the voltage value.
2. Turn the thermoregulator knob (Pos. 1) and set the desired temperature. This operation shall
always be carried out when device is cold.
3. Place materials to be sterilized inside the device.
4. Lock up the door (Pos. 8).
5. Set, by turning the timer knob (Pos. 2) anti-clockwise, the sterilization time adding necessary
time in order to bring the device and the material inside to the desired temperature. The
necessary time to reach the temperature of 180°C is about 30/40 minutes in case of empty
chamber sterilizer, and about 60 minutes with Loaded Chamber well arranged on the
trays. This operation switch on the warning light (Pos. 5) indicating that the device is working
and the warning light “resistance” (Pos. 6) indicating that the resistances are turned on in the
circuit. The graduated thermometer (Pos. 3) allows to check the progressive increase of the
internal temperature. When the internal temperature has reached the programmed value, the
warning light “resistance” (Pos. 6) is turned off for then, after brief time, again turned-on
indicating the re-connection of the resistances in the circuit. This operation allows to keep
inside the device a constant temperature up to the end of the sterilization cycle. After
programmed time has elapsed, the device turns itself off automatically.
In order to maintain an even temperature inside of the heating chamber and to allow a better
circulation of the air, the device is featured with a ventilation motor fan internally wired.
CONTINUOS -CYCLE RUNNING
The device has also a continuos-cycle running. For use this kind of running proceed up to
point 4 of the procedure for time-programmed running described above. Turn, at this
moment, the timer knob (Pos. 2) anti-clockwise. The indefinite-time manual continuoscycle is inserted with a click. To turn off the device, turn back the timer know to position 0.
3 4
 Loading...