

Titan LED Wall Pack Installation Manual
Titan LED Wall Pack
Installation Guide
Congratulations and
moment to read this guide and familiarize yourself with this incredible product. Please Observe All Safety
Thank You for your purchase of Titan LED’s Wall Pack Lighting Fixture. Please take a
Precautions
CAUTION: DISCONNECT ALL A/C POWER BEFORE ANY
LIGHTING FIXTURE INSTALLATION!
NOTICE: PLEASE ADHERE TO ALL WARNINGS BELOW
ATTENTION: e Titan LED Wall Pack Lighting Fixture Requires 120-277V A/C wiring of the internal Titan LED
Driver Component inside the fixture.Titan LED Wall packs are intended to be installed on a solid verticle surface utilizing
the proper wall mount or junction box securement hardware.
WARNING: Risk of Fire or Electric Shock. is Product requires electrical input of 120-277Volts A/C to be supplied
to the included Titan LED Driver Component. e Titan LED Driver will be damaged if connected to A/C current that is
outside of this set range of 120 - 277 Volts of alternating current.
WARNING: Risk of Fire or Electric Shock. LED Wall Pack installation requires knowledge of lighting fixtures and elec-
trical systems is neccesary. If not qualified, DO NOT ATTEMPT INSTALLATION! Damage to product, wiring, driver and
electrical components may occur if retrofit is not performed by a qualified electrician.
WARNING: To Avoid Risk of Fire or Electric Shock or Damage. Caution must be exercised and guidelines strictly fol-
lowed when installing any A/C lighting fixture.
WARNING: To prevent wiring damage or abrasion, do not expose wiring to edges of sheet metal or other sharp objects.
WARNING: Risk of fire or electric shock. Light fixture wiring and electrical parts may be damaged if any drilling for in-
stallation occurs. Please use the universal mounting slots on rear of Wall Pack and avoid any additional drilling of lighting
fixture. Check for enclosed wiring and components.
WARNING: Do not make or alter any open holes in an enclosure of wiring or electrical components during Wall Pack
installation. Only those open holes indicated in the photographs and/or drawings may be made utilized during Wall Pack
installation.Do not leave any other open holes in an enclosure of wiring or electrical components.
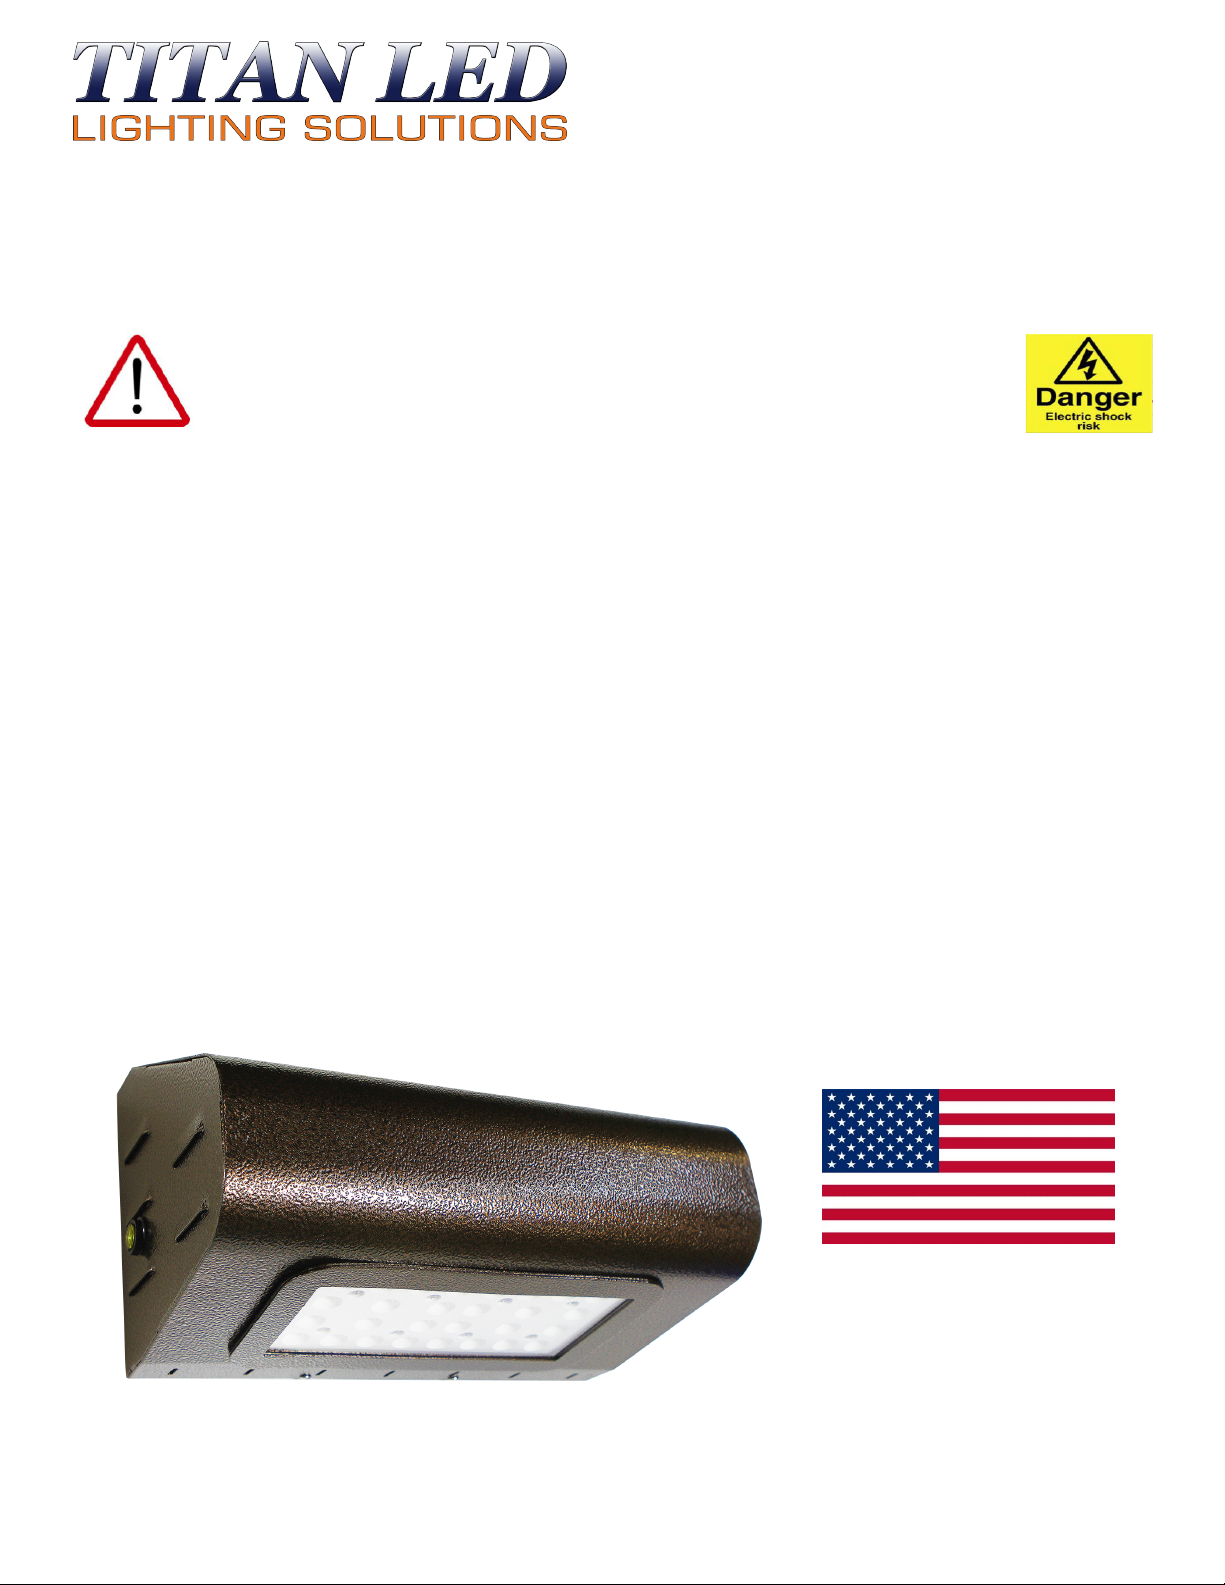
PROUDLY MADE IN THE
United States of America
TITAN LED WALL PACK
850 East Covey Lane, Suite #140 Phoenix AZ 85024 - www.titanledus.
All Images and Information are Property of Titan LED Inc. 201
9 and may Only be used by permission.
com
PAGE 1 of 3

Titan LED’s, LED Wall Pack Installation Instructions.
Please Follow ese Instructions Carefully!
THIS LIGHTING PRODUCT MUST BE INSTALLED IN ACCORDANCE WITH ALL APPLICABLE
INSTALLATION CODES AND BY A PERSON FAMILIAR WITH STATE ELECTRICAL CODES AND
PROPER A/C LOAD CONNECTION. THIS QUALIFIED PERSON IS AWARE OF ALL HAZARDS
INVOLVED AND ASSUMES RESPONSIBILITY FOR ADHERING TO PROPER
INSTALLATION & SAFETY REQUIREMENTS.
MOUNTING:
1) Make sure All A/C power is off and disconnected before attempting installation of any Lighting product.
2) Open the hinged Wall Pack fixture from the front by removing the two securing screws located towards the
center of wall pack fixture on the Clear lensed window side. Safely store these two screws they will be
needed for r
3) Open Lighting fixture at the hinge to expose internal components. Using a wood shim to lock the wall pack
into this open position makes for a more convenient installation for wiring and maintenance.
4) Please use the existing universally slotted holes in the rear of the Titan LED Wall Pack housing to securely
mount fixture to a wall or to a properly installed junction box (j-box not provided).
5) Apply silicon sealant (not provided) to installation holes to prevent any possible water entry.
6) Secure LED fixture to wall with two or more stainless steel screws (not provided) and using properly sized
wall anchors.
7) Secure the LED fixture to anchors in wall or to a junction box with stainless steel screws (not provided).
eassembly.
WIRING CONNECTIONS:
1) Connect the Black A/C fixture wire (Load +) to the Black (Load +) of the J-Box supply wire.
2) Connect the White (neutral -) A/C fixture wire to the White J-Box supply wire (neutral -).
3) Connect the Green LED wire (Ground) to the Green (ground) J-Box ground wire.
4) Titan LED recommends connecting these A/C wires with proper sized, UL approved Wire Nuts.
REASSEMBLY:
1) Close the light carefully insuring that no wires are pinched. Reinsert the two screws that were stored
earlier to finish installation. Tighten these two retaining screws and the finally visually inspect the newly
installed LED Lighting Fixture for any
exposed wiring or any other visible damage.
2) Congratulations, You have completed installation and are ready to test your new Titan LED Wall Pack.
3) Attention: Optional Photo Sensors are purposely designed to NOT allow fixture to Lightup when the
sensor is in bright light. To daylight test This LED Wall Pack lighting fixture the pre-installed Photo
Sensor must be temporarily covered to simulate darkness. Notice: Please allow 8 seconds for Photo Sensor
to operate and light up or turn off this Photo Sensor equipped lighting fixture.
4) Titan LED would like to Thank You for your purchase of this Made in U.S.A. LED lighting solution.
Enjoy the energy savings, longevity and incredible light output from your new Titan LED Wall Pack
Lighting Fixture.
potential issues such as an unclean lens, improper mounting, any
850 East Covey Lane, Suite #140 Phoenix AZ 85024 - www.titanledus.com
All Images and Information are Property of Titan LED Inc. 2019 and may Only be used by permission.
PAGE 2 of 3
 Loading...