

Page 1
Helios® 6
8 Light 240 Volt Controller
Instruction Manual
VANCOUVER, WASHINGTON U.S.A.
www.titancontrols.net
Notes:
_________________________________________________
_________________________________________________
_________________________________________________
_________________________________________________
_________________________________________________
_________________________________________________
________________________________________________
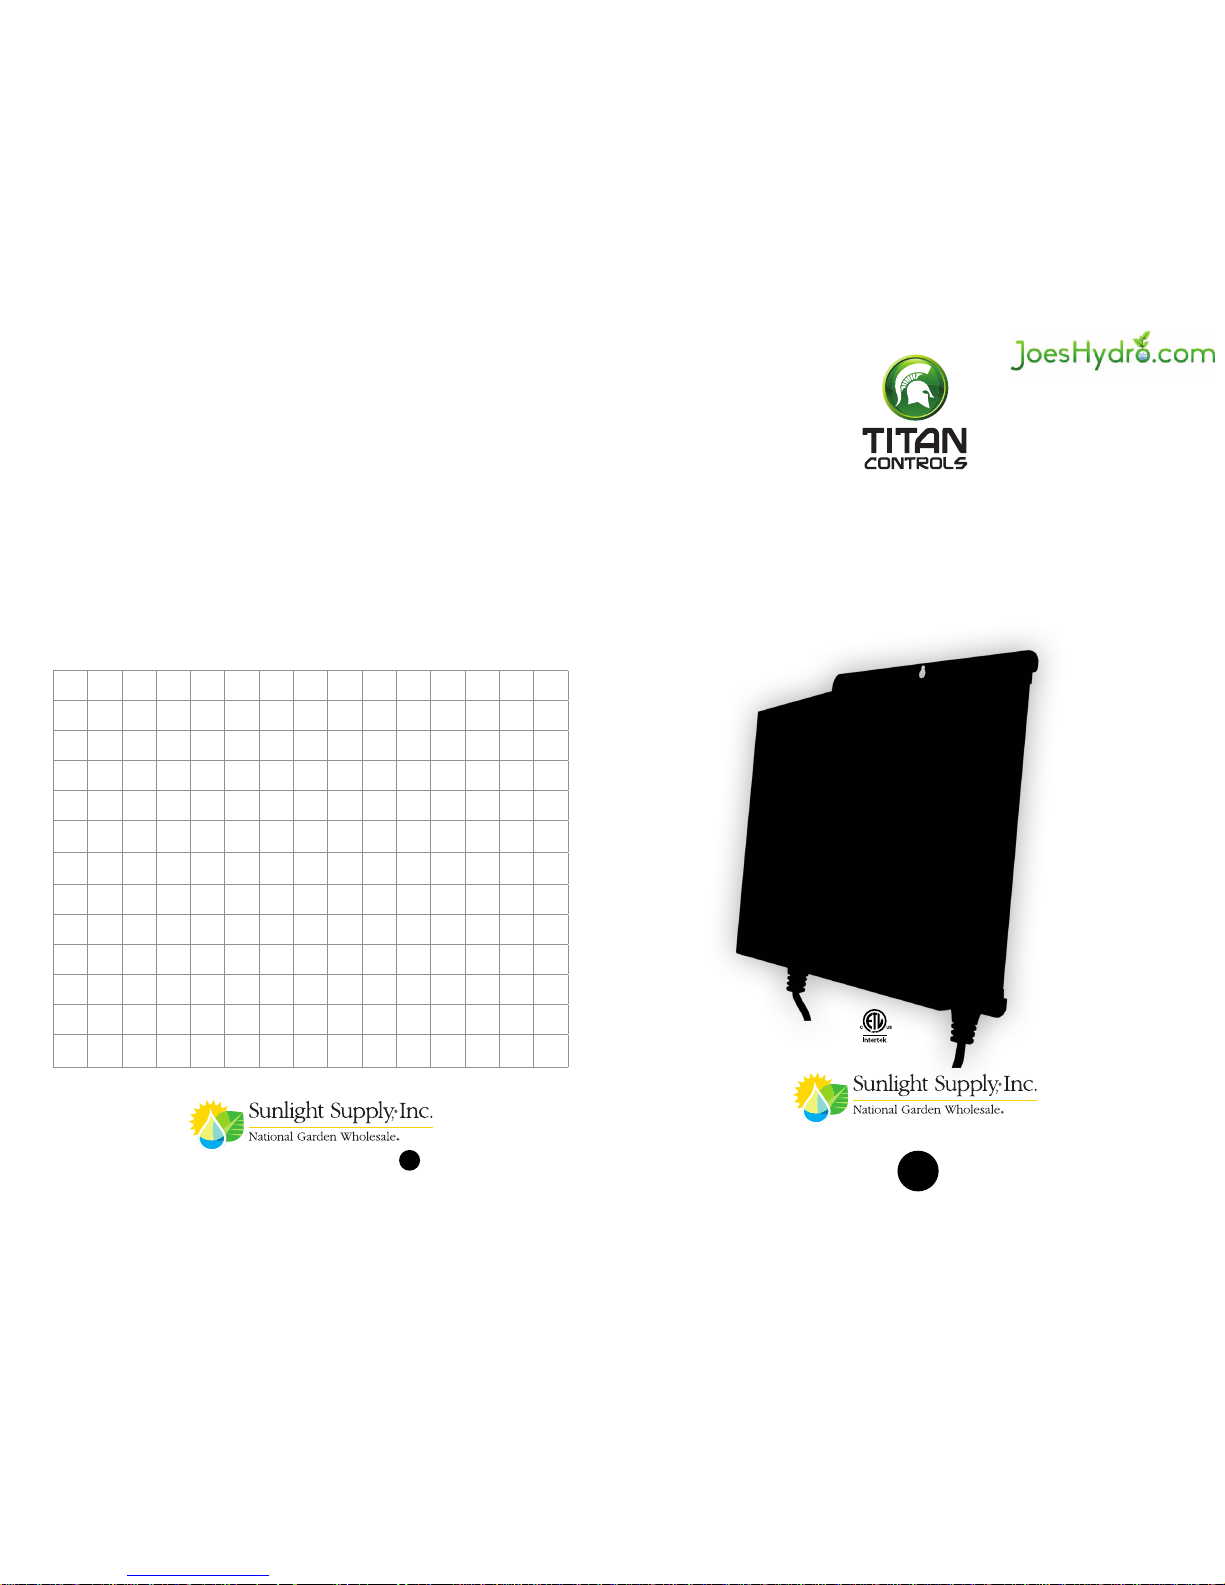
1 Square = 1 Foot/Feet
®
VANCOUVER, WASHINGTON U.S.A.
www.titancontrols.net
Revision D – 12/16/2014 © Titan Controls
oll-ree 1 844-367-5637
joeshydro.com
www.joeshydro.com
Page 2

Helios® 6
• Warnings
• Helios® 6 – Lighting Controller Overview
• Instructions for Operation
• Troubleshooting Tips
• Controller Specifications
• Installation Examples
• Warranty Information
• Service and Repair Program
Warnings & Cautions
• Read all instructions before operating controller.
• This controller is designed for use with MAGNETIC OR ELECTRONIC BALLASTS.
• Do not put your controller in an area where it can get wet or sprayed.
• Mount your controller securely to the wall using hardware provided.
• When using “bug bombs” in area, cover controller completely to avoid corrosion.
• There are no serviceable parts in controller. Do not attempt to repair the unit.
• Do not put paperclips, tools, etc. into unit. Possible electrocution may occur.
• Make sure to verify your power source prior to wiring controller into power source.
• Check that all equipment that will be activated by this controller is the proper voltage.
• This controller is designed for ‘Inside Use’ only.
• Avoid placing the controller near heat generating sources.
• Use caution when operating controller in extremely humid environments.
• Do not use controller for purposes other than the unit was designed to function.
• Use controller within defined environmental specifications.
• Ask your Dealer for tips and techniques regarding the use of this controller.
• Be conscientious when disposing of any products.
• Enjoy your Titan Controls® lighting controller for years to come!
WARRANTY SERVICE: Please read warranty information first
If after reviewing the troubleshooting tips the unit will still not work, you should return it to the
Dealer where you purchased the controller. They will be able to further evaluate the unit and test its
various components and quite possibly will be able to identify and/or fix any problems. If the Dealer
is unable to fix the unit, they will return it to us for factory repair.
If there are no Dealers in your area, you may contact us directly for technical support. If we cannot
help you resolve the problem over the phone, we will issue you a RMA # (return merchandise
authorization) authorizing you to return the unit to us for factory reconditioning (if the unit is under
warranty). Contact the number below for a RMA and shipping address. Complete the form below
and include it with your unit. Also please write the RMA # on the outside of the box.
Please package the unit in its original packaging. If it is damaged in shipment we cannot be
responsible.
Once we receive the unit back, we will repair the controller within 48 hours (business) and return it
to you freight prepaid via UPS ground shipment.
Include the following if returning directly to Titan Controls
®
• Proof of purchase • This completed form • RMA # on the outside of the box
Return Merchandise Authorization Number (Required
Com pan y Na me: ____________________________________________________________________________________
Con tac t Na me: _____________________________________________________________________________________
Add ress : __________________________________________________________________________________________
____________________________________________________________________________________________________
Pho ne # : ___________________________________________________________________________________________
Email address: _______________________________________________________________________________
What is the nature of the problem? ____________________________________________________________
_____________________________________________________________________________________________
_____________________________________________________________________________________________
_____________________________________________________________________________________________
_____________________________________________________________________________________________
_____________________________________________________________________________________________
_____________________________________________________________________________________________
Send to your nearest location – shipping address will be given when the RMA # is issued:
www.titancontrols.net
For technical assistance call us at 1-888-80-Titan or 1-888-808-4826.
®
2 7
oll-ree 1 844-367-5637
joeshydro.com
www.joeshydro.com
Page 3

Helios® 6 –240 Volt / 8 Light Controller
Overview
The Helios® 6 lighting controller is specifically designed for operation of high intensity discharge
(HID) lighting systems. The controller will run your lights for any sequence over a 24 hour period
by using the dual 120 Volt relay activation cord set and plugging them into a 24 hour wall timer.
This dual trigger timing system allows the grower to run two different timing schedules (i.e. one
12 hour light schedule & one 18 hour light schedule) if desired. It’s like having two separate
four(4) light controllers in one! The system can handle up to a maximum of eight (8) 1000 watt
HID metal halide or high pressure sodium (HPS) grow lights. This lighting controller provides up
to 50 Amps of capacity on a standard 240 volt circuit. The Helios
®
6 is built with only the highest
quality components and will provide the user with years of trouble free service.
Instructions for Operation
• Must be installed by a certified electrician.
• DO NOT install this controller by yourself if you DO NOT fully understand these instructions.
High Voltage is dangerous!
• Securely mount your Helios® 6, using the mounting hardware included, to the wall near your
grow area and away from any spray/water/mist, etc.
• Remove the 7 black screws that attach the front panel of the
Helios
®
6 to the chassis. Detach front cover and carefully set to
the side. (See Figure A)
• Connect your incoming 240 Volt power to the terminal block and
torque lug screw to 120 IN LBS, using a 3/16” allen wrench.
Improper torquing may result in loose connections and will void
your warranty. Verify that all wiring connections are tight and
there are no loose connections. (See Figure B)
• Re-attach front panel to the back chassis using the 7 black
screws. Test that the Helios
®
6 is functioning properly upon
installation. Activate power to controller from panel. Using the
left trigger cord, plug into a 120 Volt outlet to engage relay. Take
a volt meter and test the 240 Volt power output and verify that
you’ve got 240 Volt power to each outlet on left side. Unplug
left trigger cord. Using the right trigger cord, plug into a 120 Volt
outlet to engage relay. Take a volt meter and test the 240 Volt
power output and verify that you’ve got 240 Volt power to each
outlet on right side. Unplug right trigger cord. If you’ve got 240
Volt power coming from all outlets, your Helios® 6 is functioning
properly. If not, have the Electrician give our Technical Support
line a call for assistance.
• Next, plug your 240 Volt ballasts (Maximum 8,000 Watts) into the
outlets on the right and left side of the controller.
• Adjust your 120 Volt appliance timer to the current time of day. Then set your HID lighting
schedule (i.e. 12 hours ON/12 hours OFF). Plug the relay trigger cord sets into the appliance
wall timer. Your Helios® 6 will now operate your lights at the pre-set timing schedule.
CAUTION: Lamps are hot and should allow to cool completely before handling.
To maintain warranty you MUST retighten incoming power connections every 90 days.
Warranty Information
• Titan Controls® warrants the original purchase of this product against defects in material and
workmanship under normal use for three (3) years from the date of purchase.
• During the warranty period, Titan Controls® will, at our option, and without charge, repair or
replace this product if the controller or any of its components fail or malfunction.
• All returns or repairs must be accompanied by a Return Merchandise Authorization (RMA)
number prior to any service of the product.
• This warranty is expressly in lieu of all other warranties, expressed or implied, including the
warranties of merchantability and fitness for use and of all other obligations or liabilities on the
part of the seller.
• This warranty shall not apply to this product or any part thereof which had been damaged by
accident, abuse, misuse, modification, negligence, alteration or misapplication.
• Controllers with serial numbers or date tags that have been removed, altered or obliterated;
broken seals or that show evidence of tampering; mismatched board serial numbers or
nonconforming parts; are excluded from coverage.
• Titan Controls® makes no warranty whatsoever in respect to accessories or parts not supplied
by Titan Controls®.
• Monetary refunds of the warranty will not be given.
• The Buyer assumes all responsibility regarding the use & installation of this controller.
• All warranty service is provided through the factory or an authorized service representative.
• This warranty shall apply only to the United States, including Alaska, Hawaii and territories of the
United States.
• Defective controllers need to be returned with the “proof of purchase” receipt.
• For additional warranty information, contact a Titan Controls® Technical Service Representative
at 888-808-4826 or your Dealer. Our normal business hours are Monday – Friday, 8 a.m. to
5 p.m. Pacific Standard Time. We are closed most major holidays.
• NOTE: Titan Controls® is a controller manufacturer. All sales offerings to the public are done
through a nationwide group of Dealers. No sales offerings will be made directly to the general
public.
Service and Repair Program
• For all service and repairs please contact one of our Technical Service Representatives for a
Return Merchandise Authorization (RMA) number.
• All factory service & repairs will be completed within 48 hours of receipt of controller and after
authorization by customer for repairs.
• Titan Controls® will, at its discretion, repair or replace the controller.
• Factory calibration services are available for all Titan Controls®.
• Returning Units: Please contact your retail store for returns.
6 3
Figure AFigure B
Screw not shown
oll-ree 1 844-367-5637
joeshydro.com
www.joeshydro.com
Page 4

Troubleshooting Tips
If the Helios® 6 is not performing as expected, try the following:
a. Confirm that your power input is active from your breaker panel and providing 240 Volts/ 50
Amps/60 Hz to the controller.
b. Check the voltage input of your incoming cord set using a voltage test meter to verify power is
flowing to the controller.
c. Make sure all of your connections are tight. Loose connections can cause “arcing”.
d. Then confirm that power is active at your 240 volt outlets.
e. Verify that your power cords and ballasts are functioning properly and that there are no shorts
or arcing occurring.
f. Should you find your circuit breaker keeps tripping, check your breakers to verify that they are
the right amperage for your application.
g. If you unplug the trigger cord set from 120 Volt power source and your lights remain on,
contact us immediately for resolution.
h. Still having problems with your Helios® 6? Please contact our Technical Service Representative
to assist you further at 888-808-4826.
Controller Specifications:
• Size = 13”H x 11”W x 4”D
• Weight = 10 lbs.
• Voltage Input = 240 VAC
• Voltage Output = 240 VAC
• Relay Coil Voltage = 120 Volts
• Maximum Input Amperage = 50 Amps
• Maximum Output Amperage = 40 Amps
• Maximum Wattage = 8000 Watts (1000 watts per outlet)
• Hertz = 60Hz
• Electrical Relay Operations = 100,000 Cycles
• RoHS compliant = Yes
• Storage Temperature = 32°F (0°C) to 135°F (57°C)
• Operating Temperature = 40°F (5°C) to 125°F (52°C)
Installation Example
Controlling an 8 Light Bank
4 5
oll-ree 1 844-367-5637
joeshydro.com
www.joeshydro.com
 Loading...