

Time Machines 760-440W-000, 760-260W-000, 760-242W-000, 760-262W-000, 760-460W-000 Installation And Operation Manual
...
WiFi Digital Clock
* Installation and Operation Manual *
* For Clocks with Serial Numbers beginning with 'B' *

Table of Contents
1 Introduction..........................................................................................................................................................1
2 Initial Setup..........................................................................................................................................................1
2.1 WiFi Connection..........................................................................................................................................1
2.2 Network........................................................................................................................................................1
2.3 Mounting......................................................................................................................................................1
2.3.1 Surface Mounting to Drywall...............................................................................................................1
2.3.2 Rack Mounting.....................................................................................................................................2
2.3.3 Dual Clock Mount Bracket...................................................................................................................2
3 Configuration.......................................................................................................................................................4
3.1 Web Page – Default password is “tmachine”...............................................................................................4
4 Initial Setup of the WiFi Connection...................................................................................................................4
4.1.1 Step 1: Connect the WiFi clocks wired Ethernet interface and apply Power......................................4
4.1.2 Step 2: Log in to the clock through the Wired connection at the DHCP assigned address..................4
4.2 Network........................................................................................................................................................5
4.2.1 IPv4 and IPv6.......................................................................................................................................5
4.2.2 DNS......................................................................................................................................................5
4.2.3 Mask HTTP Access on Subnet.............................................................................................................5
4.2.4 Mask NTP Access on Subnet................................................................................................................5
4.2.5 MAC.....................................................................................................................................................5
4.2.6 SSID, Security Mode, and AP Password..............................................................................................5
4.2.7 Channel and RSSI.................................................................................................................................5
4.3 Time Synchronization..................................................................................................................................5
4.3.1 SNTP Servers.......................................................................................................................................6
4.3.2 Time Zone.............................................................................................................................................6
4.3.3 Custom Time Zone...............................................................................................................................6
4.3.4 SNTP Resync Period............................................................................................................................6
4.3.5 Twelve Hour Time................................................................................................................................6
4.4 Daylight Savings..........................................................................................................................................8
4.4.1 Daylight Savings (DST Options)..........................................................................................................8
4.4.2 Fixed Day.............................................................................................................................................8
4.4.3 Start/Stop Date......................................................................................................................................8
4.4.4 Hour Bias..............................................................................................................................................8
4.5 Clock Type and Date Mode..........................................................................................................................8
4.5.1 Use Calendar........................................................................................................................................8
4.5.2 Date Mode............................................................................................................................................8
4.5.3 Time......................................................................................................................................................8
4.5.4 Date.......................................................................................................................................................8
4.5.5 Date Offset............................................................................................................................................9
4.6 Other.............................................................................................................................................................9
4.6.1 Unit Name............................................................................................................................................9
4.6.2 Password...............................................................................................................................................9
4.6.3 Alarms...................................................................................................................................................9
4.6.4 Brightness.............................................................................................................................................9
5 External Connections and Interfaces.................................................................................................................10
5.1 External Connection...................................................................................................................................10
5.2 Push Button................................................................................................................................................10
5.2.1 Changing the Time Zone....................................................................................................................10
5.2.2 Scrolling the IP address......................................................................................................................10
5.2.3 Set Parameters to Default...................................................................................................................10

6 Troubleshooting.................................................................................................................................................11
6.1 Flashing Seconds........................................................................................................................................11
6.1.1 Lost Network......................................................................................................................................11
6.1.2 Lost Access Point................................................................................................................................11
6.2 AM/PM LED Indications...........................................................................................................................11
6.2.1 Both AM & PM Off............................................................................................................................11
6.2.2 AM On, PM Off..................................................................................................................................11
6.2.3 AM Off, PM On..................................................................................................................................11
6.2.4 Both AM & PM On............................................................................................................................11
6.3 Unable To Access Web Page......................................................................................................................12

Installation & Operation Manual
1 Introduction
Time Machines Precision WiFi Clocks (TMPCs) provide an accurate synchronized time source when you absolutely can’t
afford a time shift. TMPCs use a power source and communicate with WiFi and Simple Network Time Protocol (SNTP) to
make installation and setup as clean and simple as possible. Connecting the clock to a WiFi enabled Network is all that is
needed.
CLOCKS:
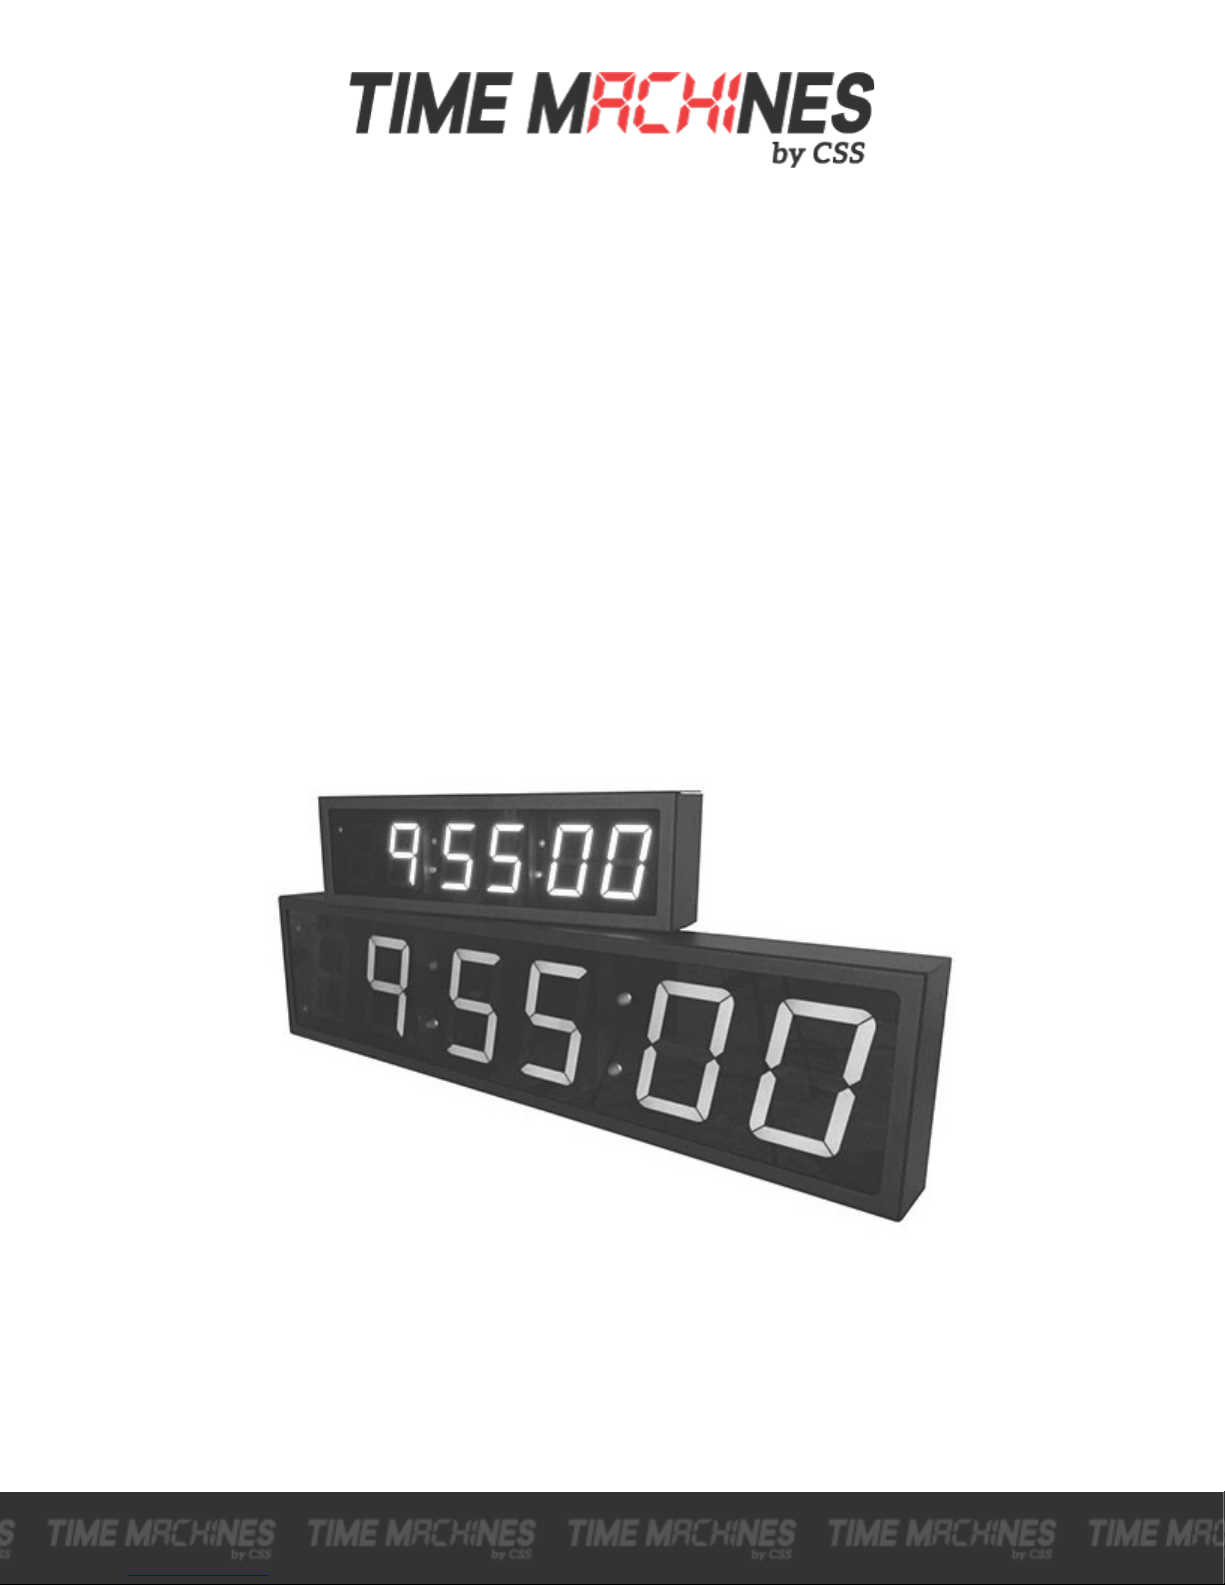
- Digital WiFi Clock 2.5” x 4 Red Digits, Black Case
- Digital WiFi Clock 2.5” x 6 Red Digits, Black Case
- Digital WiFi Clock 2.5” x 4 Green Digits, Black Case
- Digital WiFi Clock 2.5” x 6 Green Digits, Black Case
- Digital WiFi Clock 4” x 4 Red Digits, Black Case
- Digital WiFi Clock 4” x 6 Red Digits, Black Case
- Digital WiFi Clock 4” x 4 Green Digits, Black Case
- Digital WiFi Clock 4” x 6 Green Digits, Black Case
OPTIONAL PRODUCTS:
- 2.5” Clock Rack Ear Set, Black
- 2.5” Dual Mount Bracket
- 4” 4-Digit Dual Mount Bracket
PART NUMBER:
760-240W-000
760-260W-000
760-242W-000
760-262W-000
760-440W-000
760-460W-000
760-442W-000
760-462W-000
PART NUMBER:
760-201-000
760-265-000
760-445-000
2 Initial Setup
2.1 WiFi Connection
The WiFi Clocks require a Wireless Network to be in place to function, as well as 110V power source. Alternately the clock
can be used on a wired network without the requirement of WiFi. Initial setup is all done with a web browser through the
wired connection.
2.2 Network
Beyond connecting to a WiFi network, nothing else is required to get TMPCs up and running. IP, Netmask, Gateway, and
DNS addresses are all setup using Dynamic Hosting Configuration Protocol (DHCP) by default. Static addresses may be
assigned by accessing the configuration web page. The default time server is set to nist1-chi.ustiming.org but can be
changed using the configuration web page. These processes are described with further detail in the Configuration section.
2.3 Mounting
TMPCs may be surface mounted, rack mounted, or in a dual mount bracket (using two clocks).
Required tools: hammer, drill, 1/4” drill bit, screwdriver and pencil. Mounting options are optional.
2.3.1 Surface Mounting to Drywall
1. Mark the holes to be drilled based on the spacing of your specific clock. 12.5 inch centers for the 2.5 inch digit
clocks as well as the 4 inch by 4 clocks, and 16 inches for the 4 inch 6 digit clock.
2. With a 1/4” drill bit, drill through the two marks.
[ 1 ]
Time Machines by CSS | 6030 South 58th St., Suite C | Lincoln NE 68516
voice: 402.261.8688 | email: sales@css-timemachines.com | web: css-timemachines.com

Installation & Operation Manual
3. Insert an anchor into each of the 2 holes using a hammer.
4. Insert a screw into each anchor leaving a 1/16-1/8 inch gap between the head of the screw and the mounting
surface.
5. Connect the network cable to the back of the clock.
6. Place the keyhole slots on the back of the clock over the screws and secure it into place.
2.3.2 Rack Mounting
1. Attach an ear to each side of the clock.
2. Attach clock to rack.
ILLUSTRATION: Attaching Rack Mounting Ears
2.3.3 Dual Clock Mount Bracket
Materials Needed:
1. Two Time Machines clocks of the same size
2. One Dual Mounting Bracket (760-265-000, 760-445-000 or 760-465-000)
3. 3/4” pipe, elbows, flange. Depending upon how you want to mount the clock determines what pipe lengths and
fittings you will need. The Dual Mounting Bracket accepts any 3/4” tubing with NPT (National Pipe Threads)
threads on the ends. This product is available through local hardware stores or large national chain stores.
4. Make sure that the power supply cord is long enough to reach the clock and wall outlet.
How to mount two clocks in the dual mount bracket:
1. Take two Time Machines clocks and match where the notch is on the display cover – this is where the Ethernet
cables will enter into the clock displays. The Dual Mount Bracket can be placed on the bottom or on the top of the
clocks. If needed, the display can be inverted so that the cables can run through the bracket and down into the
backside of each clock.
2. At the ends of the clocks, leave the screws out about ¼” so that they can be inserted into the key holes on the
Dual Mount Bracket.
3. BEFORE you mount the clocks into the bracket, run two Ethernet cables through all pipes and fittings that will be
used to hang the clocks. Connect the cables to the clocks and then mount the clocks into the bracket.
4. Secure the bracket to the clocks by tightening the screws on the ends of the bracket into the clock.
5. Begin to tighten the pipe into the bracket. Start from the pipe/Dual Clock Bracket connection out to the
connections for the wall or ceiling.
6. Secure the entire fixture to the wall or ceiling.
7. Connect the Ethernet cables.
Time Machines by CSS | 6030 South 58th St., Suite C | Lincoln NE 68516
voice: 402.261.8688 | email: sales@css-timemachines.com | web: css-timemachines.com
[ 2 ]
 Loading...