

Page 1
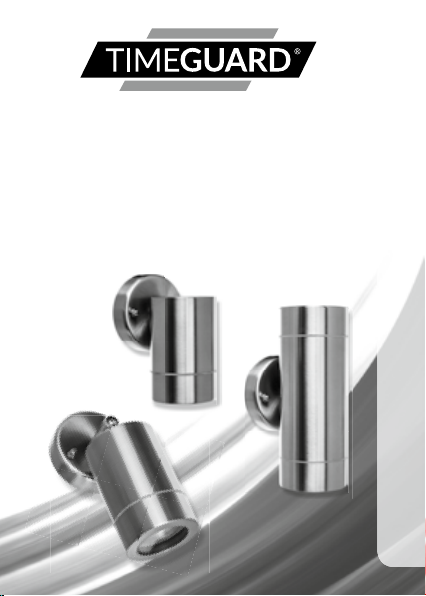
LED Ready Wall Lights
UDSS1 – Fixed single spot light – stainless steel
UDSS2 – Up/down light – stainless steel
UDSS 3 – Adjustable single spot light – stainless steel
UDB1 – Fixed single spot light – black
UDB2 – Up/down light – black
UDB3 – Adjustable single spot light – bl ack
Installation & Operating Instructions
Page 2

1. General Information
These instructions should be read carefully and retained for further
reference and maintenance.
2. Safety
• Before installation or maintenance, ensure the mains supply to the
luminaire is switched off and the circuit supply fuses are removed
or the circuit breaker turned off.
• It is recommended that a qualified electrician is consulted or used
for the installation of this luminaire and install in accordance with
the current IEE wiring and Building Regulations.
• Check that the total load on the circuit including when this
luminaire is fitted does not exceed the rating of the circuit cable,
fuse or circuit breaker.
3. Technical Specifications
1
• 230V AC 50 Hz.
• This luminaire is of class I construction and must be earthed.
• 35W Halogen GU10 or LED equivalent (lamp not supplied).
• IP65 Rated suitable for restricted external applications.
• -5° to 55°C Operating temperature.
• CE Approved.
Page 3
4. Installation
• Remove wall plate from light fitting, by removing the two nuts.
• Mark the position of the mounting holes on the wall.
• Drill the holes for the wall plugs ensuring not to infringe with
any gas/water pipes or electrical cables that may be hidden
below the surface.
• Secure the supply cable into the luminaire through the hole(s)
provided ensuring that a cable gland, grommet or sealing
compound is used to maintain the IP rating of the luminaire.
• Mount the wall plate to the wall, using the fittings provided.
Note: the wall plate must be mounted in the correct orientation,
following the ‘UP’ arrow sticker located on the inside of the light
fitting (fixed single spots and up/down lights). This will ensure
the fitting will be the correct way up when it is reconnected
to the wall plate.
• Replace the lamp unit over the wall plate, ensuring the main
2
gasket is in place, and tighten the two nuts hand tight,
to retain the lamp.
Page 4

The UDSS2/UDB2 (only) must be
mounted this way up;
Note: Orientation of screw threads.
3
Page 5

LEN
MAIN
SUPPL
SWITCH
4
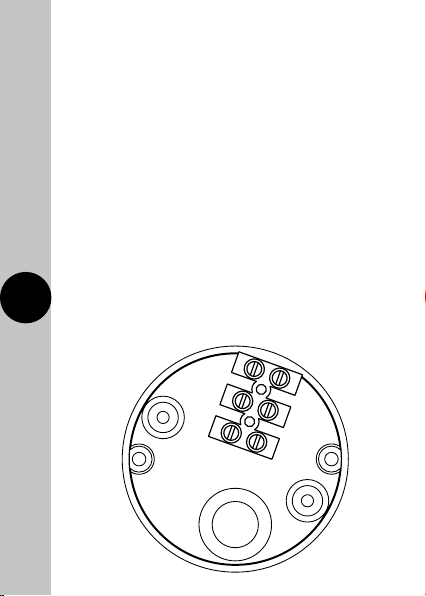
5. Connection Diagram
N
S
Y
E
L
ISOLATION
6. Operation
Turn the power on to the isolating switch and test
for correct operation.
Page 6

3 Year Guarantee
In the unlikely event of this product becoming faulty due to defective
material or manufacture within 3 years of the date of purchase,
please return it to your supplier in the first year with proof of
purchase and it will be replaced free of charge. For the second
and third years or any difficulty in the first year telephone
5
the helpline on 020 8450 0515.
Note: A proof of purchase is required in all cases. For all eligible
replacements (where agreed by Timeguard) the customer is
responsible for all shipping/postage charges outside of the UK.
All shipping costs are to be paid in advance before a replacement
is sent out.
Page 7

6
Page 8

If you experience problems, do not immediately
return the unit to the store.
Telephone the Timeguard Customer Helpline;
HELPLINE
020 8450 0515
or email helpline@timeguard.com
Qualified Customer Support Co-ordinators will be on-line
to assist in resolving your query.
For a product brochure please contact:
Timeguard Limited.
Victory Park, 400 Edgware Road,
London NW2 6ND
Sales Office: 020 8452 1112
or email csc@timeguard.com
www.timeguard.com
67-058-523 (Issue 1)
Zerofour – July 2015
 Loading...