

Page 1
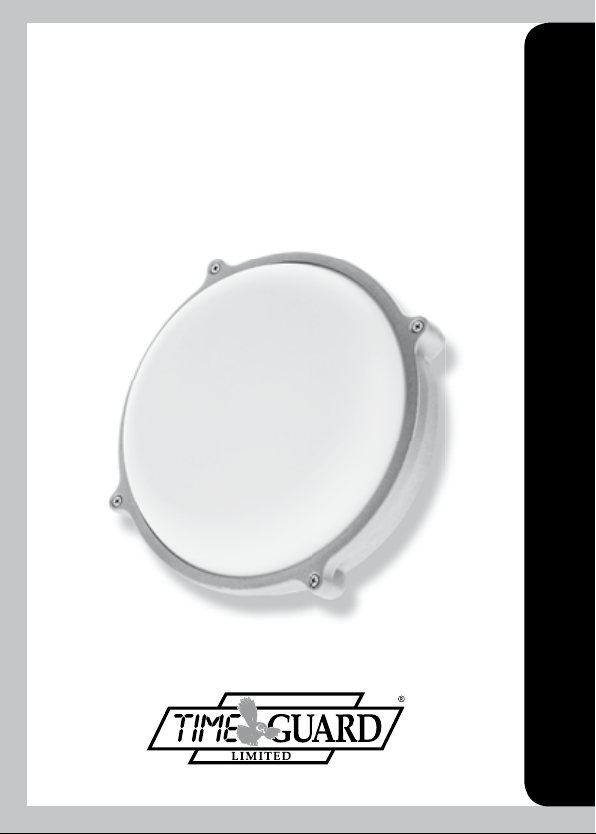
25W LED Energy Saver
Bulkhead Light
Model: LEDBHR25W – Silver
Installation & Operating Instructions
Page 2

1. General Information
Parts Included:
• Luminaire unit.
• Instruction manual. Please keep safe for future reference.
• Accessory pack.
Tools & Parts Needed:
• Electric drill and bits.
• Terminal or electricians screw driver.
• Flat and Philips screw driver.
• Wire cutters.
2. Selecting the Location:
The unit is for outdoor use. The unit must be mounted on a
non-flammable surface as a fixed luminaire, and is not suitable
1
for portable use.
The unit can get very hot during use. Ensure the unit has cooled
before handling. Ensure adequate ventilation space is allowed
between the unit and any object above, in front, or to either side
of the unit. Suggested space is 0.5m above, 0.3m to either side,
and 1.0m in front.
Page 3
3. Installation
After choosing a suitable location (see previous section) install the unit
as follows:
IMPORTANT
***
Switch off electricity at the fuse box by removing
the relevant fuse or switching off the circuit breaker
before proceeding with the installation.
We recommend that this unit be fitted by a
qualified electrician. Install in accordance with
wiring and current building regulations.
Please read the instructions carefully.
***
The unit is suitable for connection to a 230V AC 50Hz electricity supply.
It is suggested that 3 core round flexible cable of 1mm
An isolating switch should be installed to switch the power to the
2
unit ON/OFF.
Remove the front of the unit, by undoing the 4 Philips screws.
Remove the bezel, and the lens (with gasket). The mounting holes
should now be visible. Mark the position of the mounting holes on
the wall, and drill the holes for the wall plugs. Undo the cable gland
sufficiently to allow the cable to be pushed through from the back.
Leave enough slack to allow for wiring, re-tighten the cable gland,
and screw the unit to the wall using the screws and seals provided.
It is important to use the seals to maintain the IP rating.
Connect the earth wire to the earth terminal on the back case,
and live and neutral to the two way terminal block. Secure the
cable using the cable clamp.
Reposition the lens over the unit, taking care to ensure the
gasket is in place. Put the bezel over the lens, and re-tighten
the 4 Philips screws.
2
gauge is used.
Page 4
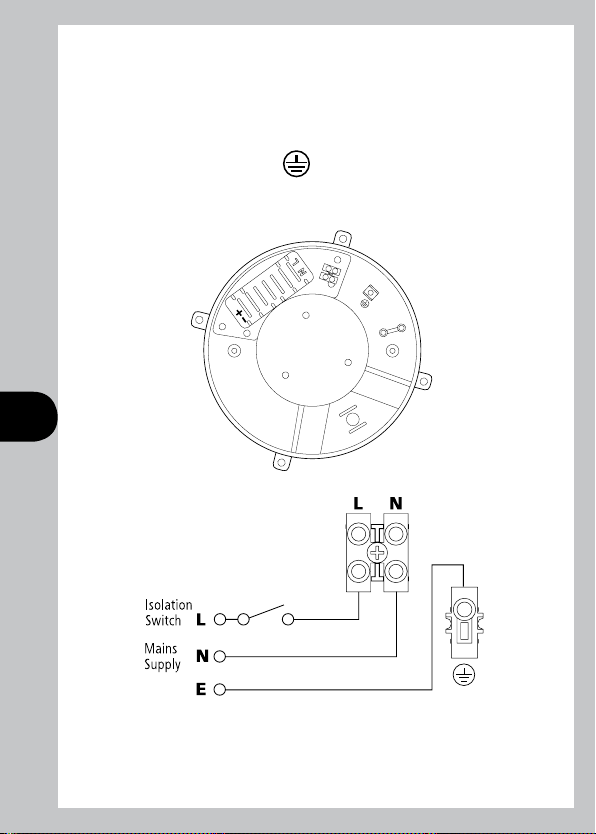
4. Connection
Live (brown) L
Neutral (blue) N
Earth (green/yellow)
Ensure all connections are secure.
3
5. Operation
Turn the power to the isolating switch on. Use the isolating switch to turn
the unit on, and it will illuminate.
Page 5

6. Technical Specifi cations
Energy effi ciency Class A
Energy usage 26.5KwH/1000H
Output 1580lm typical
Colour 5000K
Lamp beam angle 120 degrees
The lamps are not replaceable
in this product
Power supply 230 V AC 50 Hz
Lamp type 25W LED which is the equivalent
of 135W halogen lamp.
Environmental protection IP65
EC directives Conforms to current EC directives
Dimensions 220mm x 220mm x 80mm
4
Mounting hole centres 155mm
If you experience problems, do not immediately return the unit to the store.
Telephone the Timeguard Customer Helpline 020 8450 0515
Qualifi ed Customer Support Co-ordinators will be on-line to assist in
resolving your query.
3 Year Guarantee
In the unlikely event of this product becoming faulty due to defective
material or manufacture, within 3 years of the date of purchase,
please return it to your supplier in the first year with proof of purchase
and it will be replaced free of charge. For years 2 to 3 or any difficulty
in the first year, telephone our helpline on 020 8450 0515.
Note: a proof of purchase is required in all cases. For all eligible
replacements (where agreed by Timeguard) the customer is responsible
for all shipping/postage charges outside of the UK. All shipping costs
are to be paid in advance before a replacement is sent.
Page 6

5
For assistance with this product
please contact:
HELPLINE
020 8450 0515
or email [email protected]
For a product brochure please contact:
Timeguard Limited.
Victory Park, 400 Edgware Road,
London NW2 6ND
Sales Offi ce: 020 8452 1112
or email [email protected]
Zerofour – August 2014
67-058-510 (Iss.1)
 Loading...