

Timeguard LED100PIRBE, LED100PIRWHE, LED200PIRBE, LED200PIRWHE Installation & Operating Instructions Manual
Installation & Operating Instructions
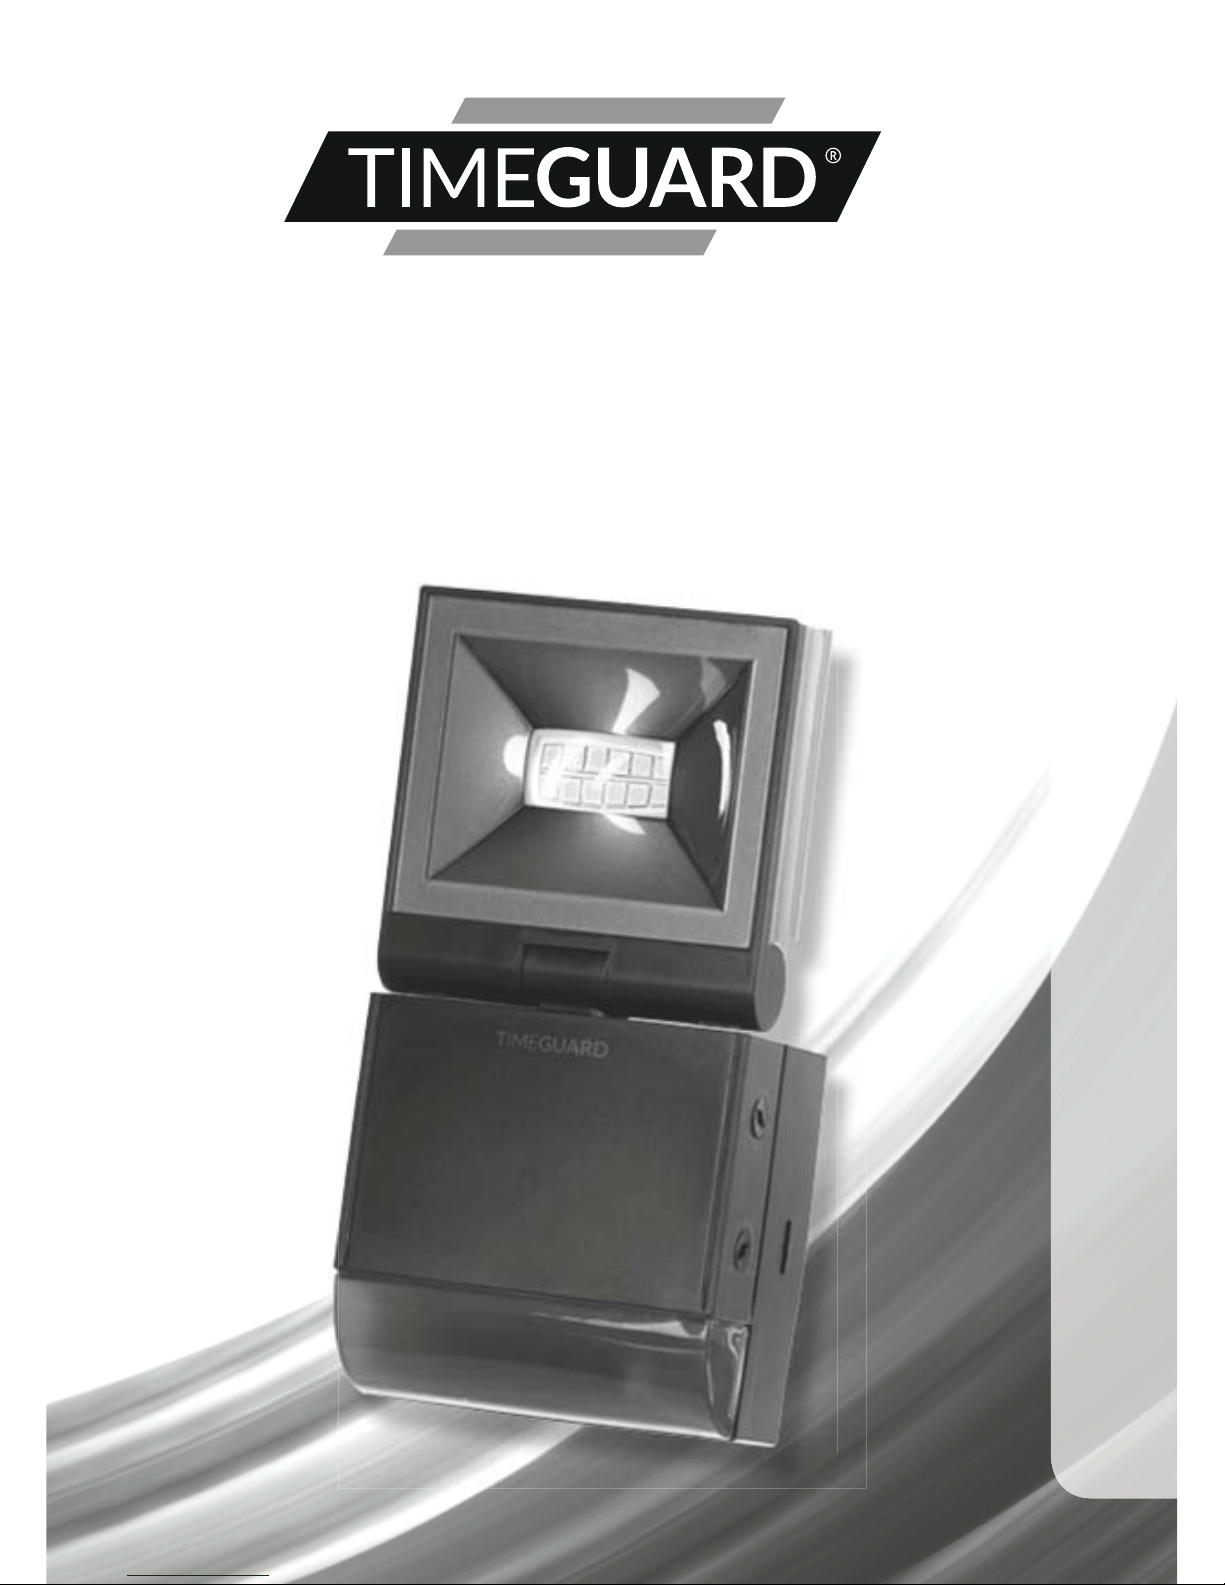
10W LED Slimline
PIR Floodlight – Single Flood
Model: LED100PIRBE – Black
Model: LED100PIRWHE – White

1
1. General Information
These instructions should be read carefully and retained for further reference
and maintenance.
2. Safety
• Before installation or maintenance, ensure the mains supply to the luminaire
is switched off and the circuit supply fuses are removed or the circuit breaker
turned off.
• It is recommended that a qualified electrician is consulted or used for the
installation of this luminaire and install in accordance with the current IEE
wiring and Building Regulations.
• Check that the total load on the circuit including when this luminaire is fitted
does not exceed the rating of the circuit cable, fuse or circuit breaker.
3. Technical Specifications
• 230V AC 50Hz
• This luminaire is of class I construction and must be earthed
• 10W LED Non replaceable lamp
• Energy Usage: 10KwH/1000H
• Lumen Output: 840lm
• Motion Detection Range: Up to 10m at 2.5m mounting height
• Detection Angle: 180°
• Lamp Adjustment Pan and Tilt: Wall Mount – Left and Right 40°
(limited by wall), Downward 70°
Wall Mount with Spacer (sold separately) –
Left 210°, Right 45°, Downward 70°
Inner Corner Bracket (sold separately) –
Left 210°, Right 45°, Downward 70°
Outer Corner Bracket (sold separately) –
Left 90° (limited by corner), Right 45°,
Downward 70°
• Time ON Adjustment: 2 seconds to 30 minutes
(2s, 20s, 2m, 5m, 10m, 15m, 30m)

2
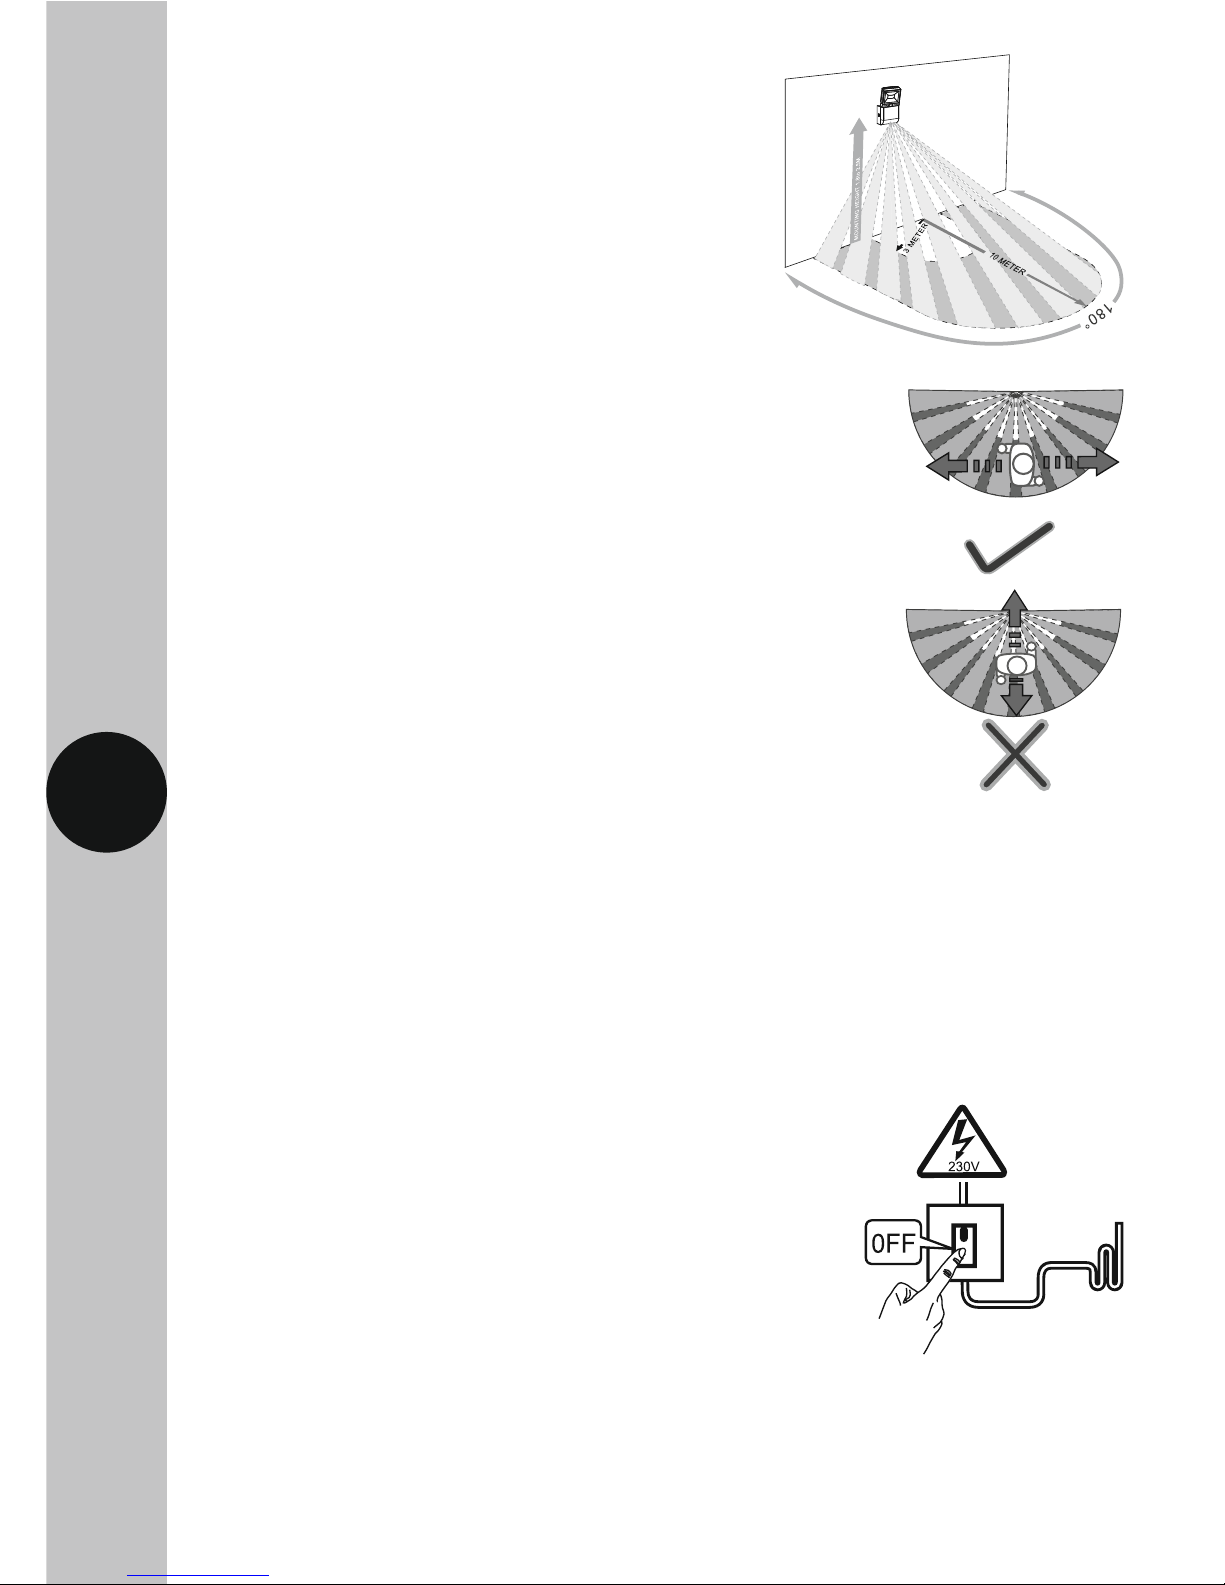
4. Selecting a Location
• The PIR sensor has number of detection zones, at various vertical and horizontal
angles as shown. See image A.
• Lux Adjustment: 2 to 200 lux
• Stand-by Power Consumption: 0.4W
• Warm-up Duration: 30 seconds
• Colour Temperature: 4000K
• Operating Temperature: - -20°C to +45°C
• Manual Pulse Override: Double flip within 2 seconds to enter
6 hours ON time
• Back Box Mounting Centres: 60mm
• IP55 Rated suitable for restricted external applications
• CE Compliant
• Dimensions: H= 160mm, W= 80mm, D= 50mm
Other Loads – External (Slave)
• LED Lamp: Max 100W
• Halogen Lamp: Max 300W
• Fluorescent Lamp: Max 200W
Parallel Switching
• A maximum of 4 LED100PIR single floodlights can be wired in parallel
to enable any detector to turn ON all the lights connected.
Note: if you have the PIR floodlights set for different time durations,
and you trigger more than one PIR sensor, the light will stay ON for duration
of the highest set time.
A
3
5. Installation
5.1 Ensure the mains supply is switched off and the
circuit supply fuses are removed or the circuit
breaker turned OFF (See image 1).
• A moving human body needs to cross/enter
one of these zones to activate the PIR sensor.
The best all-round coverage is achieved with
the floodlight mounted at the optimum height
of 2.5 metres. See image B.
• Careful positioning of the PIR sensor will be required
to ensure optimum performance.
• The PIR sensor is more sensitive to movement ACROSS
its field of vision than to movement directly TOWARDS
(See image C). Therefore position the floodlight so that
its PIR sensor looks ACROSS the likely approach path.
• Avoid positioning the floodlight where there are any
sources of heat in the detection area of its PIR sensor
(extractor fans, tumble dryer exhausts etc.) including
opposite any other light sources such as other
security floodlights.
• Reflective surfaces (i.e. pools of water or white painted walls) and overhanging
branches may cause false activation under extreme conditions.
• During extreme weather conditions the PIR sensor may exhibit unusual
behaviour. This does not indicate a fault with the product. Once normal
weather conditions return, the PIR sensor will resume normal operation.
B
1
C
 Loading...