

Page 1
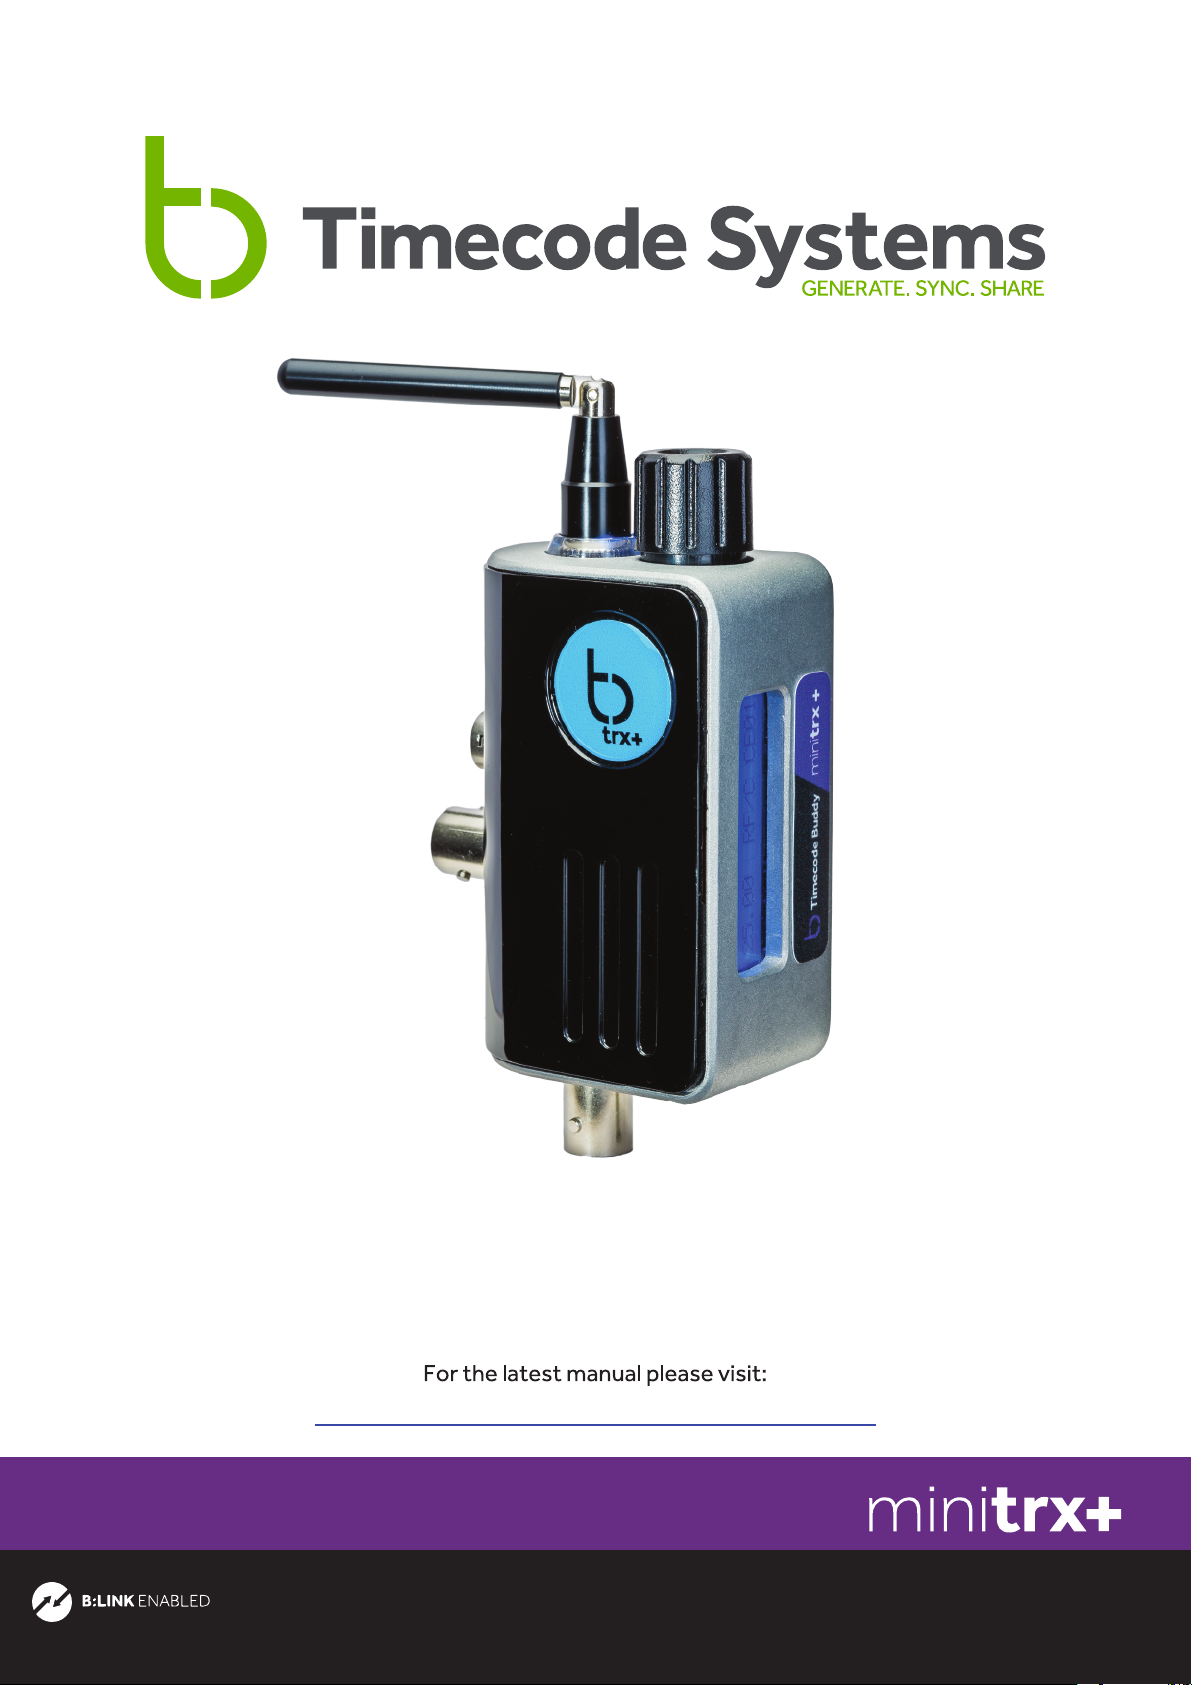
An ultra compact timecode, genlock and
word clock generator with transceiver
www.timecodesystems.com/support/product-manuals
quick start guide
Page 2
Here we give you a quick tour of your new Timecode Systems minitrx+,
guiding you through its key features so you can get up and running straight
away.
What’s covered?
The basics to getting started with:
● Timecode Systems: minitrx+
● B:LINK Network: overview
● Timecode Buddy: app (free to download)
The future of timecode starts here...
Copyright Notice - Timecode Systems Limited
All rights reserved. No part of this publication may be reproduced without
the expressed written permission of Timecode Systems Ltd.
Timecode Systems Ltd shall not be liable to the purchaser of this product
or third parties for damages, losses, costs, or expenses incurred by the
purchaser or third parties as a result of accident, misuse or abuse of this
product or unauthorised modifications, repairs, or alterations to this
product, or failure to strictly comply with Timecode Systems Ltd operating
and installation instructions.
The ‘Timecode Systems’ logo is a registered trademark.
The ‘Timecode Systems: app” logo is a registered trademark.
Timecode Systems minitrx+ manual page: 1
Page 3
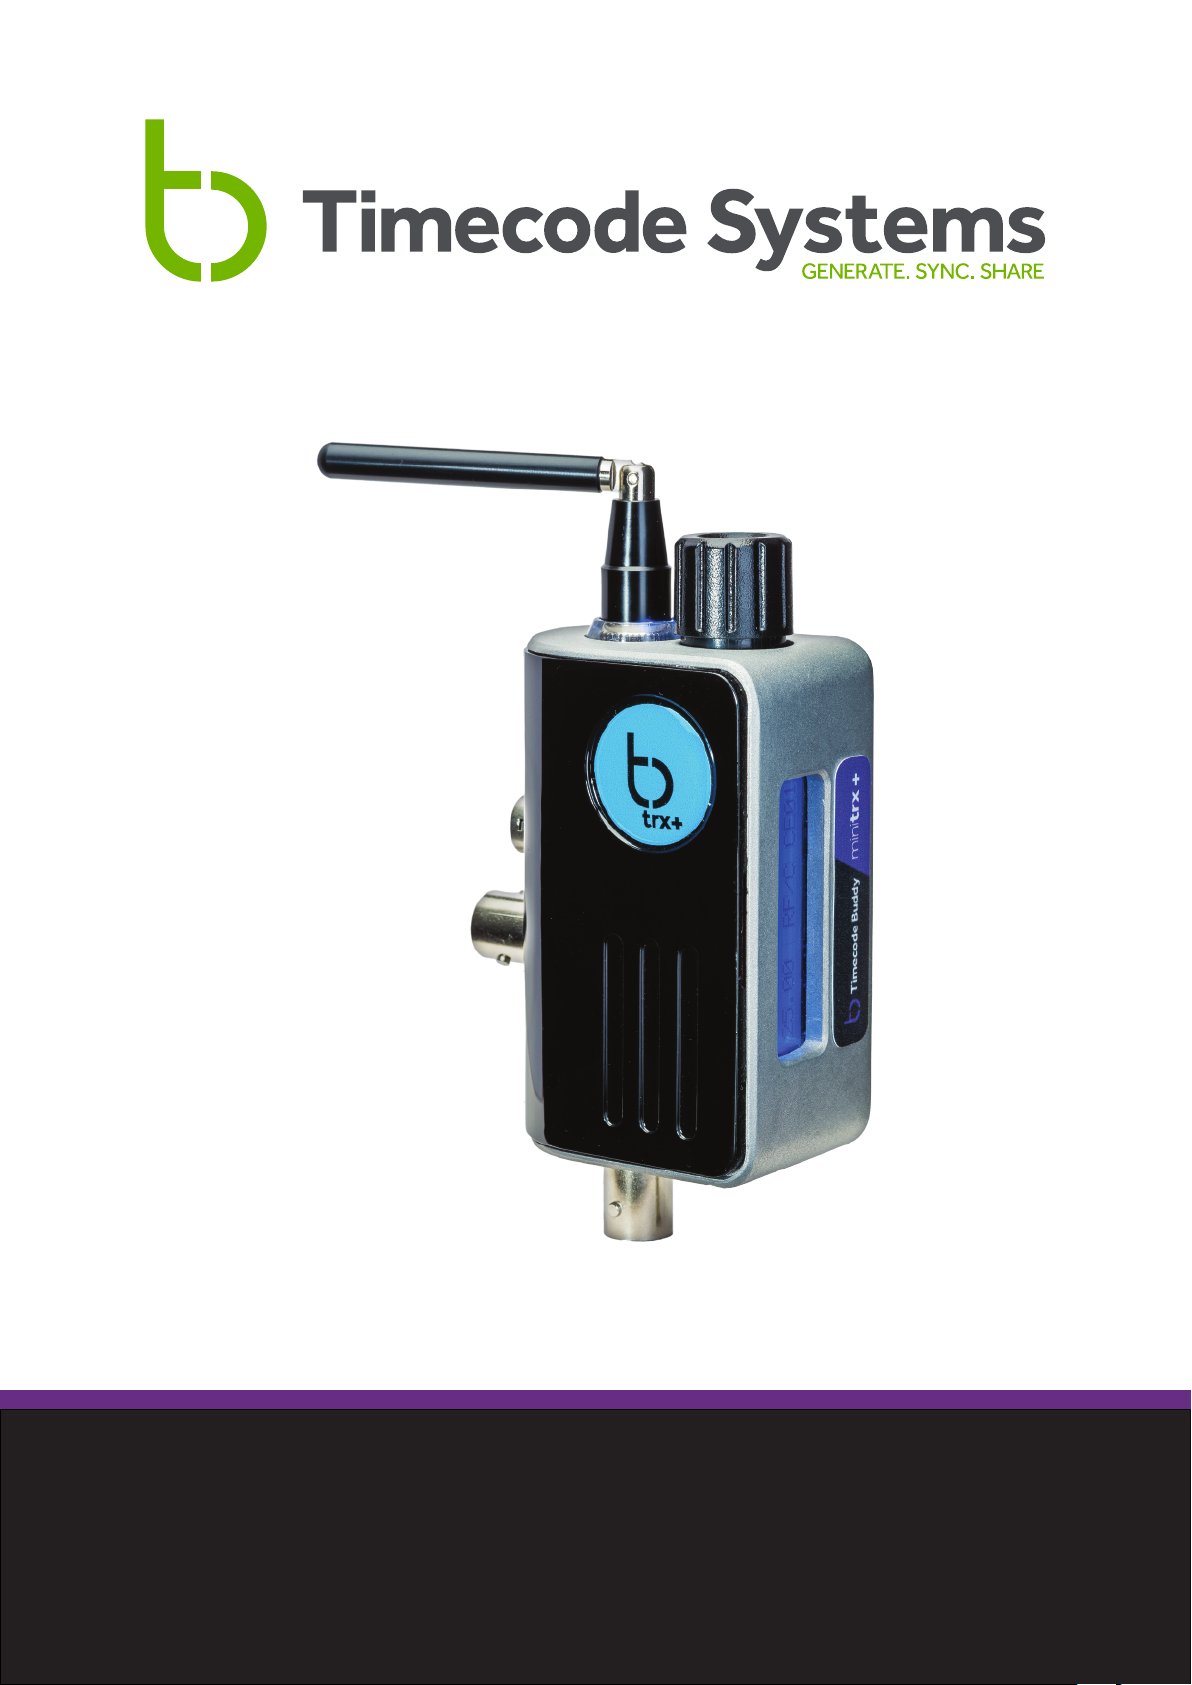
This is a guided tour of your highly accurate timecode, genlock and
Wordclock generator and multi-channel digital timecode transceiver with
B:LINK slave functionality.
Control
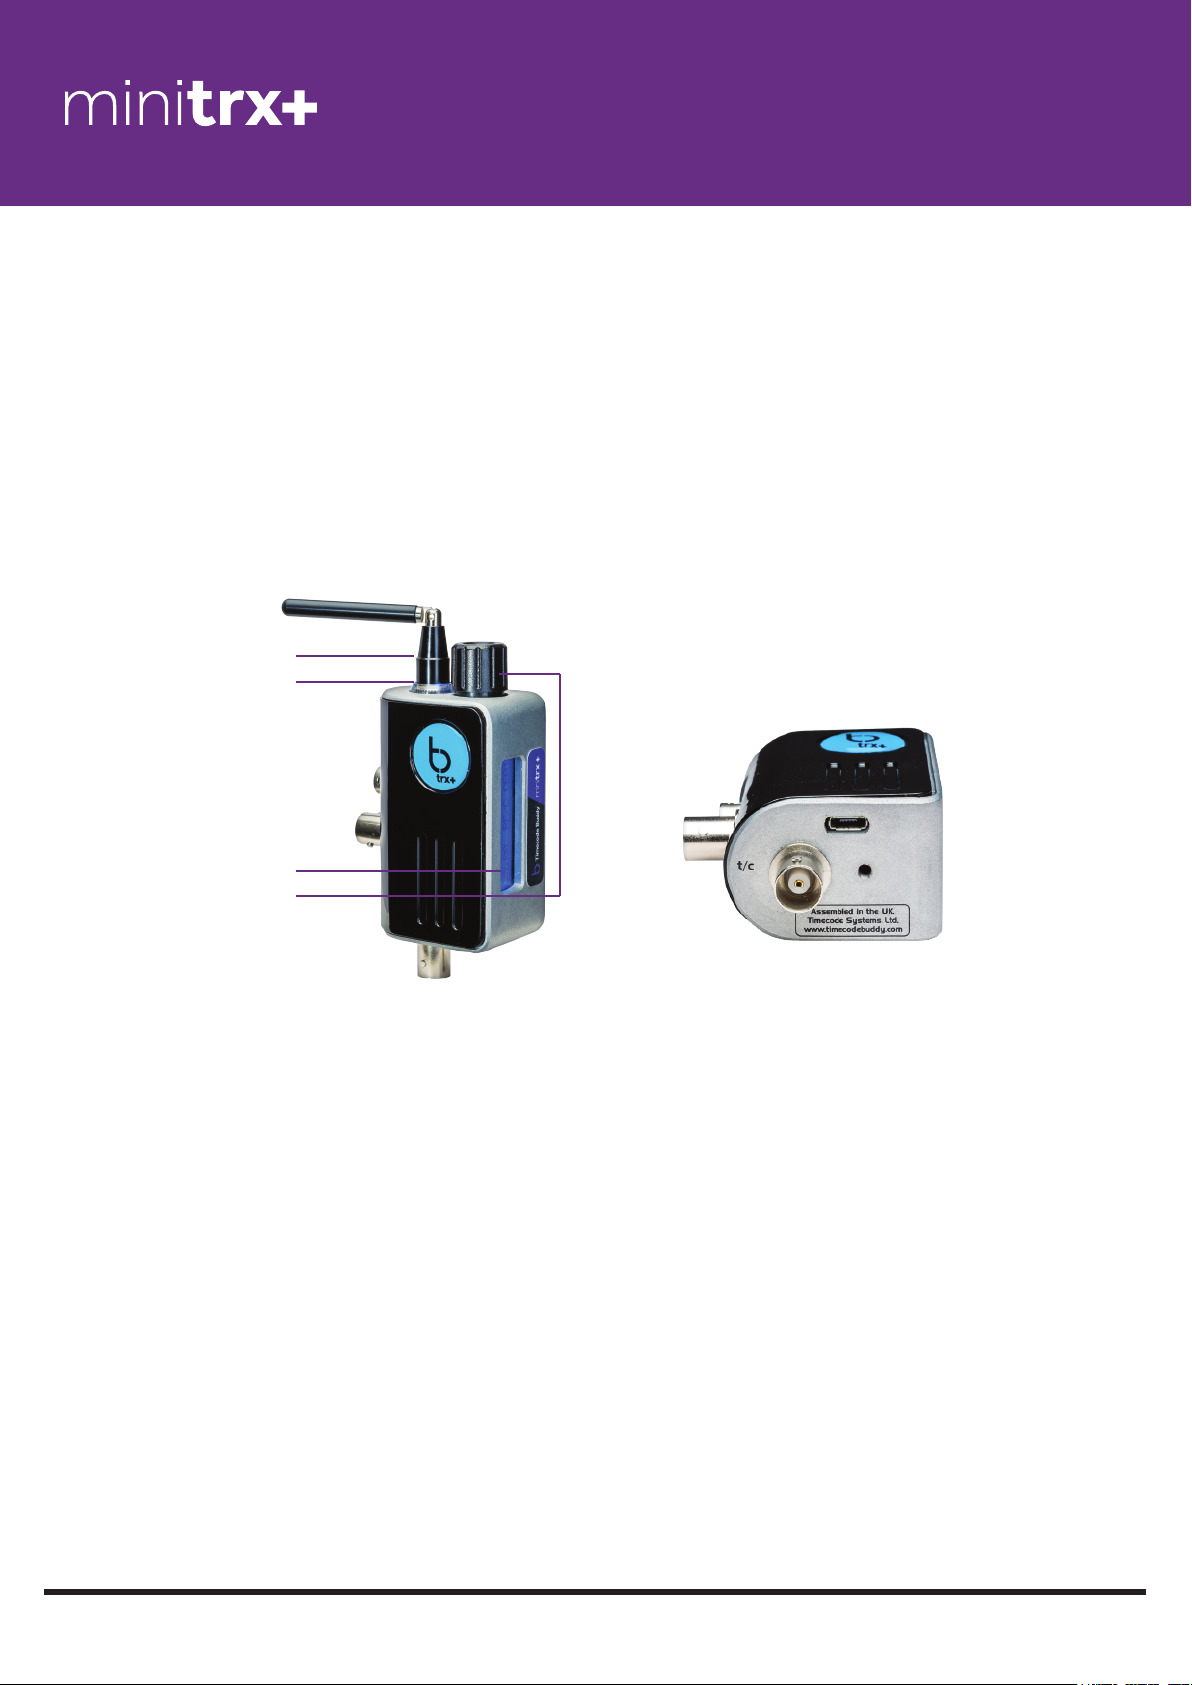
The Timecode Systems: minitrx+ settings are accessed and controlled from
the front panel using the control knob and LCD display.
1 Antenna
2 LED
3 LCD Display
4 Control Knob
1. Antenna
For the digital transceiver module operating in 870MHz (CE), 915MHz (FCC/IC) and
920MHz (ARIB) bands.
2. LED
Glows either blue, green or red.
● Blue flash - TC free running
● Green flash - TC Locked
● Red flash - Warning messages
3. LCD backlit display
Shows the unit’s status and settings
4. Control knob
Allows one finger navigation through menus.
Timecode Systems minitrx+ manual page: 2
Page 4
Ports
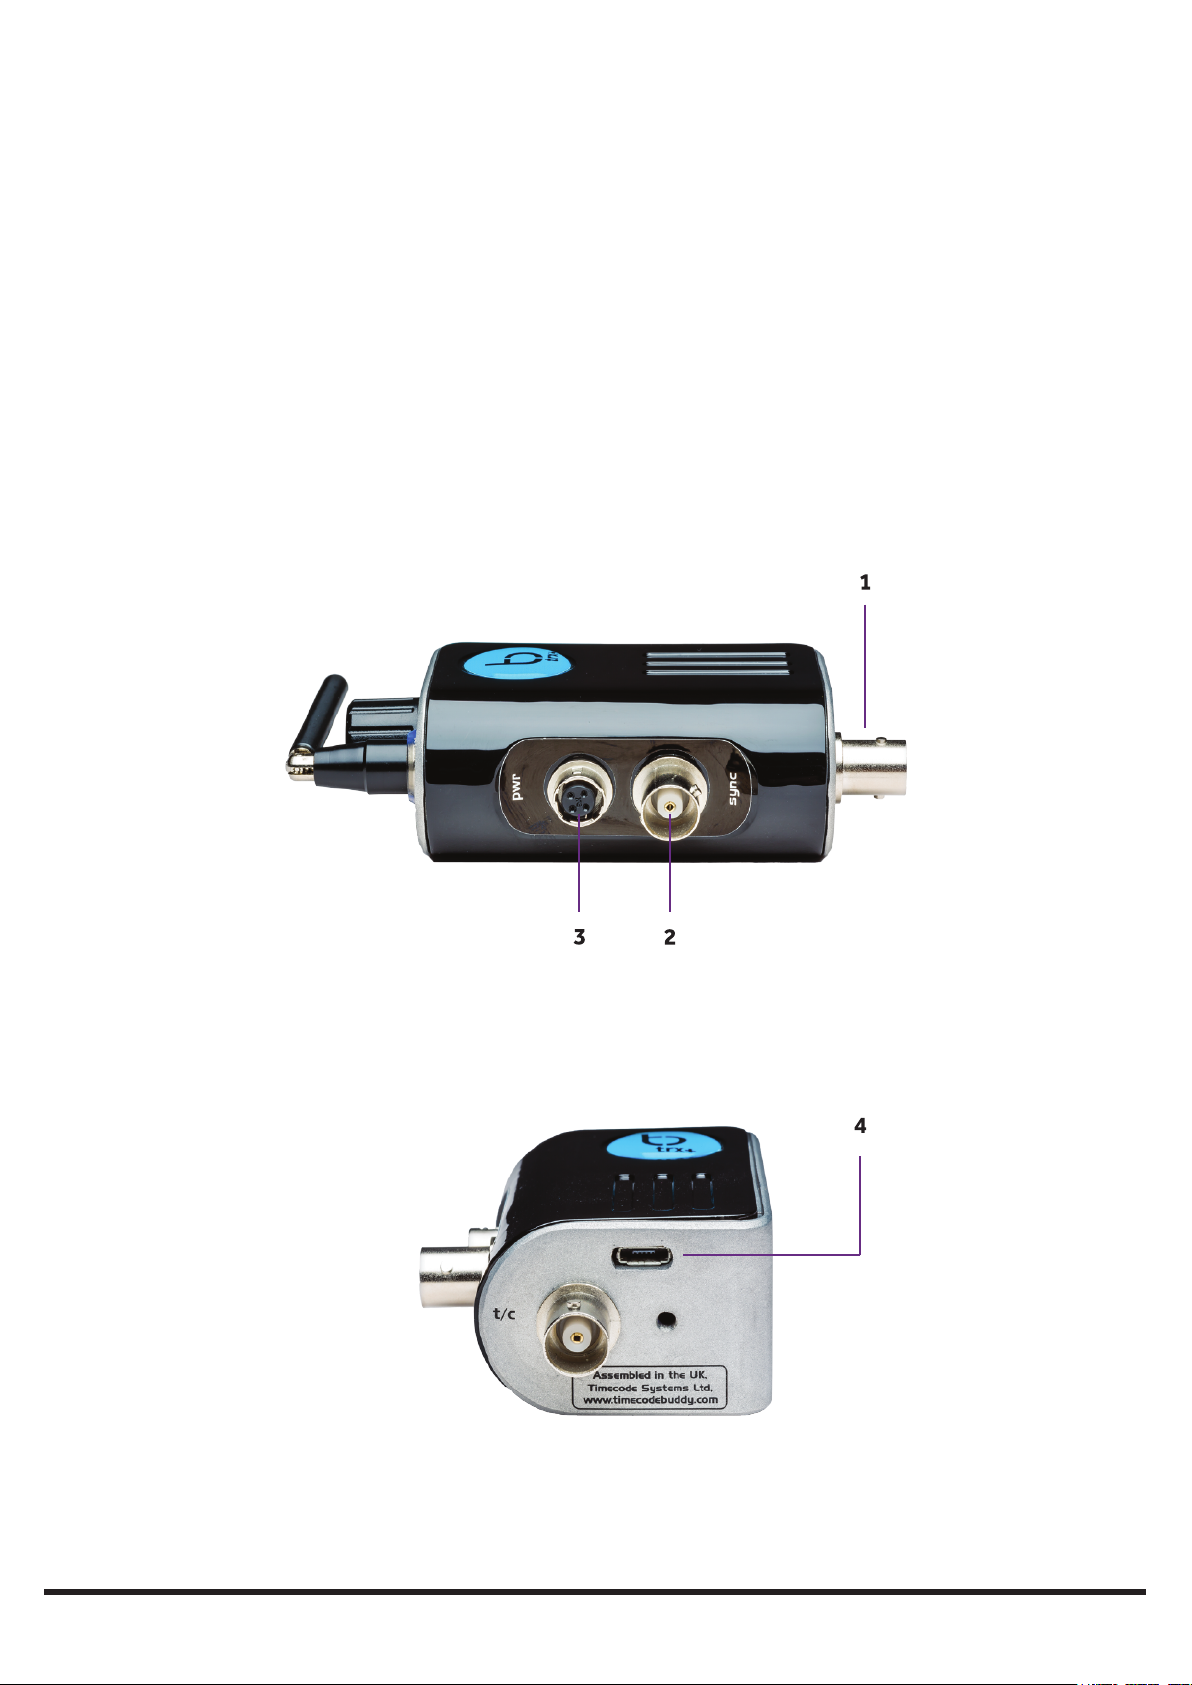
For all power and sync ports go to the back panel of the device.
1. TC: BNC Socket (LTC IN or OUT)
2. TC/SYNC: BNC Socket (LTC, genlock or word clock)
3. POWER: Hirose HR10a power socket input (9- 24V)
4. Micro USB 2.0 (Power in 5V and firmware updates)
Timecode Systems minitrx+ manual page: 3
Page 5
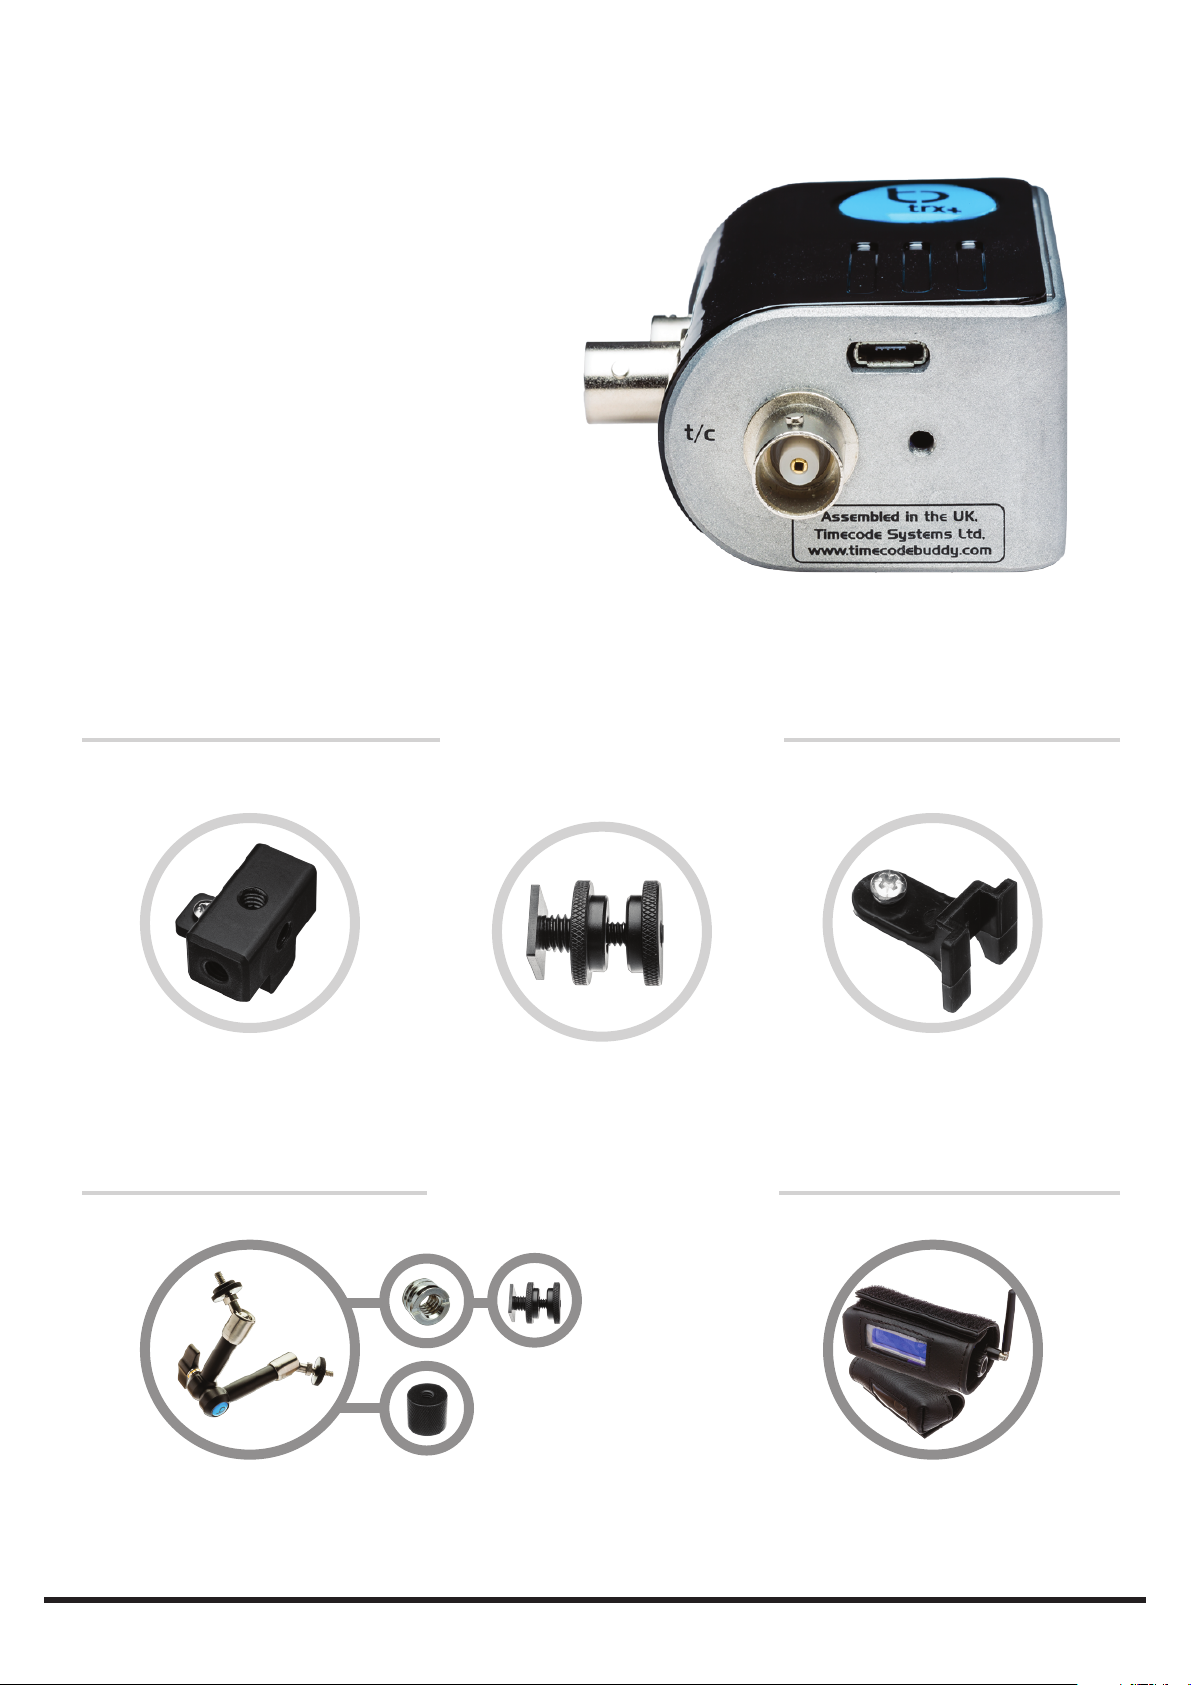
Mounting Solutions
The minitrx+ has flexible
mounting options.
included
multiple 1/4 inch thread
aluminium mounting block
TCB-33
Timecode Systems
7” articulated mounting arm
kit TCB-32
Timecode Systems minitrx+ manual page: 4
hot shoe adaptor TCB-34
optional extras
original lightweight mounting
hot shoe adaptor
TCB-24
Timecode Systems
mini-range leather pouch with Velcro
TCB-26
Page 6

Customise
On-screen menus allow you to easily customise the settings of the
Timecode Systems: minitrx+ to meet the exact needs of your shoot.
The default display shows (on time-out also):
TC + B:LINK unit ‘friendly’ Name (if assigned my app) + MODE +
RF CHANNEL + SIGNAL STRENGTH
Turning the knob on the front panel clockwise takes you to the following
information screens:
1. User Bits
2. Sync O/P Type
3. Button Lock
4. Power Source and Internal Battery Status
5. Firmware Version and Serial Number
6. Jam BNC Timecode (if in INT mode)
7. Jam RF Timecode (if in INT mode)
Button basics
From an information screen, press the knob to go directly to the menu for
the corresponding feature. From the default display, press the knob to enter
the menu for:
1. Timecode Mode
2. Int Generator
3. RF Settings
5. System Settings
6. Exit
Timecode Systems minitrx+ manual page: 5
Page 7

More on menus
Each menu allows further customisation of your Timecode Systems:
minitrx+.
Timecode Mode. Choose from four settings:
● Int Gen. From here you can set your own TC, user bits and FPS
settings, as the ‘master clock’ on set.
● Ext RF (cont). Constantly jam syncs the internal generator from the
received TC via another TCB device in RF TX mode. If the unit loses
signal, the TC output continues using the internal generator until
the signal is received again. If the RF timecode signal recieved is from a
B:LINK master device the unit will automatically operate in B:LINK slave
mode.
● Ext LTC. Constantly jam syncs the internal generator from the
received TC via the TC socket. If the External TC source is
removed, the TC output will freeze. Use this mode to sync to an
external timecode source.
● Ext LTC (cont). Constantly jam syncs the internal generator from the
received TC via the TC socket. If the External TC source is
removed, the TC output continues via internal generator
immediately. Use this mode to sync to an external timecode
source.
Internal Generator. Choose from:
● Set TimeCode. Turn to set flashing digits, press to enter, repeat for
each pair.
● Set User Bits. Turn to set flashing digits, press to enter, repeat for
each pair.
● Set FPS. Set to 25, 23.976, 24, 29.97, 29.97DF, 30 or 30DF.
RF Settings. From here select:
● Channel no. 1 to 14
● RX UBits On/Off. When On the unit will display and output the UserBits
received via RF. If Off the unit will display and output its own UserBits
set.
● RF TX On/Off. When in Int Gen or Ext LTC modes the unit can transmit
its SMPTE timecode data via RF to any other TCS product listening on
the same channel.
Timecode Systems minitrx+ manual page: 6
Page 8

System Settings. Gives you access to:
● Sync output type. Set to OFF, PAL, NTSC, 720p, 720px2,
1080i (PSF),1080p,1080px2 (x2 double frame rate), LTC, word clock
44.1, 88.2, 48, 96,192KHz.
Non-standard TC Sync standards and FPS combinations will be
automatically rejected.
● Sync output level. Set to STANDARD o/p level for genlocking 1
camera and HIGH o/p level for 2 cameras.
via BNC splitter. Set to HIGH for LTC and Word Clock
● Set LTC output level. Set to LINE Level (normal), LOW level and
MIC level.
● Set country/area. Set to Europe/UK, USA/CA/AU or Japan.
● Restore defaults. To remove any customisation.
● Display Adjust brightness from 0-100% and flip upside down for
left/right handed use. Backlight Always OFF, Short timed ON, Long
timed ON and Always ON.
Timecode Systems minitrx+ manual page: 7
Page 9
B:LINK
B:LINK Network Feature
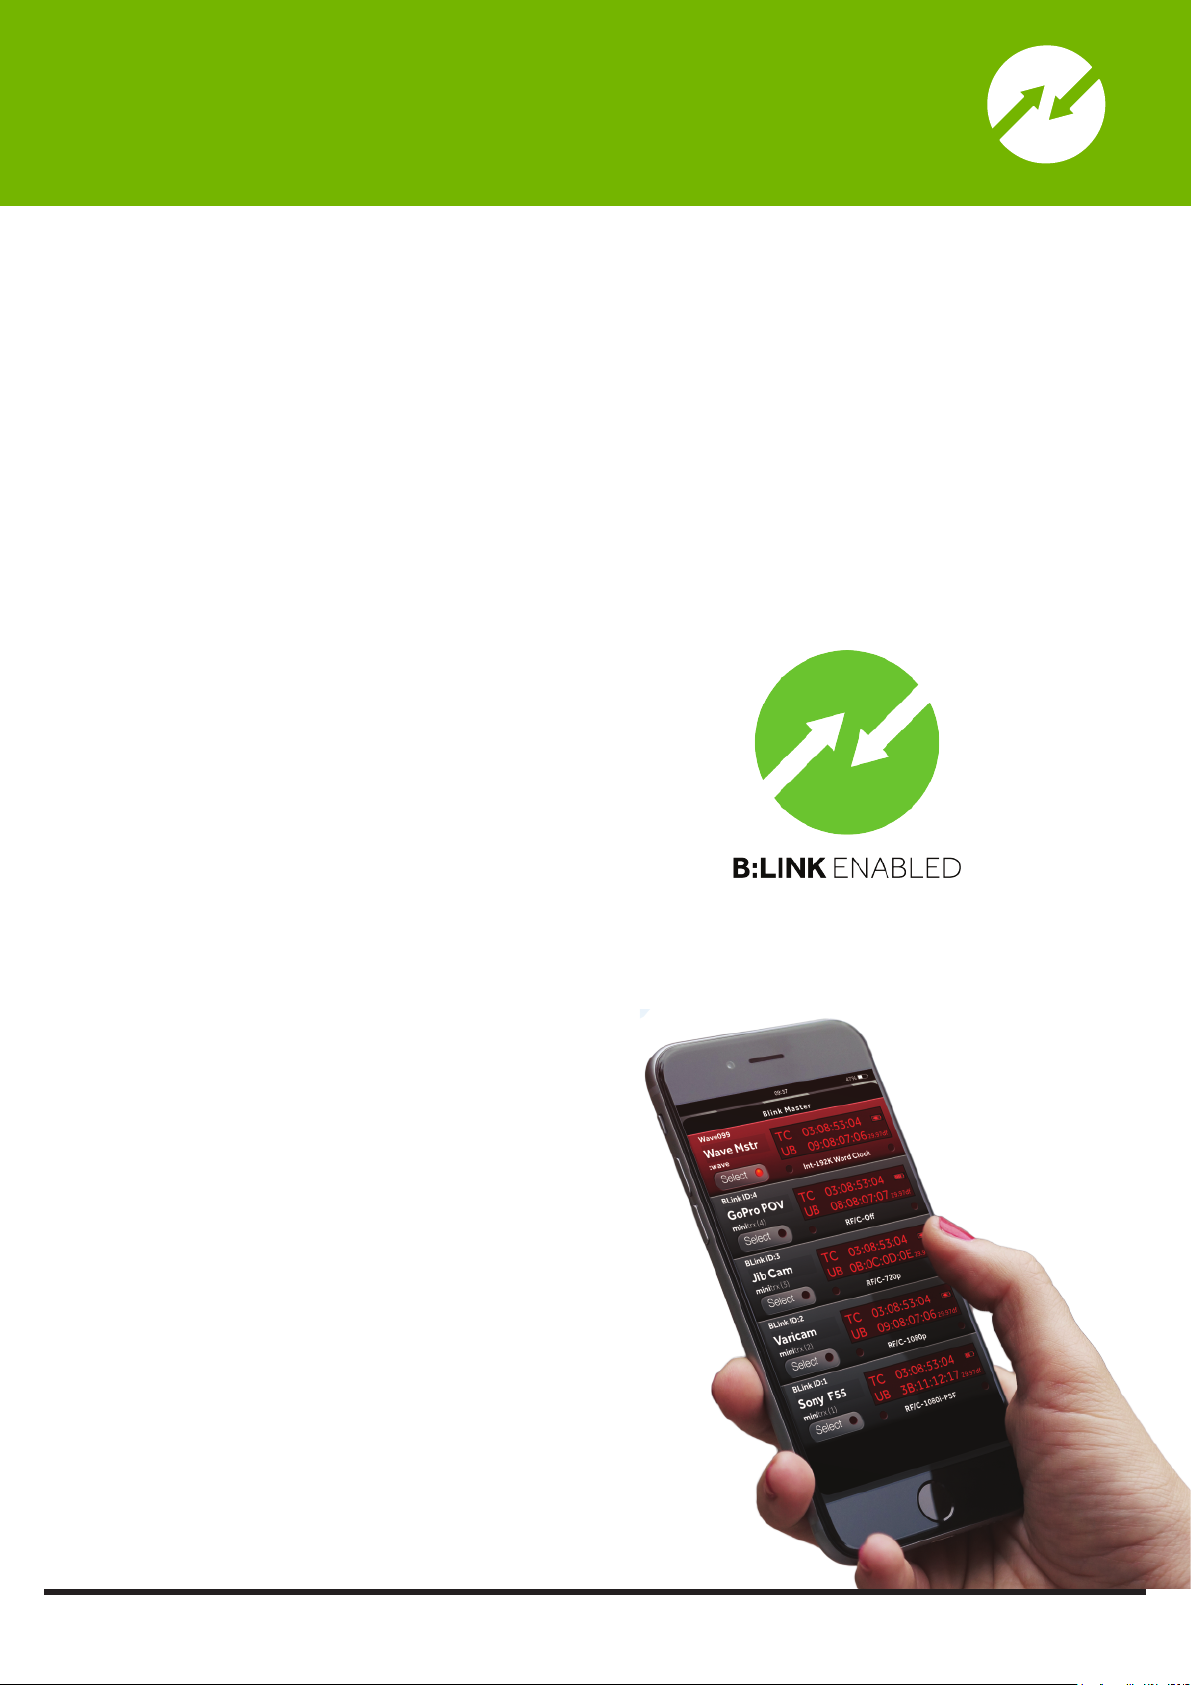
The B:LINK network augments the existing wirelessly shared timecode and
sync data. The proprietary B:LINK RF network keeps the same incredibly
accurate wireless sync over the robust sub GHz ISM bands, but adds
enhanced two-way multiplexed status/control and metadata.
This allows for complete monitoring
and control of all connected
“B:LINK-enabled” Timecode
Systems’ devices and is built to
allow for long-range remote control
and status of any supported &
connected third-party accessories.
A product such as the pulse, wave
or Denecke TS-TCB slate can be
configured as a BLINK master, and
products such as the pulse, wave,
trx+ and Denecke TS-TCB slate can
be configured as BLINK slave
devices.
Your mini trx+ will automatically
function as a B:LINK slate device
when in RF/C mode and receiving a
timecode signal from a B:LINK
master unit (needs to be set to the
same RF channel and country).
Timecode Systems minitrx+ manual page: 8
Page 10
More on B:LINK
The BLINK slave devices are continually feeding back their status and
settings to the BLINK master unit. The BLINK master unit then allows apps
such as MovieSlate 8 and the Timecode Buddy: app; to not only display all of
this information, but allow the user to remote control certain features.
Additionally with the wave and pulse products, if any supported 3rd party
equipment is connected the Data port or Ethernet port (pulse), then this
equipment can also be remotely controlled.
Of course, all of this BLINK functionality is multiplexed with the original
Timecode and Sync information data packets. This ensures that legacy and
non- BLINK Timecode Systems’ devices are still supported from a BLINK
master source.
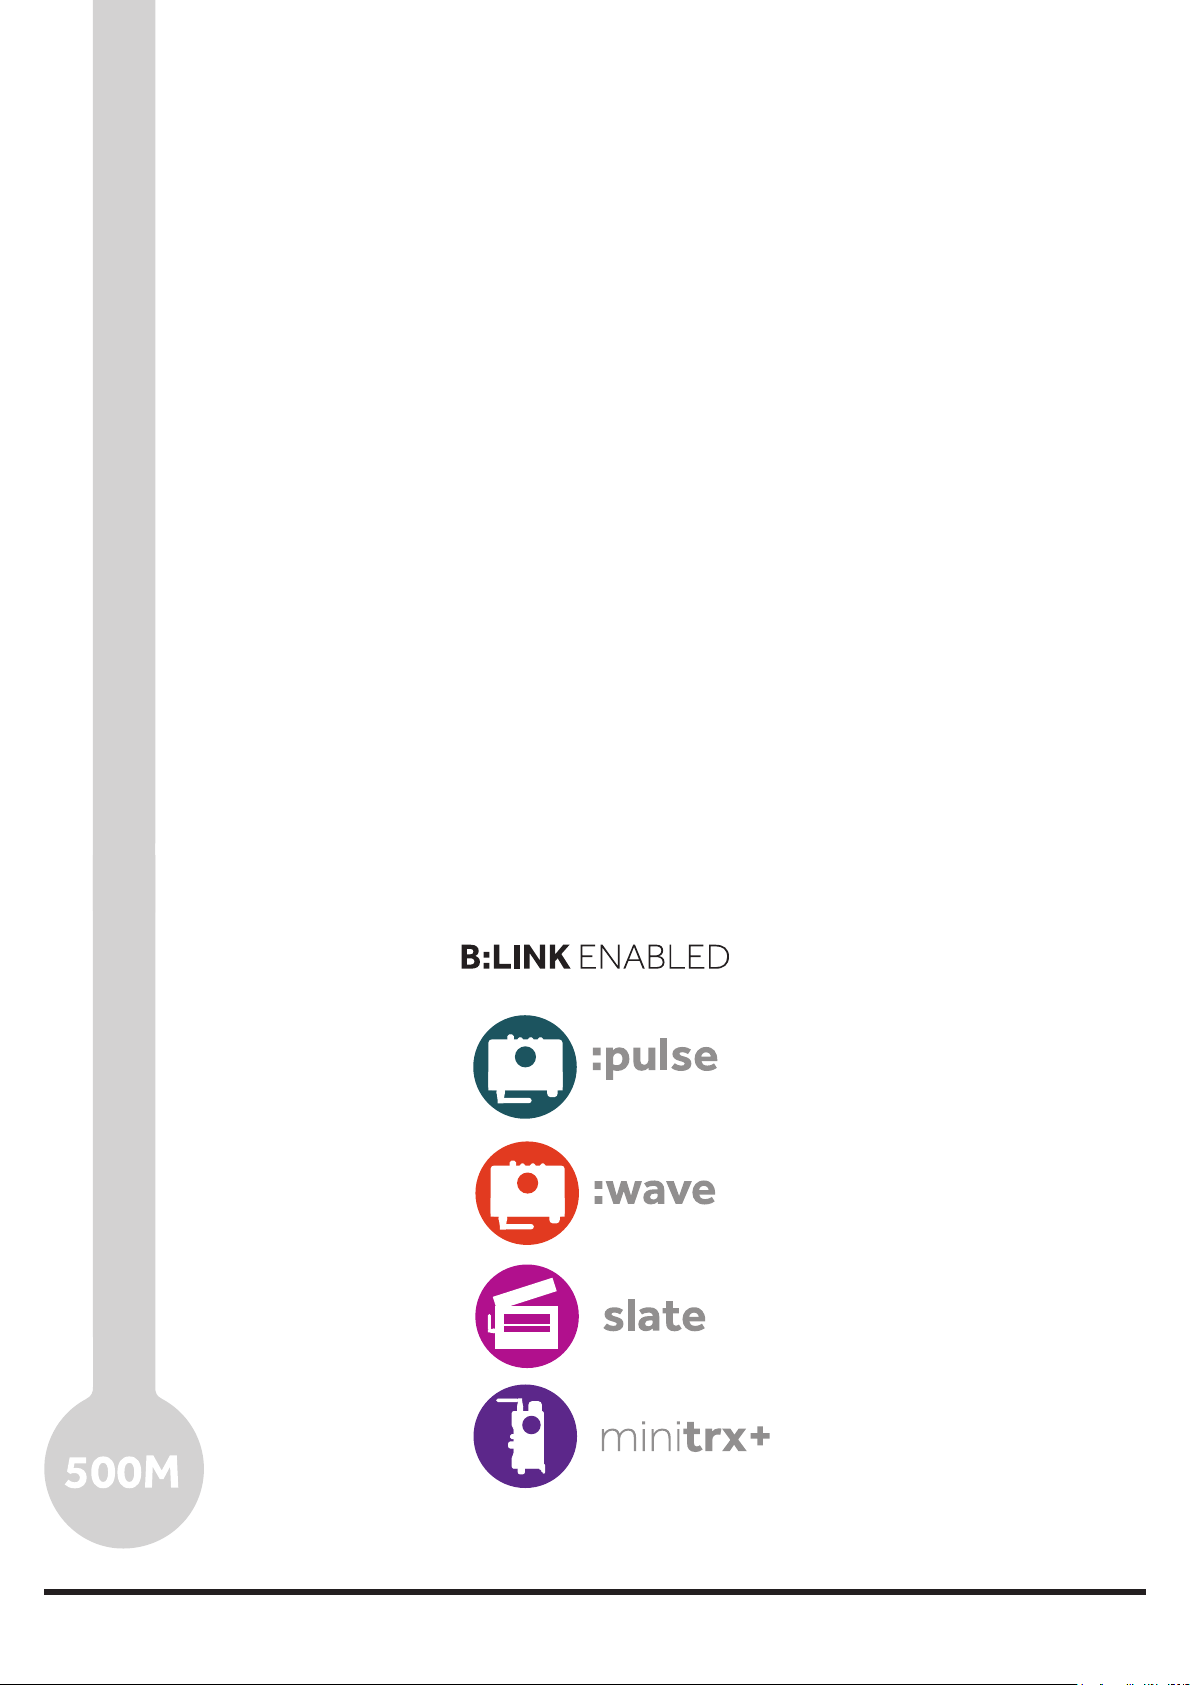
The huge advantage of the BLINK protocol is that it the Timecode Systems
RF transceiver is very long range and robust, with up to 500 metres line of
sight range. It is a very uncongested frequency band on set and in heavy RF
environments.
This then allows the WiFi network of the BLINK master to be used as a short
wireless hop into the apps, with the long range communications being
looked after by the BLINK network.
(blink slave only)
Timecode Systems minitrx+ manual page: 9
Page 11
app
Timecode Buddy: app
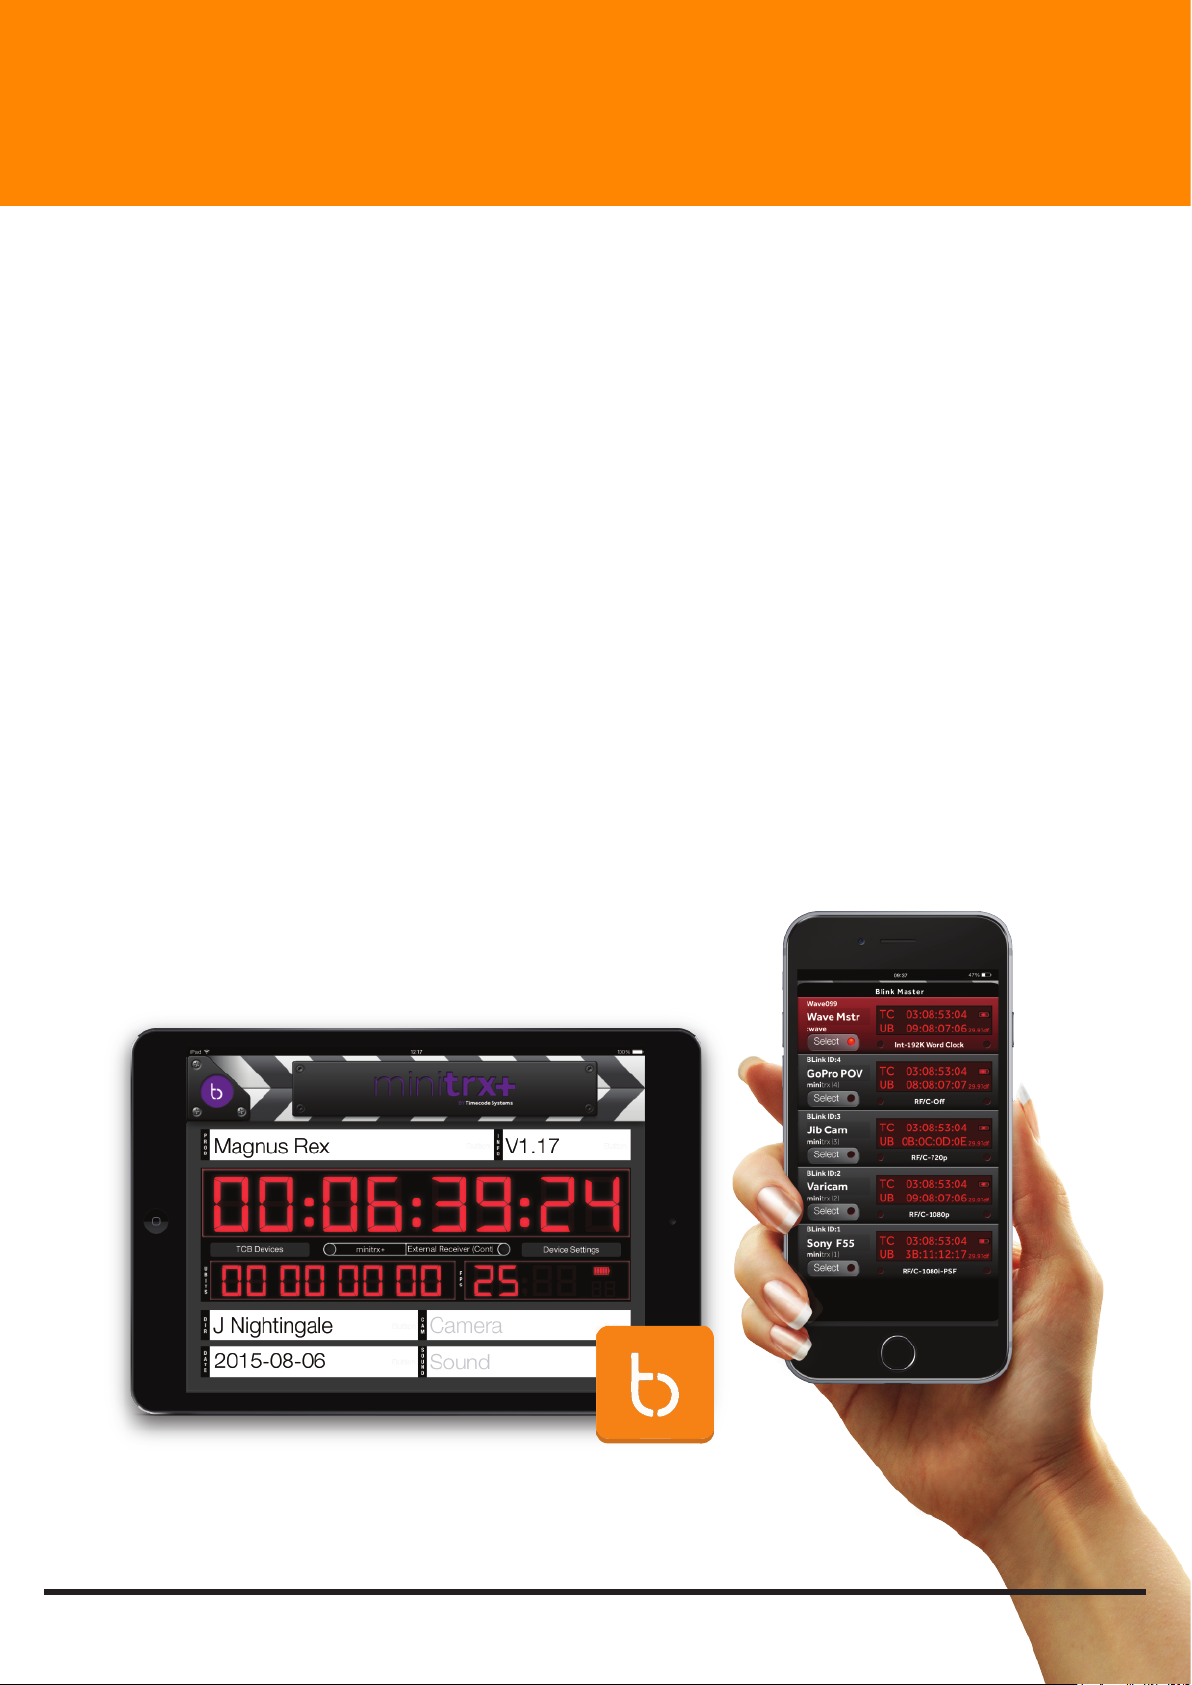
If you own a B:LINK enabled Timecode Systems WiFi product (pulse, wave
and Denecke TS-TCB Slate) then you will be able to monitor and control the
mini trx+ from the Timecode Buddy: app.
Simply use the WiFi product in a MASTER TX mode, use the mini trx+ in RF/C
slave mode. Ensure all devices are on the same RF channel. Once you log
your iPad/iPhone onto the WiFi network you will see the mini trx+ device
when you press the TCB Devices tab on the app.
If you want to remotely change any of the Device settings via the app, press
settings, type in the four-digit passcode (set on the systems menu of your
B:LINK master WiFi Device) then make changes directly from the app.
Timecode Systems minitrx+ manual page: 10
Page 12
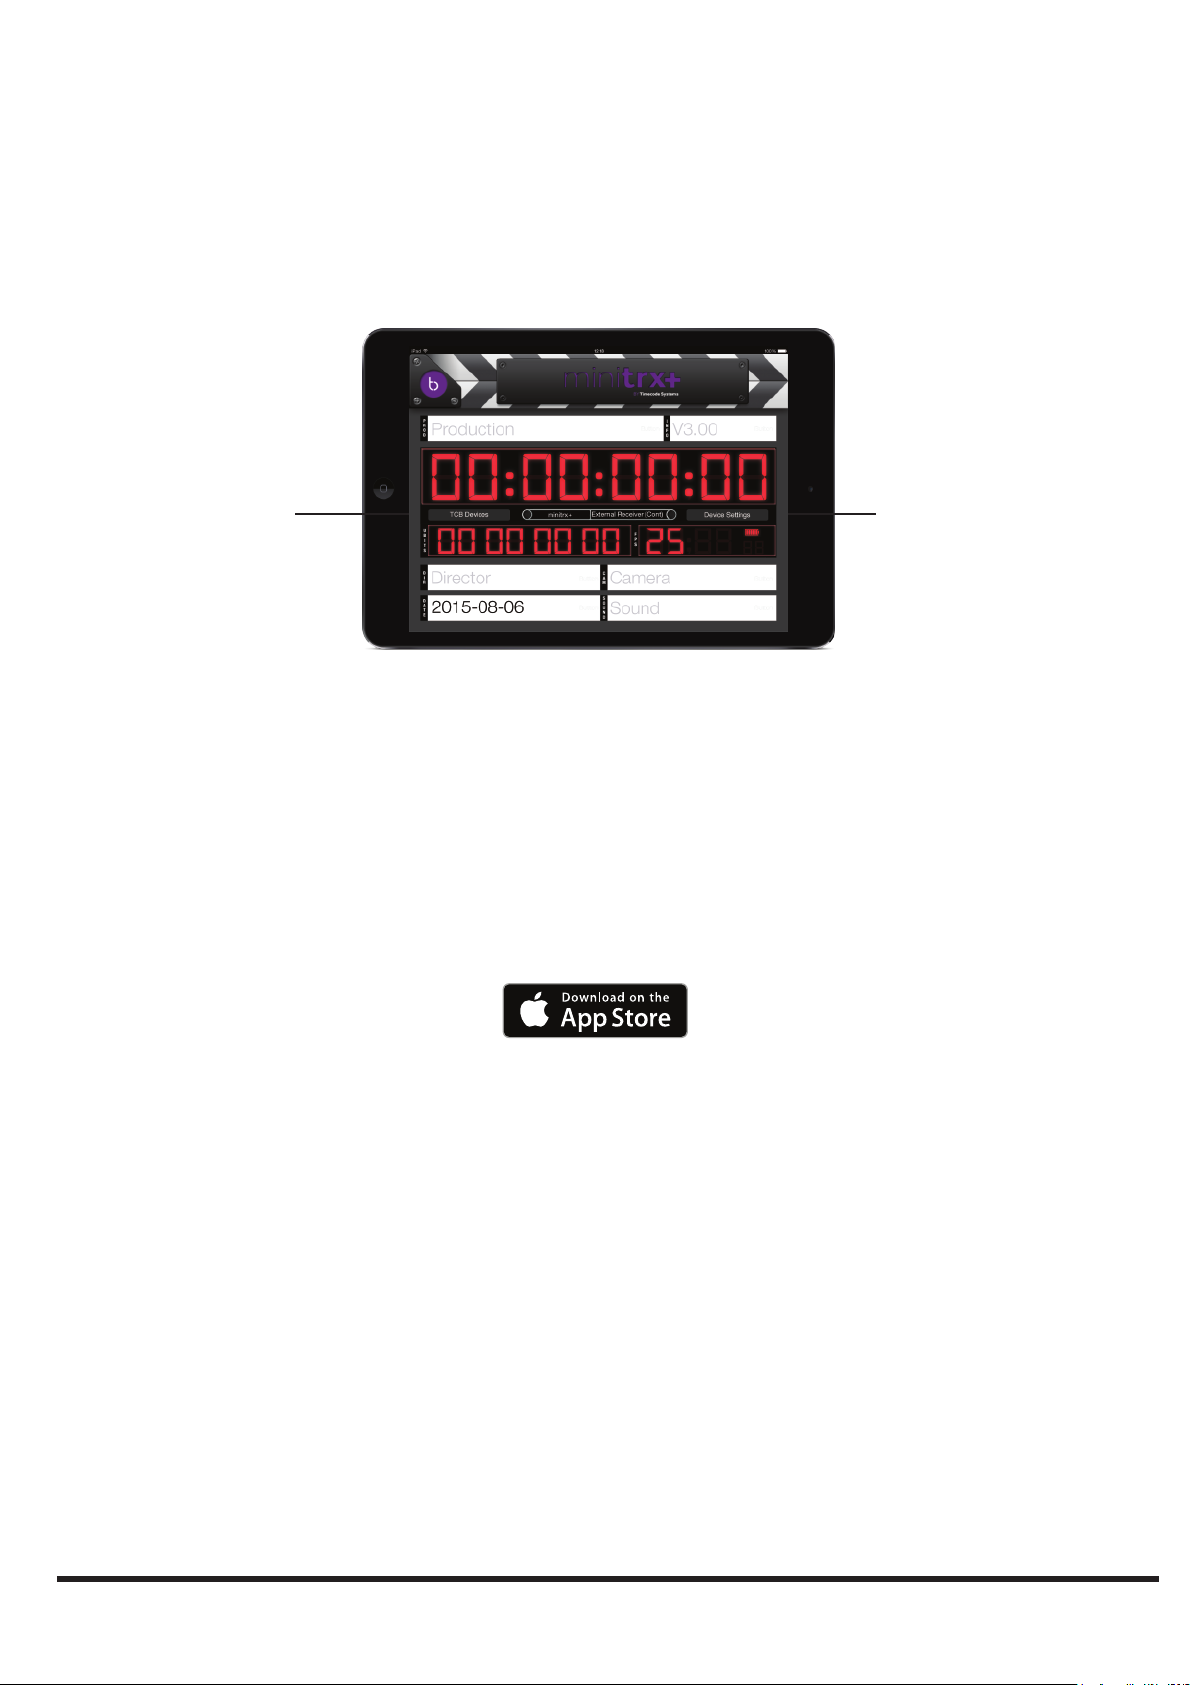
Using the app
Overview. The app allows you to display a frame accurate Timecode Reader
of your timecode on-set, via the WiFi network. It also allows some remote
settings of the trx+ unit itself when connected BLINK master WiFi unit.
Devices Control
1. Devices control
Clicking on TCB Devices shows all Timecode Systems units available
and allows you to select one to connect to and control.
2. Settings control
Clicking on Device Settings causes a passcode prompt to appear.
Ensuring that only users with the passcode permission can change the
device settings. From this menu you have the option of choosing direct
remote control
Settings Control
Timecode Systems minitrx+ manual page: 11
Page 13

Detailed specifications
Timecode Systems: minitrx+
Product features
External dimensions: 29.8mm x 87mm x 110mm
LCD display: two line, 16 character, blue variable brightness backlit display.
Antenna ‘halo’ lightpipe: tri-colour LED (blue/green/red)
Technical specification
Timecode generator accuracy: 0.12 ppm TCXO reference oscillator . In
practice less than 0.2 frame drift in 24 hours, zero drift when RF locked)
Supported FPS Modes: 23.976, 24, 25, 29.97, 30, 29.97DF, 30DF.
Output sync modes: PAL, NTSC, 720p, 720p double frame, 1080i (PSF),
1080p, 1080p double frame, LTC, 44K1 WC, 88K2 WC, 48K WC, 96K WC, 192K
WC.
Output sync level: 1V pp / 75 ohm and 1V pp /37.5 ohm for ‘High
Level/Dual load. Word Clock 2.5V pp on HIGH mode
Timecode Systems minitrx+ manual page: 12
Page 14

Timecode Systems: minitrx+
Power and timecode sources
● External power: 9-24V DC via a 4 pin Hirose connector
● External power: 5V micro on-the-go USB connector
● Internal power: 3.7v Rechargeable Li Polymer battery
● T/C input: BNC connector 0.1 to 5V pp or RF Multi-channel digital
transceiver in 865.050-868.550 MHz (CE Approved), 915.050-918.650
MHz (FCC/IC Approved) and 920.600-923.200MHz (ARIB JAPAN
Approved)
● T/C output: bottom BNC connector (selectable standard/low/mic
level) or side BNC connector (standard level only)
Timecode Systems minitrx+ manual page: 13
Page 15

Frequencies
Timecode Systems: minitrx+ RF Frequencies
Our CE approved products are for use in UK/EU and CEPT*
countries.
*Albania, Andorra, Austria, Azerbaijan, Belarus, Belgium,
Bosnia-Herzegovina, Bulgaria, Croatia, Cyprus, Czech Republic, Denmark,
Estonia, Finland, France, Georgia, Germany, Greece, Hungary, Iceland, Ireland,
Italy, Latvia, Liechtenstein, Lithuania, Luxembourg, Malta, Moldova, Monaco,
Montenegro, Netherlands, Norway, Poland, Portugal, The Former Yugoslav
Republic of Macedonia (FYROM), Romania, Russian Federation, San Marino,
Serbia, Slovakia, Slovenia, Spain, Sweden, Switzerland, Turkey, Ukraine,
United Kingdom, Vatican.
1 UK/EU 865.050 MHz
2 UK/EU 865.150 MHz
3 UK/EU 865.250 MHz
4 UK/EU 865.350 MHz
5 UK/EU 865.450 MHz
6 UK/EU 865.550 MHz
7 UK/EU 865.650 MHz
8 UK/EU 867.950 MHz
9 UK/EU 868.050 MHz
10 UK/EU 868.150 MHz
11 UK/EU 868.250 MHz
12 UK/EU 868.350 MHz
13 UK/EU 868.450 MHz
14 UK/EU 868.550 MHz
Timecode Systems minitrx+ manual page: 14
Page 16

Timecode Systems: minitrx+ RF Frequencies
Our FCC frequencies are for use in the USA, Australia and New
Zealand.
1 USA/AU/NZ 915.050 MHz
2 USA/AU/NZ 915.150 MHz
3 USA/AU/NZ 915.250 MHz
4 USA/AU/NZ 915.350 MHz
5 USA/AU/NZ 915.450 MHz
6 USA/AU/NZ 915.550 MHz
7 USA/AU/NZ 915.650 MHz
8 USA/AU/NZ 918.050 MHz
9 USA/AU/NZ 918.150 MHz
10 USA/AU/NZ 918.250 MHz
11 USA/AU/NZ 918.350 MHz
12 USA/AU/NZ 918.450 MHz
13 USA/AU/NZ 918.550 MHz
14 USA/AU/NZ 918.650 MHz
Timecode Systems minitrx+ manual page: 15
Page 17

Timecode Systems: minitrx+ RF Frequencies
Our ARIB frequencies are for use in Japan.
1 JP 920.600 MHz
2 JP 920.800 MHz
3 JP 921.000 MHz
4 JP 921.200 MHz
5 JP 921.400 MHz
6 JP 921.600 MHz
7 JP 921.800 MHz
8 JP 922.000 MHz
9 JP 922.200 MHz
10 JP 922.400 MHz
11 JP 922.600 MHz
12 JP 922.800 MHz
13 JP 923.000 MHz
14 JP 923.200 MHz
Timecode Systems minitrx+ manual page: 16
Page 18

Quality declarations
FCC Warning Statement:
This device complies with Part 15 of the FCC Rules.
Operation is subject to the following two conditions:
(1)This device may not cause harmful interference, and
(2)This device must accept any interference received, including interference
that may cause undesired operation.
This equipment complies with FCC radiation exposure limits set forth for an
uncontrolled environment. End users must follow the specific operating
instructions for satisfying RF exposure compliance. This transmitter must not
be co-located or operating in conjunction with any other antenna or transmit-
ter.
Changes or modifications not expressly approved by the party responsible for
compliance could void the user's authority to operate the equipment.
Industry Canada Statements
This product has been approved by Industry Canada & FCC to operate with the
antenna types listed below with the maximum permissible gain and required
antenna impedance for each antenna type indicated. Antenna types not
included in this list, having a gain greater than the maximum gain indicated for
that type, are strictly prohibited for use with this device.
Name: Taoglas TG.09.0113, 2.0dBi, 50 ohm
This device complies with Industry Canada licence-exempt RSS standard(s).
Operation is subject to the following two conditions: (1) This device may not
cause interference, and (2) This device must accept any interference, including
interference that may cause undesired operation of the device.
Under Industry Canada regulations, this radio transmitter may only operate
using an antenna of a type and maximum (or lesser) gain approved for the
transmitter by Industry Canada. To reduce potential radio interference to other
users, the antenna type and its gain should be so chosen that the equivalent
isotropically radiated power (e.i.r.p.) is not more than that necessary for successful communication.
Timecode Systems minitrx+ manual page: 17
Page 19

CE Conformity Statement:
Declaration of Conformity
According to ISO/IEC Guide 22, is in conformity with:
- EN 60950-1:2006 + A11:2009+A1:2010+A12:2011+AC:2011
- EN 300 440-1 V1.6.1
- EN 300 440-2 V1.4.1
- EN 301 489-1 V1.9.2
- EN 301 489-3 V1.4.1
Warranty and technical support
All products sold by Timecode Systems limited are warranted to the original
purchaser against defects in materials and workmanship for (1) year from the
date of original purchase.
However, this warranty excludes accessories, batteries and cables. Also, this
warranty does not apply to any instrument determined by Timecode Systems
Limited to have been subjected to customer alteration, modification, negli-
gence or misuse.
In the event of any defects determined by Timecode Systems Limited to be
covered by this warranty, Timecode Systems Limited will, at its sole option,
repair or replace the defective instrument without charge. To obtain warranty
service the defective instrument must be returned within one (1) year from
purchase to:
Timecode Systems Limited
6 Elgar Business Centre
Moseley Road
Hallow, Worcester
WR2 6NJ, UK
Telephone +44 (0) 1700 808600
All transportation and shipping costs are the responsibility of the purchaser.
Timecode Systems minitrx+ manual page: 18
Page 20
Timecode Systems
Unit 6, Elgar Business Centre, Hallow
Worcester, WR2 6NJ, UK
 Loading...