

Time America 230 SERIES, TA100 PRO Instruction Manual

TA100 PRO
User’s Guide
2009

Read This First
Welcome
Welcome to Time America’s TA100 Pro User’s Guide. This manual is shipped with each ne w
TA100 Pro software package and is intended solely for use by the licensee. This User Guide
describes the installation and operation of the TA100 Pro system.
Accuracy of Information
The content of this manual is subject to change without notice. Before using this manual, verify
that the information contained in it is current. Proper installation, configuration, and operation of
the software are contingent upon reading and following the procedures contai ned in the latest
revision of the manual.
Additional Copies
Additional copies of this manual may be obtained from our website at www.timeamerica.com or
from your local Time America dealer.
User Comments
Every effort is made to ensure that the information contained in this manual is accurate at the
time of publication. If you find an error or omission while reading this manual, direct your
comments to:
Time America, Inc.
Attn: Technical Publications
15990 N. Greenway Hayden Loop
Suite #D-500
Scottsdale, AZ 85260
Or you can send emails to:
training@timeamerica.com
We welcome your comments and suggestions.
Software Release Version
4.01B

TA100 Pro Manual
TABLE OF CONTENTS
TABLE OF CONTENTS
CHAPTER I ABOUT THIS MANUAL................................................................................................................9
DISCLAIMER...............................................................................................................................................................9
TECHNICAL SUPPORT .................................................................................................................................................9
When Calling Technical Support for Assistance ...................................................................................................9
CHAPTER II INSTALLATION....................................................................................................................... 10
SYSTEM REQUIREMENTS ..........................................................................................................................................10
INSTALLING THE SYSTEM .........................................................................................................................................10
HARDWARE KEYS ....................................................................................................................................................16
Main System Key .................................................................................................................................................16
Polling Key..........................................................................................................................................................16
Demo Key ............................................................................................................................................................17
CHAPTER III GETTING STARTED...............................................................................................................19
STARTING TA100 PRO AND LOGGING IN..................................................................................................................19
Note on User Accounts ........................................................................................................................................19
Launching and Logging In to TA100 Pro............................................................................................................19
Exiting the System................................................................................................................................................20
TIPS AND TECHNIQUES.............................................................................................................................................21
USING THE KEYBOARD.............................................................................................................................................21
Underlined Letters...............................................................................................................................................21
Hot Keys ..............................................................................................................................................................22
Additional Keyboard Access................................................................................................................................22
HELP ........................................................................................................................................................................23
Access the Online Help Window..........................................................................................................................23
Use Help Contents...............................................................................................................................................23
Use the Help Index ..............................................................................................................................................23
Use Help Search..................................................................................................................................................24
Return to the Help Topics Window......................................................................................................................24
Print a Help Topic...............................................................................................................................................24
CONFIGURING THE SYSTEM ENVIRONMENT .............................................................................................................25
Play Bell Tones....................................................................................................................................................25
Change Screen Background ................................................................................................................................25
Navigation Selection ............................................................................................................................................26
CHAPTER IV CONFIGURATION...................................................................................................................27
MAIN COMPANY.......................................................................................................................................................28
DIVISIONS.................................................................................................................................................................34
Configure Divisions.............................................................................................................................................34
Add a Division.....................................................................................................................................................35
Edit a Division.....................................................................................................................................................35
Delete a Division.................................................................................................................................................35
CATEGORIES.............................................................................................................................................................37
Configure Categories...........................................................................................................................................38
Add a Category....................................................................................................................................................41
Edit a Category....................................................................................................................................................41
Delete a Category................................................................................................................................................42
POLICIES...................................................................................................................................................................43
Configure Policies...............................................................................................................................................43
© January 2009 Time America, Inc.

TA100 Pro Manual
TABLE OF CONTENTS, Cont.
Add a Policy.........................................................................................................................................................54
Edit a Policy ........................................................................................................................................................54
Delete a Policy.....................................................................................................................................................54
SHIFTS......................................................................................................................................................................56
Configure a Shift Group ......................................................................................................................................56
Add a Shift Group................................................................................................................................................65
Edit a Shift Group................................................................................................................................................65
Delete a Shift Group............................................................................................................................................66
Add a Shift ...........................................................................................................................................................66
Edit a Shift...........................................................................................................................................................66
Delete a Shift .......................................................................................................................................................67
Add a Rounding Rule...........................................................................................................................................67
Edit a Rounding Rule...........................................................................................................................................68
HOLIDAYS ................................................................................................................................................................69
Configure Holidays..............................................................................................................................................69
Add a Holiday......................................................................................................................................................70
Edit a Holiday......................................................................................................................................................70
Delete a Holiday..................................................................................................................................................72
GROUPS....................................................................................................................................................................72
Configure Groups................................................................................................................................................72
Add a Group ........................................................................................................................................................73
Edit a Group........................................................................................................................................................73
Delete a Group ....................................................................................................................................................74
DEPARTMENTS .........................................................................................................................................................75
Configure Departments .......................................................................................................................................75
Add a Department................................................................................................................................................78
Edit a Department ...............................................................................................................................................78
Delete a Department............................................................................................................................................78
JOBS .........................................................................................................................................................................79
Configure Jobs.....................................................................................................................................................79
Add a Job.............................................................................................................................................................81
Edit a Job.............................................................................................................................................................82
Delete a Job.........................................................................................................................................................82
BELL SCHEDULES.....................................................................................................................................................83
Configure Bell Schedules.....................................................................................................................................83
Add a Bell Schedule.............................................................................................................................................84
Edit a Bell Schedule.............................................................................................................................................85
Delete a Bell Schedule.........................................................................................................................................85
SECURITY.................................................................................................................................................................86
Configure Security Levels....................................................................................................................................87
Add a Security Level........................................................................................................... .................................96
Edit a Security Level............................................................................................................................................96
Delete a Security Level........................................................................................................................................97
User Maintenance................................................................................................................................................97
Who's Logged In................................................................................................................................................104
Change Password..............................................................................................................................................104
BENEFIT ACCRUALS ...............................................................................................................................................105
Configure Benefit Accruals................................................................................................................................105
Configure Benefit Accumulators........................................................................................................................107
Add a Benefit Accruals Policy...........................................................................................................................110
Edit a Benefit Accruals Policy...........................................................................................................................112
Delete a Benefit Accruals policy........................................................................................................................112
Update to Current..............................................................................................................................................113
CHAPTER V OPTIONAL MODULES.........................................................................................................114
© January 2009 Time America, Inc. iv

TA100 Pro Manual
TABLE OF CONTENTS, Cont.
BELL SCHEDULES...................................................................................................................................................114
BENEFIT ACCRUALS ...............................................................................................................................................114
PC CLOCK..............................................................................................................................................................114
THIRD PARTY TERMINALS......................................................................................................................................115
CHAPTER VI ADDITIONAL EMPLOYEE FEATURES............................................................................116
PC CLOCK..............................................................................................................................................................116
Accessing PC Clock...........................................................................................................................................116
Default Settings to Use PC Clock......................................................................................................................116
Default Clock In.................................................................................................................................................117
Default Clock Out..............................................................................................................................................117
Default Clock Out for Lunch .............................................................................................................................118
Default Clock In from Lunch.............................................................................................................................118
Default Transfer Department ............................................................................................................................118
CHAPTER VII EMPLOYEE MAINTENANCE.............................................................................................119
CONFIGURE EMPLOYEE ..........................................................................................................................................119
EMPLOYEE LIST......................................................................................................................................................120
EMPLOYEE TIMECARD (DESCRIPTION) TAB ...........................................................................................................121
EMPLOYEE SCHEDULE TAB ....................................................................................................................................125
Configure Employee Schedules .........................................................................................................................125
Assign or Edit an Employee Schedule ...............................................................................................................126
Delete a Schedule ..............................................................................................................................................128
Create a Rotating Schedule...............................................................................................................................129
Create an Employee Schedule Template............................................................................................................130
Copy an Employee Schedule Template..............................................................................................................131
EMPLOYEE TRANSACTIONS TAB ............................................................................................................................133
Description ........................................................................................................................................................133
EMPLOYEE STATUS TAB.........................................................................................................................................134
Configure Employee Status................................................................................................................................134
Add Employee Status.........................................................................................................................................135
Edit Employee Status.........................................................................................................................................136
Delete Employee Status.....................................................................................................................................136
EMPLOYEE BENEFITS TAB......................................................................................................................................137
Benefit Entitlement: Configure..........................................................................................................................137
Benefit Entitlement: Employee Benefit Details.................................................................................................. 138
Benefit Entitlement: Grant Benefit Time............................................................................................................139
Benefit Entitlement: Delete a Detail..................................................................................................................139
Benefit Accruals: Configure ..............................................................................................................................140
Benefit Accruals: Update Employee Benefits....................................................................................................141
Benefit Accruals: Employee Benefit Details......................................................................................................141
Benefit Accruals: Manual Benefit Adjustment...................................................................................................142
Benefits Accrual: Delete a Manual Adjustment .................................................................................................143
EMPLOYEE MESSAGES TAB....................................................................................................................................144
Configure...........................................................................................................................................................144
Add a Message...................................................................................................................................................145
Edit a Message...................................................................................................................................................146
Delete a Message...............................................................................................................................................146
EMPLOYEE WAGES.................................................................................................................................................146
Configure Employee Wages...............................................................................................................................146
Add a Global Wage............................................................................................................................................148
Edit a Global Wage ...........................................................................................................................................148
Delete a Global Wage........................................................................................................................................149
Add an Employee Level Wage ...........................................................................................................................149
Edit an Employee Level Wage...........................................................................................................................150
© January 2009 Time America, Inc. v

TA100 Pro Manual
TABLE OF CONTENTS, Cont.
EMPLOYEE BADGES TAB........................................................................................................................................150
Configure Employee Badges..............................................................................................................................150
Add a Badge.......................................................................................................................................................151
Edit a Badge ......................................................................................................................................................152
Delete a Badge...................................................................................................................................................152
EMPLOYEE CLOCKS TAB ........................................................................................................................................152
Configure Hand Readers...................................................................................................................................152
Configure TA7000 .............................................................................................................................................154
EMPLOYEE DETAILS TAB .......................................................................................................................................155
Configure Employee Details..............................................................................................................................155
Add an Employee...............................................................................................................................................156
Edit an Employee...............................................................................................................................................157
Delete an Employee...........................................................................................................................................159
CHAPTER VIII TIMECARD AND TRANSACTION MAINTENANCE.....................................................160
ONLINE TIMECARD.................................................................................................................................................160
Accessing the Online Timecard from the Configure Employee Screen .............................................................160
Accessing the Online Timecard from the Approval Editor................................................................................161
NAVIGATING IN THE ONLINE TIMECARD TAB.........................................................................................................161
NAVIGATING IN THE TRANSACTIONS TAB...............................................................................................................162
ADDING AND EDITING TRANSACTIONS...................................................................................................................162
Add Transaction ................................................................................................................................................163
Add Miscellaneous Transaction.........................................................................................................................164
Edit a Transaction.............................................................................................................................................166
Edit/Add Start....................................................................................................................................................166
Edit/Add Stop.....................................................................................................................................................167
Multiple Miscellaneous......................................................................................................................................167
From Schedule...................................................................................................................................................169
DELETE A TRANSACTION........................................................................................................................................169
AUDIT TRAILS ........................................................................................................................................................170
Print the Audit Trails.........................................................................................................................................171
APPROVAL EDITOR.................................................................................................................................................172
STATUS BOARD ......................................................................................................................................................175
TASK ORGANIZER ..................................................................................................................................................176
CHAPTER IX GLOBAL COMMANDS.........................................................................................................178
SELECTING EMPLOYEES IN GLOBAL OPERATION DIALOG BOXES ..........................................................................178
Select Employees Individually...........................................................................................................................178
Select Employees Globally ................................................................................................................................178
Select Employees by Group...............................................................................................................................178
Select Employees by Division............................................................................................................................179
GLOBAL MESSAGE ASSIGNMENT ...........................................................................................................................179
GLOBAL ADD TRANSACTION..................................................................................................................................180
CHAPTER X REPORTS ................................................................................................................................182
IMPORTANT INFORMATION ON PRINTING REPORTS ................................................................................................182
Configure Printer ..............................................................................................................................................182
RUNNING A REPORT ...............................................................................................................................................183
Running a Report by Range...............................................................................................................................183
Running a Report by Individual.........................................................................................................................188
ON SCREEN REPORT PREVIEW................................................................................................................................193
EMAILING A REPORT ..............................................................................................................................................195
CHAPTER XI TERMINAL CONFIGURATION..........................................................................................197
TYPES OF CONNECTIONS ........................................................................................................................................197
© January 2009 Time America, Inc. vi

TA100 Pro Manual
TABLE OF CONTENTS, Cont.
TA500, TA600 AND TA7000 SERIES (TA520/530, TA620, TA7000) ...................................................................198
Configure a TA500/TA600/TA7000 Series Clock..............................................................................................198
TA715, TA777 AND TA780 SERIES ....................................................................................................................... 208
Configure a TA715/TA777/TA780 Series Clock................................................................................................208
CONFIGURING PC CLOCK.......................................................................................................................................216
Configure a PC Clock........................................................................................................................................216
TASC .....................................................................................................................................................................218
Configure a TASC Clock ...................................................................................................................................219
ATS SERIES CLOCKS..............................................................................................................................................226
Configure ATS Clocks........................................................................................................................................226
HAND READER CLOCKS .........................................................................................................................................229
Configure a Hand Reader Clock .......................................................................................................................229
ADD A CLOCK ........................................................................................................................................................234
EDIT A CLOCK........................................................................................................................................................235
DELETE A CLOCK ...................................................................................................................................................235
SET DATE AND TIME ..............................................................................................................................................236
CHAPTER XII TERMINAL POLLING AND AUTOPROCESSING..........................................................238
POLLING.................................................................................................................................................................238
Polling Time Clocks...........................................................................................................................................238
CONFIGURE AN AUTOPROCESS...............................................................................................................................240
Run as Service ...................................................................................................................................................240
Add an AutoProcess...........................................................................................................................................241
Edit an Auto Process .........................................................................................................................................245
Delete an AutoProcess.......................................................................................................................................245
CHAPTER XIII UTILITIES..............................................................................................................................247
IMPORTING .............................................................................................................................................................247
Advanced Import................................................................................................................................................247
EXPORTING DATA ..................................................................................................................................................249
SYSTEM UTILITIES..................................................................................................................................................252
Repair Database................................................................................................................................................253
Reindex Database..............................................................................................................................................253
Update Databases..............................................................................................................................................254
Initialize Databases...........................................................................................................................................254
Change Employee Number................................................................................................................................255
Change Employee Number Width......................................................................................................................255
Set Reprocess Date............................................................................................................................................256
Fix Unassigned Badges.....................................................................................................................................257
Repost from R-Files...........................................................................................................................................258
Purge R-Files.....................................................................................................................................................258
Post Historical Data..........................................................................................................................................259
Archive...............................................................................................................................................................260
Restore Archive..................................................................................................................................................262
System Backup...................................................................................................................................................263
System Restore...................................................................................................................................................264
ADDITIONAL UTILITIES ..........................................................................................................................................265
Calculator..........................................................................................................................................................265
Calendar............................................................................................................................................................266
About..................................................................................................................................................................266
System Configuration.........................................................................................................................................267
Conversion Table...............................................................................................................................................267
Macros...............................................................................................................................................................268
© January 2009 Time America, Inc. vii


TA100 Pro Manual
Chapter I About this Manual
This section describes how to use this manual. In addition to providing you with step-bystep knowledge for performing various procedures, this manual will help you get the most
out of TA100 Pro.
Disclaimer
Every attempt is made to keep this manual up-to-date. However, software enhancements do
occur, and the content of this manual is subject to change without notice. Before using this
manual, verify that the information contained in it is current. Proper installation, configuration, and
operation of the software are contingent upon reading and following the procedures contained in
the latest version of the manual.
Technical Support
If you encounter a problem or need technical support after reading this manual, plea se contact
your local Sales and Service Representative. Your local representative has received training in
the areas of software installation, configuration, operation, and advanced troubleshooting. They
are qualified to provide you with the highest level of technical support.
When Calling Technical Support for Assistance
If possible, contact your authorized local Sales and Service Representative while at the
computer experiencing the problem so you can quickly answer questions and implement the
solutions suggested by your representative.
Before calling, gather the following information. Your local Sales and Service Representative
will need this information to assist you.
• The version and serial number of your TA100 Pro software.
• The name and version of the Operating System. The type of network being used (if
applicable).
• The model number and EPROM revision of the data collection terminal(s) used with
the TA100 Pro software.
• The name of all software options and/or modules installed.
• The make and model of the host computer (PC).
• The operations being performed when the problem occurred.
• A printout of any error message that was displayed.
© January 2009 Time America, Inc. 9
TA100 Pro Manual
Chapter II Installation
This section describes how to install the TA100 Pro software, the Sentinel System Driver,
and attach the hardware key.
System Requirements
To use the TA100 Pro system, the following are the recommended minimum system
requirements must be present.
• Windows 95/98/2000/NT/ME/XP.
• Pentium III 500 or better.
• 128MB of total memory (RAM).
• A mouse, trackball, or other pointing device.
Additional Requirements
• 500MB of available disk space either on a workstation or accessible on a network
drive.
• NOTE: A dedicated database server is not required.
• Additional disk space and an enhanced wide-area network connection may be
required based on the number of employees, network distance, communication
method, and the amount of live data contained in the system.
Polling PC
• An available serial port with a default address and interrupt.
• An available parallel port.
Installing the System
NOTE: Do not launch or run any other applications during the installation process.
1. Insert the TA100 Pro Installation CD into the CD ROM drive of the computer
on which you wish to install the software. The InstallShield Wizard should
automatically appear.
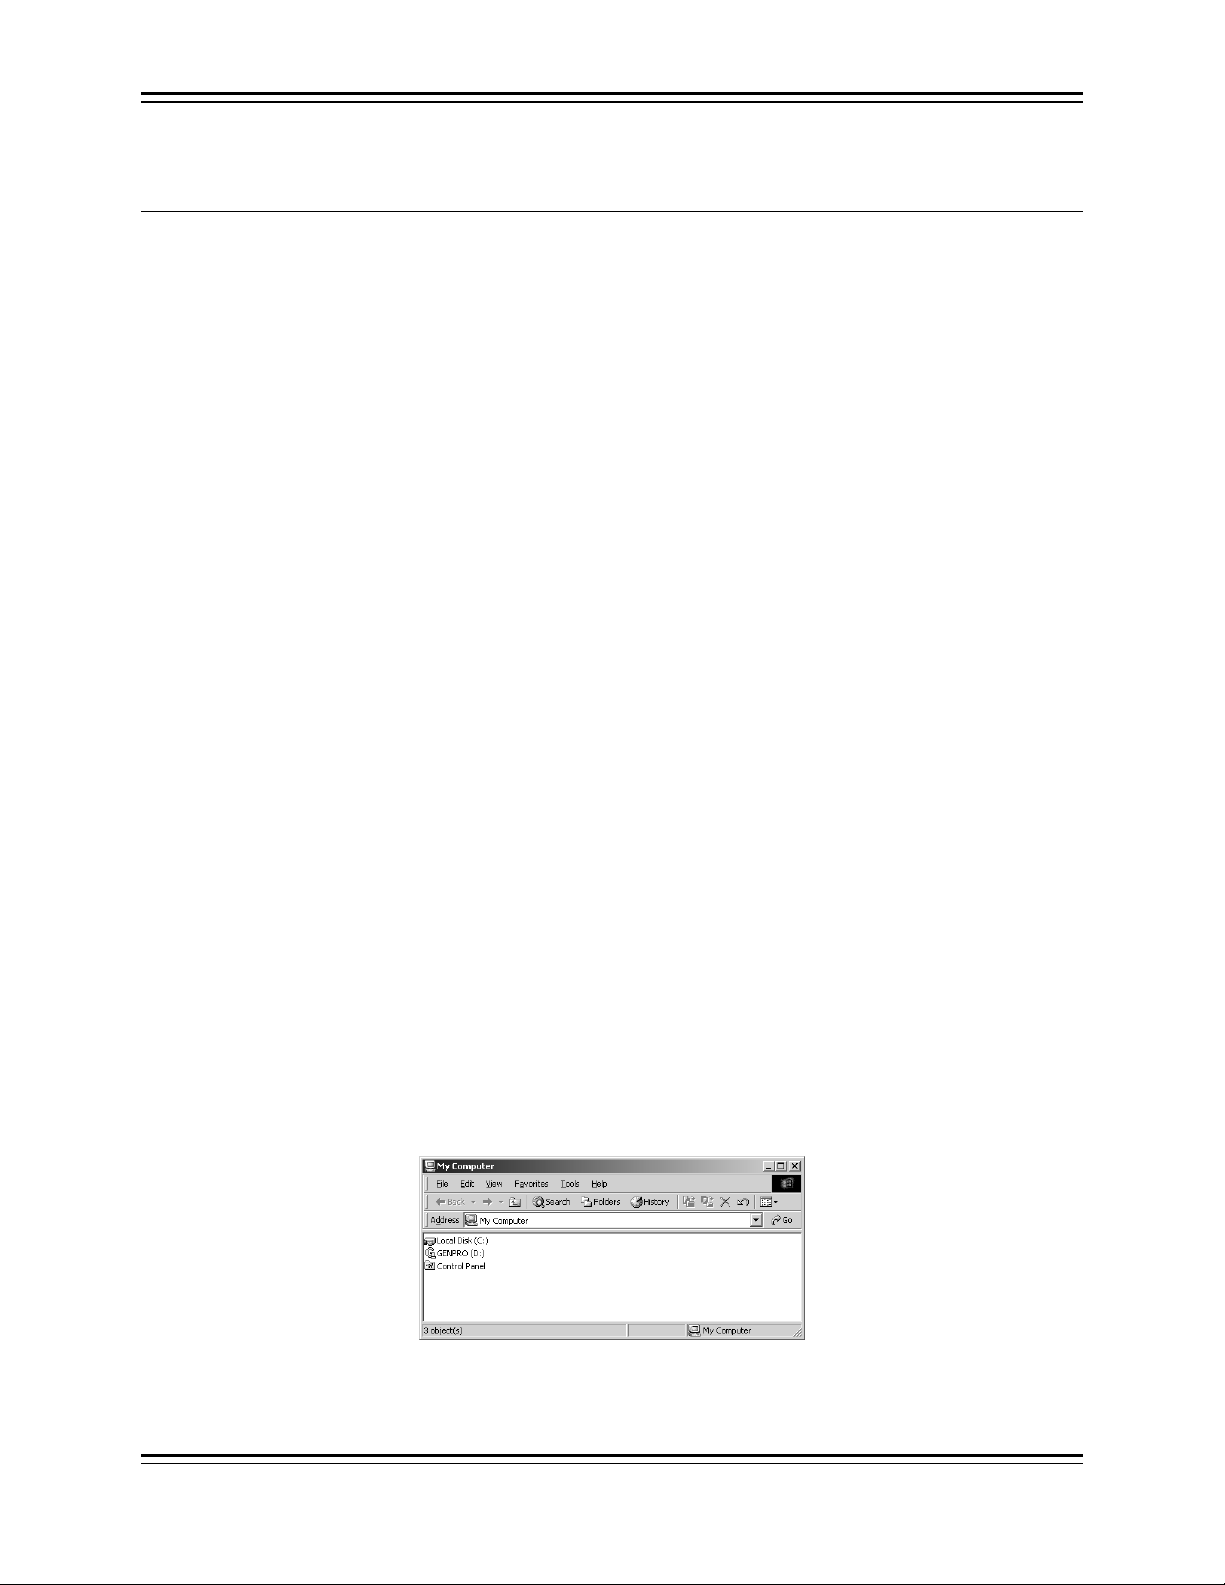
2. If the InstallShield does not automatically run, you may start the installation
by navigating to My Computer and double-clicking the icon for TA100 PRO.
Figure 1: My Computer
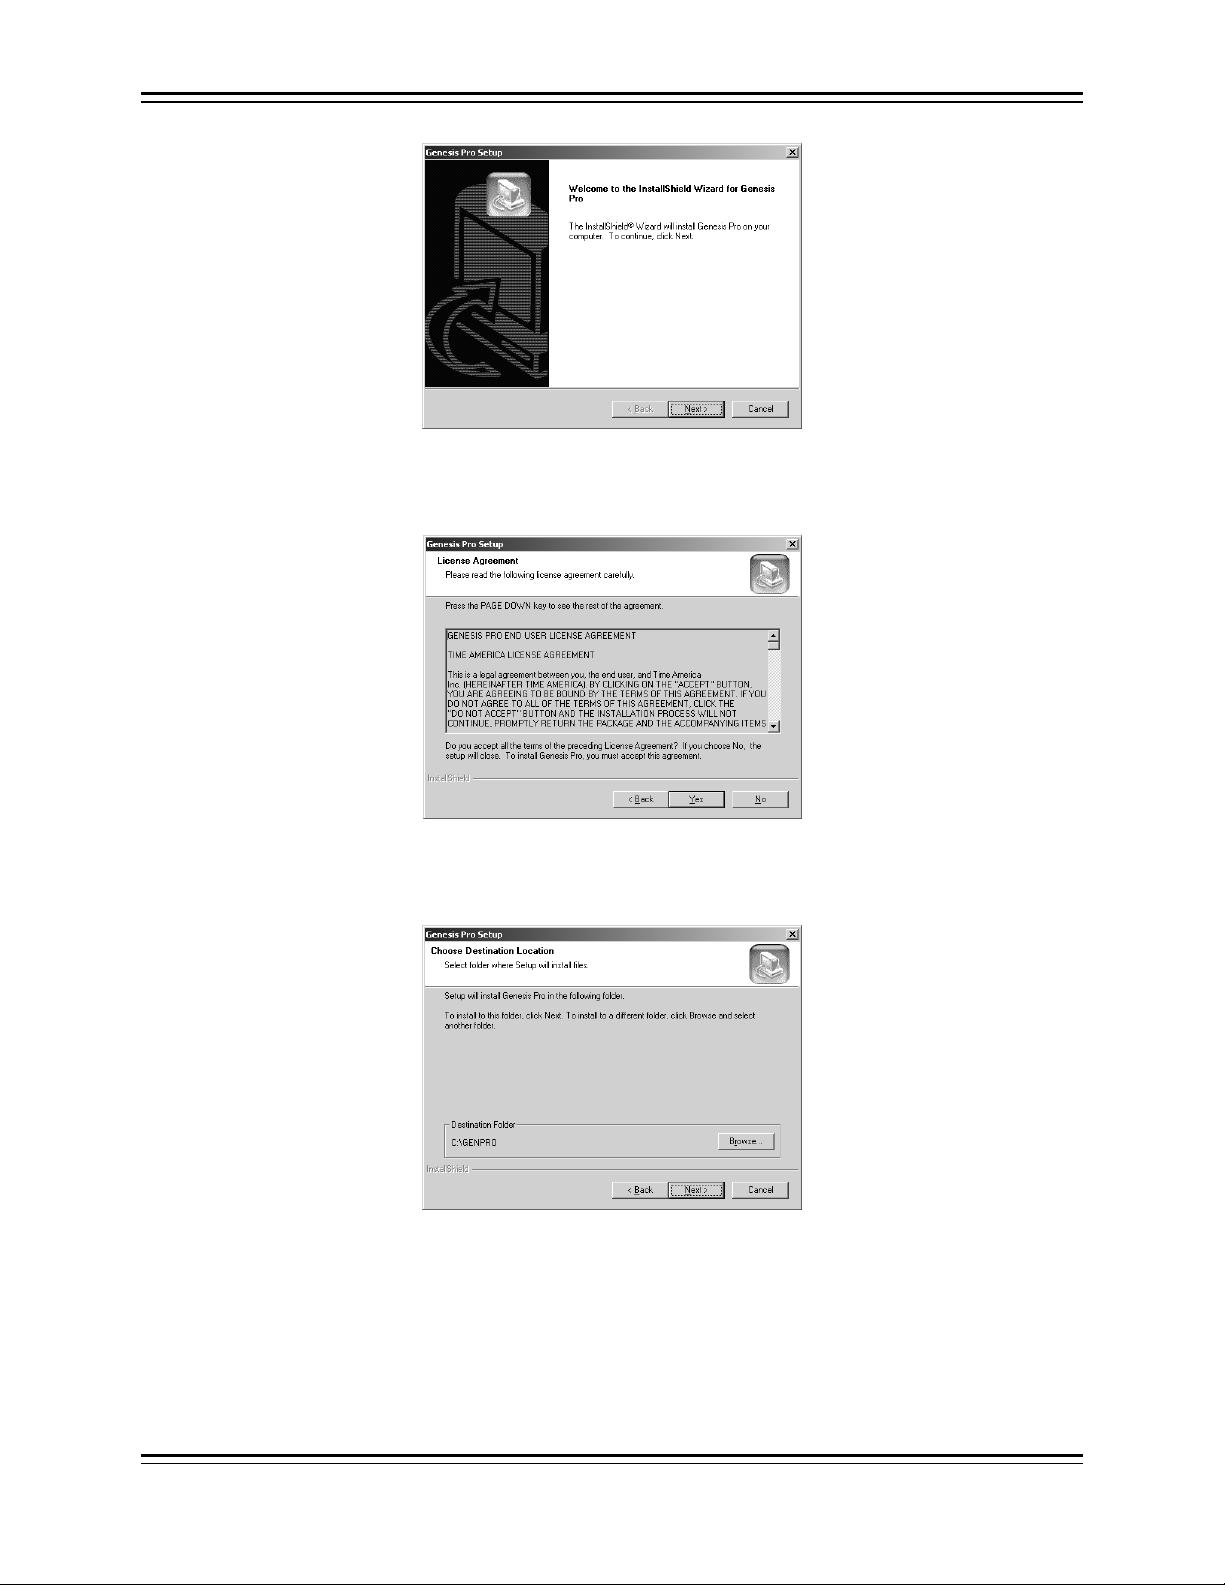
3. The TA100 Pro Setup window will appear.
© January 2009 Time America, Inc. 10
TA100 Pro Manual
Figure 2: TA100 Pro Setup Wizard
4. Click the Next button to advance to the next screen. The License Agreement
screen will appear.
Figure 3: TA100 Pro License Agreement
5. Click Yes to accept the License Agreement. The Choose Destination
Location screen will appear.
Figure 4: Choose Destination Location
6. TA100 Pro will be installed in the C:\TA100PRO directory by default. If you
wish to install to a different directory, click the Browse and select the
directory to which you wish to install. Click the Next button when you are
ready to proceed. The Setup Type screen will appear.
© January 2009 Time America, Inc. 11

TA100 Pro Manual
Figure 5: Setup Type
7. Choose the type of installation you wish to perform.
a) “Full” will install both the software and the database files on this
computer. (Typical)
b) “Workstation” will install just the software.
8. Click the Next button to continue with the installation. The Select Program
Folder screen will appear.
Figure 6: Select Program Folder
9. The TA100 Pro folder will be created automatically. You may type a new
folder name if you wish. Click Next to continue. The installation will begin.
Figure 7: TA100 Pro Installation Progress
10. When the installation is finished, the InstallShield Wizard Complete screen
will appear. Click the Finish button to proceed.
11. If you selected "Full" in the Setup Type screen, the Sentinel System Driver
installation will begin automatically. If you selected "Workstation," the
installation will end at this point.
© January 2009 Time America, Inc. 12
TA100 Pro Manual
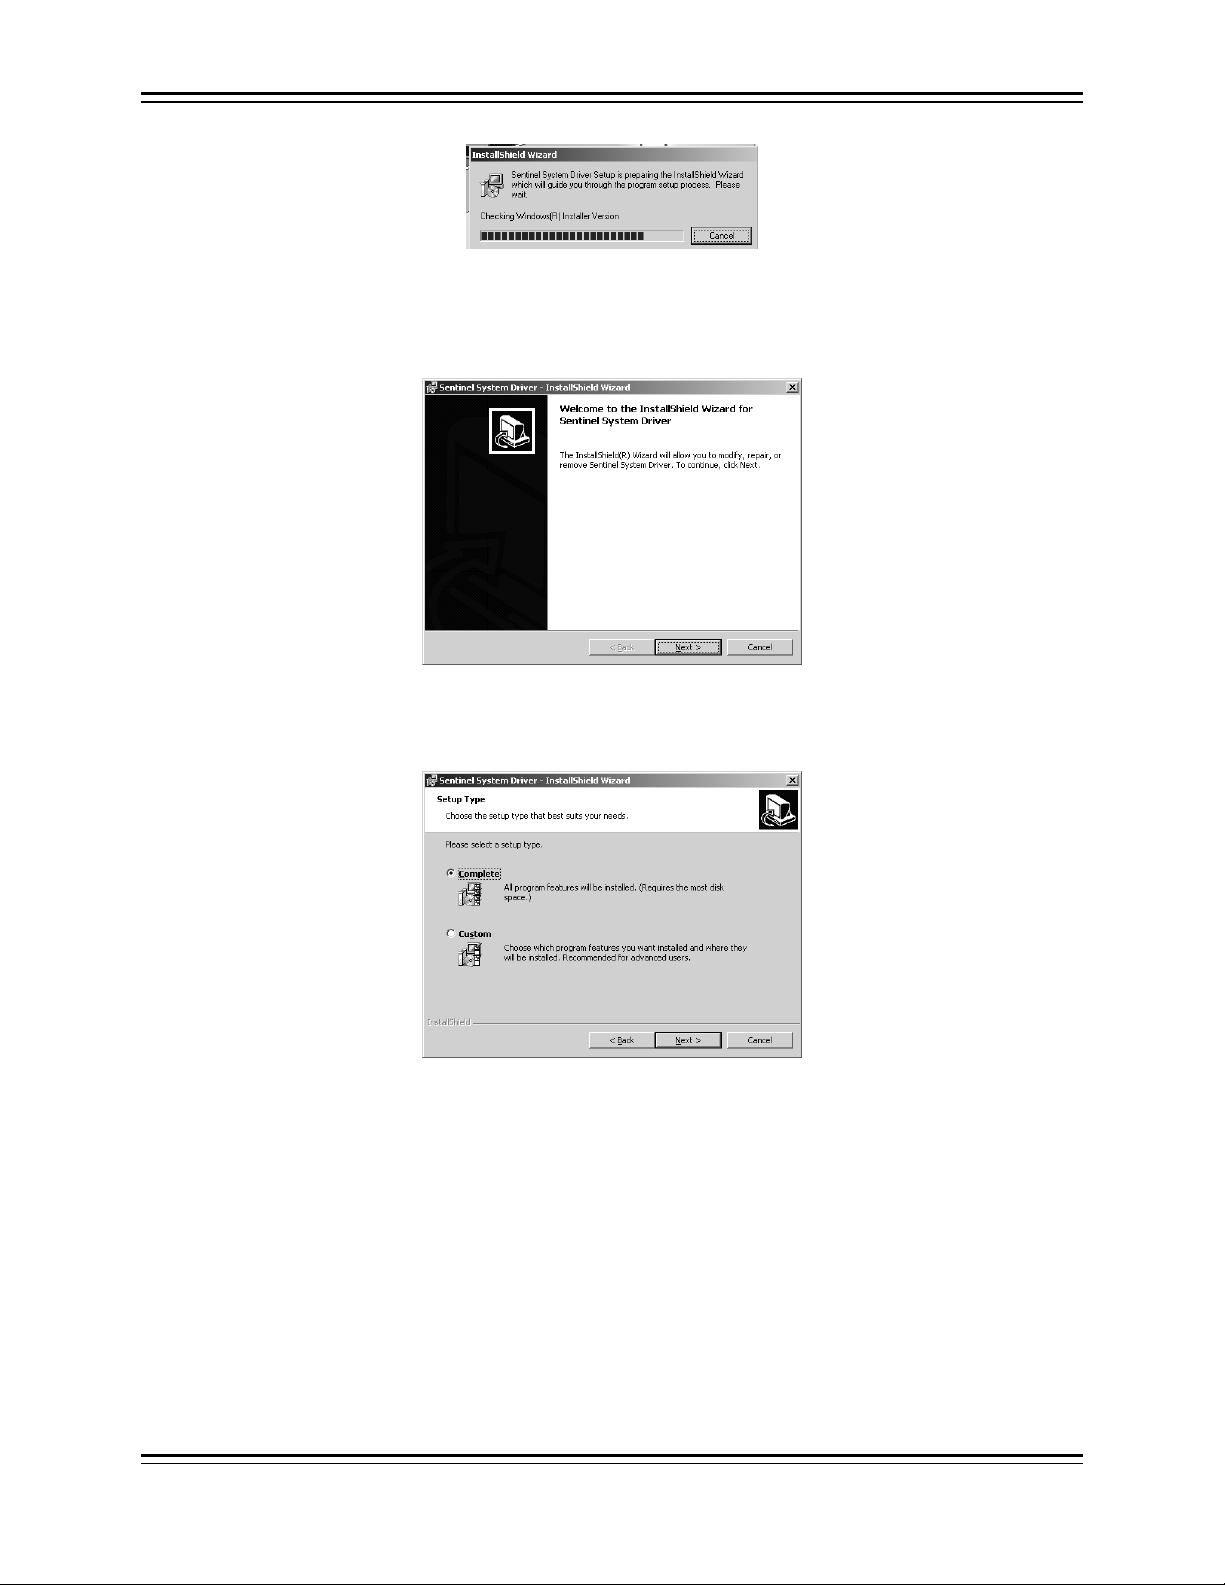
Figure 8: Sentinel Driver Installation
12. The Sentinel System Driver—InstallShield Wizard will appear. The Sentinel
System Driver is necessary for TA100 Pro to be able to access the database
files.
Figure 9: Sentinel InstallShield Wizard
13. Click the Next button to begin the Sentinel System Drive Installation. The
Setup Type screen will appear.
Figure 10: Sentinel Driver Setup Type
14. Verify that Complete is selected and click Next to continue. The Ready to
Install screen will appear.
© January 2009 Time America, Inc. 13
TA100 Pro Manual
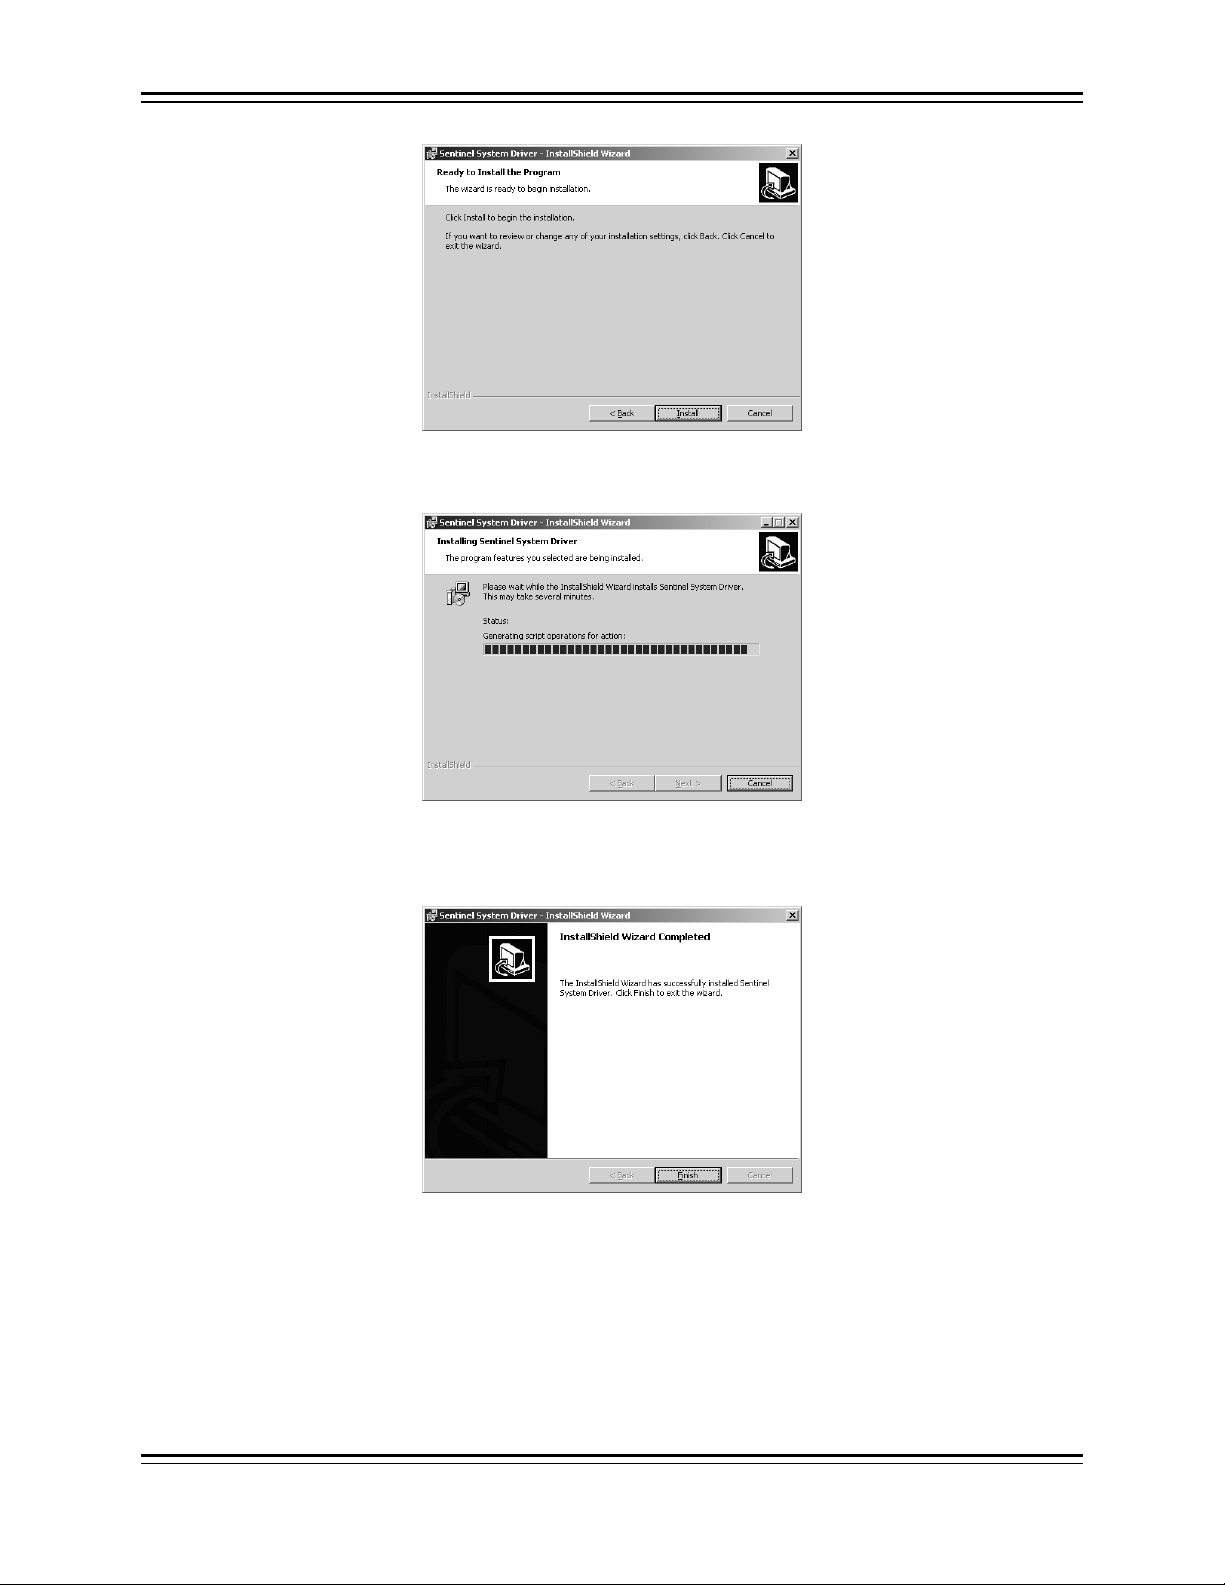
Figure 11: Ready to Install
15. Click Install to begin the installation.
Figure 12: Sentinel Drive Installation
16. When the installation is finished, the InstallShield Wizard Complete screen
will appear. Click the Finish button to proceed.
Figure 13: Installation Complete
17. This concludes the installation. The Installation Complete message will
appear.
© January 2009 Time America, Inc. 14
TA100 Pro Manual
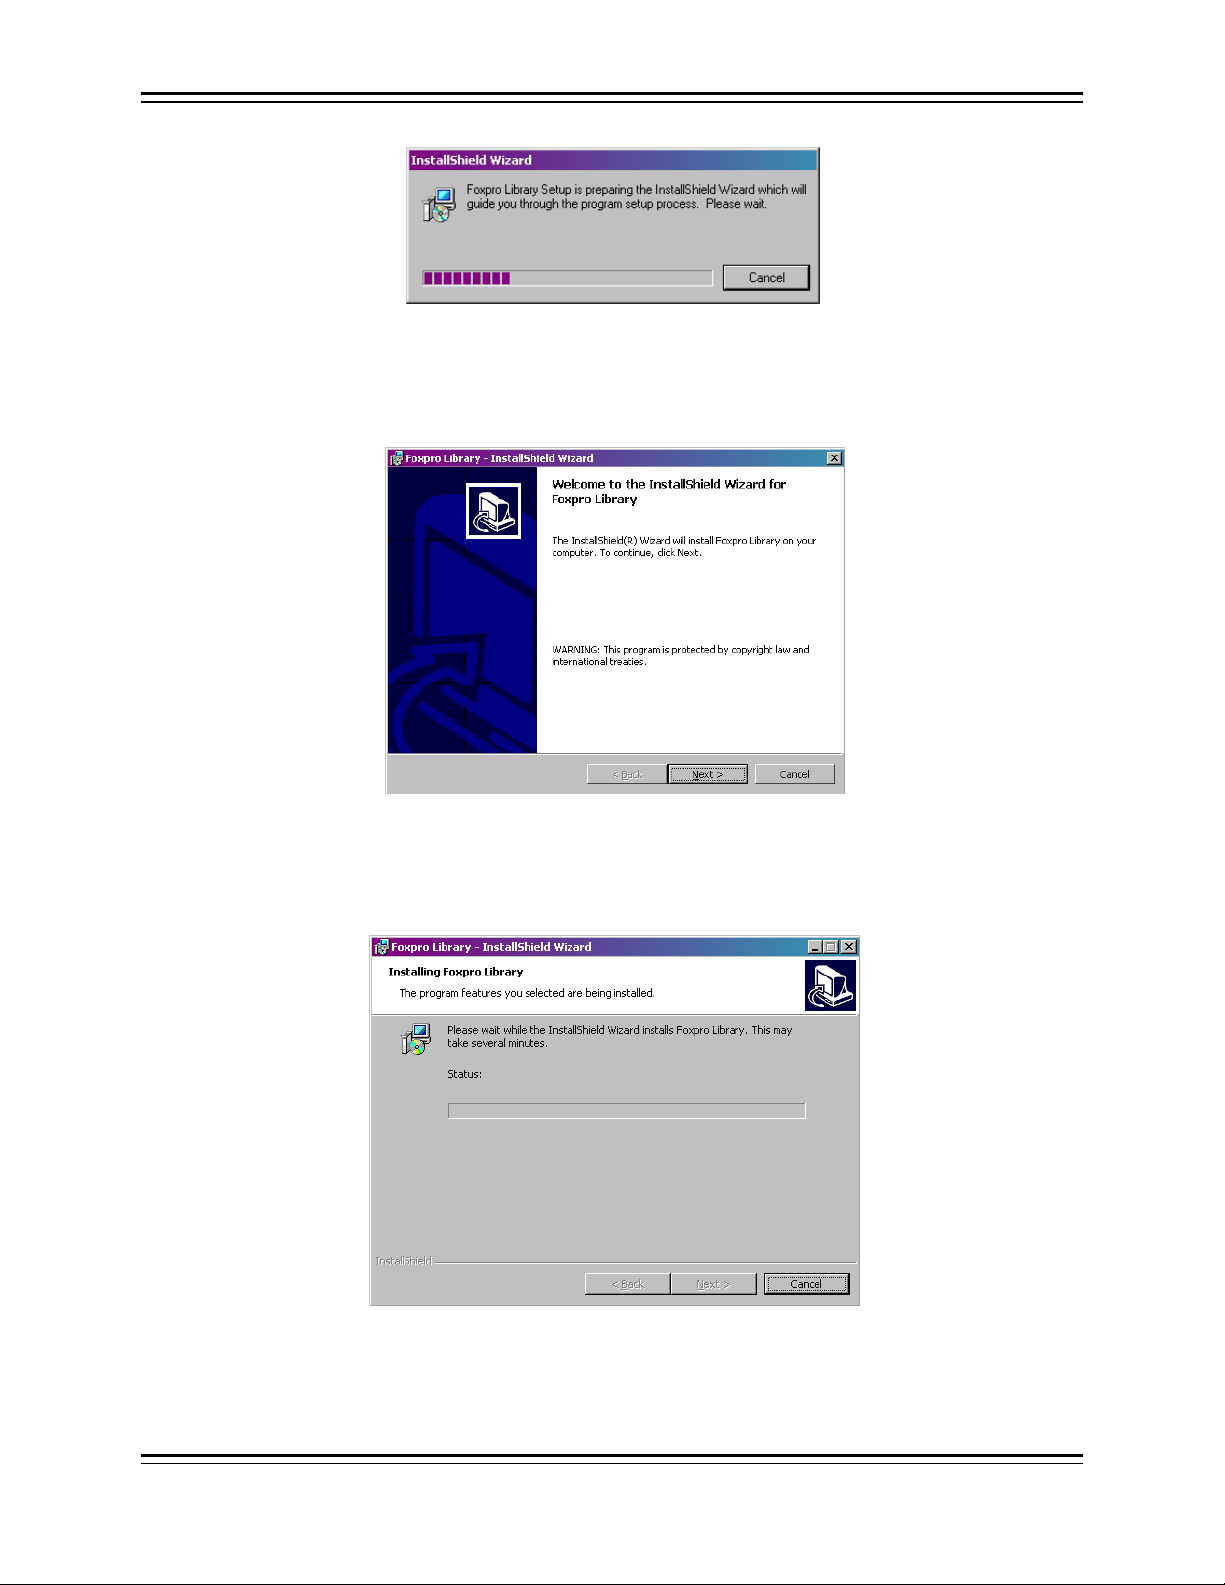
Figure 14: FoxPro LIB Installation
18. The FoxPro LIB—InstallShield Wizard will appear. The FoxPro LIB is for the
TA100 Pro database files.
Figure 15: FoxPro InstallShield Wizard
19. Click the Next button to begin the FoxPro LIB installation. The Ready to
Install screen will appear.
Figure 16: FoxPro LIB Installation
20. When the installation is finished, the InstallShield Wizard Complete screen
will appear. Click the Finish button to proceed.
© January 2009 Time America, Inc. 15
TA100 Pro Manual
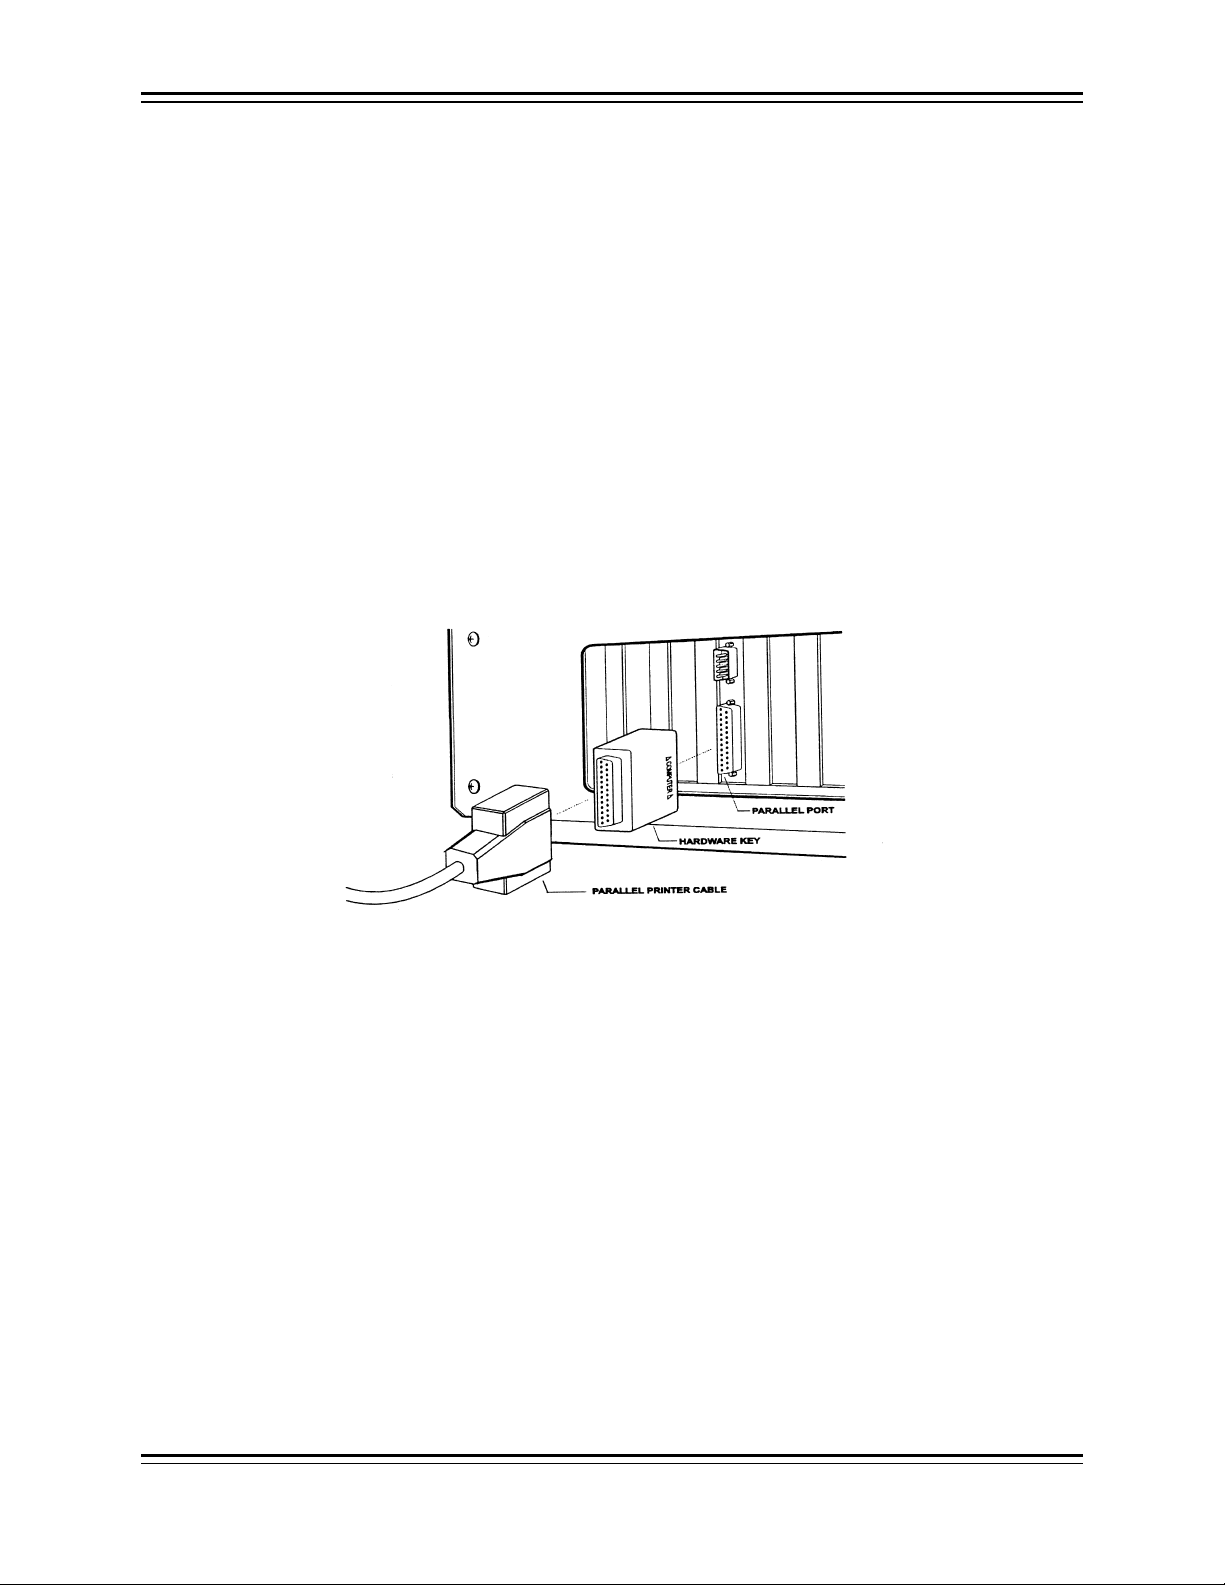
Hardware Keys
When the installation is complete, a hardware key must be attached to the computer’s parallel
port in order to start and operate the TA100 Pro software. There are three types of hardware keys
- each designed for a specific purpose.
• Main System Key
• Polling Key
• Demo Key
Attach the hardware key to the computer’s parallel port. If you have a printer attached to the
parallel port, place the hardware key between the computer’s parallel port and the printer cabl e
as shown in Figure 17: Using a Hardware Key with a Printer Cable below.
21. Click OK. TA100 Pro will now appear in your Start Menu and on your
desktop.
22. You must attach a hardware key to the computer's parallel port prior to being
able to start and operated TA100 Pro. See Hardware Keys.
When the system is first launched, TA100 Pro searches for and verifies the presence of a
hardware key. If a key is not found, the system will not start.
Figure 17: Using a Hardware Key with a Printer Cable
Main System Key
The Main System Key is shipped with each new software package. One key per system is
required. The Main System Key allows you to start and operate the software as well as poll
your time clock(s). The Main System Key is identified by the code 4HJDAB-B on the outer
shell.
Polling Key
The Polling Key allows TA100 Pro to communicate with time clocks from a workstation other
than where the Main System Key resides. This key is identified by the code 4EQSGH-B on
the outer shell.
On local or wide-area networks, a remote workstation can launch and operate the software as
long as the Main System Key is detected somewhere on the network. However, the
workstation cannot poll time clocks unless it has an Additional Polling Key attached.
© January 2009 Time America, Inc. 16

TA100 Pro Manual
Demo Key
The Demo Key is an accessory for resellers of TA100 Pro systems. This key is identified by
the code 4EIWEH-B on the outer shell.
The following restrictions are present when TA100 Pro detects the Demo Key:
• The TA100 Pro software is limited to five employees and two users.
• NOT FOR RESALE is displayed on all screens.
© January 2009 Time America, Inc. 17

TA100 Pro Manual
Chapter III Getting Started
This section explains how to launch the TA100 Pro system, including logging on and off,
using Help, using the keyboard instead of the mouse and customizing the TA100 Pro
environment.
Starting TA100 Pro and Logging In
Note on User Accounts
When starting TA100 Pro, you will be prompted for a User ID and password. The User ID and
password are used to determine who is able to login and what areas of the program are
accessible. These "User Accounts" are defined in the Security Access portion of TA100 Pro,
which will be covered later in this manual.
SYSOP
There is a built-in administrator account that grants full access to all parts of the
application. The User ID for this account is SYSOP and the initial password is
"password." (This password can and should be changed.) This account will be referred
to as SYSOP throughout this manual.
The first time you login, you must use the SYSOP account, as no other accounts exist.
You will also use this account to perform system maintenance, etc. The SYSOP account
can perform all functions within TA100 Pro, including certain database management
functions that no other account can access.
Launching and Logging In to TA100 Pro
The instructions in this section assume that you already know the User ID and password to
be used. Check with your system administrator if you are unsure of which User ID to use.
1. Click the Start, Programs, TA100 Pro, TA100 Pro, or double-click the
TA100 Pro Icon on the Desktop.
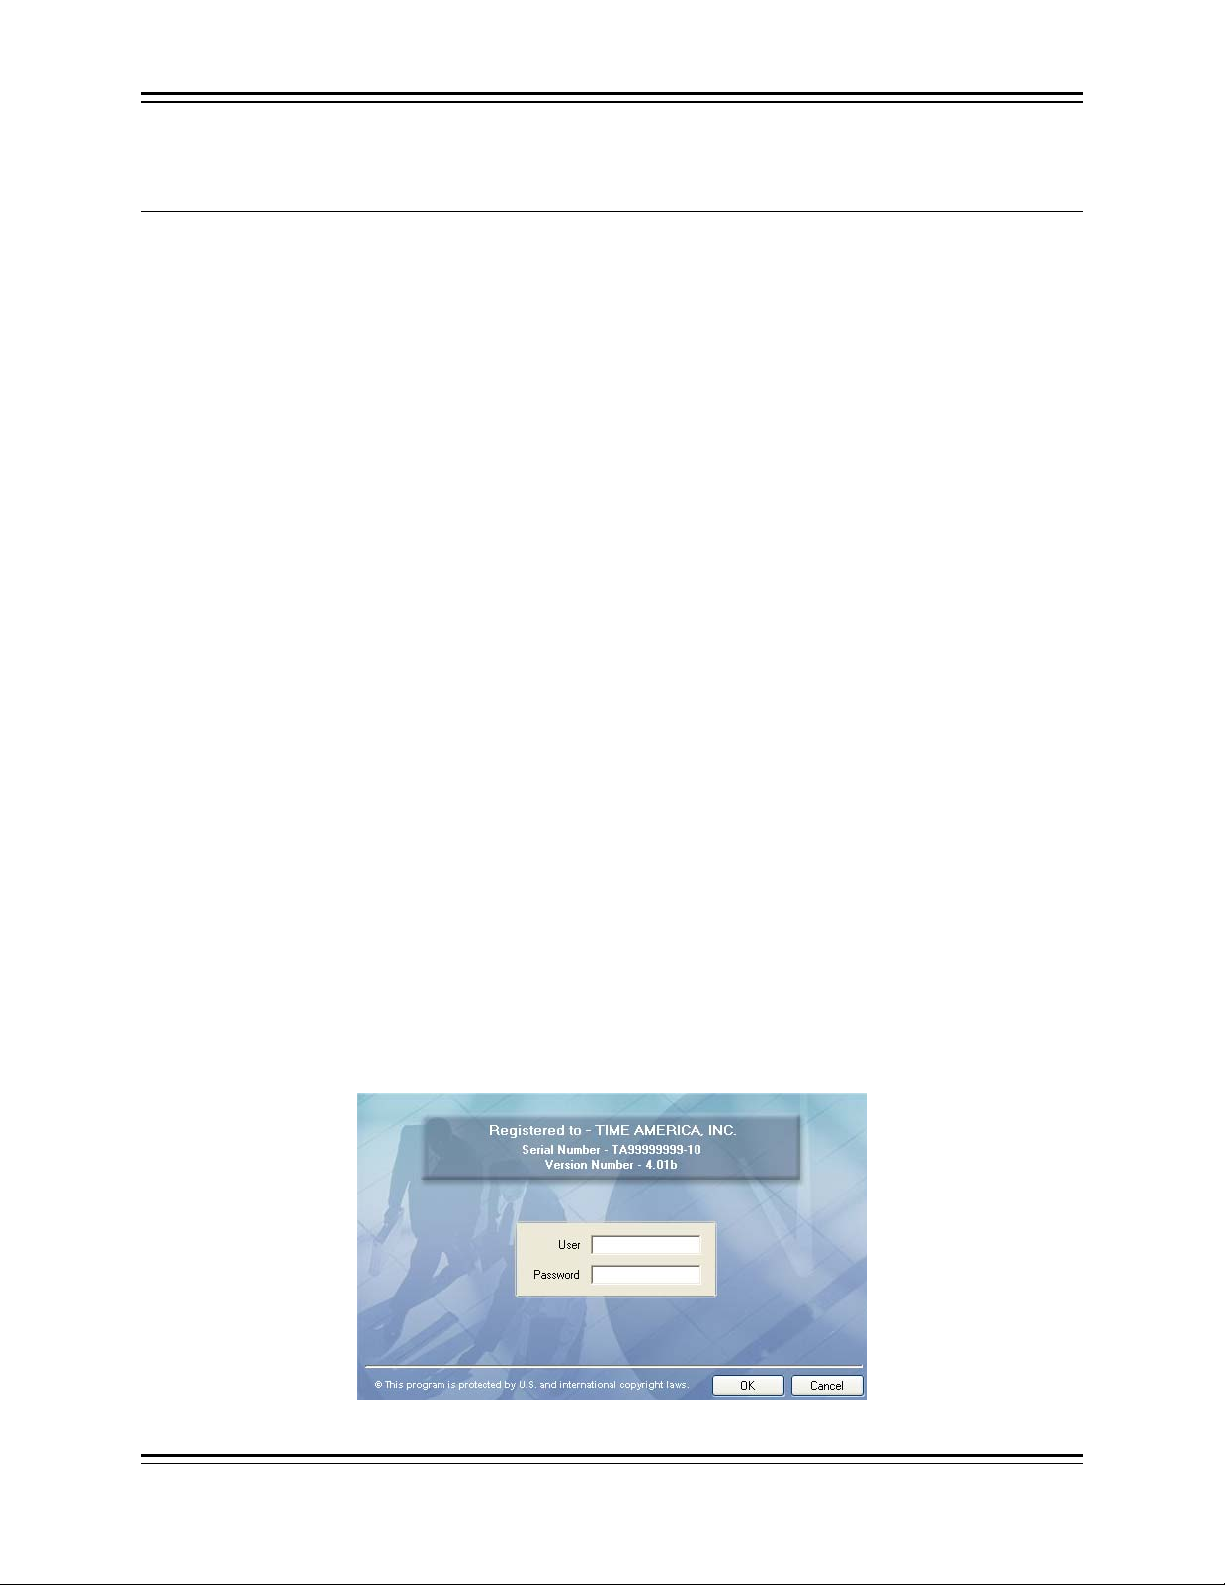
2. TA100 Pro will open and display the Login screen.
Figure 18: TA100 Pro Login Screen
© January 2009 Time America, Inc. 19

TA100 Pro Manual
3. Type your User ID in the User ID field, then press either ENTER or the TAB
key to advance to the Password field
.
4. Type your password in the Password field and press either ENTER or the
TAB key to access TA100 Pro
.
5. The Main Window will open.
Exit
Help
Automated Processes
Poll Terminals
Reports and Listings
Status Board
Approval Editor
Task Organizer
Exiting the System
You can use any of the following methods to close or exit out of TA100 Pro.
• Click File, Exit on the menu bar.
• Click the Exit button on the toolbar.
• Click the Windows Close button (the X at the far right of the menu bar).
• Press ALT+ F4 on the keyboard.
© January 2009 Time America, Inc. 20
TA100 Pro Manual
Tips and Techniques
TA100 Pro is designed to be user-friendly, and as such there are common techniques to making
working in TA100 Pro easier. Some of these tips are listed below.
Setting Definition
Apply
You may click the Apply button in any
screen to commit the changes you have
made without exiting the current screen. This
allows you to "save as you go" and is a good
practice.
Name vs. Number
listing
Show Inactives
Print
Cancel
NOTE: The Employee Maintenance and Status Board sections will resize themselves according
to the monitor resolution.
Using the Keyboard
You will notice that most of the configuration
dialog boxes provide a list of the existing
items at the side of the screen. (For example,
the Divisions dialog box gives you a list of
Divisions.) These lists can be sorted
according to Name or Number, depending
upon your preference.
Check this button to show inactive items in
the list at the side of any dialog box.
You may click the Print button in any dialog
to print the report associated with the current
screen. For example, clicking the Print
button in the Configure Category dialog box
prints the Category Listing report.
You may click the Cancel button in any
dialog box to close the screen without saving
changes.
TA100 Pro system is designed so you can perform all operations from your keyboard as well as
with the mouse.
Hot Key
Underlined Letter
Underlined Letters
All menus, menu items, and buttons have an underlined letter, which allows keyboard access
to that item.
© January 2009 Time America, Inc. 21

TA100 Pro Manual
Keyboard Usage Examples
• To access a menu, press the ALT key in conjunction with the letter that is underlined.
• To access an item on the menu, first open the menu and then press the letter that is
underlined.
• To select a button, press the CTRL key in conjunction with the letter that is
underlined
To: Do This:
Select an item from the Main
Window.
ALT and the underlined letter.
Press
For example, press ALT+F to open the
File menu.
Select a menu command. Press the underlined letter only. This is
true for submenus too.
For example, type S to select
Security.
Select a button. Press CTRL plus the underlined letter.
For example, press
CTRL+E to choose
the Edit button.
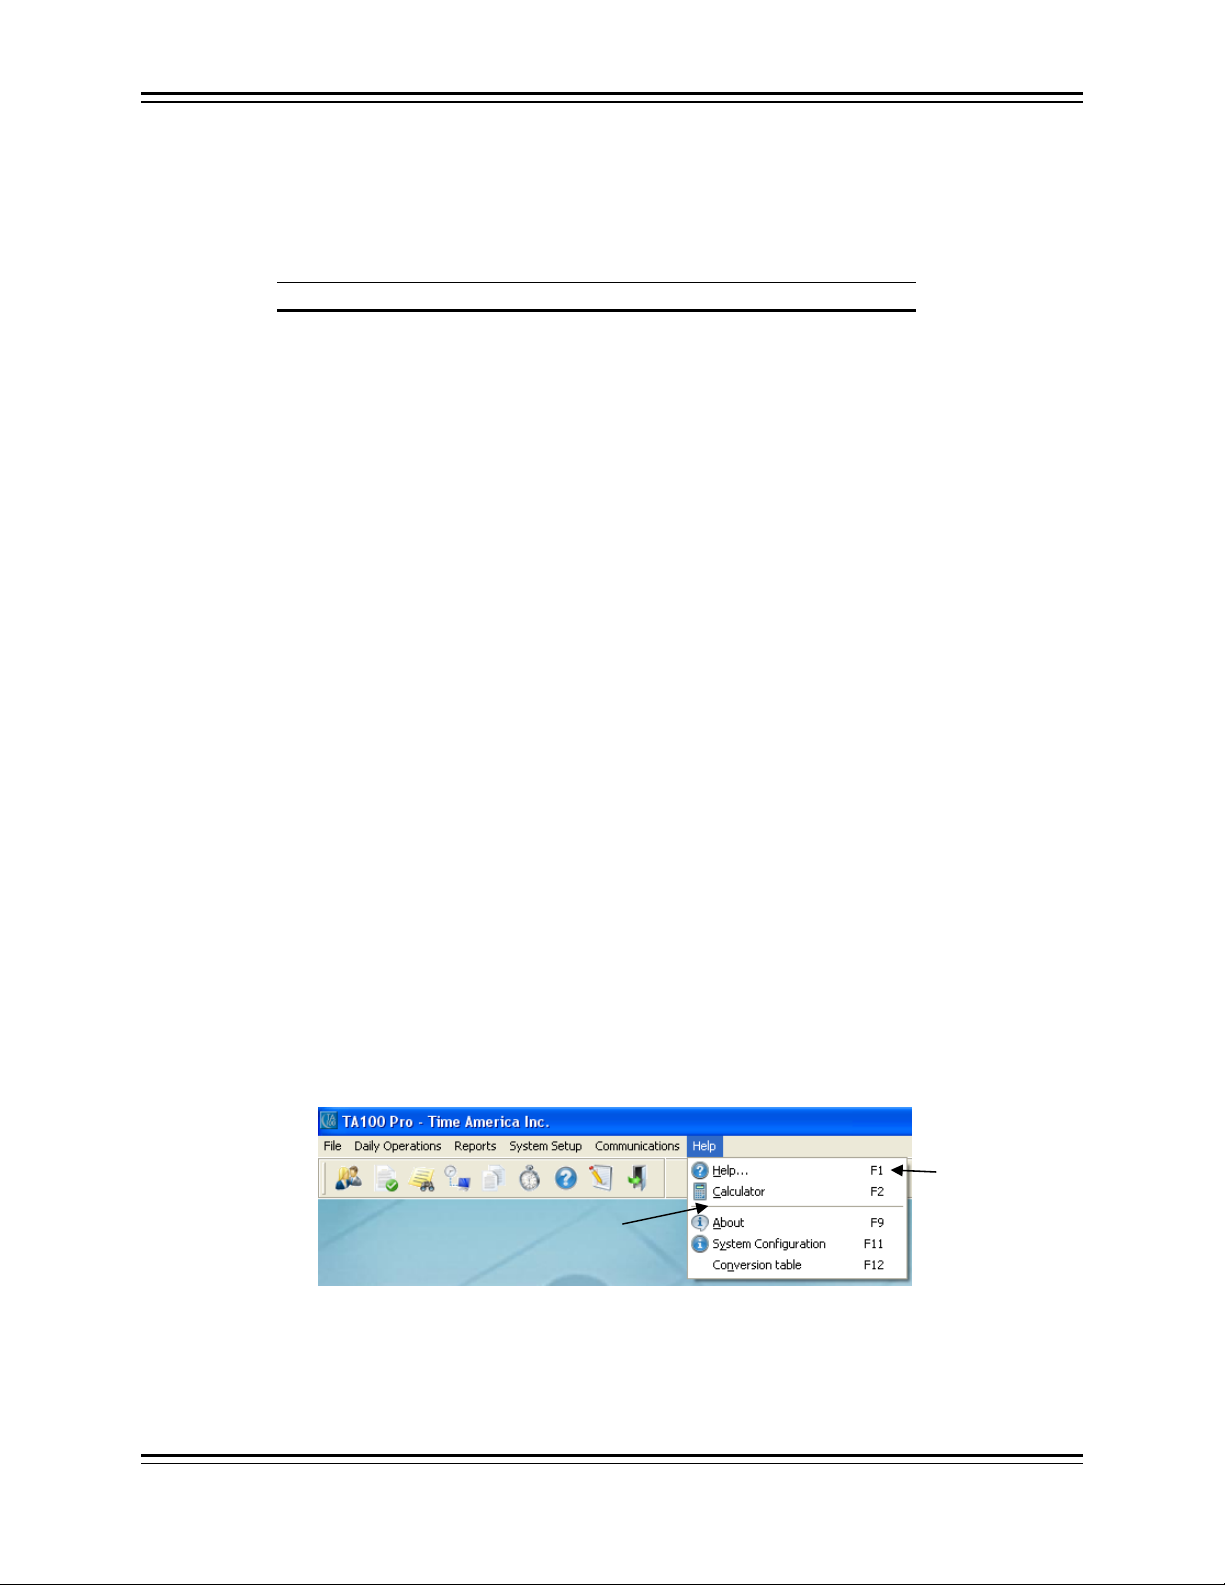
Hot Keys
Some menus, such as the Help menu, are accessible using Hot Keys. These keys or key
combinations correspond to a menu item. Instead of typing the underlined letter in the
command, you can simply press the Hot Key. For example, to view your system
configuration, press
F11. Also, all date fields have a calendar dropdown, to access right click
on the date.
Additional Keyboard Access
Other keys and key combinations are available in the system. They are explained below
To: Press:
Exit the current function or window without
saving the data.
Display the Help topic associated with the
current window.
Display the Calculator.
ESC
F1
F2
Display the Calendar/Diary.
Display the Help > About menu window.
Display Conversion Table
F3
F9
F12
Activate the menu bar in the Main Window. F10 or ALT
Exit the TA100 Pro system.
Display Rounded Start and Stop times in the
ALT+F4
R
Online Timecard.
© January 2009 Time America, Inc. 22
TA100 Pro Manual
Help
TA100 Pro incorporates an Online Help system to answer questions about functions, procedures,
and commands.
You can access context-sensitive Help from anywhere in the application by pressing the F1
function key. You will automatically be taken to the Help topic appropriate for the screen that you
are in currently.
You may also access the Online Help feature through the Help menu, from which you can
perform searches and browse the Help topics. There are three ways you can look for information:
Browse the Contents, Search the Index, or do a text Find. There are three tabs across the top of
the Help Topics window to access each of these methods.
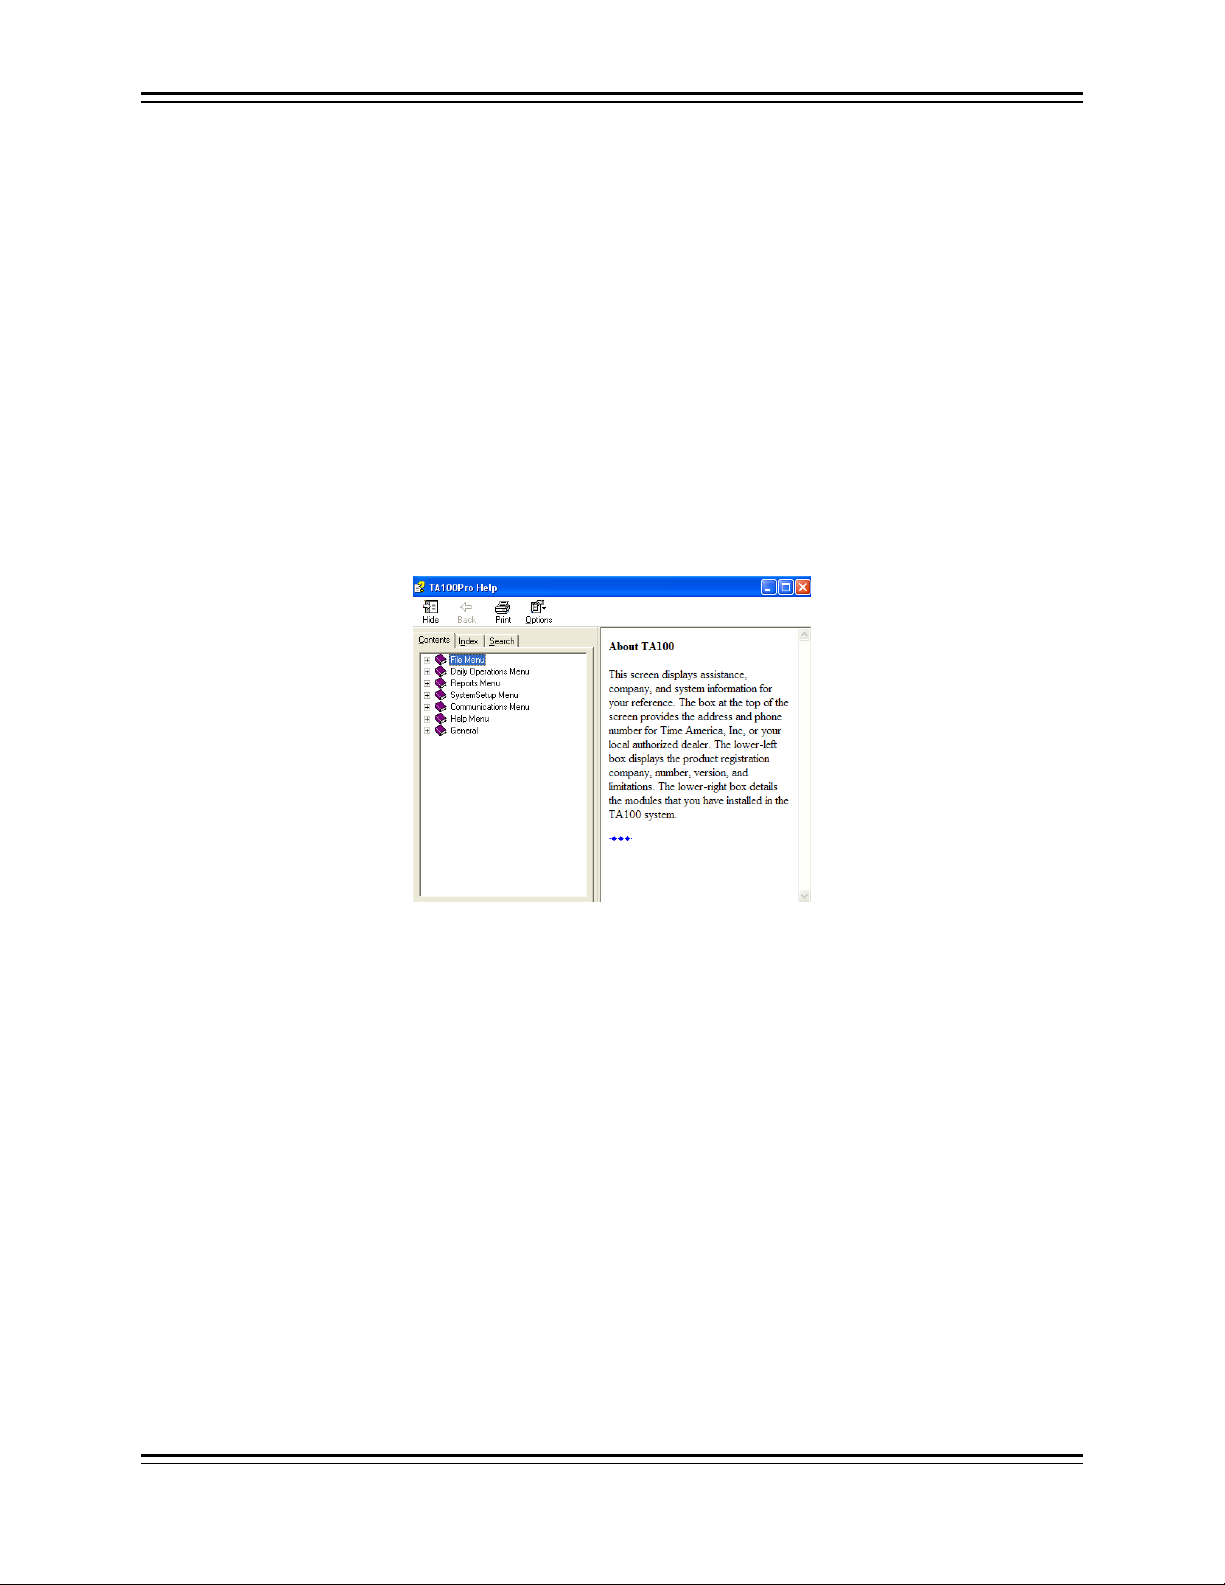
Access the Online Help Window
1) Click the Help menu, Help. The Help Topics window will open
Figure 19: Help Topics
Use Help Contents
1. In the Help Topics window, click the Contents tab.
2. Double-click the topic you wish to browse. This will expand the sub-topics
below it.
3. If necessary, double-click the sub-topic you wish to browse.
4. When you find the article you are interested in, double-click it to open the
article.
Use the Help Index
1. In the Help Topics window, click the Index tab.
2. Type in the topic you are looking for.
3. When you find the article you are interested in, double-click it to open the
article.
© January 2009 Time America, Inc. 23
TA100 Pro Manual
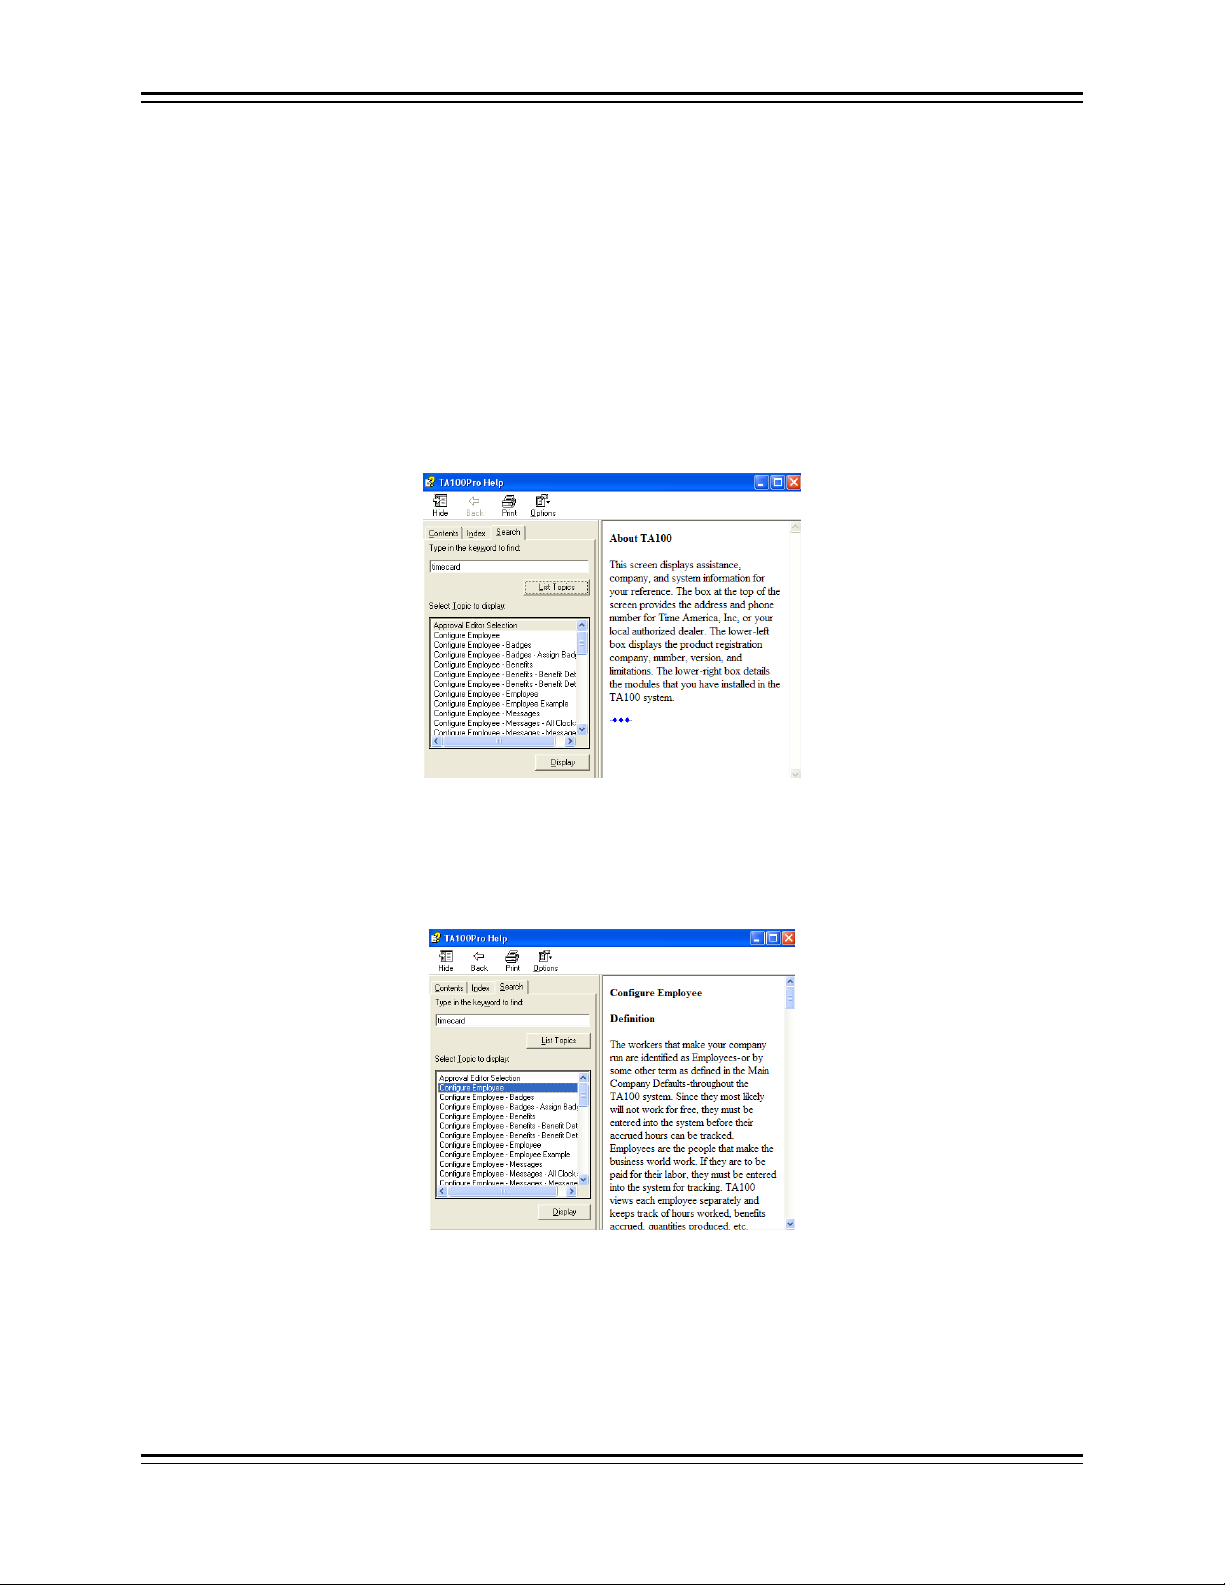
Use Help Search
Return to the Help Topics Window
After reading an article, you may return to the Help Topics window by clicking the Help
Topics button on the toolbar.
1. In the Help Topics window, click the Search tab.
2. Type in the topic you are looking for.
3. If necessary, select a word from the list of suggestions.
4. When you find the article you are interested in, double-click it to open the
article.
Figure 20: Help Article
Print a Help Topic
You can print any help topic by clicking the Print button on the toolbar.
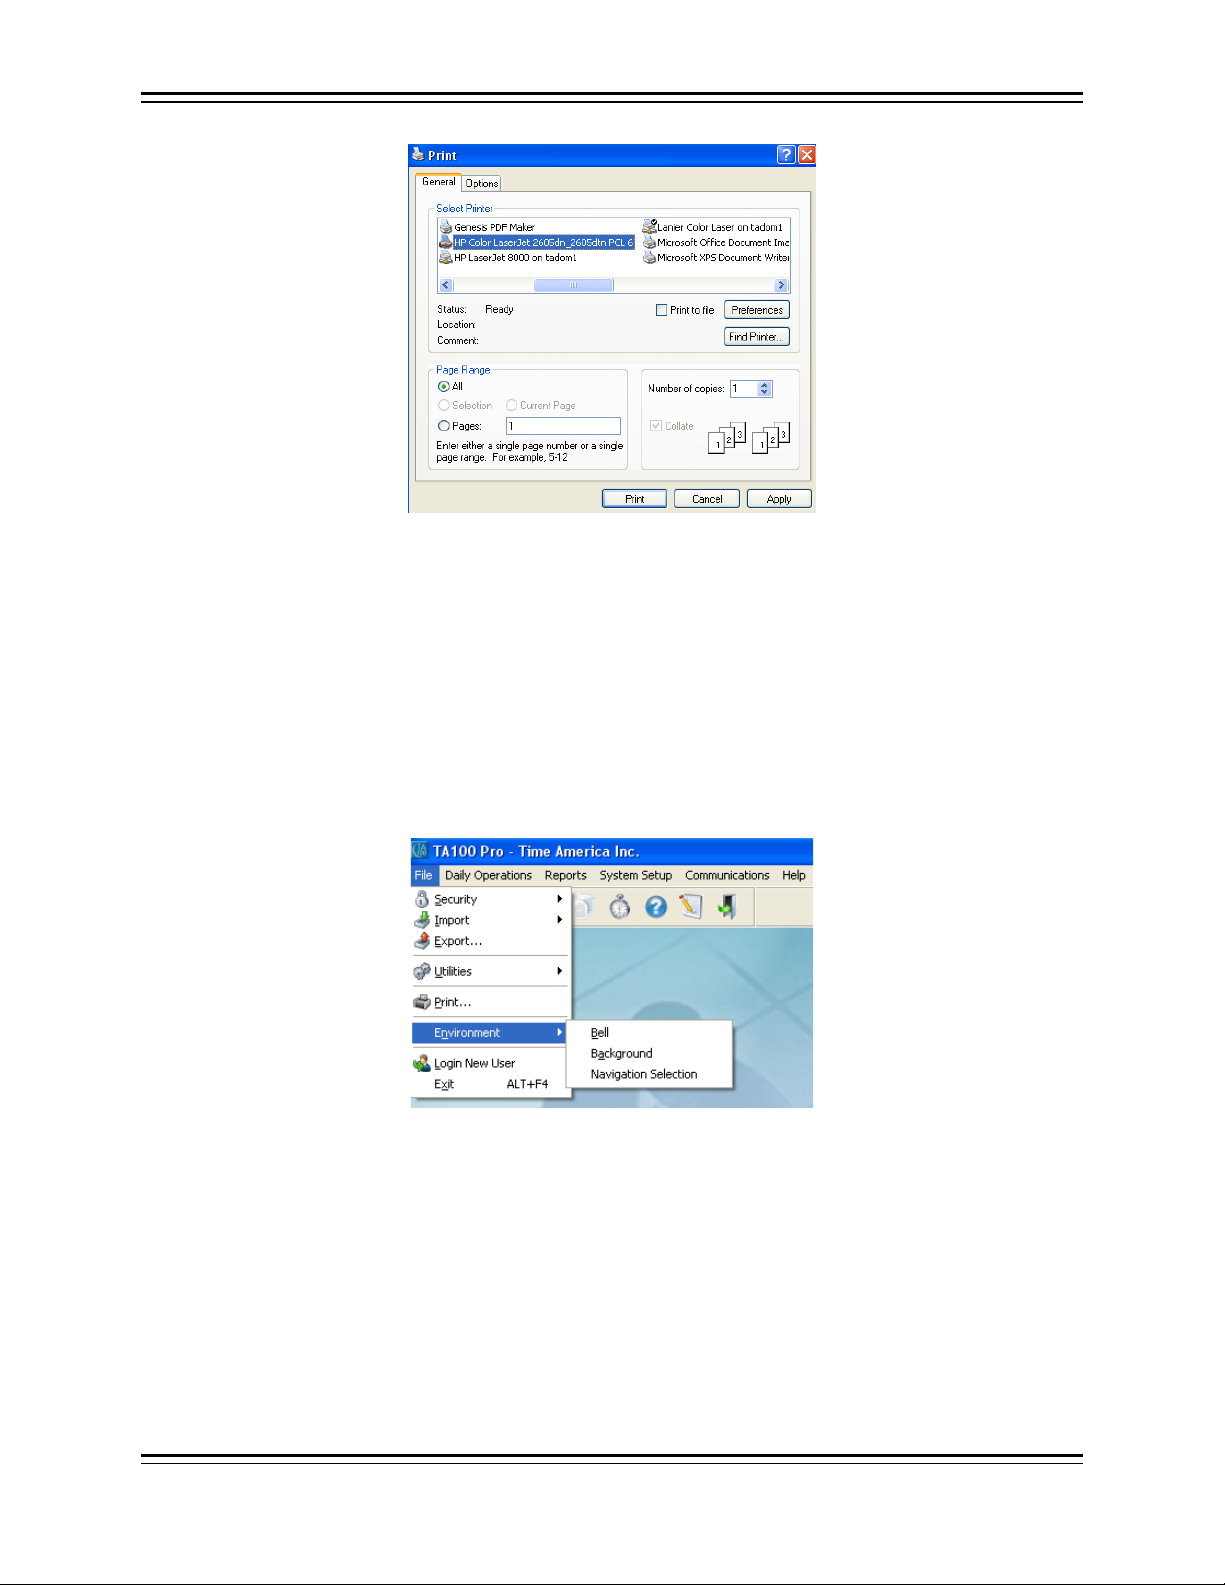
Figure 21: Help Article
1. Click the Print button on the TA100 Pro Help toolbar. The Print window will
open.
© January 2009 Time America, Inc. 24
TA100 Pro Manual
Figure 22: Print
2. Select the printer to which you wish to print and click the Print button. The
topic will print.
Configuring the System Environment
Environmental settings control various display and functional characteristics of your system. The
default settings can be modified. Bell, Background and Large Toolbar are available
environment options. A check mark (9) in front of the option means that the option is activated.
Figure 23: Environment Menu
Play Bell Tones
You can customize TA100 Pro to play a tone at the end of a field when entering data.
1. Click the File menu, Environment, Bell. This will cause a bell tone to play
whenever you come to the end of a field when entering data.
NOTE: To remove follow Step 1.
Change Screen Background
You can customize the TA100 Pro background to display a graphic of your choice. The
graphic must be in bitmap (.bmp) format.
© January 2009 Time America, Inc. 25
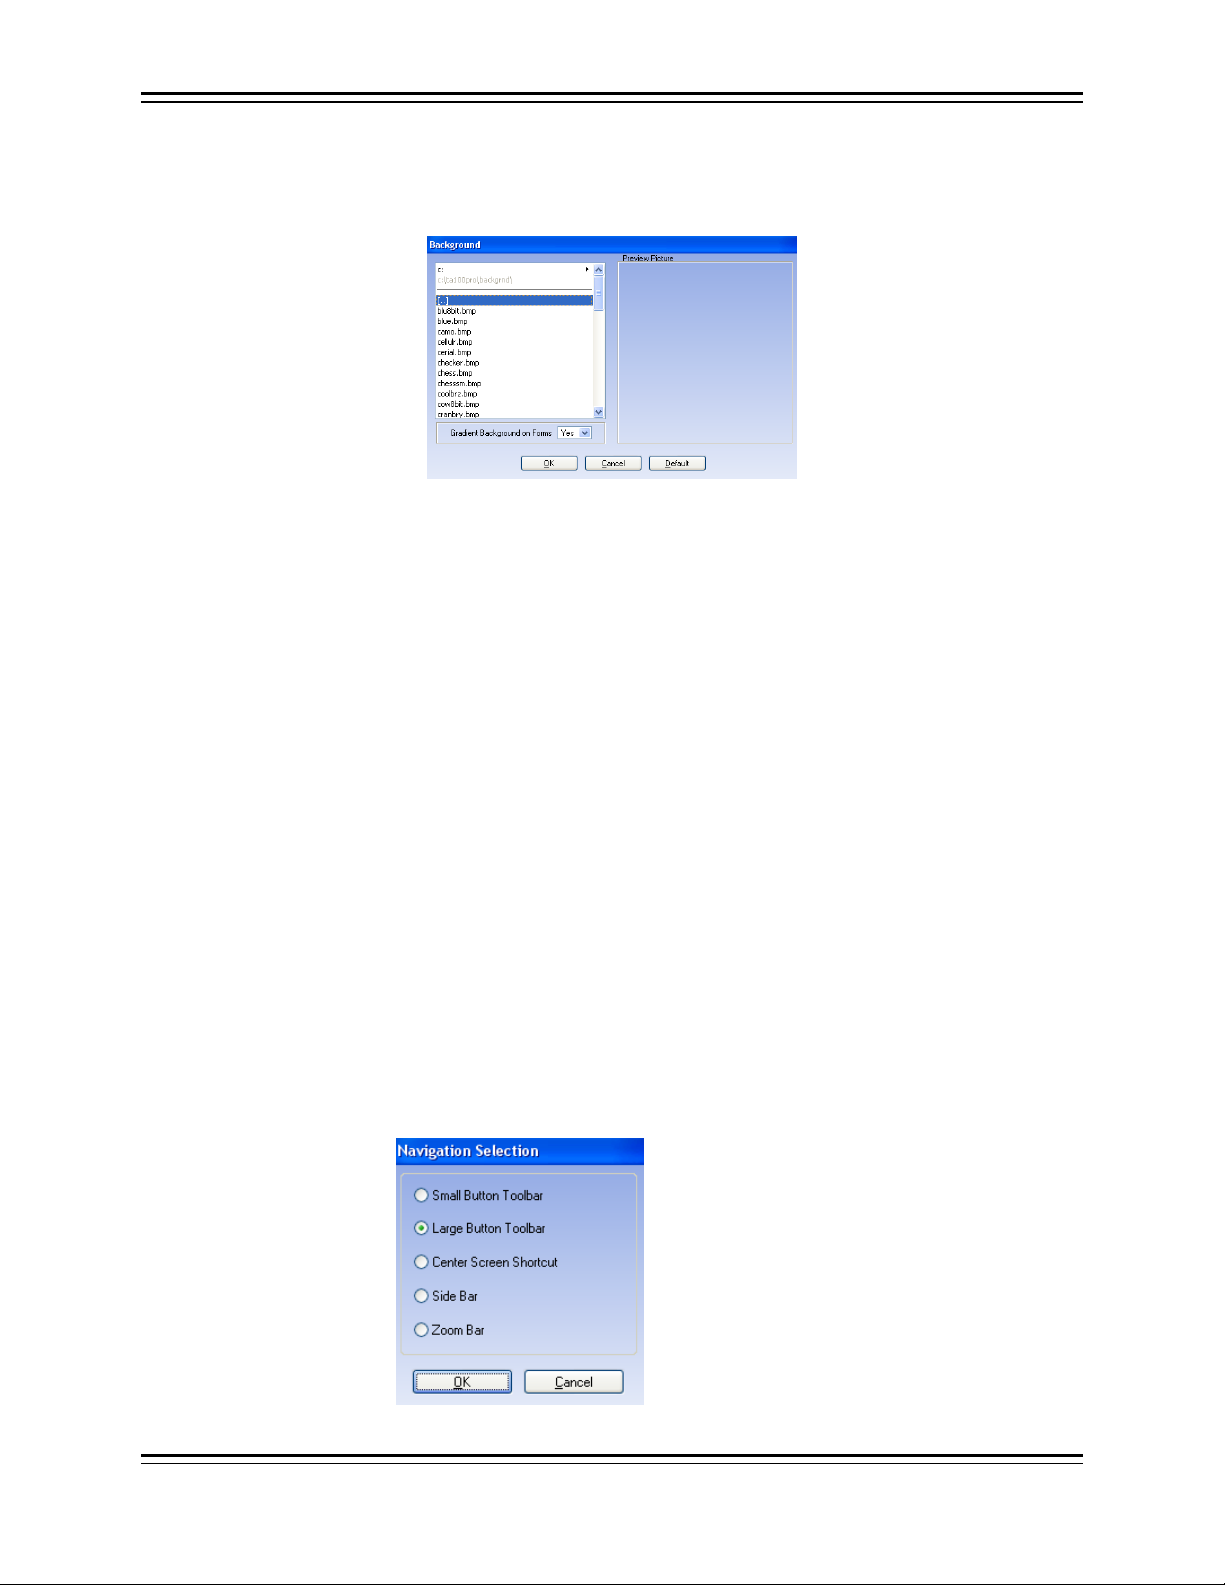
TA100 Pro Manual
1. Click the File menu, Environment, Background. The Select Background
window will open.
Figure 24: Select Background
2. Choose the graphics file you wish to use for your background.
• Click the directory or file to select it.
• Click the […] icon to go to a previous directory.
3. Click OK to accept the selected file.
4. Your graphic will appear on the background of TA100 Pro.
NOTE: To reset the background settings to the defaults:
Click the File menu, Environment, Background. The Select
Background window will open.
Click the Defaults button.
Gradient Background Option
You can activate the gradient background for all forms in TA100 Pro.
Navigation Selection
You can customize the main toolbar to display a small button toolbar, large button toolbar,
show center screen shortcut, side bar or zoom bar.
1. Click the File menu, Environment, Navigation Selection. Then select from
the list of options.
© January 2009 Time America, Inc. 26

TA100 Pro Manual
Chapter IV Configuration
This section explains how to configure and customize TA100 Pro for your company's
requirements. To make this chapter easier to follow, the topics in this section are arranged
in the sequence that Time America recommends completing them. This also happens to
be the order in which they appear on the Configure menu in the TA100 Pro Main Window.
This order is:
• Main Company
• Divisions (optional)
• Categories
• Policies
• Shifts
• Holidays
• Groups (optional)
• Department
• Job
• Security
• Bell Schedules
• Benefit Accruals
© January 2009 Time America, Inc. 27
TA100 Pro Manual
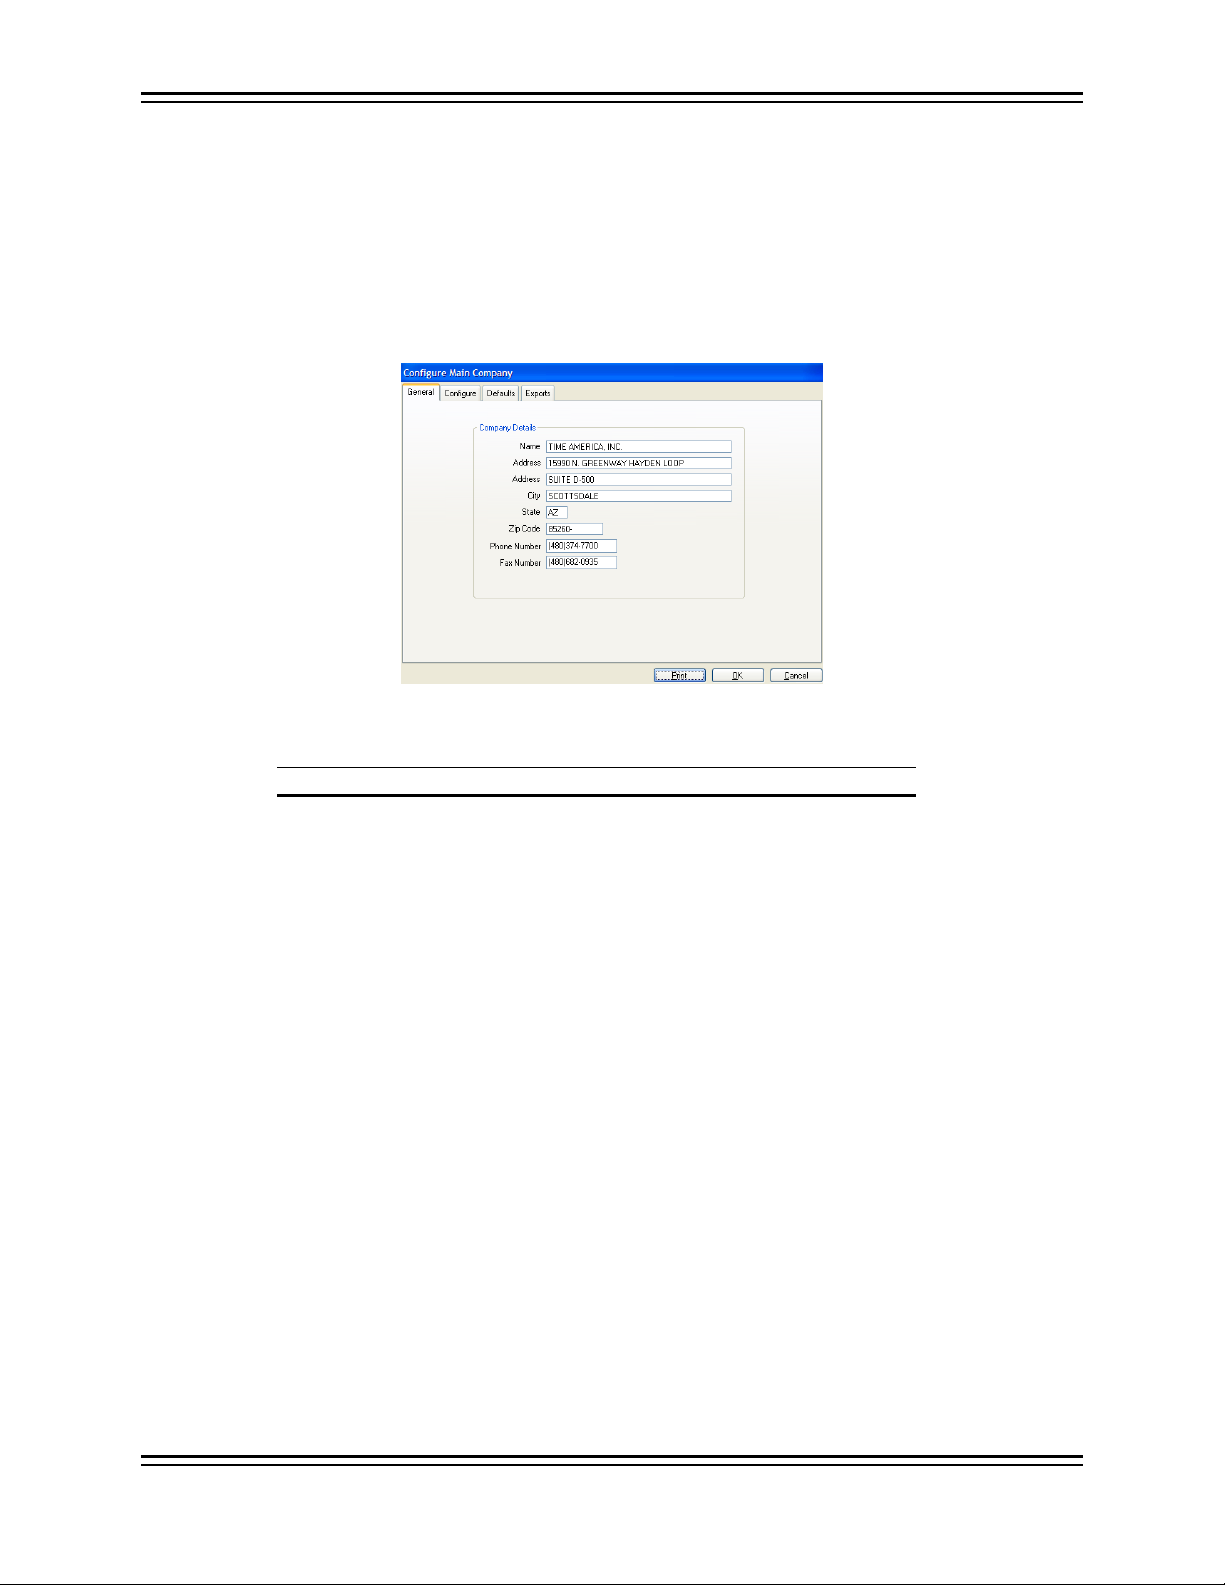
Main Company
The Main Company window is where you identify your company, define the overall configuration
of the system, and specify the payroll service to which time and attendance data will be exported.
1. Click the System Setup menu, Company, Main Company. The Main
Company window will open and the General tab will be selected by default.
Figure 25: Main Company: General tab
2. Fill in the settings as appropriate:
Setting Definition
Name
Address
Address
City
State
Enter your company's name. This field is
required and can contain up to 30
characters.
Enter the first line of your company's primary
address. This field can accept up to 30
characters.
NOTE: Divisions can be used to allow for
additional branch addresses.
Enter the second line of your company's
primary address (such as suite number.) This
field can accept up to 30 characters and may
be left blank.
Enter your company's primary address City.
This field can accept up to 30 characters.
Enter the two-character code for your
company's State. TA100 Pro automatically
capitalizes your entry.
Zip
Phone Number
Fax Number
© January 2009 Time America, Inc. 28
Enter your company's zip code. You may
enter the 5 or 9 digit zip code.
Enter your company's primary phone
number.
Enter your company's primary fax number.
TA100 Pro Manual
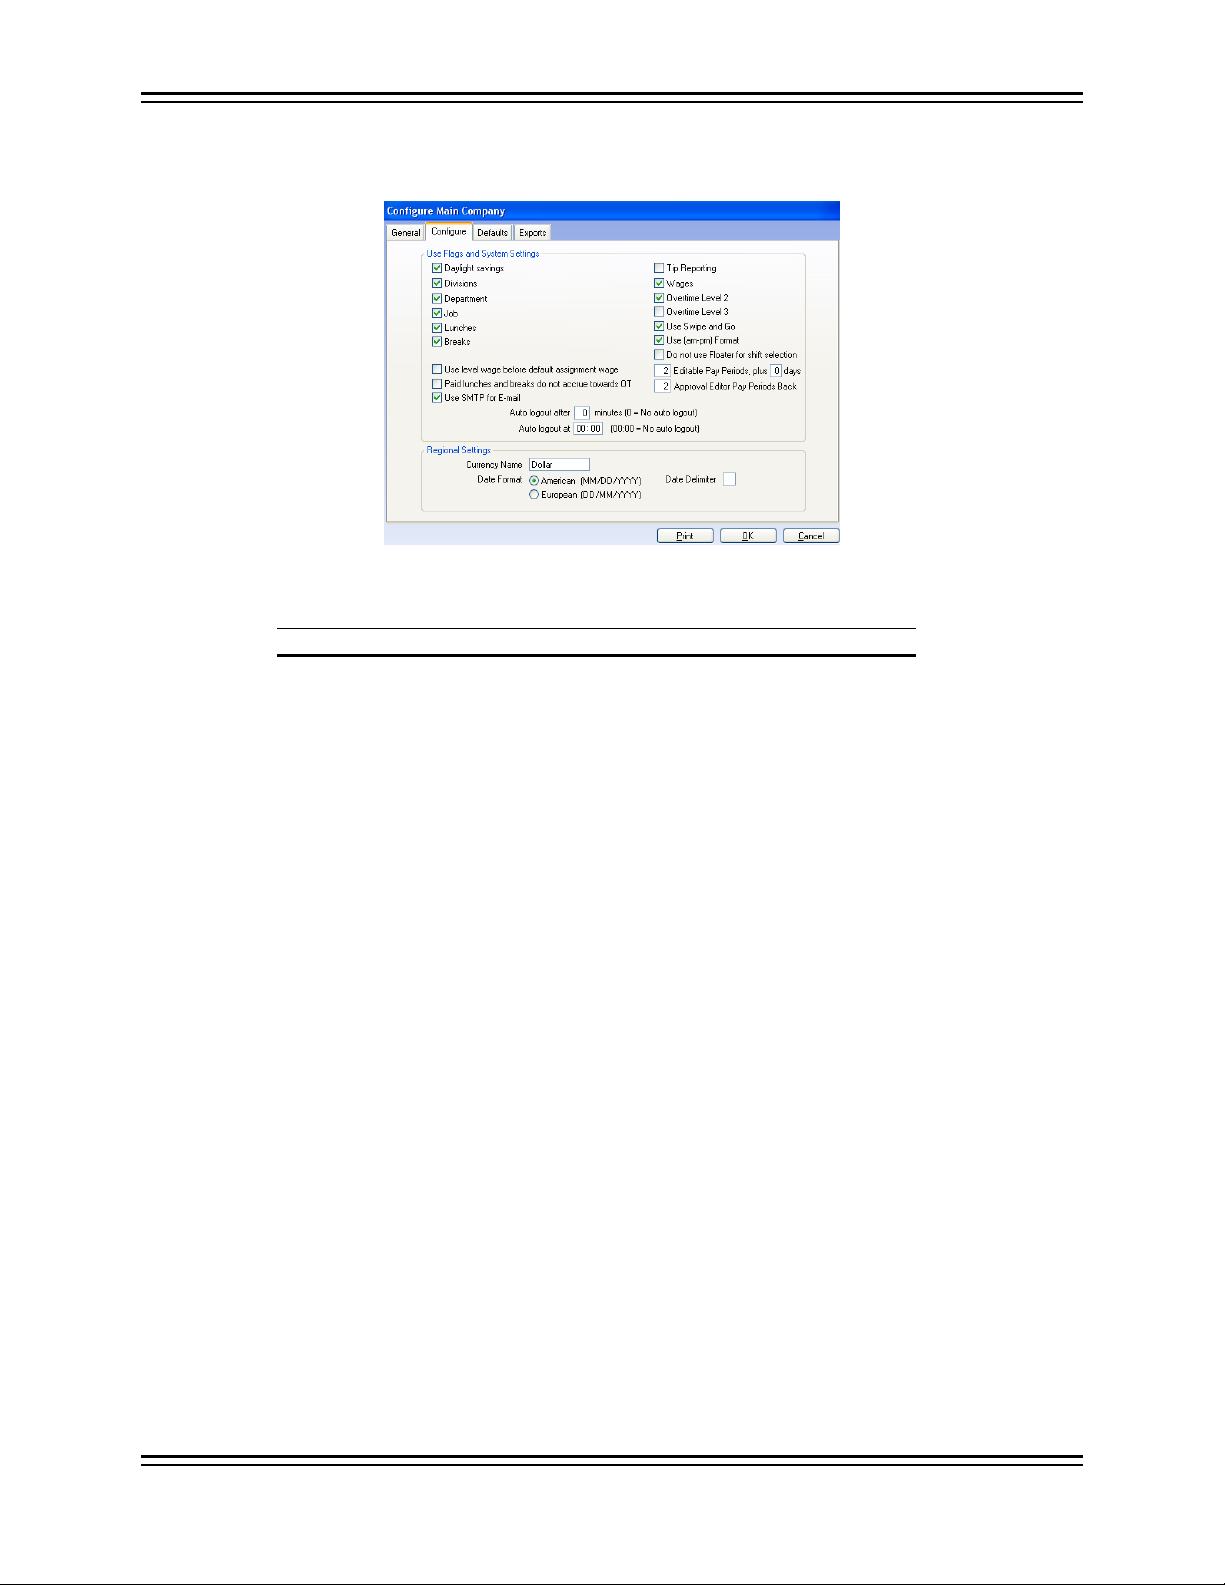
3. When all settings are complete, click the Configure tab. The Configure
screen will appear.
Figure 26: Main Company: Configure tab
4. Fill in the settings as appropriate
Setting Definition
Daylight savings
Check this box if your company is in a state
that observes daylight savings time. Typically
you will check this box.
Divisions
Department
Job
Lunches
Check this box to enable the Divisions
feature. A Division is a "subset" of the main
company, such as a branch, different
location, or subsidiary company.
TIP: Companies who submit multiple
company codes to their payroll service may
want to use Divisions.
Check this box to enable the Departments
feature. Departments reflect the business
units within your company and are the top
level of Job Costing.
NOTE: You will have the opportunity to
customize this nomenclature in the next
screen.
Check this box to enable the Job level. Jobs
are the second level of Job Costing.
NOTE: You will have the opportunity to
customize this nomenclature in the next
screen.
Check this box to enable this option if your
employees will punch for lunch or lunch will
be deducted automatically.
Breaks
Check this box to enable this option if your
employees will punch for break or break will
be deducted automatically.
© January 2009 Time America, Inc. 29

TA100 Pro Manual
Setting Definition
Use level wage
before default
assignment wage
"Level Wage" refers to the hourly rate
associated with a department, job, step,
operation or task. The "default assignment
wage" refers to the wage associated with an
individual employee.
Check this box if you wish the Level Wage
for the department an employee works in to
take precedence over the Default
Assignment Wage when calculating an
employee's earnings.
Paid lunches and
breaks do not
accrue toward
overtime
Use SMTP for email
Tip reporting
Wages
Overtime Level 2
Overtime Level 3
Use Swipe and Go
Check this box if paid lunches and breaks
are not considered in calculating hours for
overtime.
This option allows you to define the e-mail
configuration per user in security.
Check this box to enable tip reporting.
Check this box to enable the wages features
throughout TA100 Pro. This makes it
possible to enter wage information in the
Employee Maintenance screen.
Up to three levels of overtime may be
defined in TA100 Pro. One overtime level
(OT1) is always available. To use a second
overtime level (OT2), click the Overtime
Level 2 check box.
To use a third overtime level (OT3) in the
system, click the Overtime Level 3 check
box. This level is not available unless
Overtime Level 2 is selected.
Check this option to allow employees to
swipe the clock without punching any keys.
The system then determines whether the
individual punch was an In, Out, Out for
Lunch, In from Lunch, etc., based on the
employee’s last punch and the employee's
schedule.
Use (am-pm)
Format
Check this option to have reports and the
online timecard use an AM/PM format
instead of 24-hour format (military time.)
Do not use Floater
for shift selection
Editable Pay
Periods, plus days
Check this option to suppress all floaters
from each shift group.
This option controls the number of pay
periods and days in which it is possible to
edit transactions in the TA100 Pro system.
For instance, Figure 26 specifies that two
pay periods of transactions can be modified.
© January 2009 Time America, Inc. 30
 Loading...