

Time2 HSIP2 User Manual

IP Camera User Manual
Device Client
Web Terminal
iOS Application
Android Application
Please read all instructions carefully before use to get the
most out of your Wireless Surveillance Camera.
The design and features are subject to change without
notice.

Contents
Important Safety Information
2
Main Components
3
Camera Features
4
Connecting the Camera
6
Device Client
6
Installing the PC Client
6
Camera Setup
10
Main Features
13
Web Terminal
21
Viewing the Camera Online
21
How to use the IE Livestream mode
23
Operation Tool Area
23
Pan Tilt Control Area
24
Video Control Area
24
System Settings
26
Network Configuration
32
User & Device
33
iOS Application
34
Downloading the App
34
Camera Controls
36
Settings
38
Android Application
44
Downloading the App
44
Camera Setup
44
Camera Controls
46
Settings
48
1

General Description
Thank you for purchasing the Time2 HSIP2 Surveillance Camera –
this device is a great way monitor any part of your office, home or
warehouse making sure all your valuables are safe and secure
Please keep this manual for future reference and ensure all safety
instructions have been read carefully before using. Applications and
their functions may vary by country and/or hardware specification.
Important Safety Information
Do not install the product outdoors or in any place where it
may become wet. Do not install the product in any place that
might be exposed to extreme heat or cold – the camera
should be kept out of direct sunlight
It is not permitted to open the product yourself or to have it
opened, neither is it permitted to repair the product yourself or
to have it repaired. This will void the warranties.
Only use original accessories from the manufacturer
Keep the product out of reach of children
Disconnect the device from all power sources before cleaning
it. Use a clean, dry cloth to clean the product
Do not use any abrasive agents, corrosive cleaning products
or any substances that contain bleach or solvents to clean the
product
Remove the adapter from the power outlet during storms,
lightning and whenever the product will not be used for a
longer period of time
The camera is not able to view through glass at night. Keep
this in mind when positioning it
2
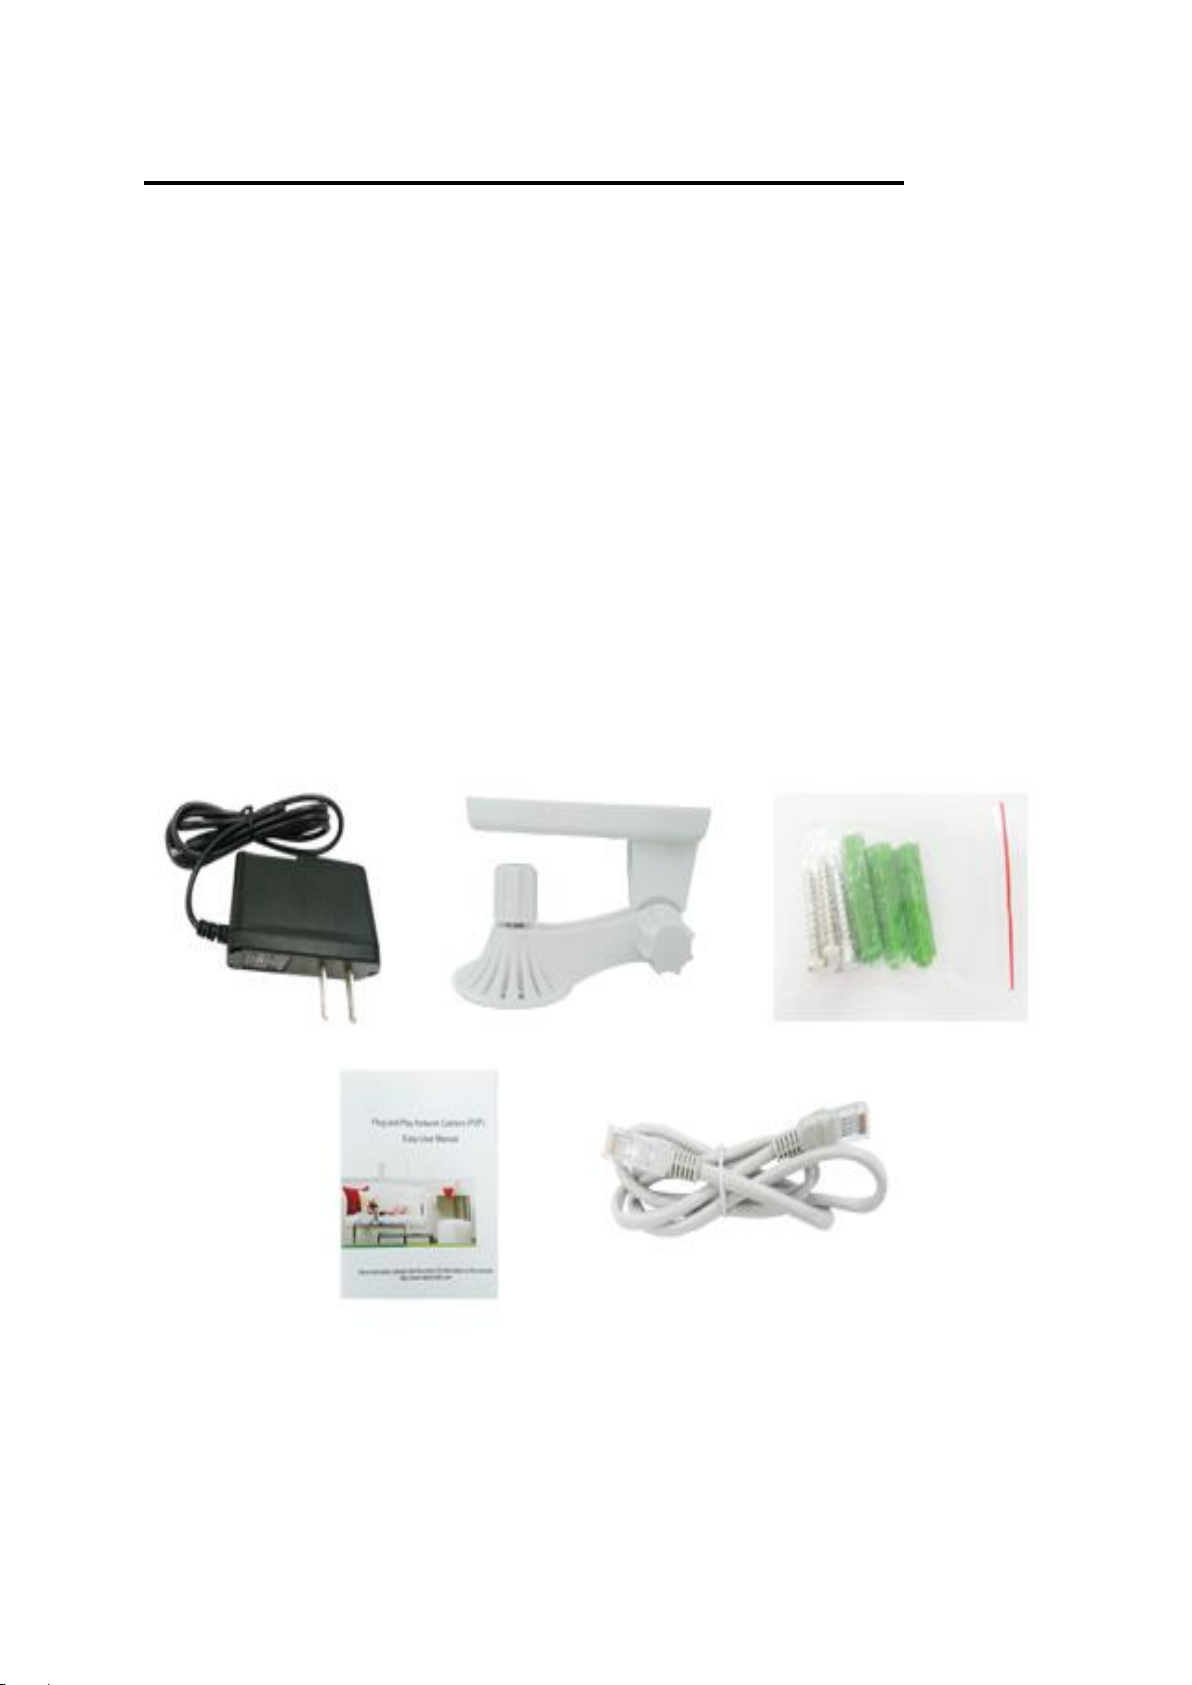
Main Components (What comes in the box?)
HSIP2 HD IP Camera
WiFi Antenna
Ethernet (internet) cable
DC supply (power supply)
Wall Mounting brackets
User manual
3
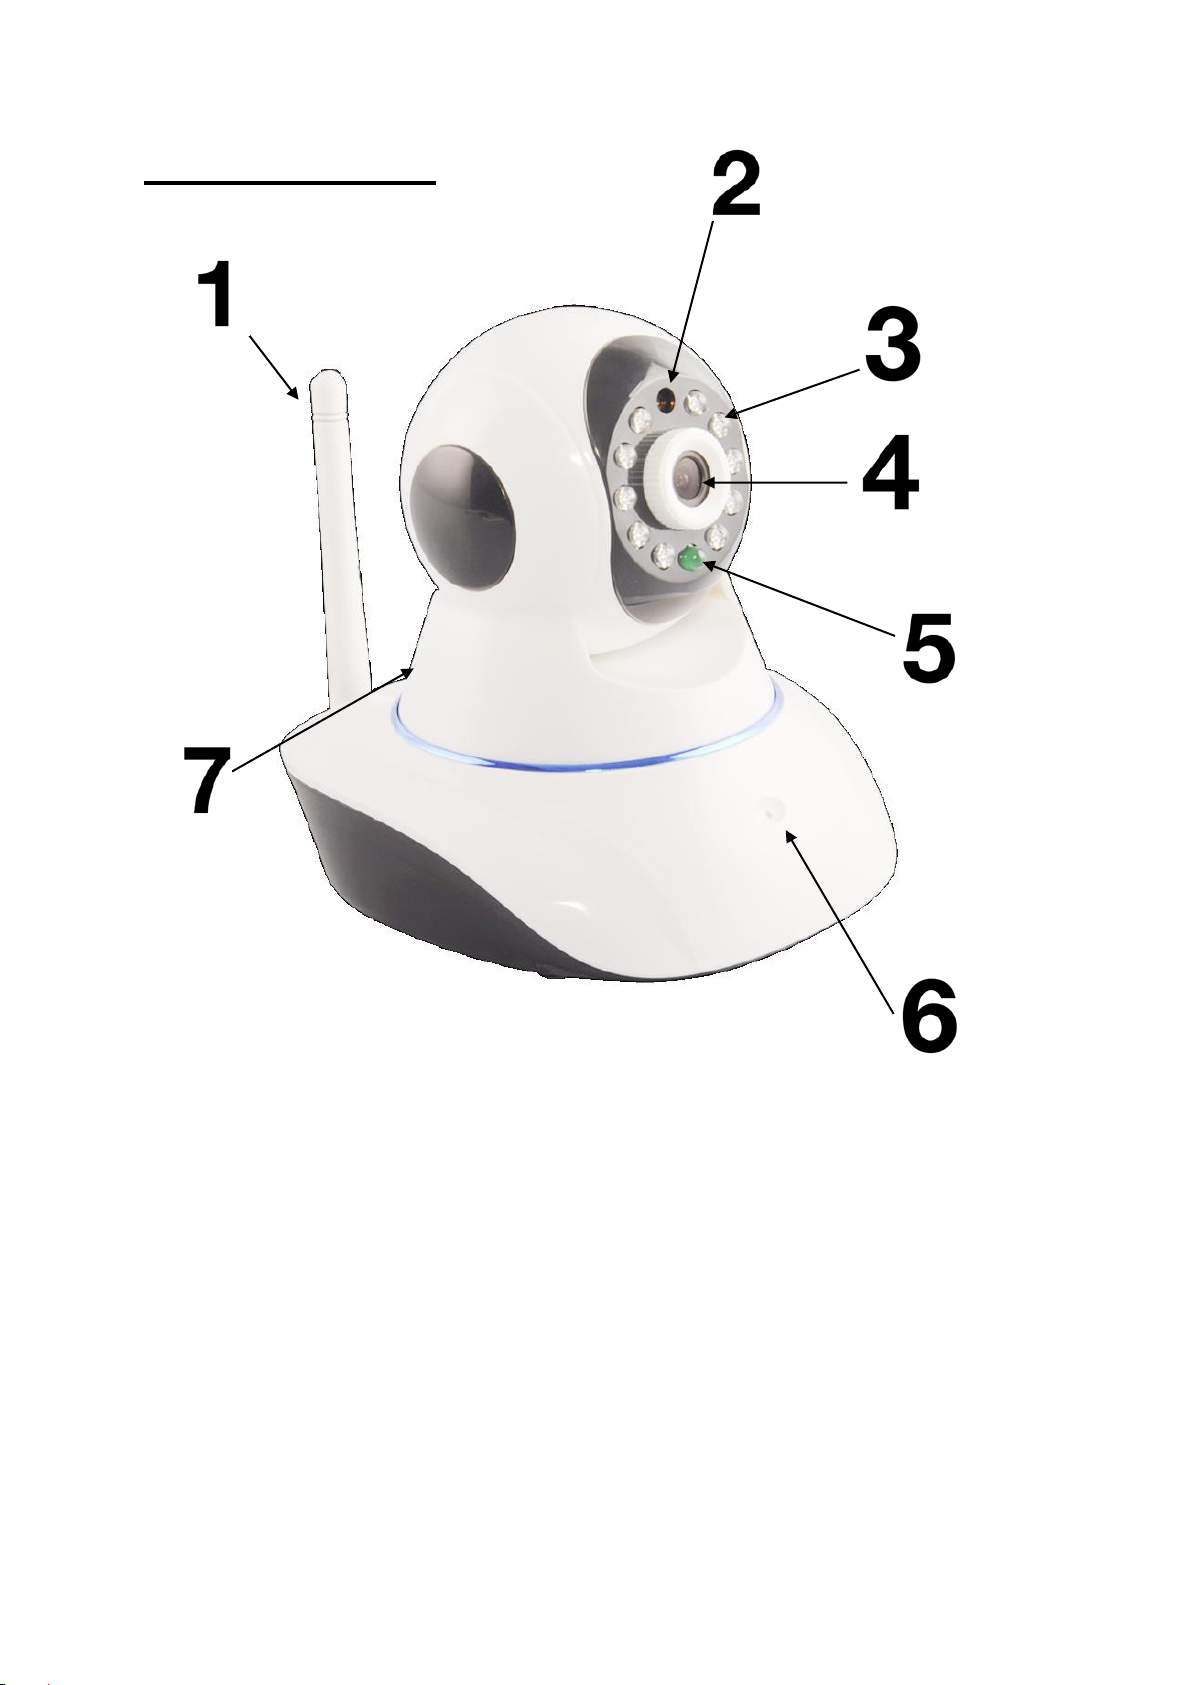
Camera Features
1. Wireless Antenna
2. Motion Detector
3. Infrared LED
4. Camera Lens
5. Network Indicator LED
6. Microphone
7. Loud Speaker
4
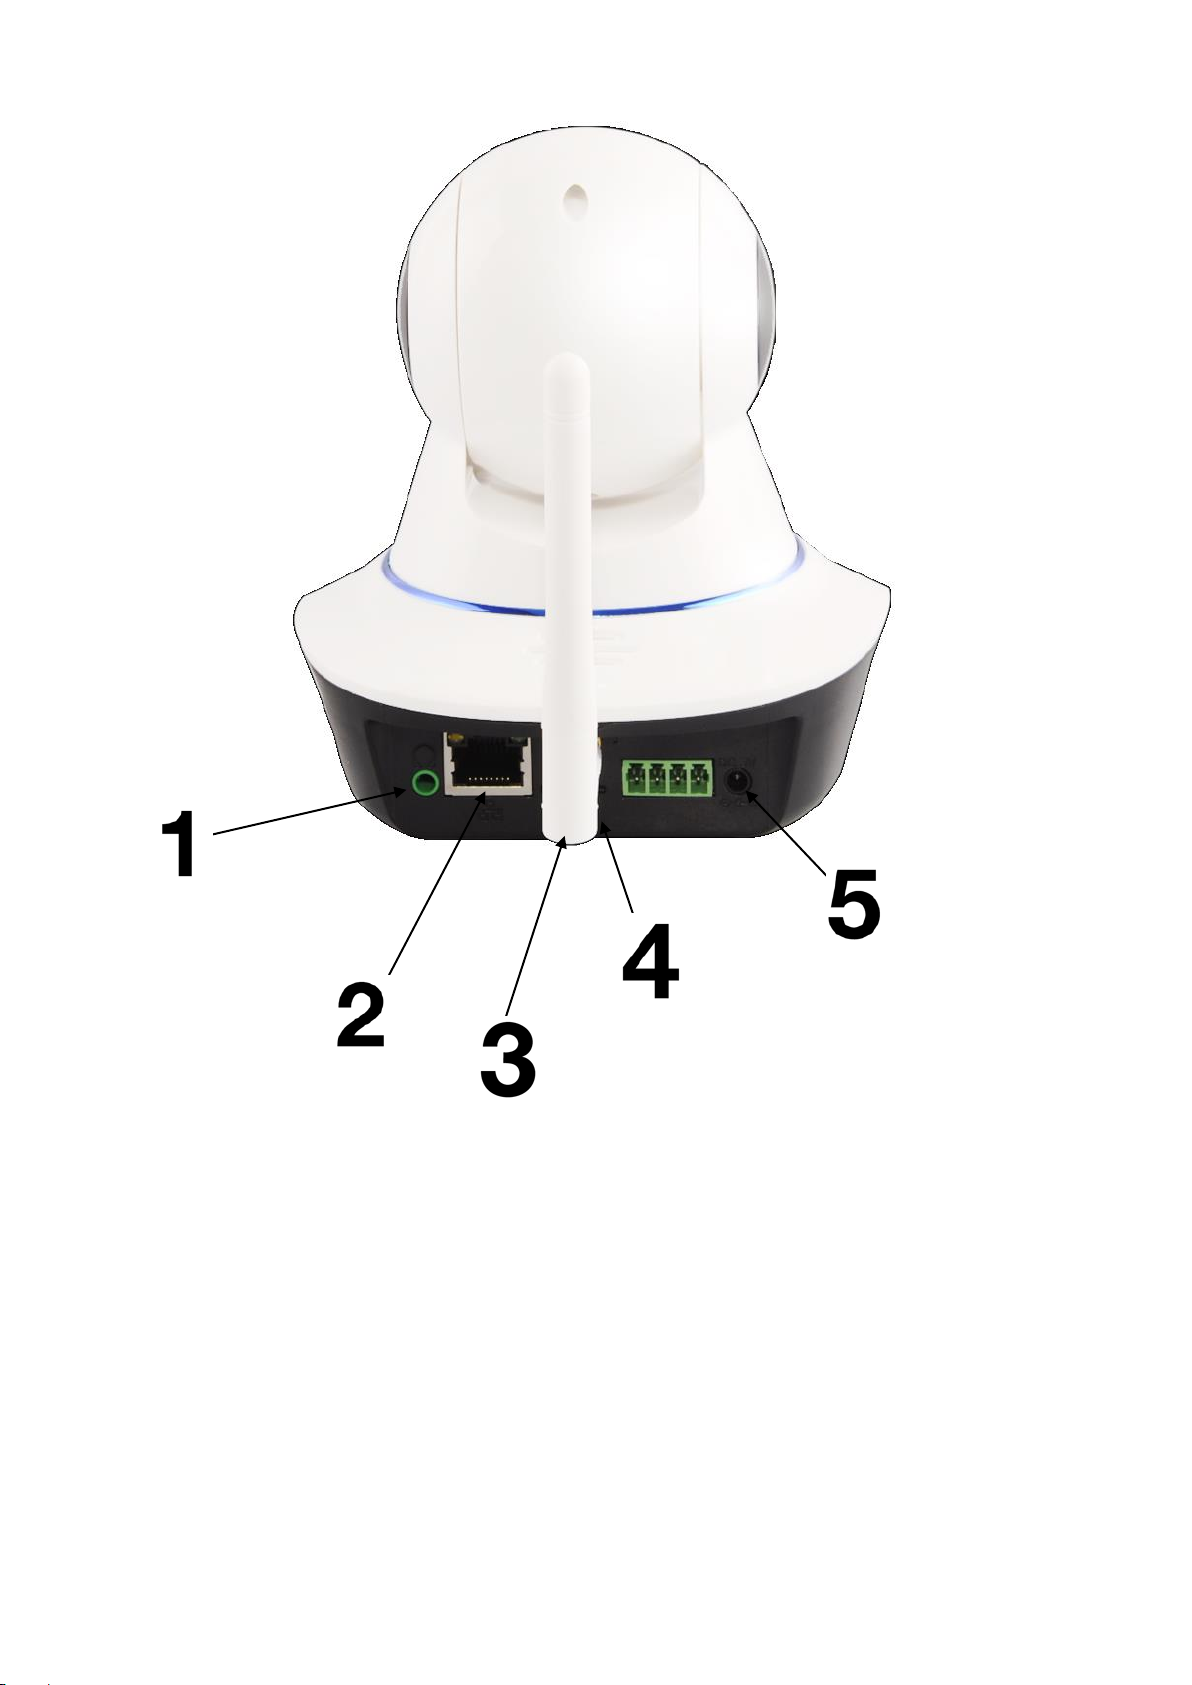
1. Headphone Slot
2. Ethernet / RJ45 Port
3. WiFi Antenna
4. Micro SD Card Slot
5. Power Port
5
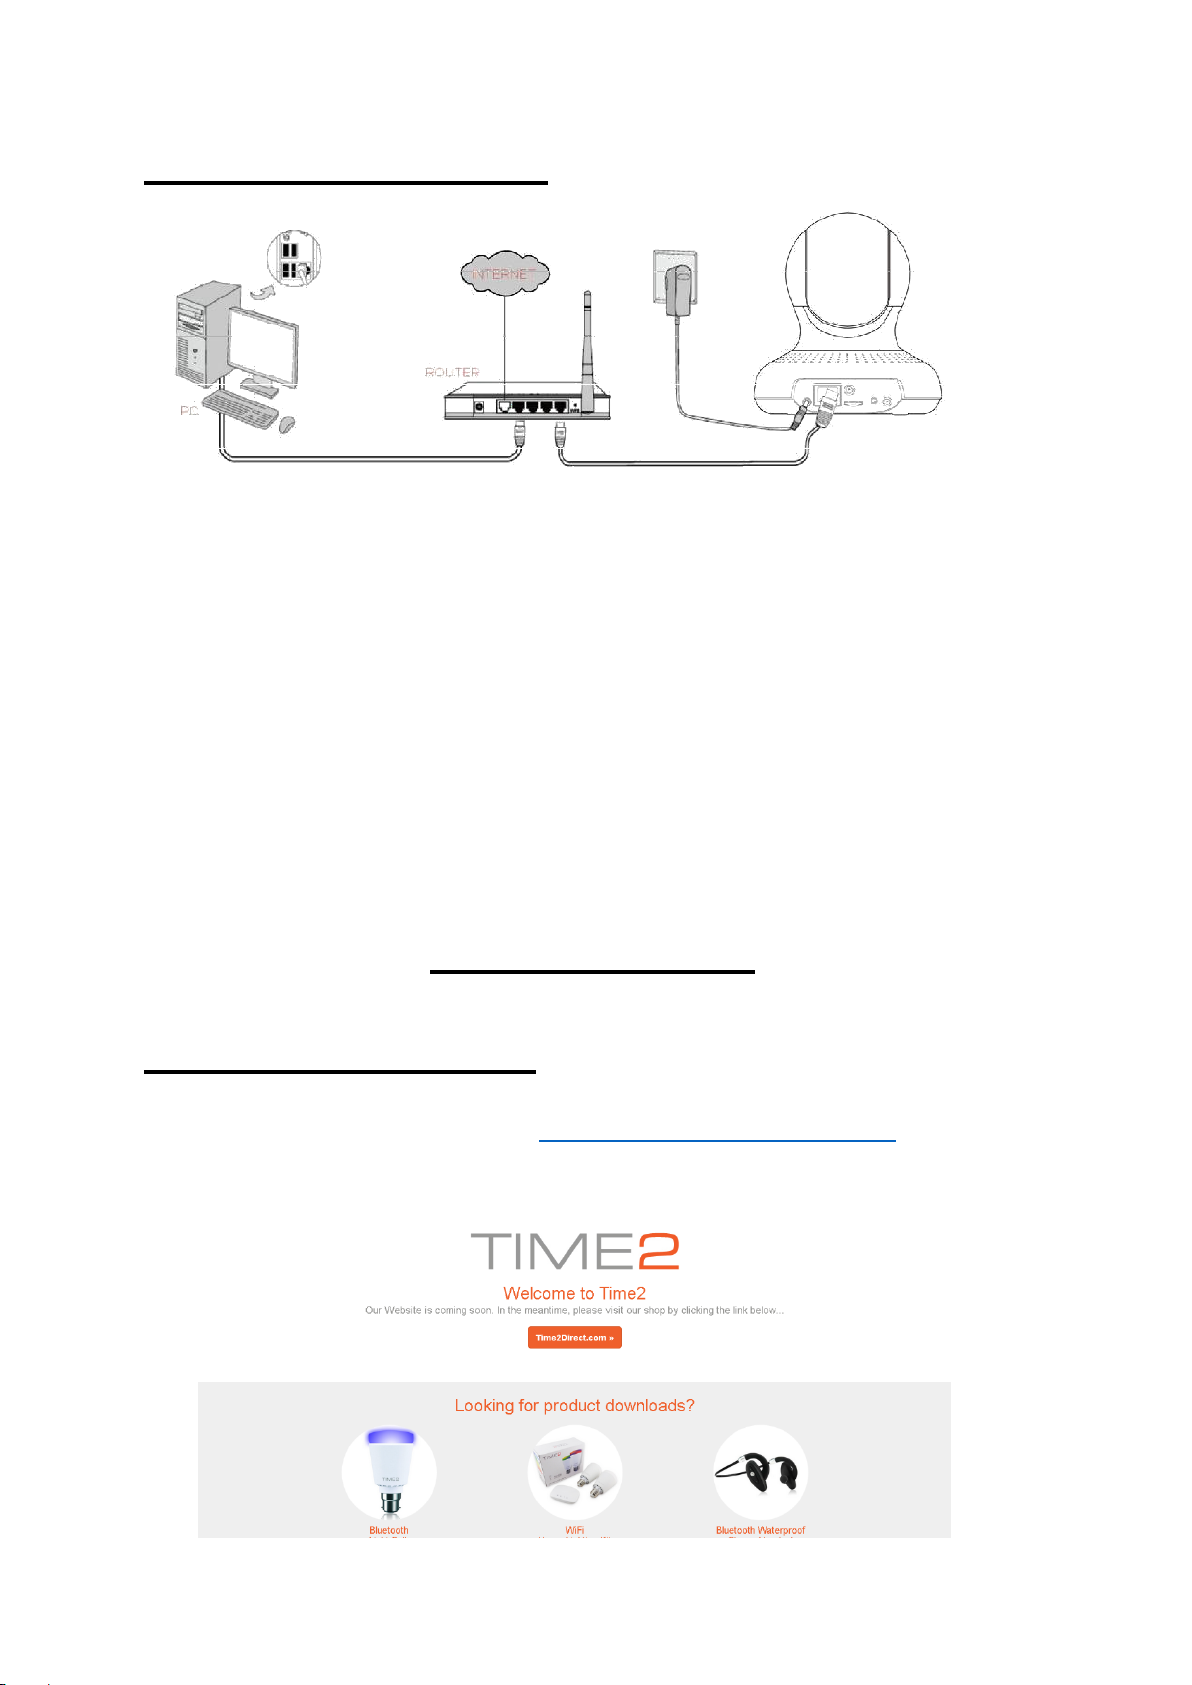
Connecting the Camera
1. Screw the WiFi Antenna into gold screw at the back of the camera
2. Plug the power adaptor into the port at the back of the camera
3. Plug one end of the Network/Ethernet cable into camera and the
other end into your Wireless Internet Router. It will take
approximately 30 seconds for the camera to power up.
4. Once the power cable and Ethernet cable have been connected,
the green LED light will come on.
Device Client
Installing the PC Client
Visit the following webpage – www.time2technology.com to
download the “IP Camera for PC” software. (Click to download)
6
During download, your Anti-virus software may bring up an alert,
please ignore it and continue to download the software. Once the
software has downloaded, double click on the software icon to
open.
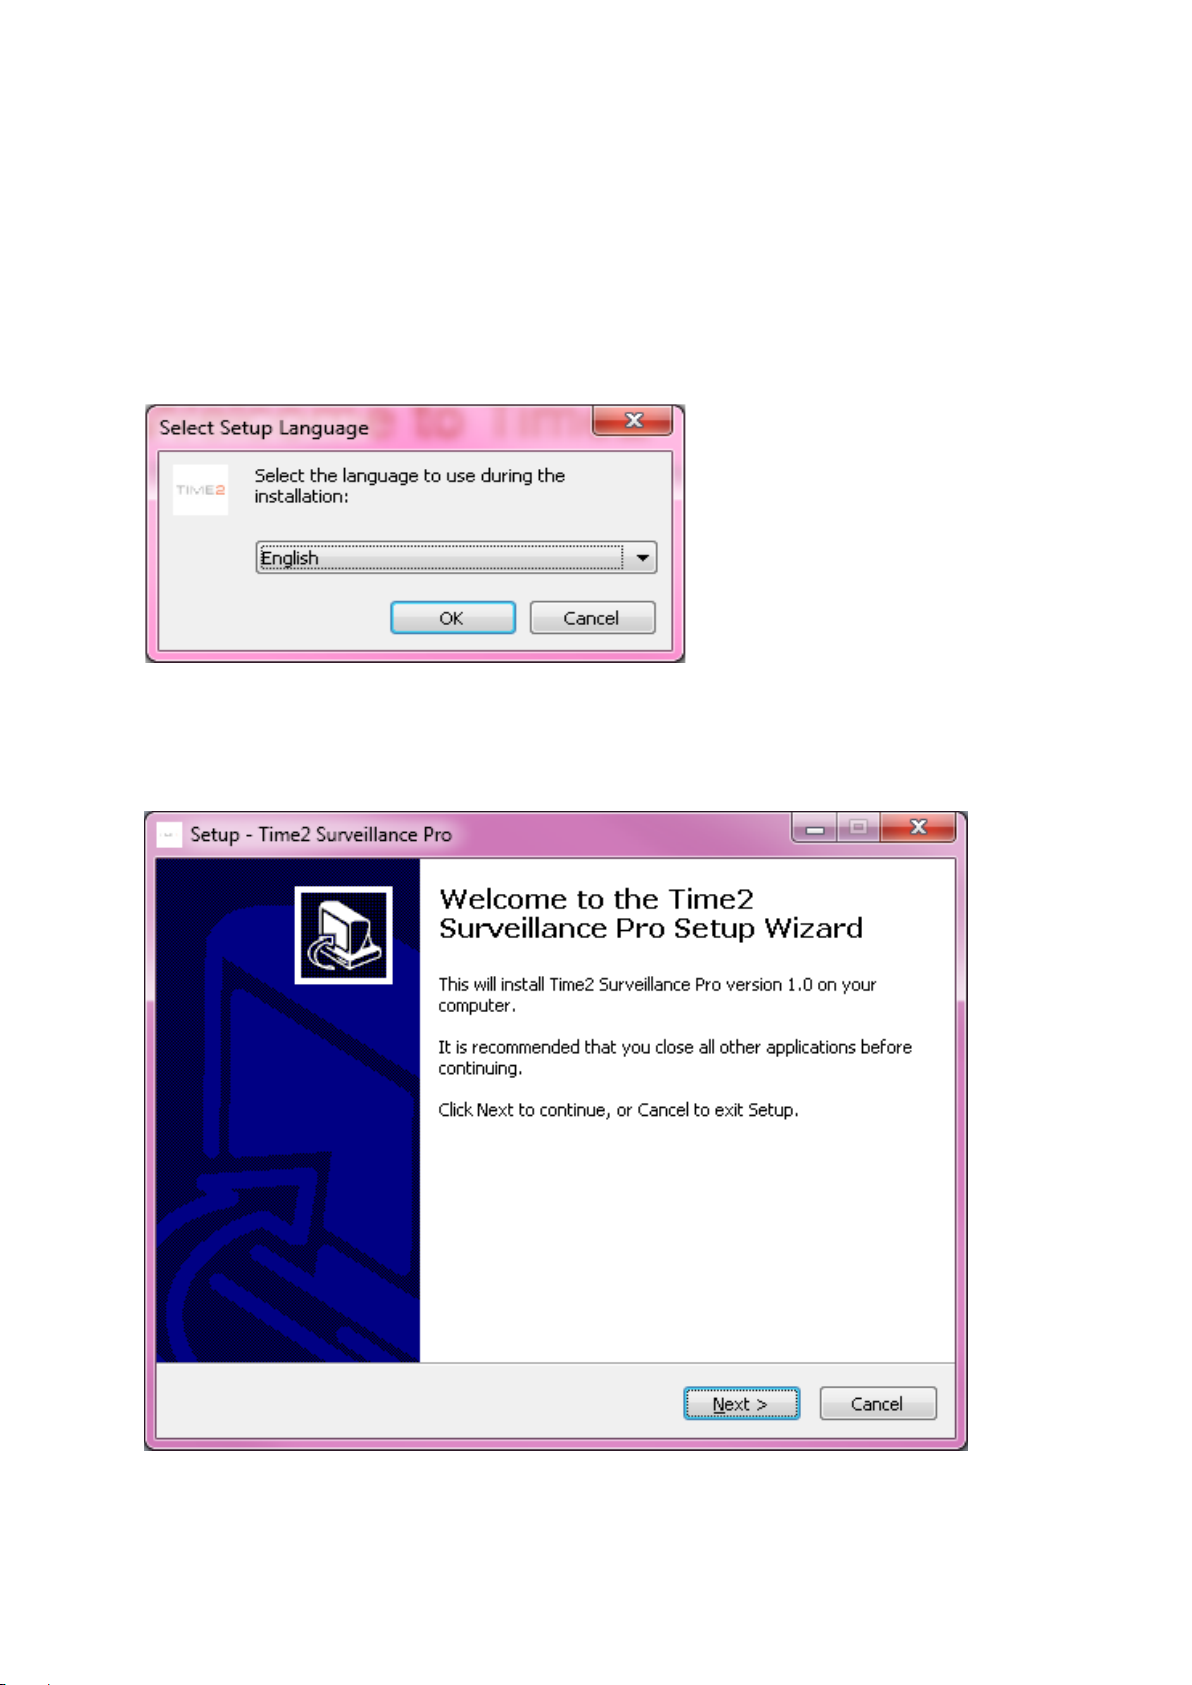
You will then be asked to choose a language:
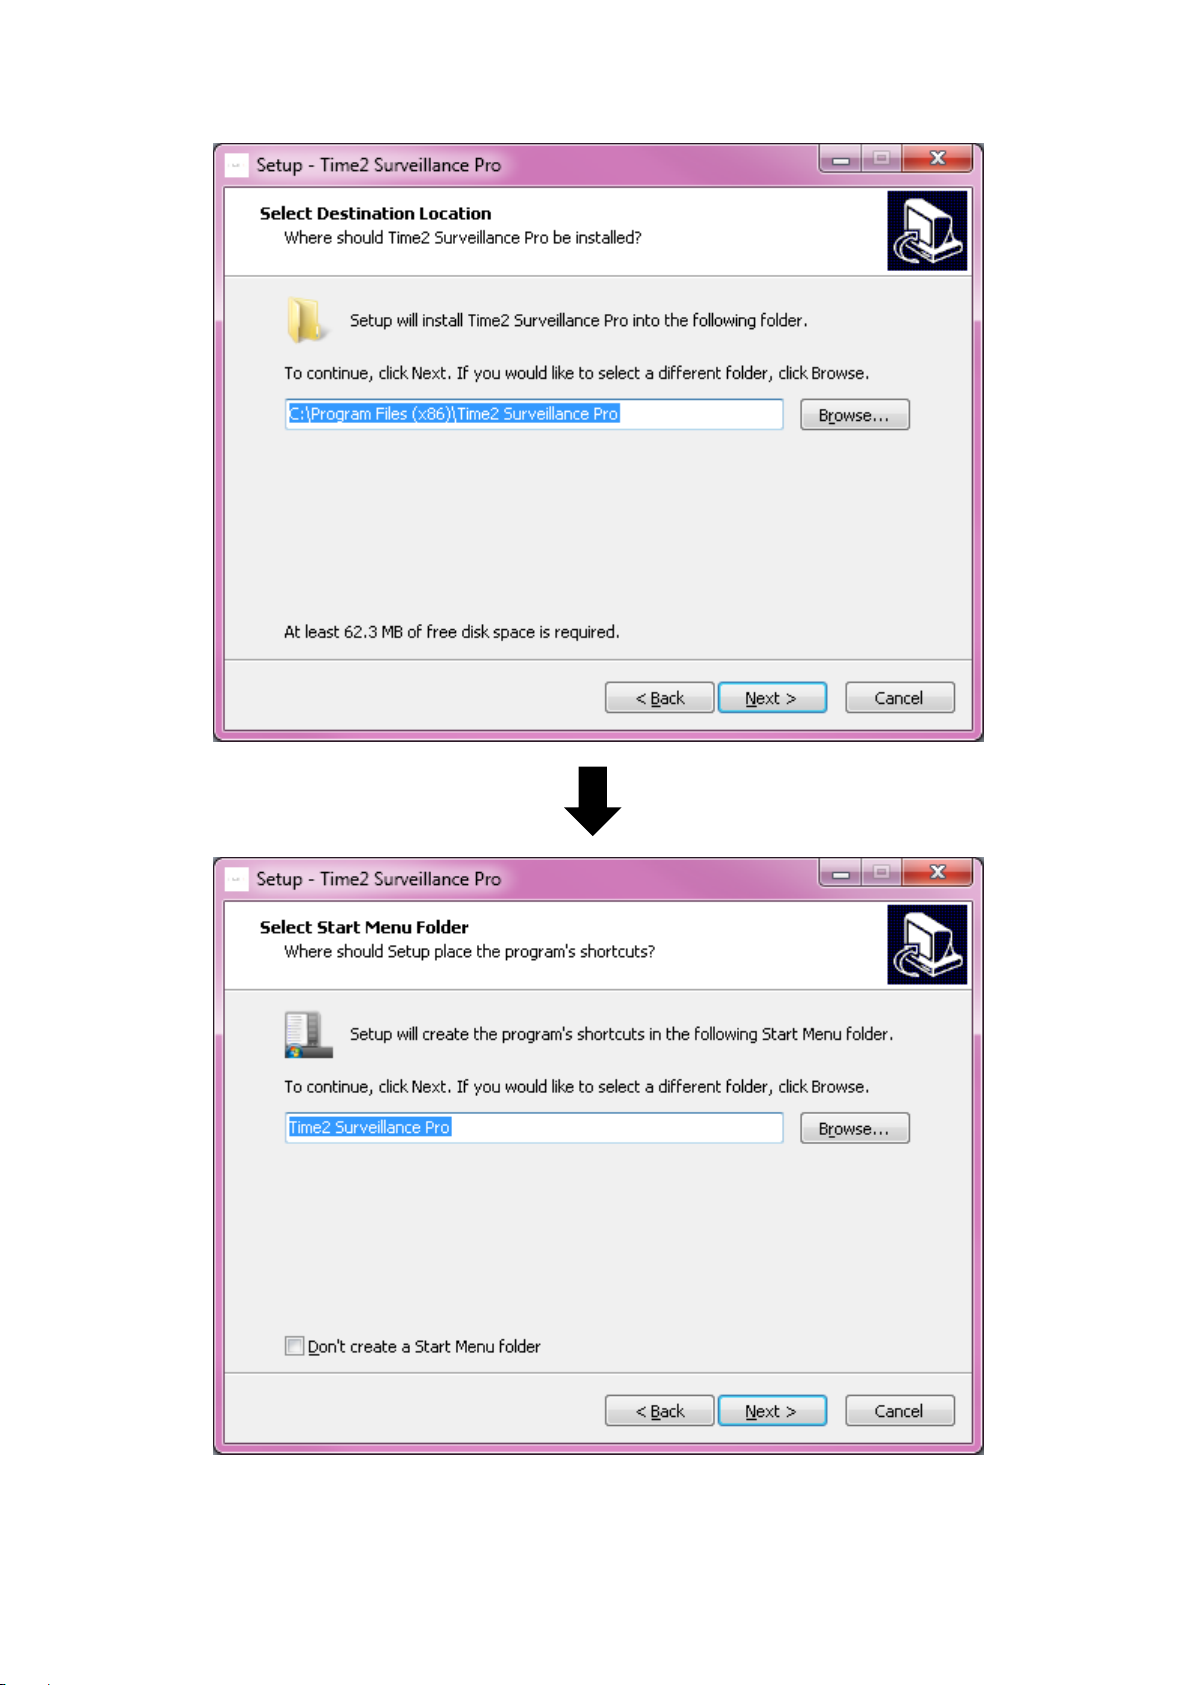
Follow the onscreen instructions to finish installation of the
DeviceClient Software (See below).
7
8
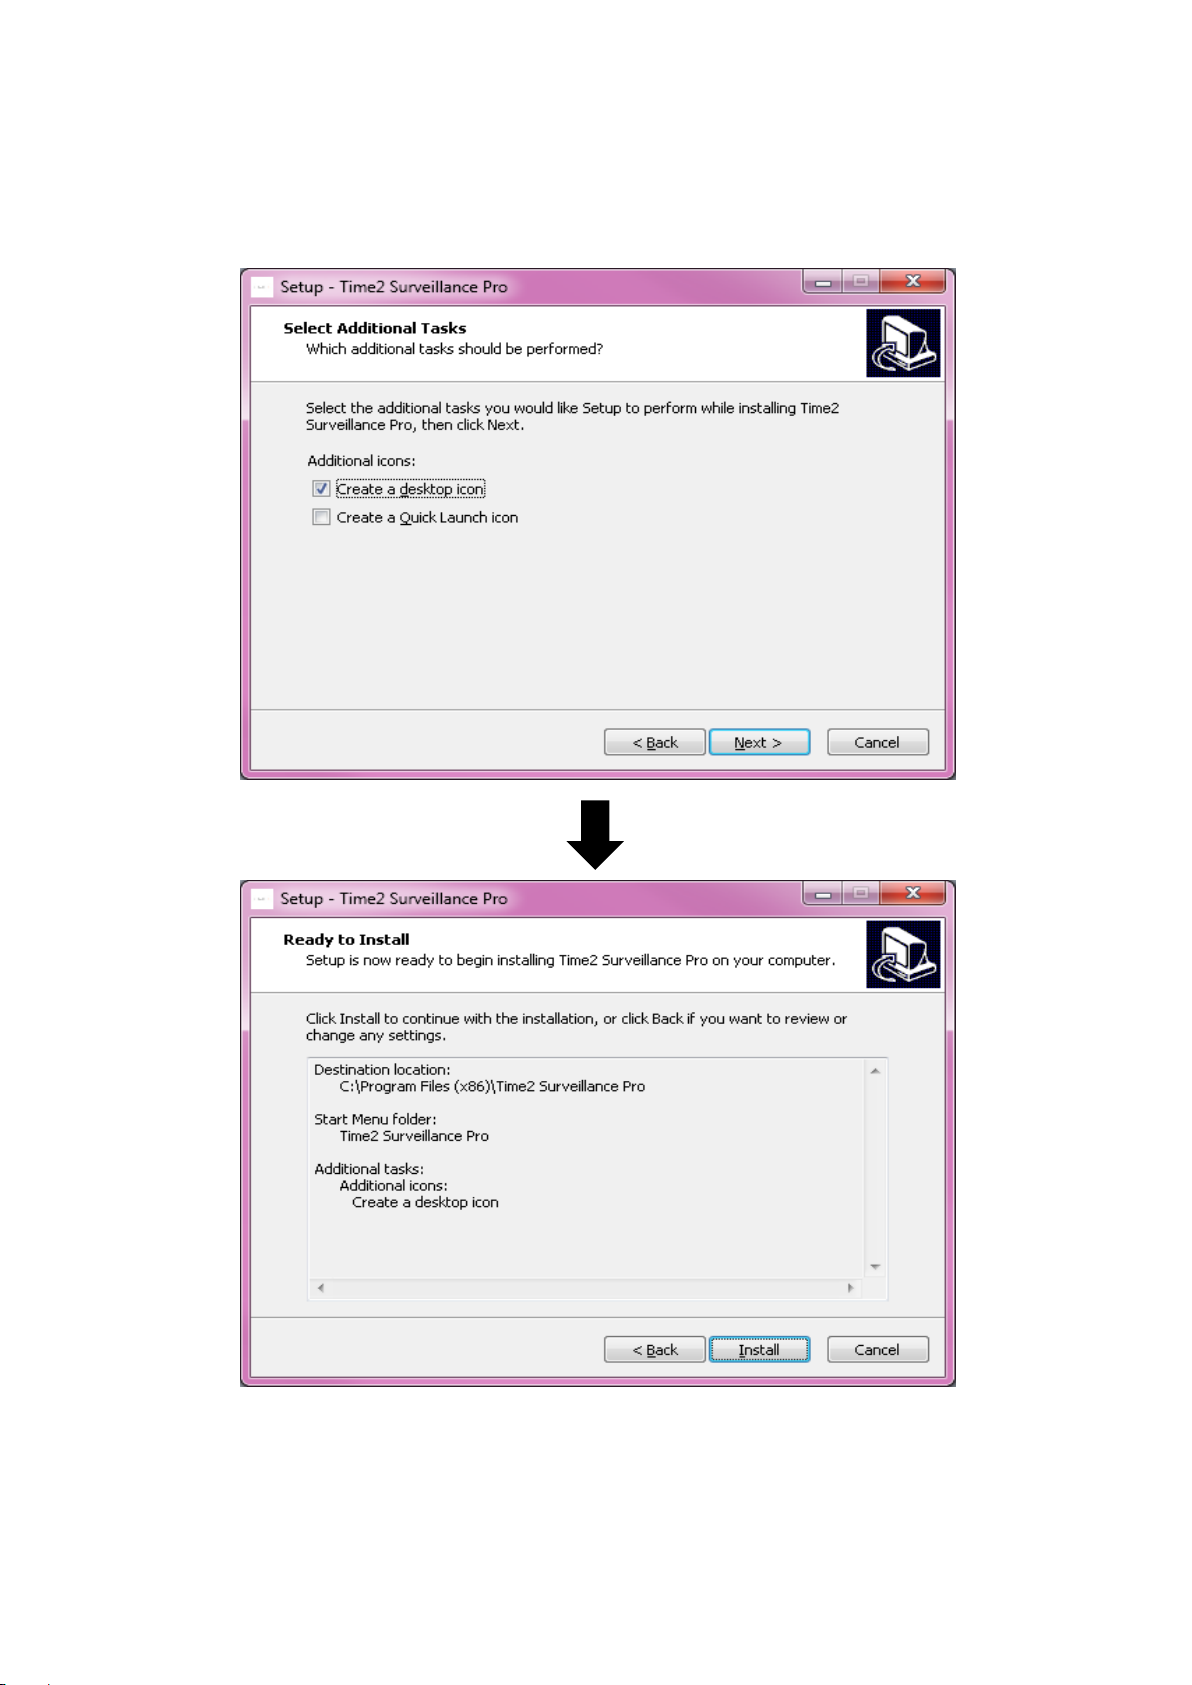
Please ensure the ‘Create a desktop icon’ option is ticked (see
below) so an icon can be created on your desktop for easy access
to the software.
Once the software has been successfully installed, double-click the
icon to launch.
9

Camera Setup
By default, there is no password allocated to the camera. To log in,
simply enter the username (found at the bottom of the camera) then
click Login.
10

In order to set up the software, firstly, ensure the camera and
computer are connected to the same Wireless Internet Router.
Click the ‘Plus’ icon on the top right-hand corner of the screen. This
will bring up another window, then click ‘Search’.
This will bring up any cameras connected to that Wireless internet
network. Then simply double-click on the Camera you would like to
setup.
11

This will bring up another window (see below). Check the Settings
then click OK to add the camera to the Device List.
- The default device name can be changed to whatever you
prefer
- The Username and Password can be found at the bottom of
your camera.
- Each camera will have its own unique Device ID
In order to view the camera, simply
put your mouse over the camera
name in the Device List (see image)
Then drag it into one of the black
windows for the image to appear.
Double-click on the image to enlarge.
12
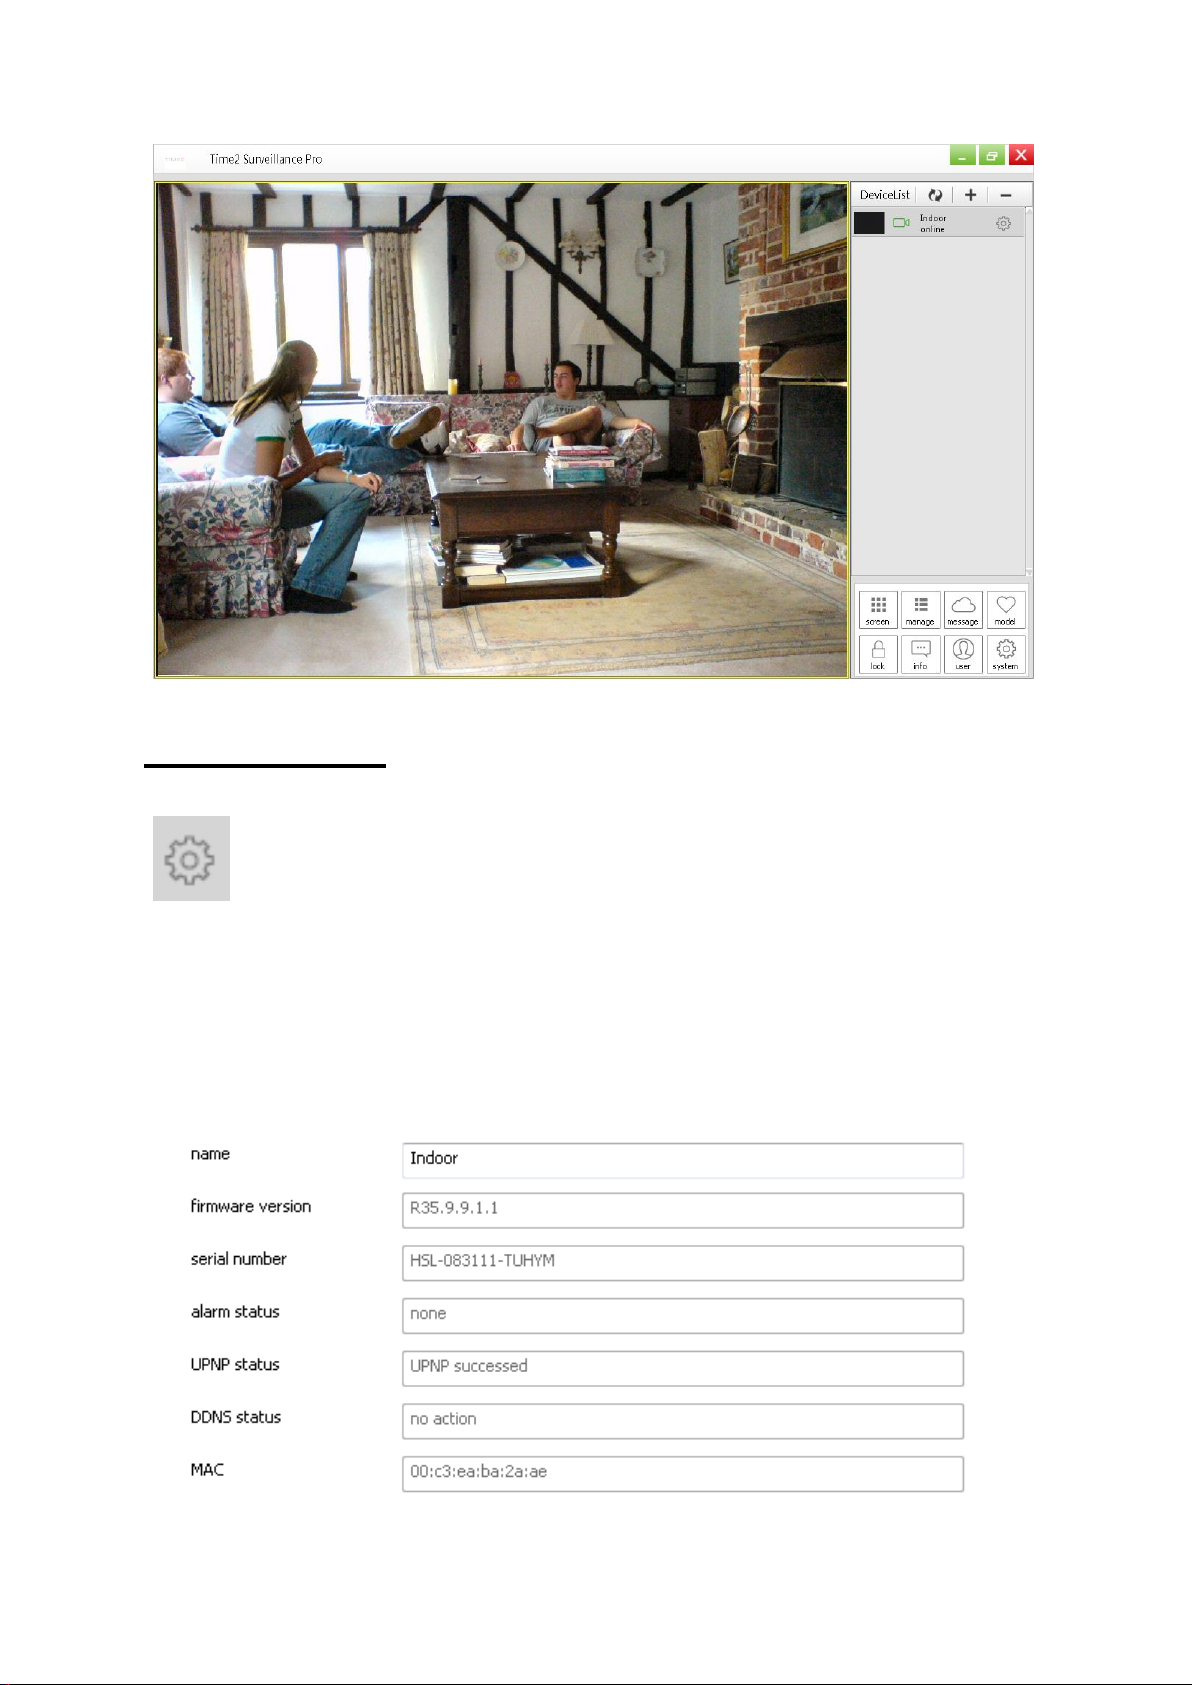
Main Features
To view the main functions, simple click on the settings icon
on the Device.
Device Information
This gives you all the information about the device. e.g. Firmware
version, serial number, Alarm status, SD card capacity etc.
13
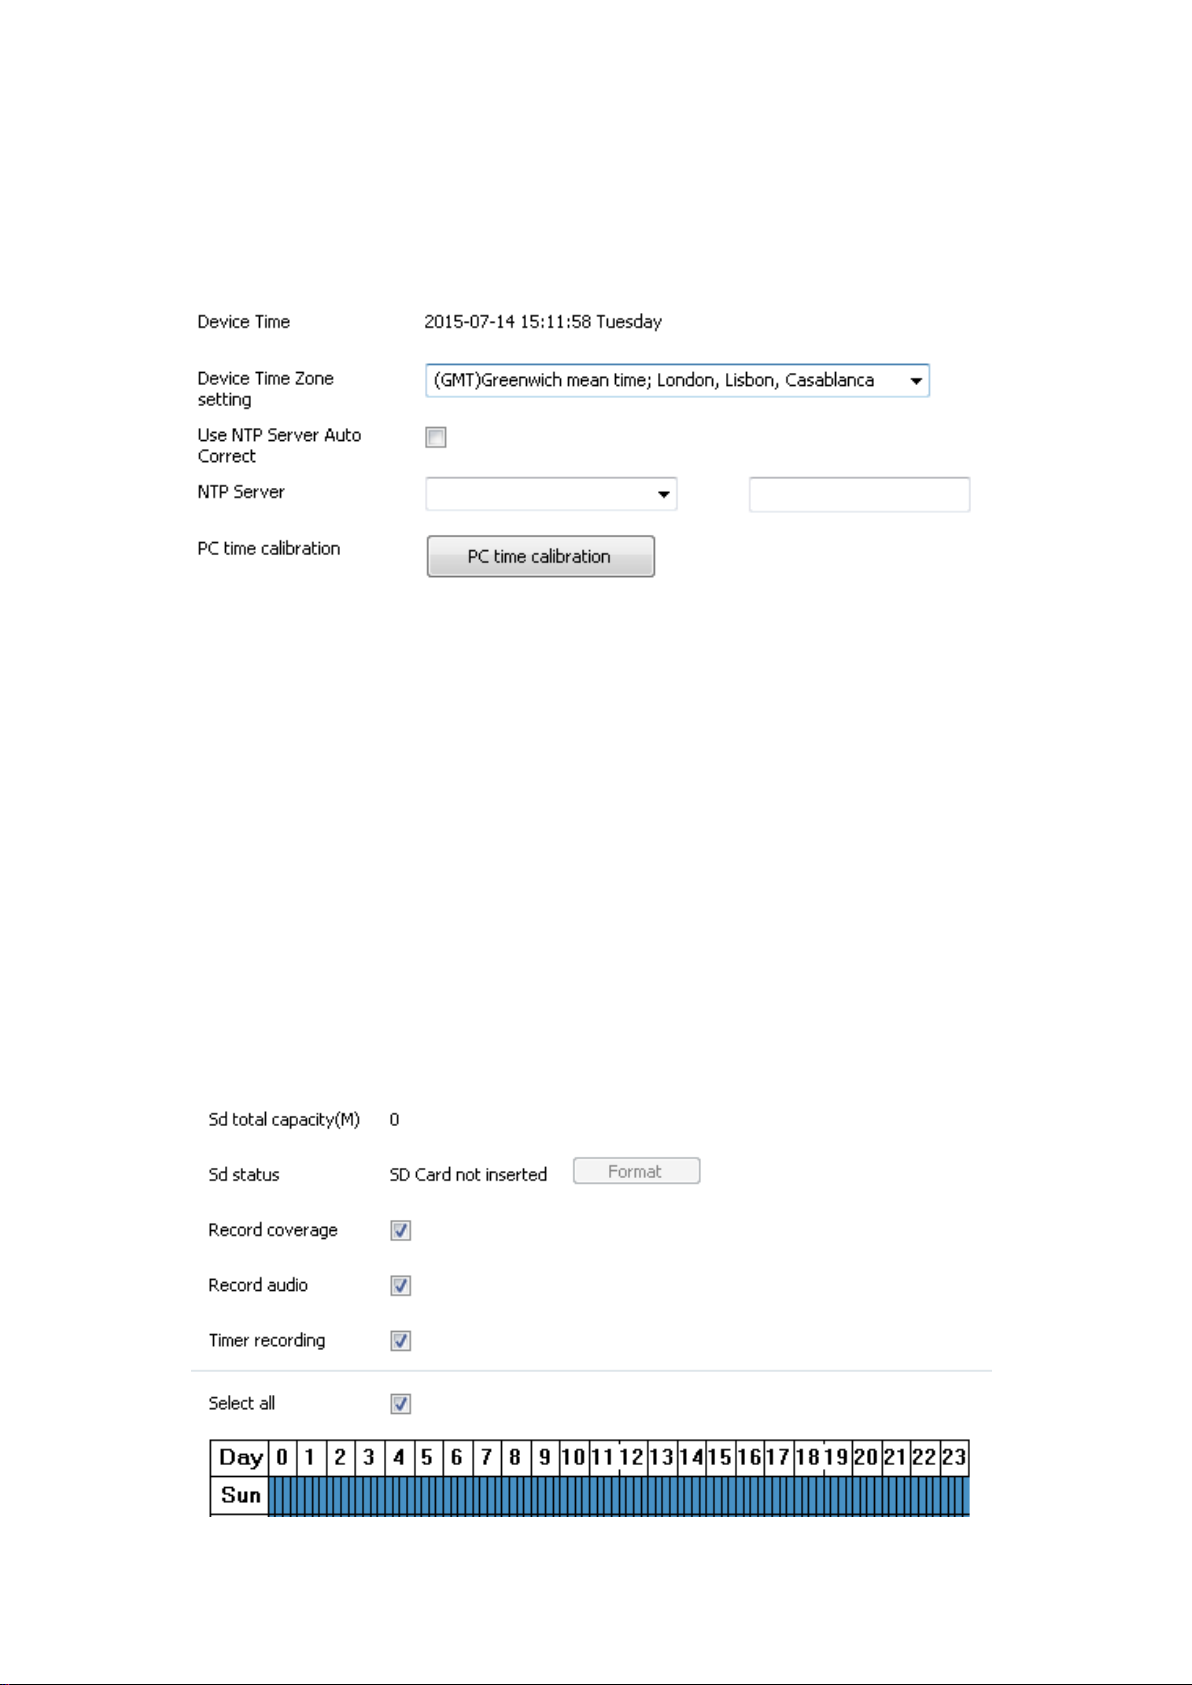
Date and Time
Set the Date and Time according to your Time Zone or simply
synchronise to your PC time.
SD Card Settings
This gives you all the information about the device. e.g. Firmware
version, serial number, Alarm status, SD card capacity etc.
When first inserting an SD Card, you will be required to format the
SD card (simply click the format button). Once formatted, you will
be able to select conditions such as ‘Record audio’ or ‘Timer
recording’ etc.
Alternatively, you could specify the times you would like the camera
to start recording. Once complete, click the Set button to save the
changes.
14
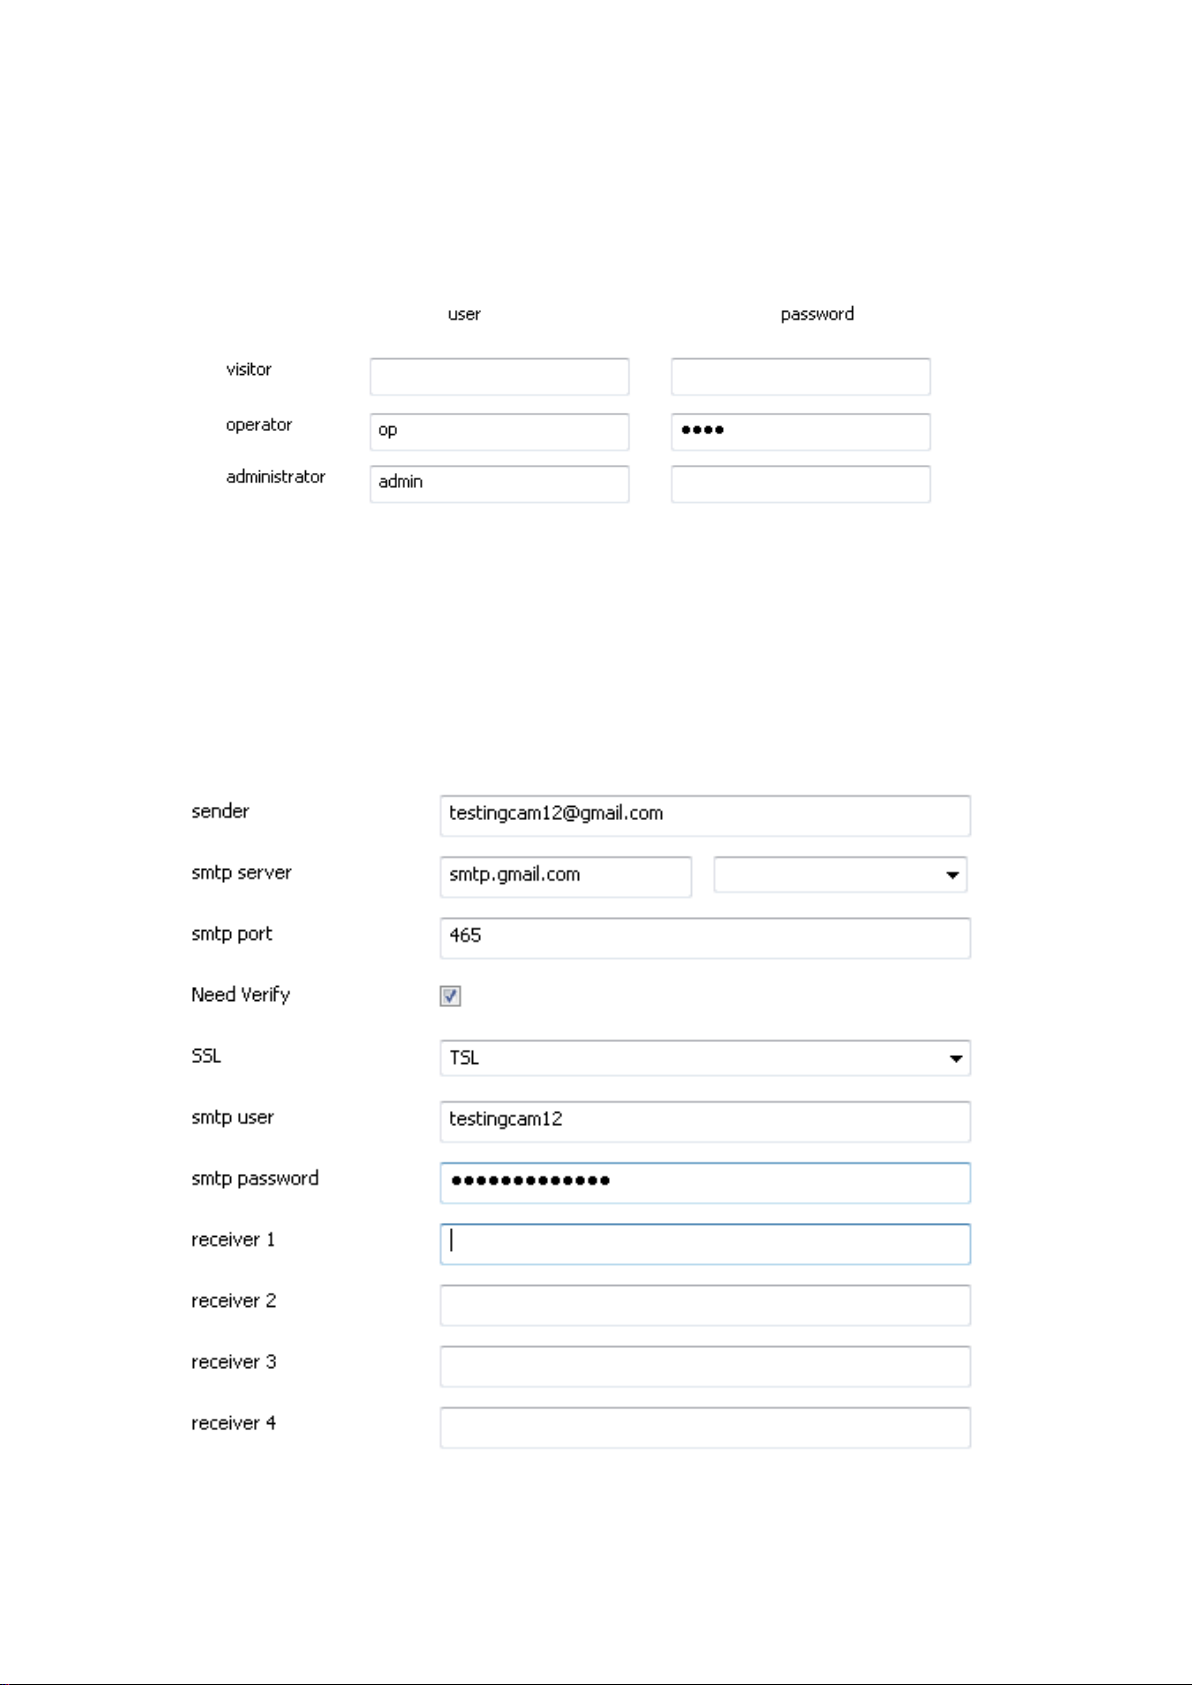
User Settings
The username and password for the visitor, operator and
administrator can be set and changed by clicking on this tab.
Email Settings
Setup your mailbox to receive email notifications when motion has
been detected.
15

Sender
Enter the senders email address e.g. testingcam12@gmail.com
SMTP Server
Select the appropriate SMTP server according to your email
address (see above).
SMTP Port
This will be automatically filled in once the server has been selected
Need Verify
Please ensure this is always ticked as some mail servers require
authentication to receive emails
SMTP Details
Please enter the correct SMTP Username (email address) and
SMTP password (password used for the email address).
Receiver
Finally enter the email addresses you would like the email
notifications to go to
Please note: The camera needs to be connected to the internet at
all times for this feature to work.
Alarm Settings
The motion detection alarm and settings can be amended and
changed by clicking on this tab.
16
 Loading...