

TimberBlindsMetroShade Motorized Sheer Remote Control User Manual
Guide
Remote Control
Battery Powered
Motorized
Window Shadings
Control Like Never Before
This guide shows you how to set up and operate Battery Powered
motorized window shadings using the remote control. You’ll
also learn the two methods to operate your window shadings.
All control features can be used with either method. Choose the
method that works best for you.
Two Methods of Operation
Contents
Getting Started ..............................................................................1
Sensor Eye Location .......................................................................2
Basic Operation .............................................................................3
Radio Control .................................................................................4
Intermediate Stops ......................................................................... 8
Express Mode ................................................................................9
Additional Features for Window Shadings ......................................10
Troubleshooting ...........................................................................11
Group Assignment Worksheet .......................................................17
Technical Information ...................................................... Back Cover
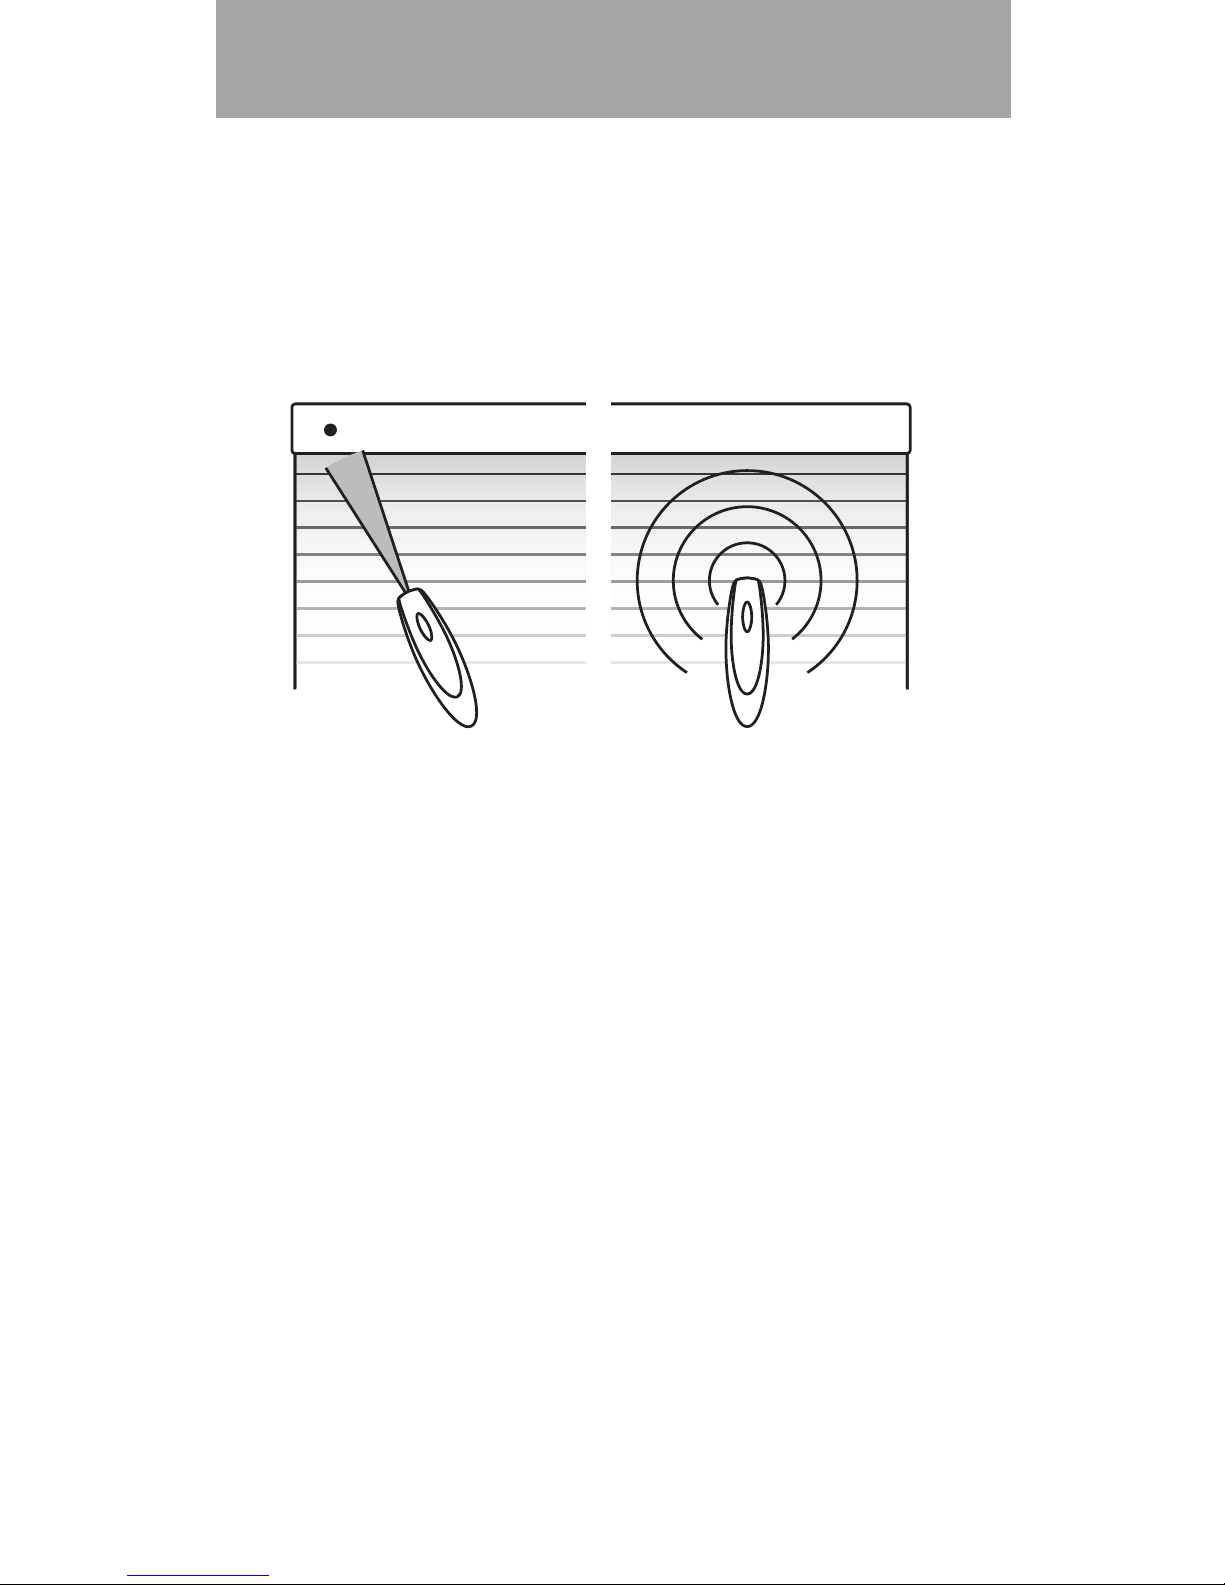
Infrared Control
• Line-of-sight operation (like
a flashlight)
• Control window shadings
individually
• One-button operation
Radio Control
• No aiming necessary (like
a garage-door opener)
• Control window shadings
individually or in groups
• Two-button operation
NOTE: Battery Powered motorized window shadings cannot
be operated from a third party universal remote control. Only
the provided remote can be used for opening and closing these
window shadings.
1
Getting Started
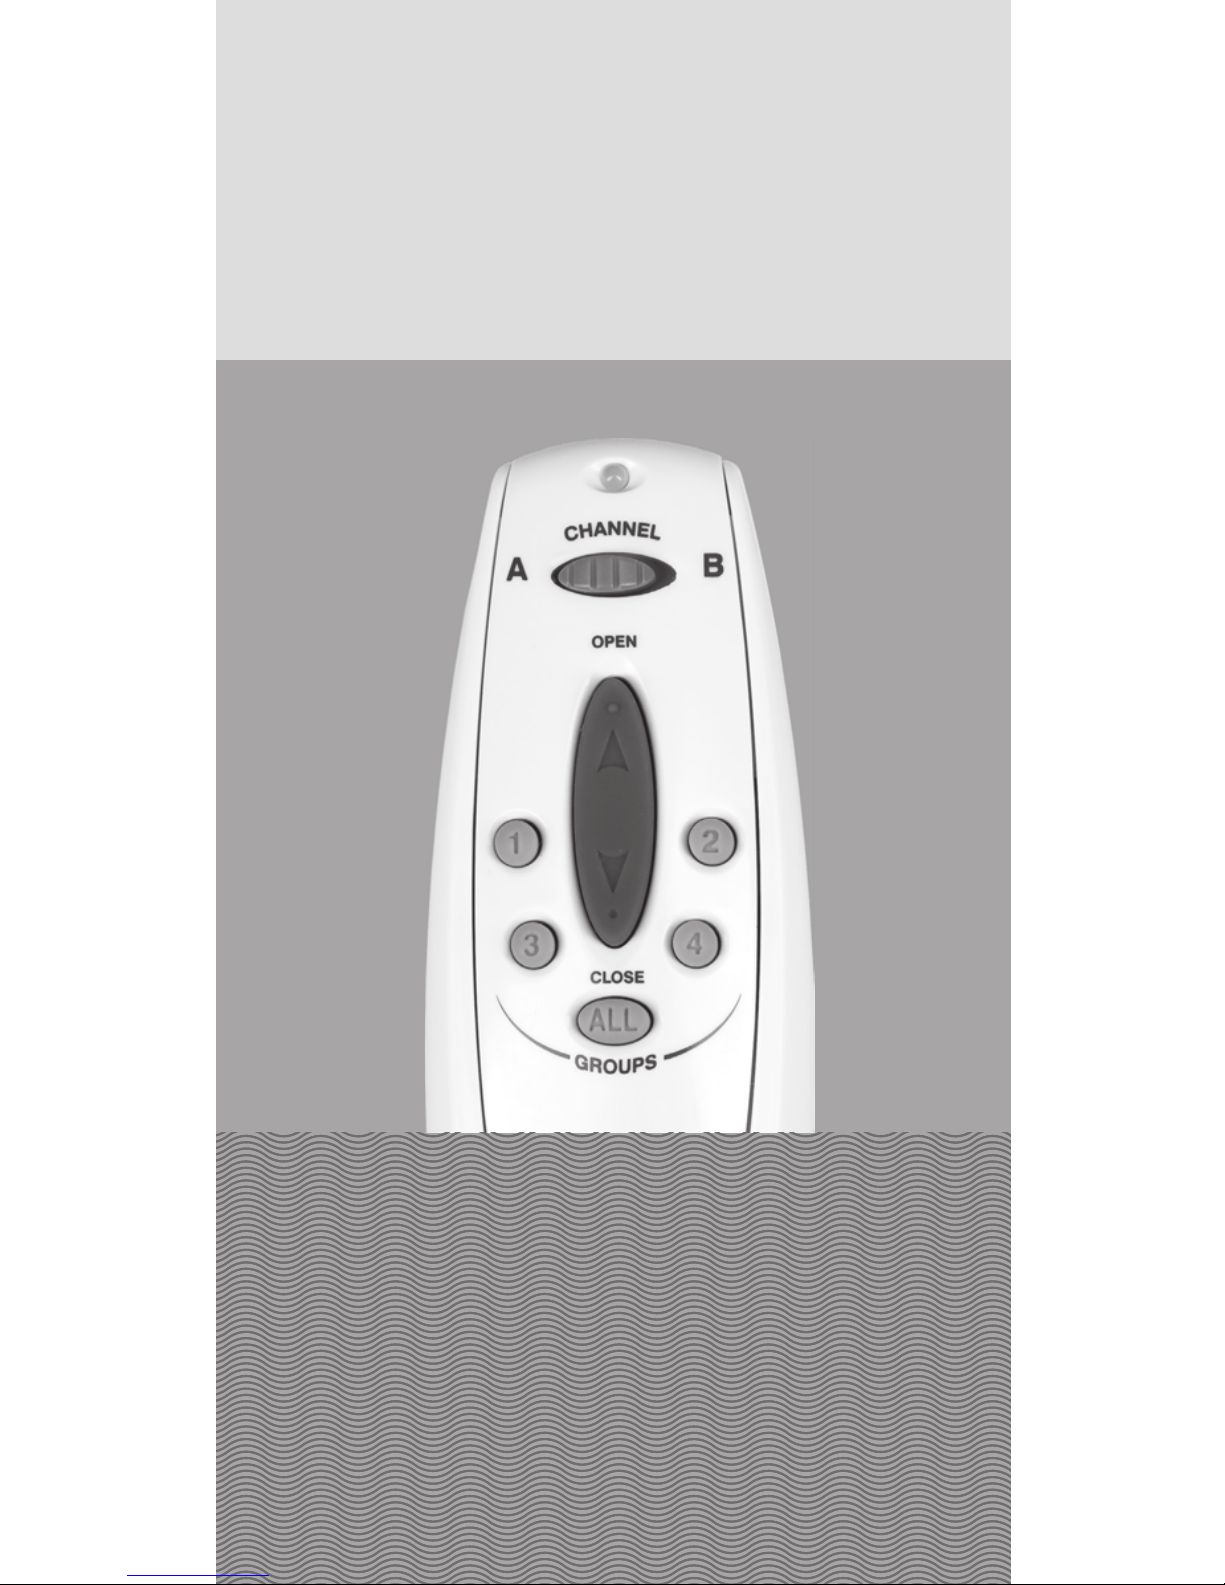
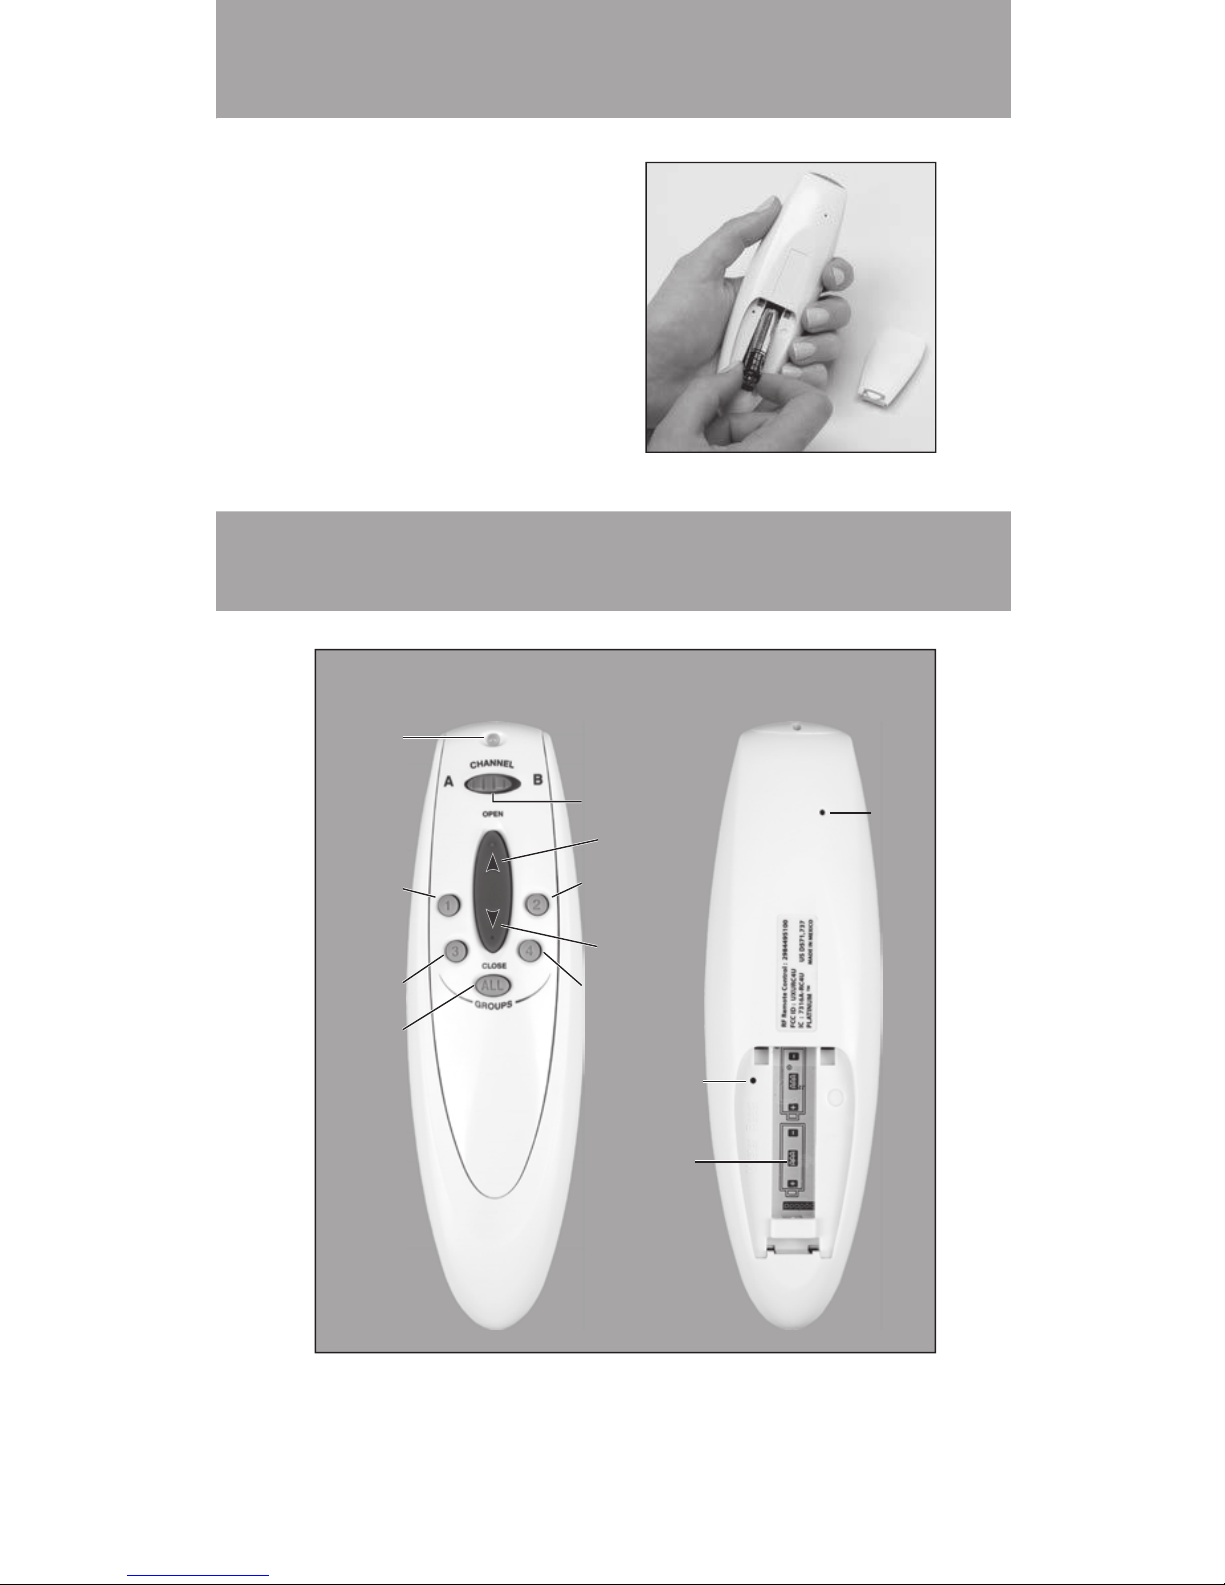
Remote
Install batteries in
the remote.
Group 1
Group 3
All
Groups
Indicator
Light
Group 2
Infrared
Channel
Selector
Group 4
OPEN
CLOSE
Master
Reset
Setup
Battery
Compartment
Front Back
2
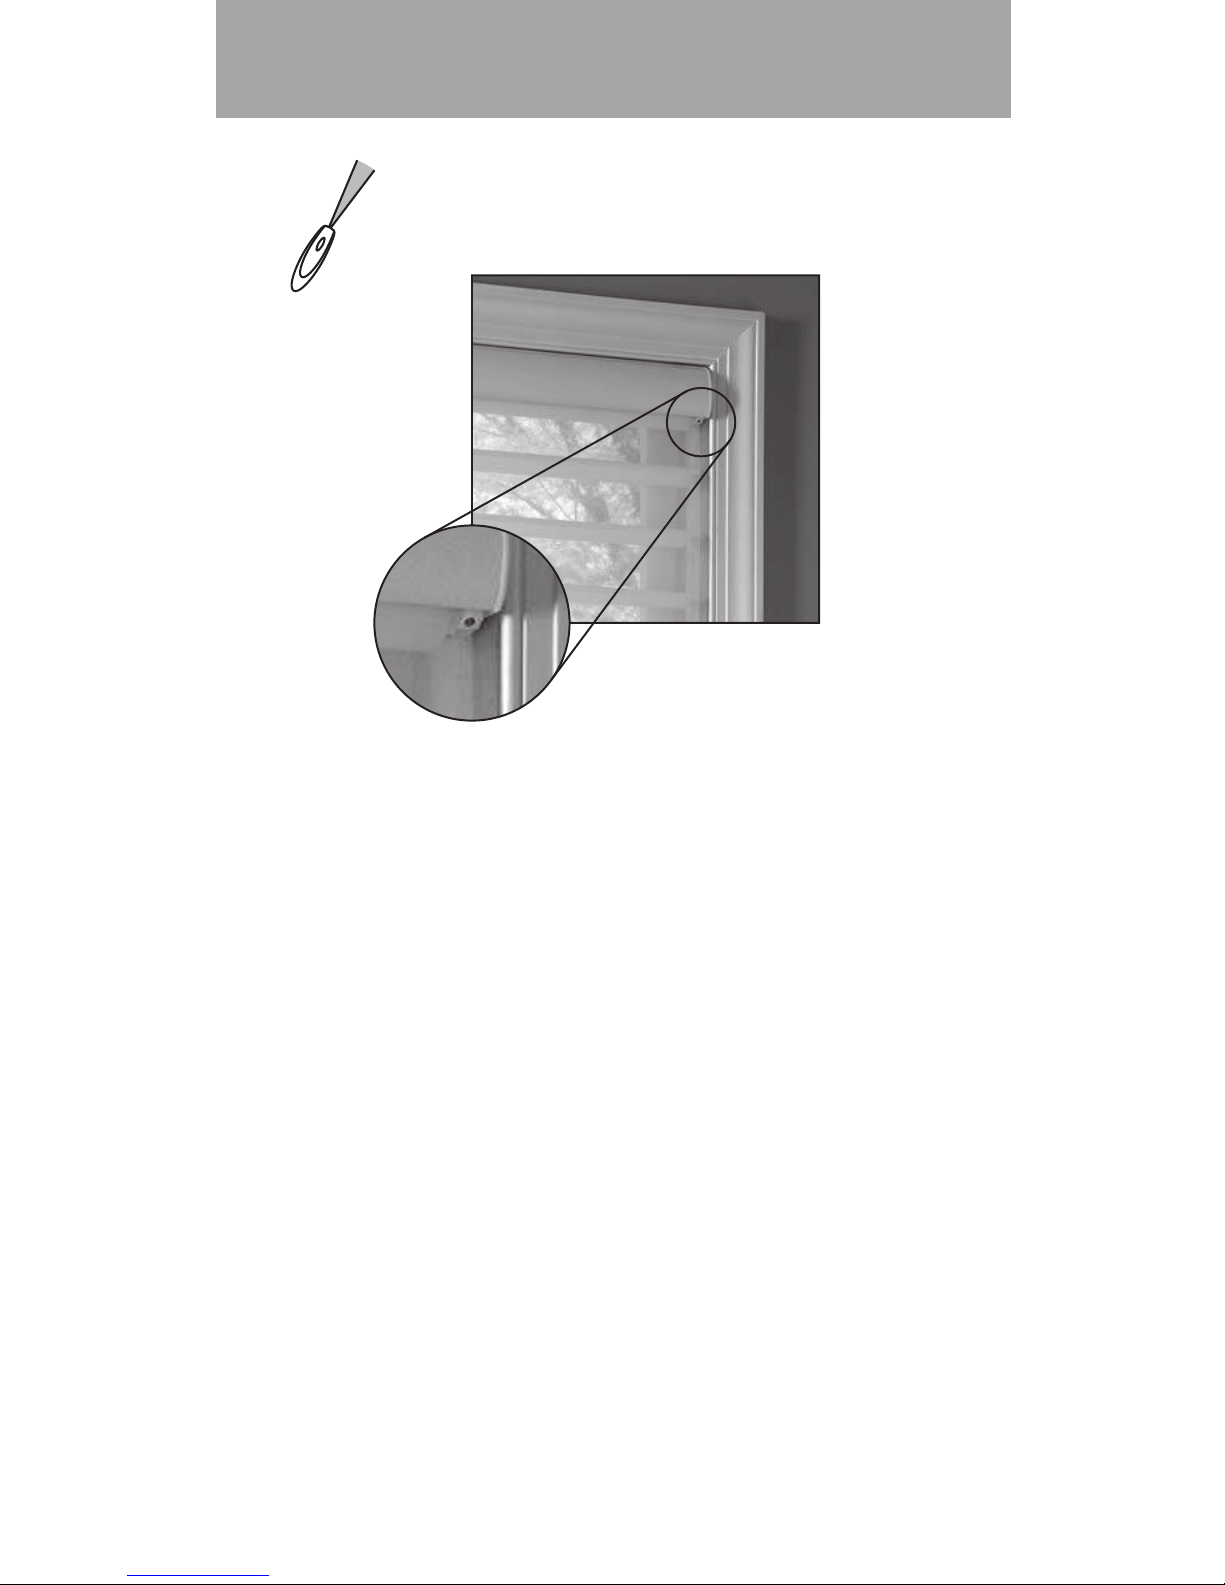
Sensor Eye Location
Sensor eye is located below the headrail.
NOTE: The manual control button, used for operating a window
shading without a remote, is usually adjacent to the sensor eye.
3
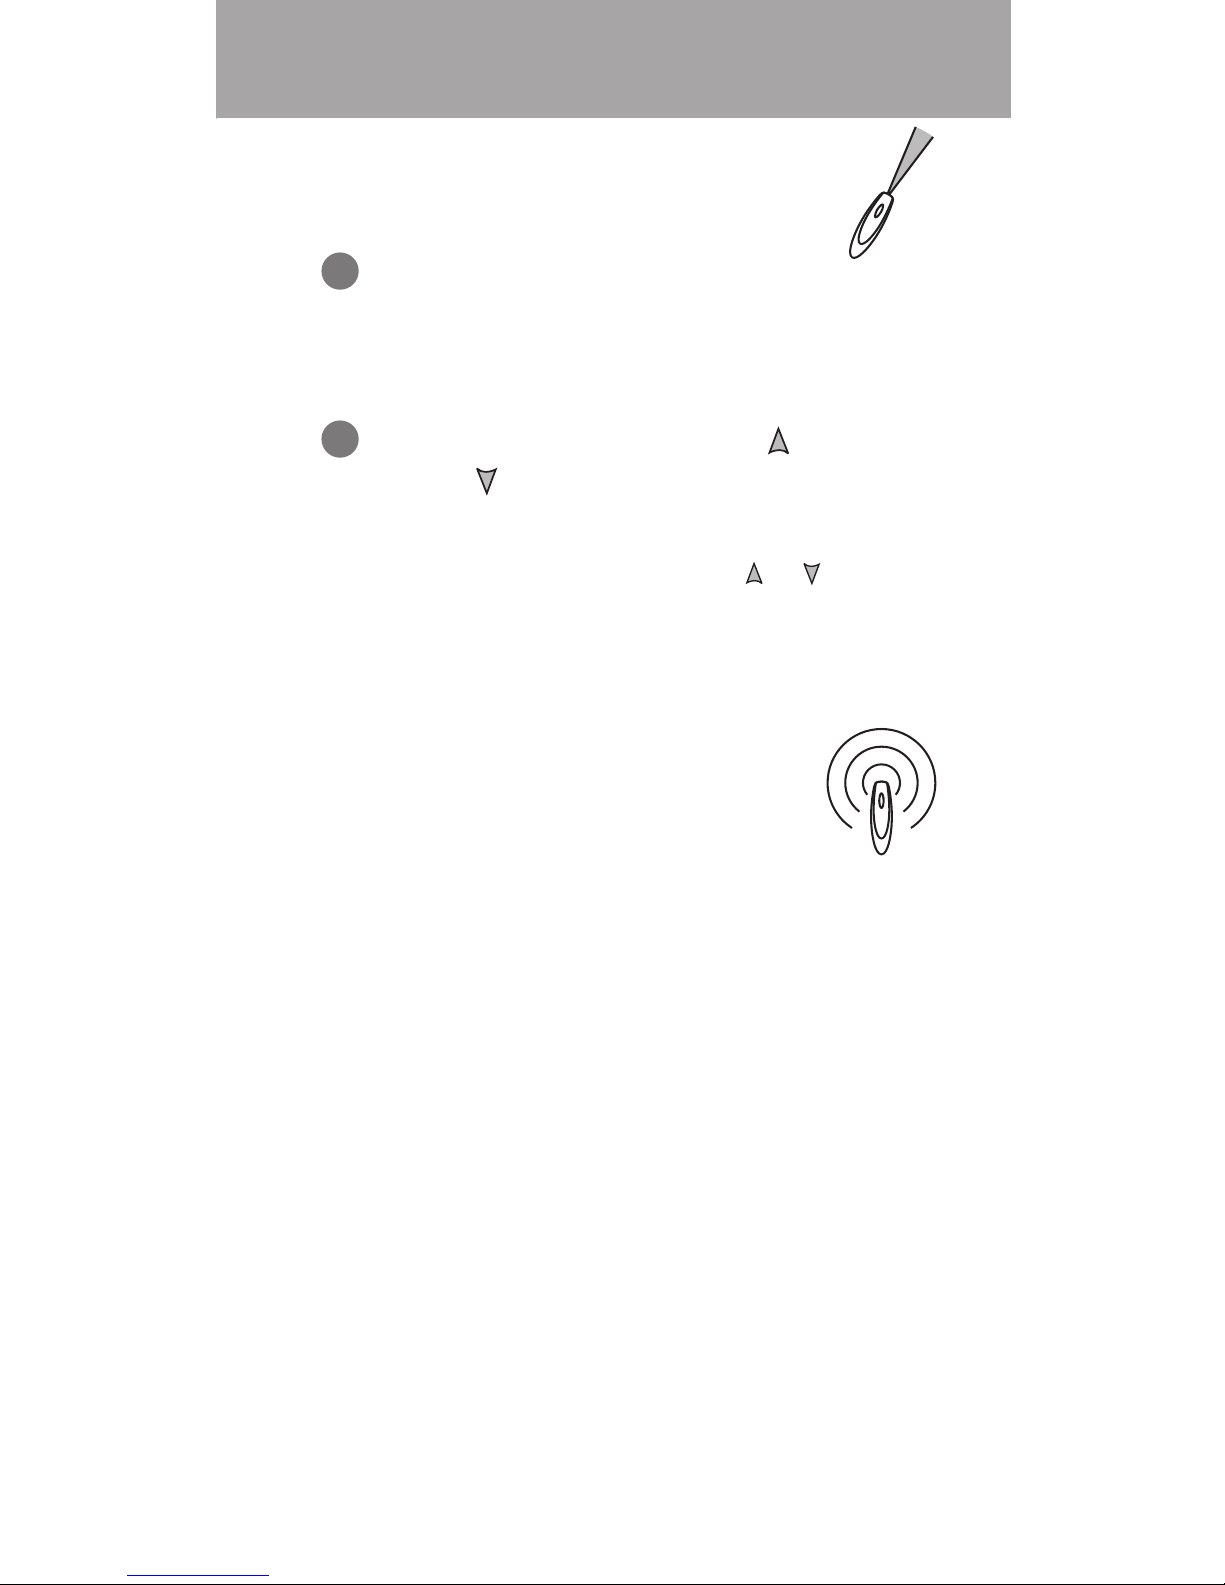
Basic Operation
In its default mode, the remote sends an infrared signal:
1
Aim the Remote at the Sensor Eye.
NOTE: For more information about the locations of sensor
eyes, see “Sensor Eye Location” on page 2.
2
Press and release the OPEN or
CLOSE button to operate the window
shading.
NOTE: Press and release the opposite or button to
stop a moving window shading.
Try Radio Control
In addition to the default method of operation, the
remote can be set up to use radio control. When
you want the convenience of radio control and
the ability to control multiple window shadings at
the same time, see “Getting Started with Radio
Controll” on page 4.

4
Radio Control
Getting Started with Radio
Control
Radio control gives you the ability to control individual
window shadings or multiple window shadings at the
same time, even if they are in anotherroom.
Group Assignment
To use radio control, each window shading must first be assigned
to a group. (Note that a window shading can be a member of more
than onegroup.)
NOTE: If your remote has already been set up, skip to “Radio
Control Operation” on page 6.
There are four unique assignable groups to use. A group can be a
single window shading or multiple window shadings.
Before beginning, think about how you will group your window
shadings. For example, you might create a group for all window
shadings in a single room or a group for all window shadings on
one wall. You can use the “Group Assignment Worksheet” on
page 17 to help you plan.
 Loading...