

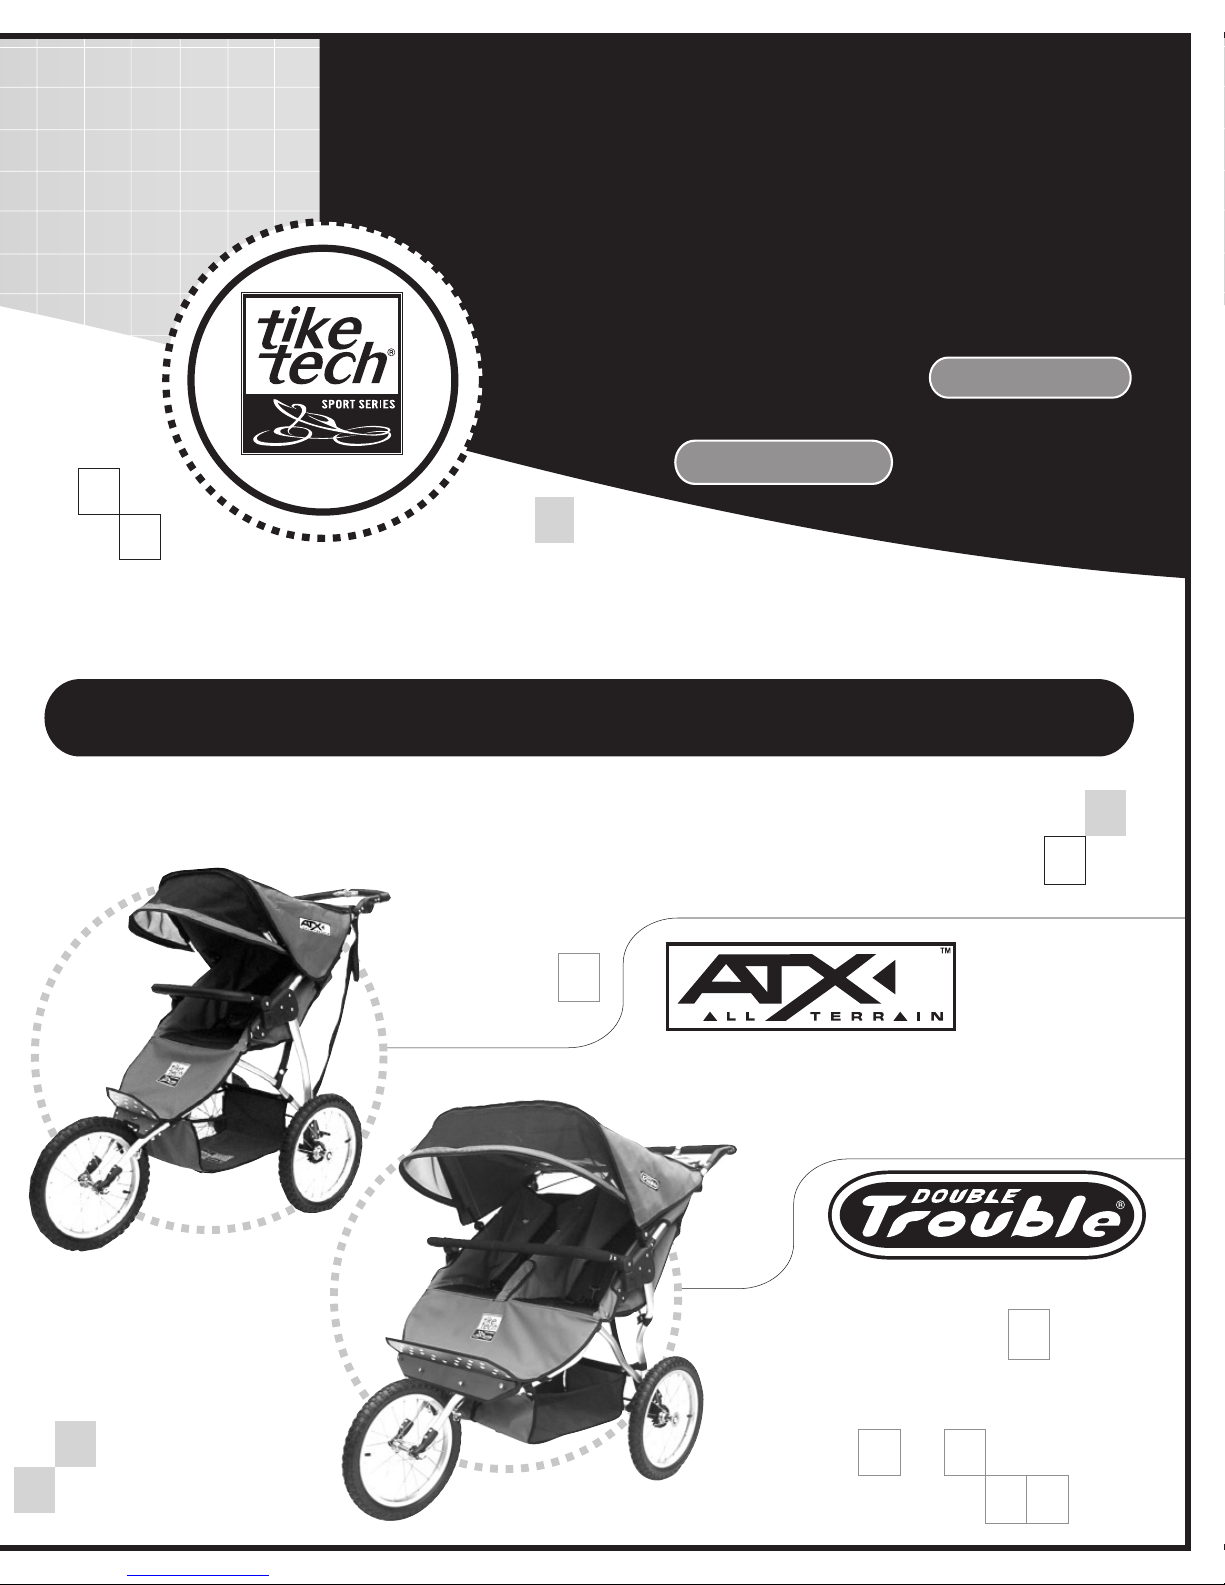
Tike Tech ATX Owners Manual And Setup Instructions
O W N E R S
M A N U A L
A N D
F O R T I K E T E C H
GO E XP LO RE !
This manual should be kept for future reference. If you give this jogger/ stroller away or some one else becomes the
owner/user, make sure you give this manual to the new owners for review.
IMPORTANT:
If you have any questions regarding the safe use of this product contact X-Tech Outdoors Inc. at
www.xtechoutdoors.com or www.tiketech.com before using.
READ ENTIRE OWNERS MANUAL, WARNINGS AND SET UP INSTRUCTIONS BEFORE USING YOUR
TIKE TECH SPORT SERIES STROLLER
S E T U P I N S T R U C T I O N S
S I N G L E
D O U B L E
S T R O L L E R S
&
www.tiketech.com

Thank you for purchasing your new TIKE TECH sport series stroller & please read the entire owners manual …
WARNINGS !! FAILURE TO READ THE MANUAL AND WARNINGS BEFORE INITIAL USE COULD AFFECT YOUR CHILD’S SAFETY AND LEAD TO SERIOUS INJURY.
• READ SET UP INSTRUCTIONS AND WARNINGS BEFORE ASSEMBLING YOUR TIKE TECH.
• AFTER BOX IS OPENED IMMEDIATELY DESTROY ANY PLASTIC WRAPPING.
• NEVER LEAVE A CHILD UNATTENDED.
• ALWAYS STRAP YOUR CHILD IN AND FULLY ADJUST AND TIGHTEN ALL STRAPS AND SEAT BELTS SO AS THE CHILD IS SECURE IN
HIS/HER POSITION.
• CHILD SHOULD ALWAYS USE AN APPROVED CYCLE HELMET.
• CHECK TIRE SIDE WALL FOR PROPER INFLATION & CHECK TIRES REGULARLY.
• PARCELS PLACED IN THE STROLLER DESIGNATED STORAGE AREAS SHOULD NOT EXCEED THE WEIGHT NOTED ON THE BASKET
AS INCREASED WEIGHT COULD CAUSE THE JOGGER/STROLLER TO BE UNSTABLE AND HAZARDOUS WHEN USING.
• ALWAYS MAKE SURE YOUR STROLLER IS LOCKED IN THE OPEN POSITION BEFORE USING.
• CHILDREN SHOULD NEVER BE ALLOWED TO ASSEMBLE, FOLD OR UNFOLD THE JOGGER/STROLLER.
• ALWAYS USE THE REAR BRAKES WHEN JOGGER/STROLLER IS PARKED.
• ALWAYS MAKE SURE THAT THE CHILD IS PROPERLY FASTENED AND SECURED IN THE SEAT AS A CHILD MAY SLIP AND BE
INJURED IF NOT PROPERLY STRAPPED IN. CHECK THE CHILD'S POSITIONING ON A FREQUENT BASIS.
• CHILD MAY SLIP INTO THE LEG OPENINGS AND STRANGLE IF THE T-SHEILD (5-POINT HARNESS) AND STRAPS ARE NOT PROPERLY
ADJUSTED & FASTENED EVERY TIME THE CHILD IS PLACED IN THE JOGGER/STROLLER.
• ALWAYS ADJUST, FASTEN AND CHECK ALL STRAPS, WHEN CHILD IS IN JOGGER/STROLLER BEFORE USING. FAILURE TO DO SO
COULD CAUSE SERIOUS INJURY OR DEATH.
• ALWAYS USE SAFETY WRIST STRAP.
• NEVER USE YOUR TIKE TECH WITH ROLLER OR IN-LINE SKATES.
• NEVER USE YOUR TIKE TECH IF IT BECOMES DAMAGED. TAKE IT TO A OUTDOORS/CYCLE SHOP FOR SERVICE.
• ALWAYS BE AWARE OF YOUR SURROUNDINGS WHEN USING YOUR TIKE TECH.
• MAXIMUM CARRY CAPACITY IS 50 LBS. SINGLE / 90-100 LBS DOUBLE.
TIKE TECH SPORT SERIES strollers are designed for:
• Quick walking/jogging
Owners must take care & use sound judgment when operating your Tike Tech.
Minimum age & weight is a parental decision.
Always be aware of your surroundings & be alert.
• Malls
• Beaches ,Trails and on and on …..
REMEMBER A SAFE RIDE IS THE BEST RIDE !
2
TIKE TECH JOGGER/STROLLER ASSEMBLY
ASSEMBLY
>>
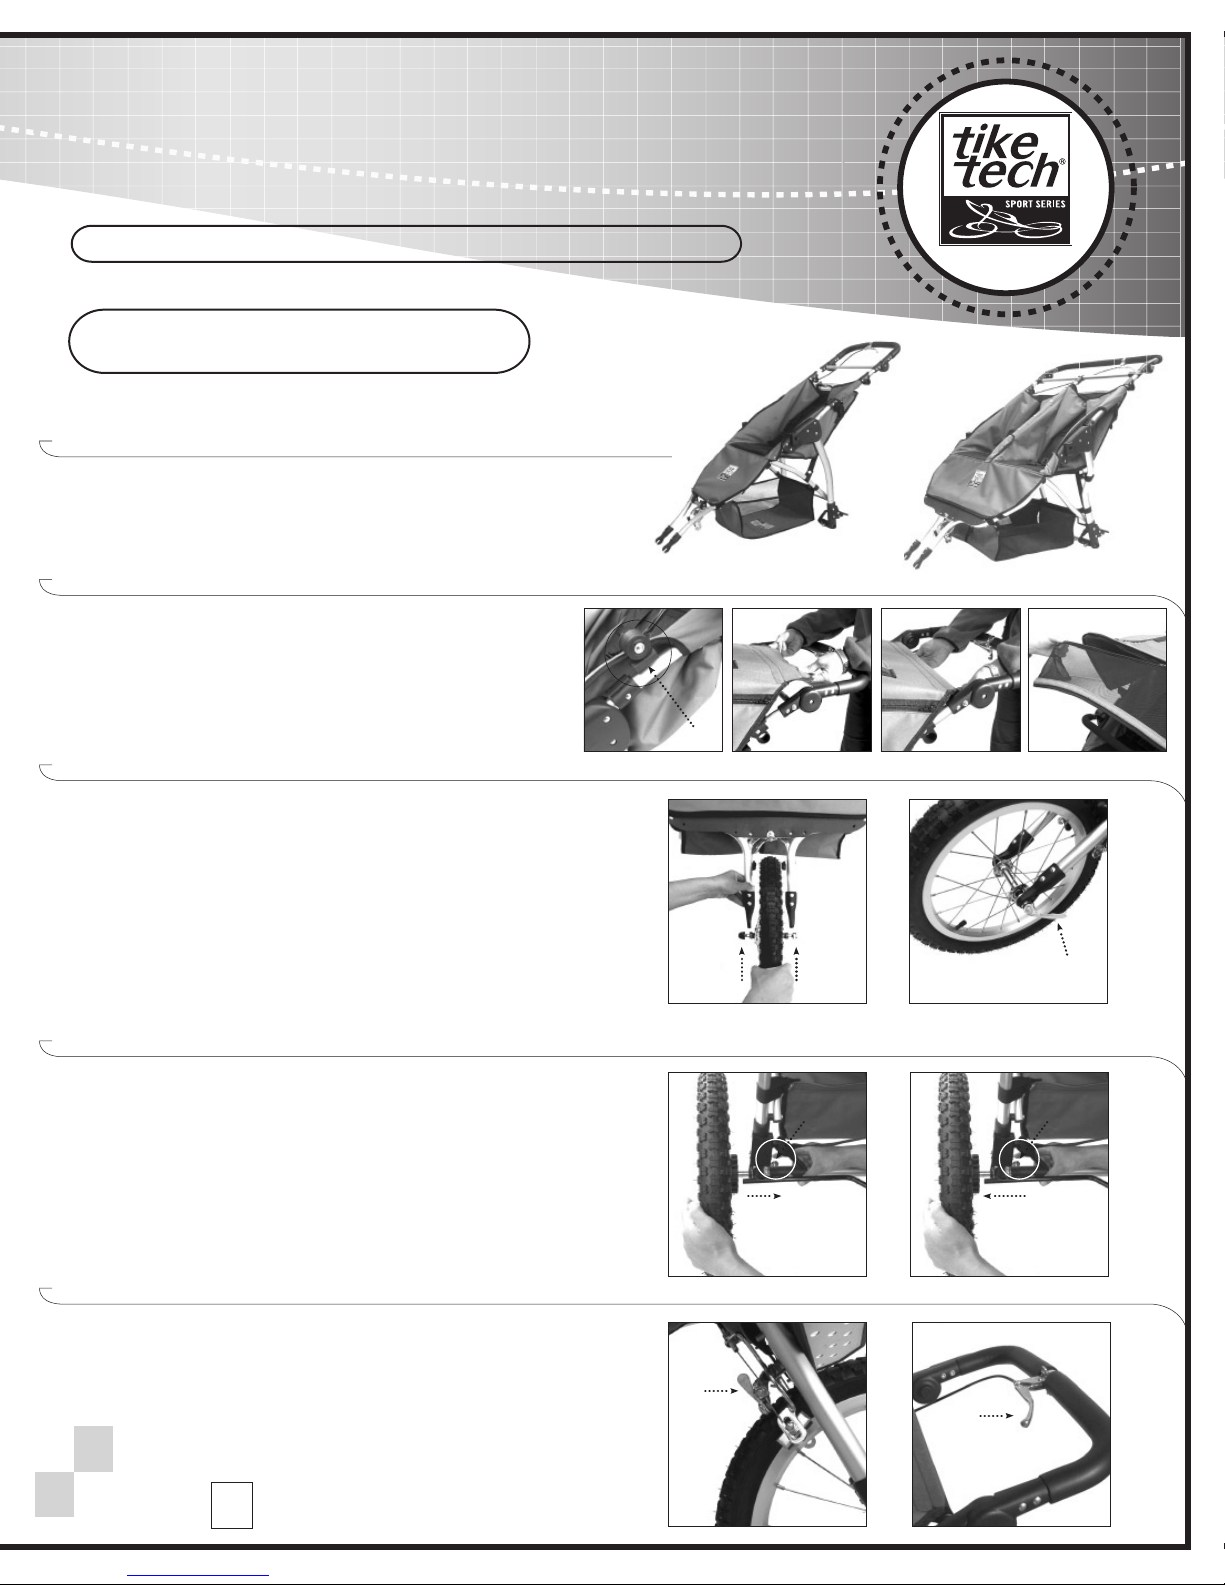
UNFOLD THE TIKE TECH STROLLER FRAME.
Simply push open the stroller frame by gently
pushing apart the stroller. (see diagram)
>>
ATTACH THE CANOPY TO THE STROLLER FRAME
Take the base of the canopy (left & right side) and slide the male base (left
& right side) of the canopy into the female base ( left & right side)
attached on the stroller frame.
Then take the back of the canopy & fold over the handle area Cross-bar.
Secure together via the Velcro style strips.
To attach the Sun visor simply zip it on & off with care.
>>
ATTACH FRONT WHEEL
Take the front tire with the finger nut and clamp/cam through it and attach to
the front fork (see diagram). Tighten clamp by holding one side and turning
the other (clamp and finger nut), then push the clamp towards the tire to
tighten. After the front wheel has been assembled, in a gentle manner pull the
wheel from frame to ensure it is securely fastened. If the wheel moves, loosen
clamps and tighten again using the clamp and finger nut. When complete
spin the tire to ensure it rotates properly & that it is aligned straight before
using. Failure to align the front tire properly could lead to the stroller
veering/pulling to one side. To correct simply loosen realign & tighten. Spin the
tire to ensure it rotates properly.
(See diagram)
(see diagram)
(See attached diagram)
single double
slide in
GO E XPL OR E!
close tight
towards fork
r k
f o
>>
BACK WHEEL ASSEMBLY
Unlock or lift-up the back brake. Place the back wheel/hub on the rear axle by
simply pushing in the wheel while pushing in the push button
just push the wheel in all the way so that the wheel cannot be pushed further
(see attached diagram). After
both wheels are assembled/attached pull on the
wheels to ensure they can not be removed. To remove the wheels,
simply push on the push buttons located on the rear axle and remove the
wheel
(see diagram
(Check tire side- wall for proper tire inflation & check tires regularly)
FRONT BRAKE ADJUSTMENT
>>
After you have completed the above, check to make sure your front brake is
working properly. It may need some fine-tuning. You can loosen and tighten
).
the cable to suit your desired need by adjusting the nut.
(see diagram) or
Note: after installing the front
wheel push the lock lever down.
When removing the front wheel
push the lever up.
push down
push in
press
button
squeeze
pull out
press
button
3
 Loading...