

tigerlight CORSO 18W PV, CORSO 8W LED User Manual
Product Warranty Terms & Conditions
What This Warranty Covers
Tigerlight warrants that all products we distribute have passed strict design and performance testing. Each
product purchased is free from defects in materials and workmanship under normal use during the warranty
period. The warranty period for the products starts on the original date of purchase specified on your sales
receipt or invoice unless informed otherwise in writing. The warranty period and type of warranty service that
applies to your product are designated on the warranty card of the product or obtained in writing via a
Tigerlight authorized representative.
The warranty extends to replacement or repair of faulty fittings. Tiger Light Pty Ltd shall not be liable for any
costs incurred in removal or installation of the Corso fitting.
What this Warranty does not cover
This warranty does not cover the following:
a) Failure or damage resulting from misuse, accident, modification, installation unsuitable physical or
operating environment, natural disasters, power surges, or improper maintenance by non-authorized
persons.
b) Failure of, or damage caused by, any third party products, including those that the end-user may
provide or integrate onto the product that has not been authorized by Tigerlight.
Solar Panel – 10 Year limited warranty on construction,
Controller – 3 Year limited warranty
Battery – 3 Year limited warranty
Solar panel power output - Limited power output warranty of 20 years (90%/80%) : 10 year output
warranty at 90% / 20 year output warranty at 80
V2.0 Updated DEC 2012
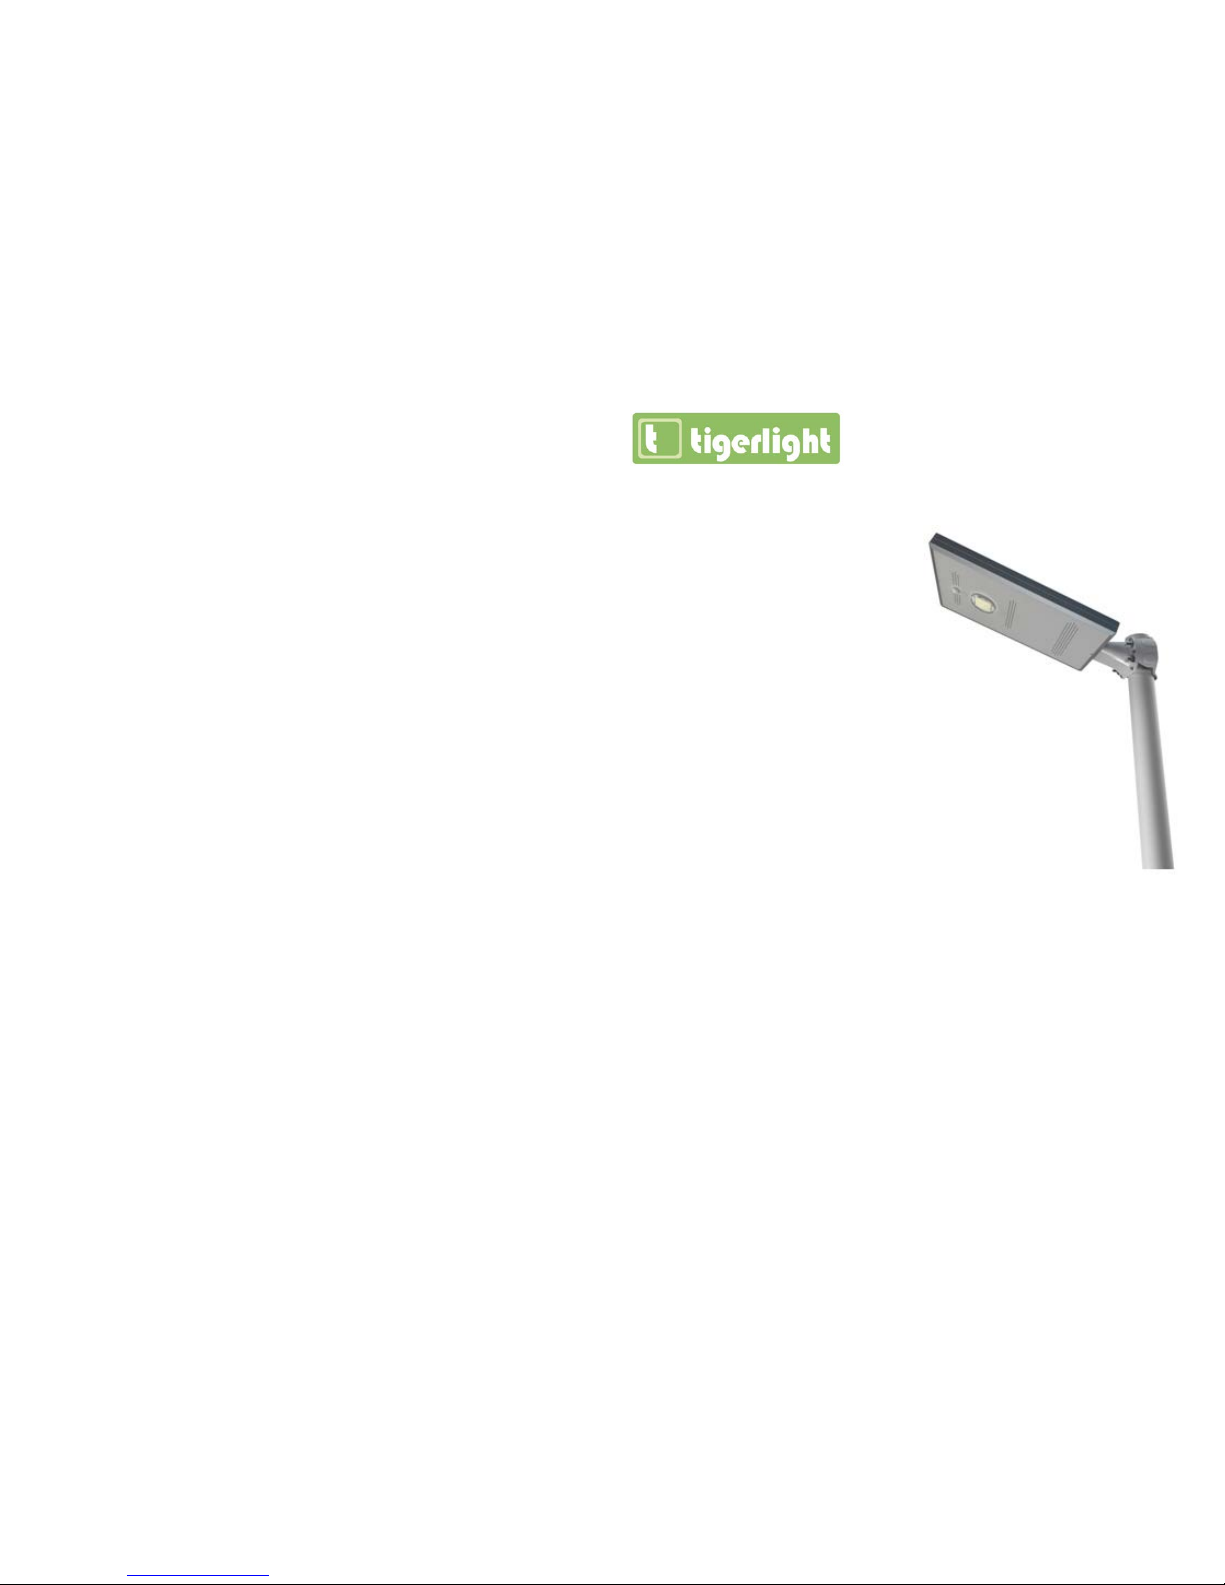
CORSO
"All-In-One" Solar Light
USER MANUAL
MODEL: CORSO 18W PV, 8W LED
The Corso uses advanced, patented “All-In-One” system that integrates a highly efficient solar
panel, compact Lithium Life PO4 batteries and a smart power management system into a
compact, easy to install product.
The Corso is extremely versatile, robust and is perfect for Australia’s weather conditions as it
captures the maximum energy from the sun and eliminates the need for external wiring to
remote battery packs and does not require an electrical tradesman to set up.
Tigerlight congratulates you on purchasing a product that will help preserve our environment
and provide years of high quality and reliable performance.
Tiger Light Pty Ltd,
3/3 Vuko Place, Warriewoood, NSW, 2012.
Ph: 1300 184 437 www.tigerlight.com.au
PG 2
PG 3
To avoid incorrect operation that may lead to damaging the unit, please read the following
instructions for Corso solar lights carefully before installation.
Installation Guide
1. Corso units do not work without sunlight. Please choose the appropriate model according to irradiance or
peak sun hours for the location of the installation. In areas that are short of sunlight or after continuous
days of rain, Corso units may only work for short hours or may not turn on at all. For areas where this
applies we recommend the use of the AC input cable models or split type model to position the solar panel
in the correct position for maximum sunlight.
2. Corso units incorporate highly efficient lithium batteries. The Functional charging temperature range is
0~+60ºC. The controller will stop charging automatically in order to protect battery when temperature is
lower than 0ºC or higher than 60ºC. It will commence charging when temperature returns to the range
between 0ºC and 60ºC. The discharge temperature range is -20~+60ºC. Please make sure that the
maximum temperature of the location installed does not exceed the above range
3. Corso units can be stored with full charge for a maximum of 6 months. It will be necessary to check charge
and make records regularly during long periods of storage or the battery may get damaged.
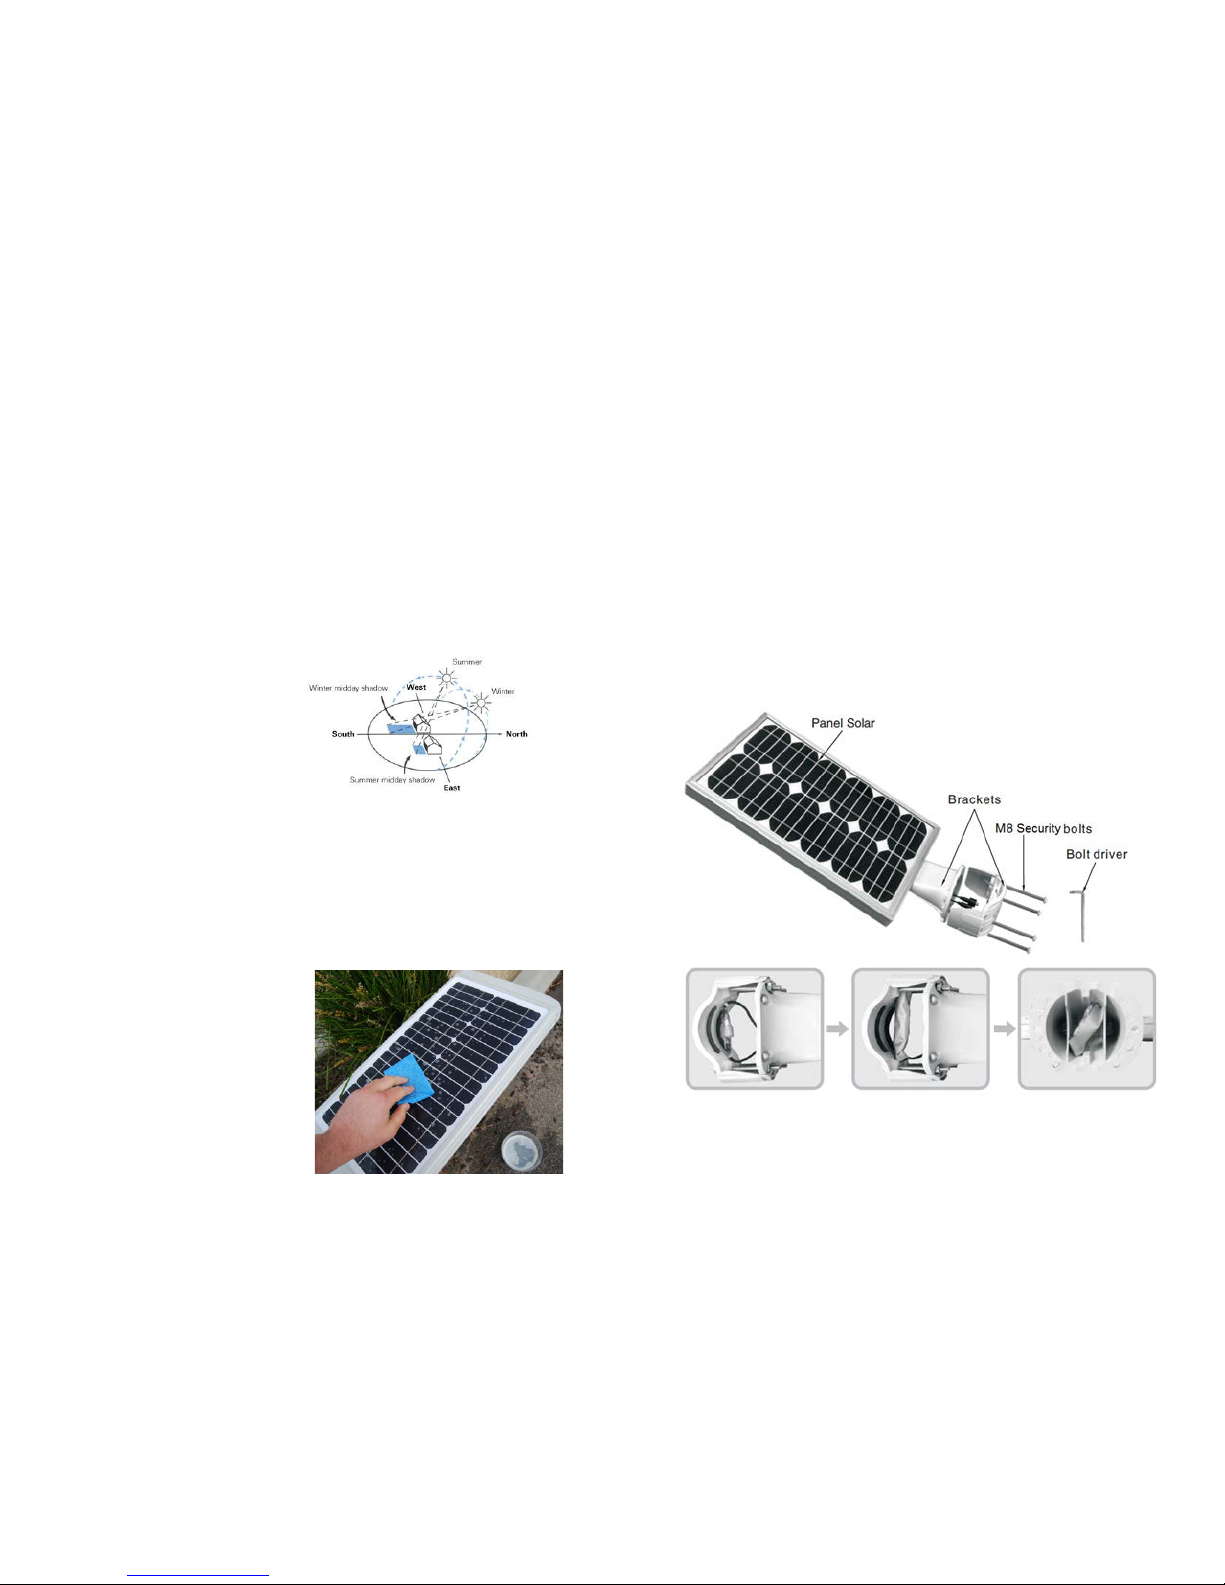
4. Corso units should be installed with
the solar panel facing North for best
operational performance. Make sure to
clear trees, buildings and other
shadows or the internal battery will not
charge properly and the efficiency of
the solar panel will be minimized,
influencing the working time of the unit
and battery life. Refer to figure 1 for
positioning assistance.
FIG 1
5. All internal parts of the Corso units are rated lP65 and are waterproof. Holes and slits on the luminaries are
designed for heat dissipation and drainage. Metal parts are anodized rust-proof aluminium or stainless
steel which can withstand high temperatures and high humidity in coastal or desert areas. The anti-theft
designs of the fastening brackets add security to the Corso units.
Maintenance
Corso series solar lights are a low maintenance designed product. The only maintenance required is the need
to periodically clean the surface to remove any residue or bird droppings on the PV module. When cleaning the
solar panel also check for any scratches or damage that may have resulted from nearby trees or other objects.
Simply clean the surface as per the following procedure.
FIG 2
1. Clean leaves, pollen and dust off the top of the
solar panel once every 6 – 18 months. Use a
soft brush to seep dirt and debris away.
2. Remove stubborn stains using water and mild
detergent or any biodegradable household
cleaner. Apply the cleaner with a soft brush
then rinse the P.V panel with clean water until
all soap and debris is removed. (See Fig 2)
3. Maintain the mounting brackets and supports.
Clean these items by also using a mild
detergent and water, at the same time check
that all connections are solid and tight.
1. Please open the package and confirm that all parts were received prior to installation. Refer to figure 3.
2. It is important to install the lamp post in a position that will allow the luminaries exposure to direct
sunlight. As a suggestion, the pole height should be 3 to 5 meters, pole diameter should be 60-90 mm,
and lamp post thickness whether steel or iron should be more than 2mm thick.
3. Connect the waterproof wire terminal clamps in the bracket, fasten the screws, and then put the terminals
back into the bracket to avoid damage while installing onto the pole. Refer to figure 4
4. For ideal installation of models with AC input, it is advised that you pre-plan the position of the luminaries
on the pole. Port holes through the pole and insert the wire through for a clean installation. Please have a
licensed electrician install this unit to avoid risk of failure, damage to luminaries and to minimize the risk
of shock. Cable polarity is as follows: L (red), N (blue), G (yellow/green). Finalize wiring with silicone to
waterproof after soldering or crimping.
5. Corso luminaries have security fasteners integrated in the mounting bracket. A special tool has been
provided to fasten the bolts. The maximum torque for these M8 bolts is about 12Nm. Do not surpass this
torque specification.
FIG 3
Connect the waterproof wire terminal clamps.
 Loading...