

Page 1
TIF3710
UVC
LIGHT METER
Operator’s Manual
Page 2

CONTENTS
Safety Precautions ......................................1
Features ......................................................2
Specications ..............................................2
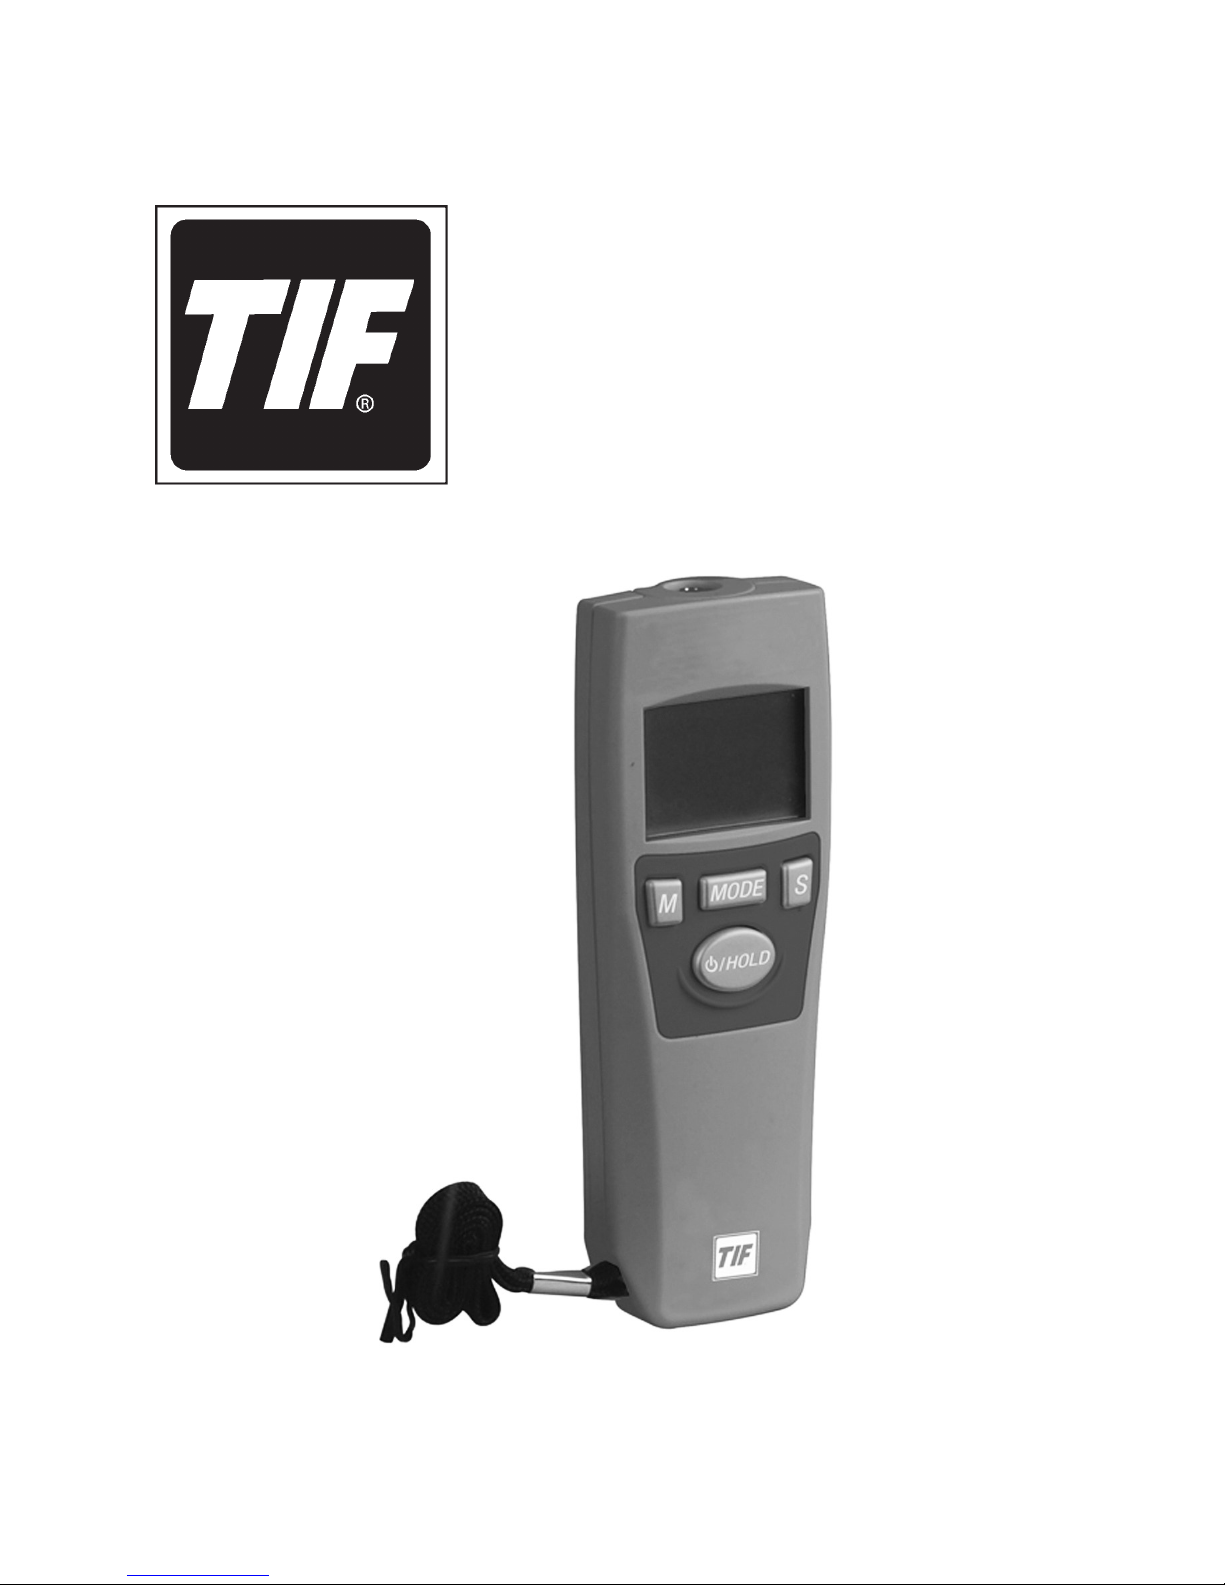
Control Panel ..............................................3
LCD Display ................................................4
Operation ....................................................5
Power On ...............................................5
Power Off ...............................................5
Measurement Value ...............................5
Main Function ........................................5
Max/Min/Avg Measuring Function .........6
Data Hold ...............................................6
Data Review ...........................................6
Data Store ..............................................6
Zero Adjust .............................................7
Memory Clear ........................................7
UNIT Function ........................................8
TIME Function ........................................8
Maintenance ...............................................9
Cleaning .................................................9
Storage ...................................................9
Battery Replacement .............................9
Warranty ......................................................9
Page 3
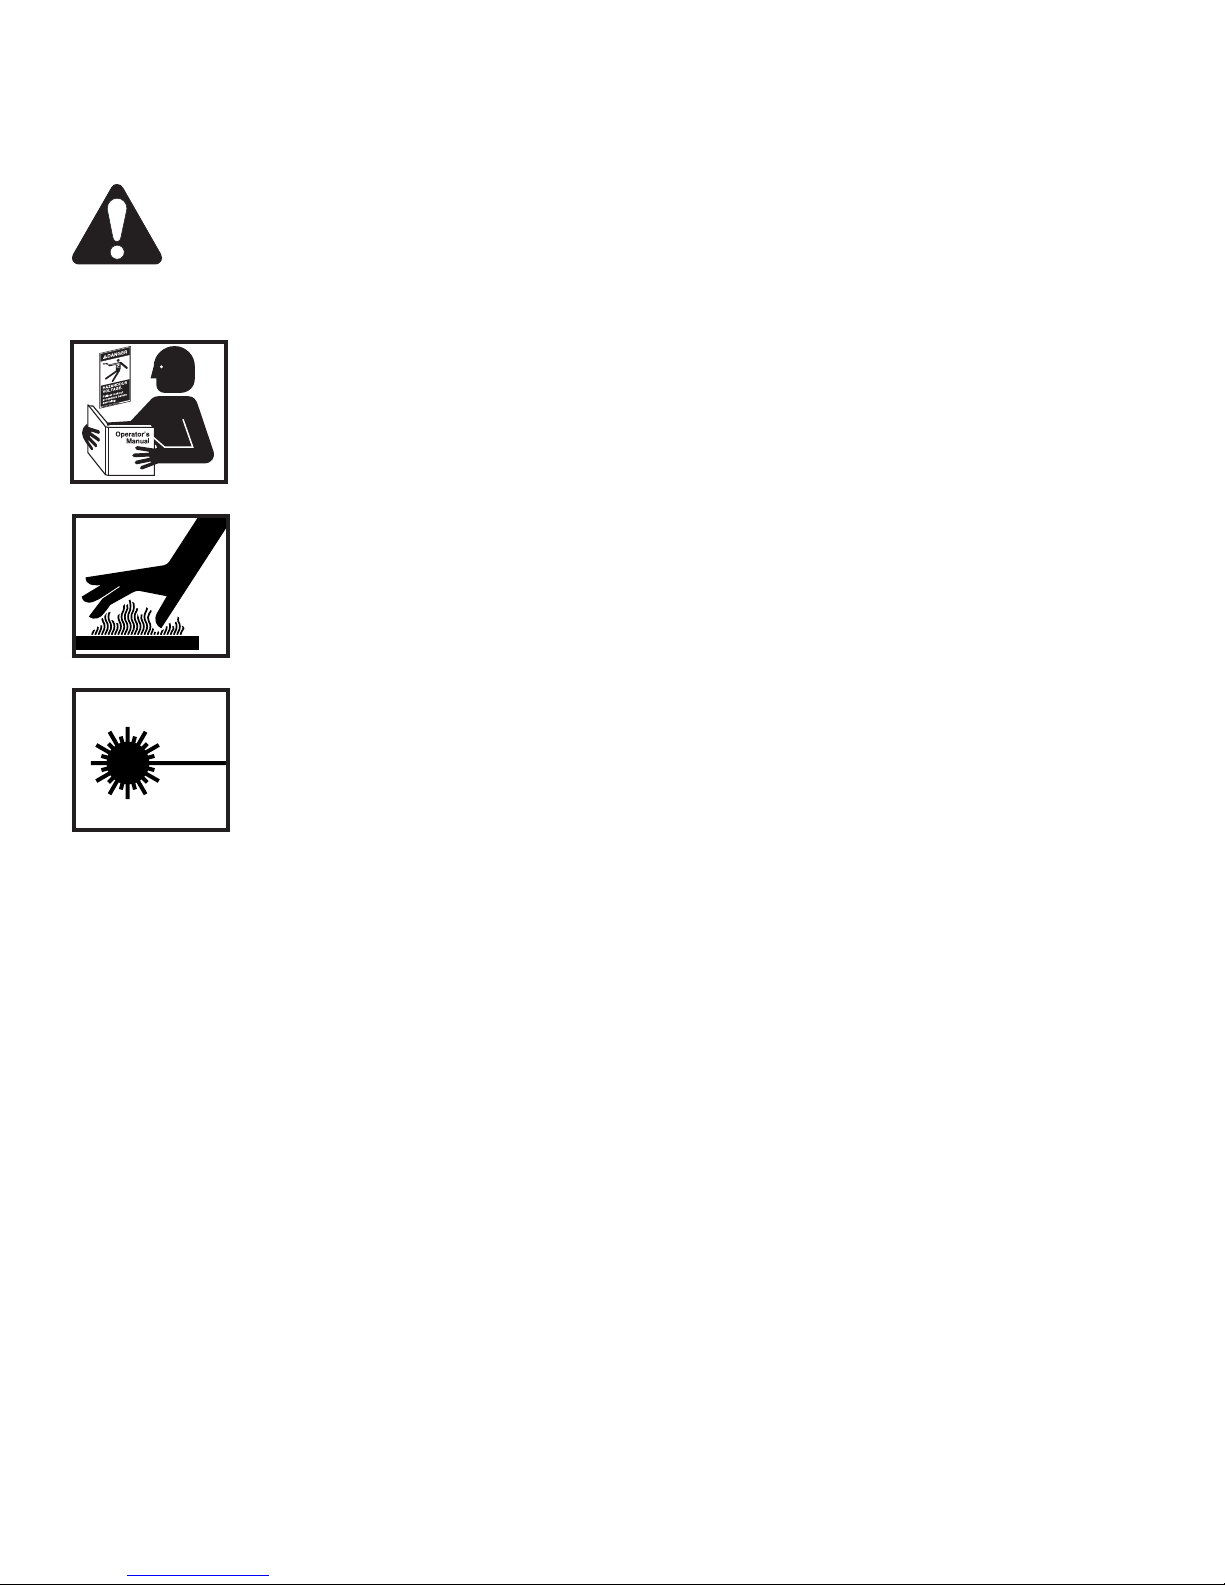
SAFETY PRECAUTIONS
WARNING: To prevent personal injury, and/or
equipment damage,
Read, understand, and follow all instructions
•
and safety precautions.
Ultraviolet lights become very hot during use.
•
Severe burns to bare skin can result if it is
touched. Always turn off the light and wait 15
minutes before removing an ultraviolet lamp.
Ultraviolet light is very harmful to bare skin and
•
eyes. Never look directly at an ultraviolet lamp
when its illuminated as this can cause temporary or permanent loss of vision.
1
Page 4

FEATURES
The TIF3710 light meter is a mobile, hand-held device for
measuring UVC irradiation.
High and Low (mW/cm
•
Backlit LCD display
•
Low-battery indicator
•
Min / Max / Avg measuring
•
Data Hold, Data Review, and Data Store functions
•
Over Range Indication: ' - HI - '
•
Zero Adjust
•
Auto Record
•
Memory: Twenty points
•
2
orμW/cm2) measurement units
SPECIFICATIONS
Sample Time: Approximately 0.3 seconds
Operation
Temperature: 0to50℃(32to122℉),10to90%RH
Battery Type: 9-volt
Dimensions: 140 x 49 x 29 mm (5.51 x 1.93 x 1.14 inch)
Weight: Approx. 181g (0.40 lb.) without battery
or probe.
2
Page 5

CONTROL PANEL
LCD Display
Memory Button
Mode Button
Select Button
Power On/Off
and Hold Button
3
Page 6

LCD DISPLAY
1. Main Functions
2. Primary Reading
3. Data Log
4. Auto Mode
5. Memory Review
6. Data Hold
7. Record
8. MAX/MIN/AVG
9. Secondary Reading
10. Time Units
11. Measurement Units
12. UV Type
13. Low Battery Indicator
4
Page 7

OPERATION
Power On
Press button and hold for two seconds. Release
the button after power on. All symbols on the LCD
will appear for one second.
Power Off
Press button and hold for two seconds. When all
symbols on the LCD appear, release the button
and the tool will shut down.
Measurement Value
The primary display always shows the current reading. The
secondary display shows the outcome of the advanced functions or data recording.
Main Function
Press the Mode button to choose a main function.
NOTE: MAX/MIN/AVG has several extended programs such
as Data Hold, Data Review, and Data Store. The following
descriptions instruct how to press S, , or M buttons
to move to next level.
5
Page 8

OPERATION CONTINUED
Max/Min/Avg Measuring Function
There are four measuring functions. Press the ‘S’ button to
change the measurement mode:
None → Max → Min → Avg.
Data Hold
Press the button. The value at the secondary display will be held, and the LCD will show the HOLD symbol.
To cancel hold mode, press the button again.
Data Review
Press the ‘M’ button when in hold mode to access the data
memory review mode. The LCD will show the MEM symbol.
Press the ‘S’ button to review data points zero to twenty.
Data ‘0’ is always stored in the time interval after auto recording is activated. If the data is automatically recorded, the
AUTO symbol appears next to MEM during review.
Data Store
Press the ‘M’ button to store the current measurement
displayedinthePrimaryDisplay.TheashingDATA(01~20)
icon becomes steady for two seconds, then moves to the
next storage location.
Continued -
6
Page 9

OPERATION CONTINUED
Data Store Continued
If automatic recording is required, press the ‘M’ button and
hold for two seconds. The LCD will show the AUTO symbol next to the REC symbol. When twenty data points are
recorded, the system will automatically turn off.
To cancel auto record mode, press the ‘M’ button again.
The memory holds a total of twenty data records. Each data
record consists of the following values:
1. Irradiation intensity
2. Normal or Auto mode
3. Maximum, Minimum, Average (or None)
4. Units
Zero Adjust
Cover the sensor and press the ‘S’ button to adjust zero.
The Secondary Display will display the adjusted value. Press
the ‘S’ button again and hold for one second to clear the
adjust value.
NOTE: When the adjust value is over the range. The Secondary display will display “-Err”. Repeat the zero adjust
directions, or contact your local TIF distributor.
Memory Clear
In ZERO mode, press the ‘M’ button to clear data points zero
through twenty.
7
Page 10

OPERATION CONTINUED
UNIT Function
Press the ‘S’ button to change the measurement units;
μW/cm2 or mW/cm2.
TIME Function
Press the ‘S’ button to set a time interval for auto recording.
Choose from nine time intervals: 1, 2, 5, 10, and 30 (seconds), or 1, 3, 5, and 10 (minutes).
8
Page 11

MAINTENANCE
Cleaning
Using soap and water on a damp sponge or soft cloth, clean
the housing of the meter. IMPORTANT: Do not allow mois-
ture to enter the inside of the meter.
Storage
Store the meter in a dry environment when not in use.
Battery Replacement
Low-battery indicator
Replace the 9-volt battery when the low-battery indicator
shows on the LCD. Dispose of the old battery according to
local, state, and federal regulations.
WARRANTY
This product has been produced to provide unlimited service. Should it become inoperable after the user has performed the recommended maintenance, a no-charge repair
or replacement will be made to the original purchaser. This
applies to all repairable units that have not been damaged or
tampered with. The claim must be made within One Year of
the date of purchase.
9
Page 12

655 Eisenhower Drive
Owatonna, MN 55060
Toll Free: (800) 327-5060
Fax: (866) 287-7222
www.TIF.com
Form No. 550404
Rev. B, August 4, 2014 © Bosch Automotive Service Solutions LLC
 Loading...