

Page 1
)
Concrete Foundation System
Installation Instructions for Wind Zone I, II & III
(Except Florida and California)
By Tie Down Engineering
Updated: 10/11/2013
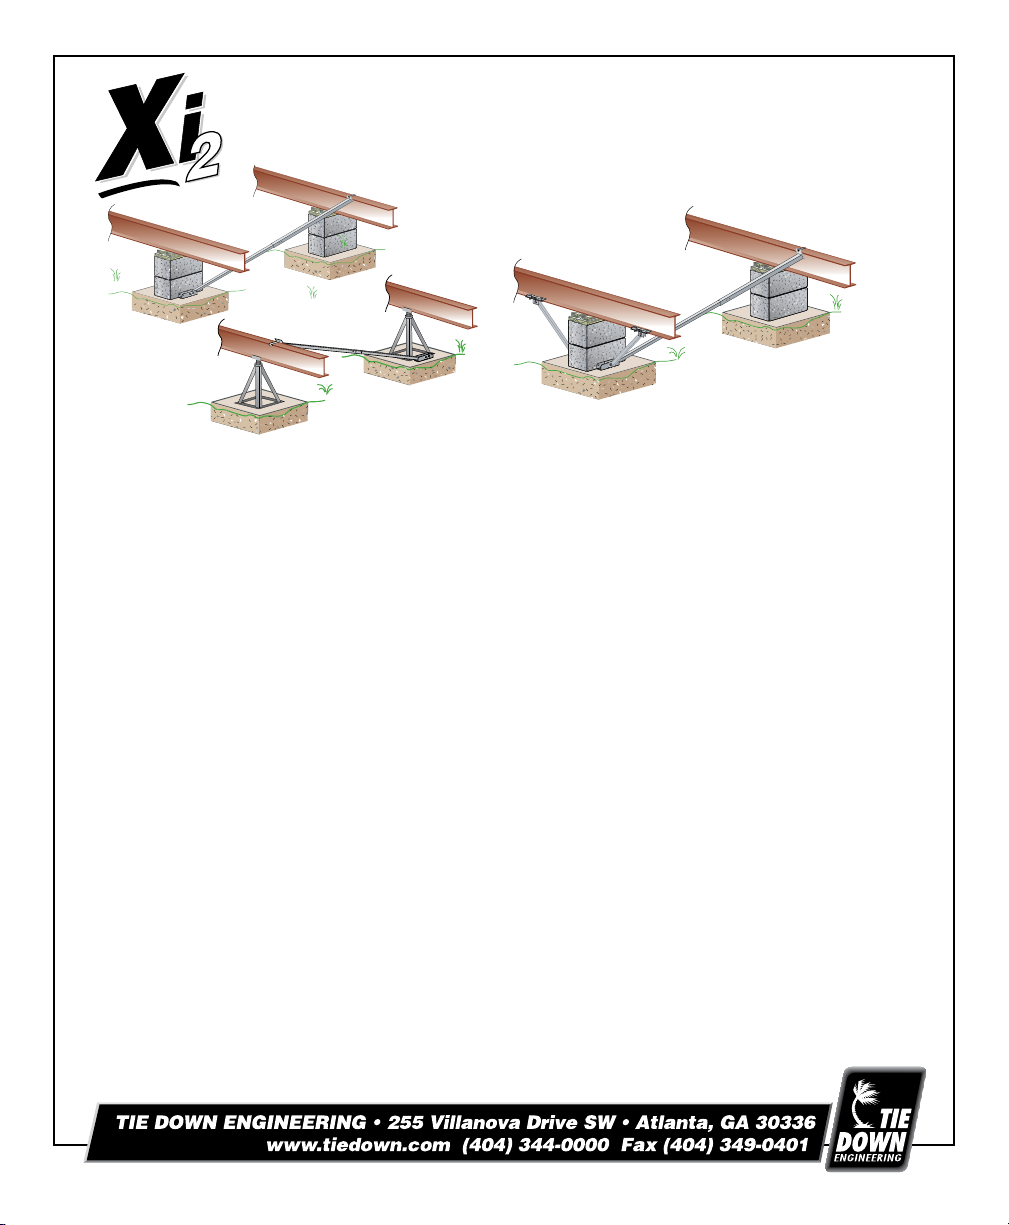
Xi2 Concrete System
Xi2
Concrete System
(For Block or Steel Pier)
REQUIREMENTS
• Install in any type soil, 4B (175 – 275 lbs.) or better.
• Main Rail spacing must be 75.5” – 99.5”, 112” exception with proper strut.
• Maximum pier height at system is 48”.
• Wind Zones II & III require sidewall anchors for up lift, check manufacturers requirements.
• Poured concrete must be must be 2.500 PSI minimum at 28 days. Bottom of footers must be below the frost line or a
minimum of 4” below finished grade, check with authorities for local requirements (LAHJ).
• Footer Requirement: Must to be large enough for the pier load at that location and be a minimum of 22” wide
by 6” deep with anchor wedge bolts a minimum of 4” from any edge or 18” wide by 12” deep with anchor wedge
bolts a minimum of 1 ½” from edge. Strip footings minimum of 18” wide by 14’ long by 6” deep or 27” wide by 14’
long by 4” deep.
• Maximum vertical projection at sidewall is 9’ (wall and eave). Higher walls may be used when design loads are
adjusted accordingly.
• Longitudinal strut angles need to be no more than 50 degrees and no less than 25 degrees. See page 4.
• Longitudinal stabilization is easily added with Tie Down’s unique multi sided bracket. The longitudinal component of the
Xi2 System replaces end frame ties. Check manufacturer’s set-up requirements.
• The Xi2 System is installed on one of the pier footers required by the home manufacturer set up instructions.
• Two systems designed to work in conjunction with each other must be placed as evenly as possible. Measuring from
the center of the block/pier, systems are to be placed no less than 2’ and no more than 10’ from each end of home.
Additional systems per instructions, see page 3. Components of the Xi2 System such as the longitudinal strut and
connecting hardware, may extend beyond the pier location.
• For roof slopes greater than 20 degrees, (4.37” in 12” Pitch) see page 3.
• This System only replaces normal lateral frame tie and or longitudinal end tie anchorage. The home manufacturer may require
additional vertical anchor ties that are unique to a home’s design. These locations may include shear walls, marriage line ridge
beam supports, and rim plates. Check the manufacturer’s installation instructions for set-up requirements.
with Longitudinal Stabilization
(One Strut for Wind Zone I
Two Struts for Wind Zones II & III
Xi2 components exceed HUD code 3280.306 g “Anchoring equipment exposed to weathering shall have a resistance to
weather deterioration at least equivalent to that provided by a coating of zinc on steel of not less than 0.30 ounces per
square foot of surface coated.
Instruction #08107
101113,D974
Page 2

Approved Anchor*
with strap from
45 to 90 degrees
Xi2 Pier
Placement
3rd System
for Placement
Xi2 Lateral Stabilization with Concrete Footers
Wind Zones
I & II
Wind Zones
III
* For Wind Zone I - Approved anchor w/strap from 45 to 90 degrees, within 10’ of end of home on single sections.
NOTE: Diagram represents single section up to 16’ width, double section up to 32’ width, and triple section homes up to 48’ width.
Single Section Home
0 - 76’ Box 2 Xi2 Systems
Over 76’ Box 3 Xi2 Systems
Single Section Home
0 - 64’ Box 2 Xi2 Systems
Over 64’ Box 3 Xi2 Systems
Double Section Home
0 - 76’ Box 2 Xi2 Systems
Over 76’ Box 3 Xi2 Systems
Double Section Home
0 - 64’ Box 2 Xi2 Systems
Over 64’ Box 3 Xi2 Systems
Triple Section Home
0 - 76’ Box 2 Xi2 Systems
Over 76’ Box 3 Xi2 Systems
Triple Section Home
0 - 64’ Box 2 Xi2 Systems
Over 64’ Box 3 Xi2 Systems
Installation of Concrete Bracket: Dry Set/Wet Set
1. Identify the number of systems to be used on the home using the
chart provided.
2. Identify the location where the lateral systems will be installed. If installing
lateral and longitudinal together, check page 4 for alignment of bracket.
3. Build pier according to State, Local or Home Manufacturers guidelines.
4a. For dry set: drill two 3/8”x 3” deep holes in the concrete using holes in
galvanized bracket as a guide. Attach bracket to concrete pad using
3/8”x 3-1/2” wedge anchors provided. Place nut & washer on anchor, leave
enough room for 1 to 2 threads showing on top of bolt. Using a hammer,
tap the wedge bolts into hole through bracket, leaving nut & washer flush
with bracket. Using a 9/16” socket wrench, tighten wedge/anchor bolt,
securing bracket to the concrete.
4b. For wet set: align bracket and submerge legs completely in concrete.
Bottom of bracket should rest on surface.
5. Attach the end of the smaller tube to the bracket mounted on the pad, using the
grade 5, 1/2” x 2-1/2” bolt/nut provided.
6. Attach the flag end of the larger tube to the opposite I-beam using the
“J” bolt over the top of the I-beam with the nut & washer provided.
(Figure 1 on last page)
7. Install a minimum of four (#14 x 1” Tek screws) self-tapping screws into
the holes provided in the lateral strut so that the two tubes are connected
together with a minimum overlap of 4” to 6” (Figure 2 on last page).
See “Footer Requirement”
on page 1 for edge
placement
Page 3

Xi2 Longitudinal Stabilization for Wind Zone I, II & III
When using longitudinal
stabilization only, systems
must be as evenly spaced
as possible, no more than
10’ from the end of the
home. Longitudinal struts
do not replace anchors on
single section homes.
Sample Placement for Wind Zone I Shown
Single Section
Up to 16’ Nominal
Double Section
Up to 32’ Nominal
Triple Section
up to 48’ Nominal
NOTE: On triple section homes in
WZII & III an additional longitudinal
system is required. It should be
Use One Strut (per end)
For WZ I
Use Two Struts (per end)
For WZ II & III
installed on the center section.
3285.402(c)(3) All new manufactured homes must have longitudinal stabilization in all wind zones.
Xi2 System Requirements for Roof Pitches Higher than 20 degrees
Module
Wind Zone I Wind Zone II Wind Zone III
Length
5:12 6:12 7:12 9:12 5:12 6:12 7:12 9:12 5:12 6:12 7:12 9:12
(Feet)
34 2 2 2 2 2 2 2 2 2 2 3 3
36 2 2 2 2 2 2 2 3 2 2 3 3
38 2 2 2 3 2 2 2 3 2 3 3 3
40 2 2 2 3 2 2 2 3 3 3 3 3
42 2 2 3 3 2 2 3 3 3 3 3 3
44 2 2 3 3 2 2 3 3 3 3 3 3
46 2 3 3 3 2 3 3 3 3 3 3 4
48 2 3 3 3 3 3 3 3 3 3 3 4
50 3 3 3 3 3 3 3 3 3 3 3 4
52 3 3 3 3 3 3 3 3 3 3 4 4
54 3 3 3 3 3 3 3 3 3 3 4 4
56 3 3 3 3 3 3 3 3 3 3 4 4
58 3 3 3 3 3 3 3 3 3 3 4 4
60 3 3 3 3 3 3 3 3 3 3 4 5
62 3 3 3 3 3 3 3 3 4 4 4 5
64 3 3 4 4 3 3 4 4 4 4 4 5
66 3 3 4 4 3 3 4 4 4 4 4 5
68 3 4 4 4 3 4 4 4 4 4 5 5
70 3 4 4 4 3 4 4 4 4 4 5 5
72 3 4 4 4 4 4 4 5 4 4 5 5
74 4 4 4 5 4 4 4 5 4 5 5 5
76 4 4 4 5 4 4 4 5 4 5 5 6
78 4 4 4 5 4 4 4 5 4 5 5 6
80 4 4 4 5 4 4 4 5 4 5 5 6
Additional Systems:
On a single section home
the 3rd system is placed
in the middle of the
home. When using 3 or
4 systems (double and
triple sections) install
on opposite corners, if
needed, a 5th system
would be in the center of
the unit on either side.
101113,D974
Page 4

Xi2 Lateral Foundation System
Figure 1
J-Bolt
Nut & Washer
Beam Clamp
Bracket
1-3/4" Tube
Lateral Struts
1-1/2" Tube
4 - #14 x 1”
Tek Screws
2 per side
Figure 2
Lateral Stabilization
Po sition B
Figure 3
Xi2 Longitudinal Installations
Po sition A
(either side)
I-Beam
Wind Zone I
Lateral &
One Longitudinal
System
Lateral
Stabilization
(either side)
Xi2 Concrete System
Part #59307
Includes: Strut #48609 &
Hardware kit #59327.
Longer struts are available
Strut Angles:
Need to be no more than
50 degrees and not less than
25 degrees. If needed, tube
can be cut to proper length
and a new hole drilled
according to chart on below.
Strut
17/32"
3/4"
from end
Figure 4
Wind Zone II & III
One additional
Longitudinal
System
www.tiedown.com
(404) 344-0000
©2013 Tie Down, Inc.
All Rights Reserved
I-Beam
 Loading...